

Tektronix Buffer Analyzer User manual

User Manual
Buffer Analyzer (Demo)
071-2358-00
www.tektronix.com

Copyright © Tektronix. All rights reserved. Licensed software products are owned by Tektronix or its subsidiaries or
suppliers, and are protected by national copyright laws and international treaty provisions.
Tektronix products are covered by U.S. and foreign patents, issued and pending. Information in this publication supercedes
that in all previously published material. Specifications and price change privileges reserved.
TEKTRONIX and TEK are registered trademarks of Tektronix, Inc.
Contacting Tektronix
Tektronix, Inc.
14200 SW Karl Braun Drive
P.O. Box 500
Beaverton, OR 97077
USA
For product information, sales, service, and technical support:
H In North America, call 1-800-833-9200.
H Worldwide, visit www.tektronix.com to find contacts in your area.

Table of Contents
Preface iii. . . . . . . . . . . . . . . . . . . . . . . . . . . . . . . . . . . . . . . . . . . . . . . . . . .
Manual Conventions iii. . . . . . . . . . . . . . . . . . . . . . . . . . . . . . . . . . . . . . . . . . . . . .
Introduction to the Demo Version 1. . . . . . . . . . . . . . . . . . . . . . . . . . . .
Installing the Program 1. . . . . . . . . . . . . . . . . . . . . . . . . . . . . . . . . . . . . . . . . . . .
Starting the Program 3. . . . . . . . . . . . . . . . . . . . . . . . . . . . . . . . . . . . . . . . . . . . . .
Opening a File 5. . . . . . . . . . . . . . . . . . . . . . . . . . . . . . . . . . . . . . . . . . . . . . . . . .
Getting Started 7. . . . . . . . . . . . . . . . . . . . . . . . . . . . . . . . . . . . . . . . . . . .
Suitable Streams 7. . . . . . . . . . . . . . . . . . . . . . . . . . . . . . . . . . . . . . . . . . . . . . . . .
Table Handling 8. . . . . . . . . . . . . . . . . . . . . . . . . . . . . . . . . . . . . . . . . . . . . . . . . .
Starting the Program 8. . . . . . . . . . . . . . . . . . . . . . . . . . . . . . . . . . . . . . . . . . . . . .
Settings 10. . . . . . . . . . . . . . . . . . . . . . . . . . . . . . . . . . . . . . . . . . . . . . . . . . . . . . . .
Opening an MPEG File 15. . . . . . . . . . . . . . . . . . . . . . . . . . . . . . . . . . . . . . . . . . .
Opening a BMR File 16. . . . . . . . . . . . . . . . . . . . . . . . . . . . . . . . . . . . . . . . . . . . .
Window Layout 16. . . . . . . . . . . . . . . . . . . . . . . . . . . . . . . . . . . . . . . . . . . . . . . . .
Initial Processing of MPEG Files 17. . . . . . . . . . . . . . . . . . . . . . . . . . . . . . . . . . . .
Initial Processing of BMR Files 18. . . . . . . . . . . . . . . . . . . . . . . . . . . . . . . . . . . . .
Menus and Controls 19. . . . . . . . . . . . . . . . . . . . . . . . . . . . . . . . . . . . . . .
Toolbar 19. . . . . . . . . . . . . . . . . . . . . . . . . . . . . . . . . . . . . . . . . . . . . . . . . . . . . . . .
Status Bar 20. . . . . . . . . . . . . . . . . . . . . . . . . . . . . . . . . . . . . . . . . . . . . . . . . . . . . .
Menu Options 22. . . . . . . . . . . . . . . . . . . . . . . . . . . . . . . . . . . . . . . . . . . . . . . . . . .
Stream List 27. . . . . . . . . . . . . . . . . . . . . . . . . . . . . . . . . . . . . . . . . . . . . . .
Selecting Streams 29. . . . . . . . . . . . . . . . . . . . . . . . . . . . . . . . . . . . . . . . . . . . . . . .
Processing Streams 29. . . . . . . . . . . . . . . . . . . . . . . . . . . . . . . . . . . . . . . . . . . . . . .
Event and Message Logs 33. . . . . . . . . . . . . . . . . . . . . . . . . . . . . . . . . . . .
Global Event Log 33. . . . . . . . . . . . . . . . . . . . . . . . . . . . . . . . . . . . . . . . . . . . . . . .
PID Event Log 34. . . . . . . . . . . . . . . . . . . . . . . . . . . . . . . . . . . . . . . . . . . . . . . . . .
Trace 34. . . . . . . . . . . . . . . . . . . . . . . . . . . . . . . . . . . . . . . . . . . . . . . . . . . . . . . . . .
Results Graphs 41. . . . . . . . . . . . . . . . . . . . . . . . . . . . . . . . . . . . . . . . . . . .
Common Features 41. . . . . . . . . . . . . . . . . . . . . . . . . . . . . . . . . . . . . . . . . . . . . . . .
Elementary Buffer Graph 51. . . . . . . . . . . . . . . . . . . . . . . . . . . . . . . . . . . . . . . . . .
Multiplex or Main Buffer Graph 52. . . . . . . . . . . . . . . . . . . . . . . . . . . . . . . . . . . .
Transport Buffer Graph 53. . . . . . . . . . . . . . . . . . . . . . . . . . . . . . . . . . . . . . . . . . .
Buffer Analyzer (Demo) User Manual
i

Table of Contents
List of Tables
Table 1-1: File menu options for demo version 4. . . . . . . . . . . . . . . . .
Table 1 -2: File menu options 10. . . . . . . . . . . . . . . . . . . . . . . . . . . . . . . .
Table 1 -3: View menu options 10. . . . . . . . . . . . . . . . . . . . . . . . . . . . . . .
Table 1 -4: File menu options 22. . . . . . . . . . . . . . . . . . . . . . . . . . . . . . . .
Table 1 -5: Edit menu options 22. . . . . . . . . . . . . . . . . . . . . . . . . . . . . . .
Table 1 -6: View menu options 22. . . . . . . . . . . . . . . . . . . . . . . . . . . . . . .
Table 1 -7: Options menu options 23. . . . . . . . . . . . . . . . . . . . . . . . . . . .
Table 1 -8: Process menu options 23. . . . . . . . . . . . . . . . . . . . . . . . . . . . .
Table 1-9: Trace menu options 23. . . . . . . . . . . . . . . . . . . . . . . . . . . . . .
Table 1 -10: Window menu options 24. . . . . . . . . . . . . . . . . . . . . . . . . . .
Table 1 -11: Help menu options 25. . . . . . . . . . . . . . . . . . . . . . . . . . . . . .
ii
Buffer Analyzer (Demo) User Manual

Preface
Manual Conventions
This manual supports the Buffer Analyzer demo.
Other documents are available on the Tektronix Web site (www.tektronix.com/
manuals):
H MTS400 Series MPEG Test System Getting Started Manual (071-1505-xx).
H MTS400 Series MPEG Test System Programmer Manual (071-1725-xx).
This manual specifies the remote control and status monitoring interfaces
available to a management application.
The following formatting conventions apply to this manual:
H Bold text refers to specific interface elements that you are instructed to
select, click, or clear.
Example: Select Settings from the Configuration menu.
H Mono-spaced text can indicate the following:
H Text you enter from a keyboard.
Example: Enter the network identity (
H Characters you press on your keyboard.
Example: Press CTRL+C to copy the selected text.
H Paths to components on your hard drive.
Example: The program files are installed at the following location:
C:\Program Files\Tektronix\.
http://TSMonitor01).
Buffer Analyzer (Demo) User Manual
iii

Preface
iv
Buffer Analyzer (Demo) User Manual
Introduction to the Demo Version
The T_STD Buffer Analyzer (Demo version) models the behavior of the buffers
in the hypothetical Transport Stream System Target Decoder, as specified in
ISO/IEC 13818-1. It processes the video, audio, and system control default
sample stream.
The demo supports only one transport stream, which contains the elementary
stream of H.264 video, MPEG2 video, AAC audio, and AC3 audio.
Installing the Program
You can download the BufferAnalyserSetup.exe file from
www.tektronix.com/software and follow these steps to install the demo version
of the Buffer Analyzer.
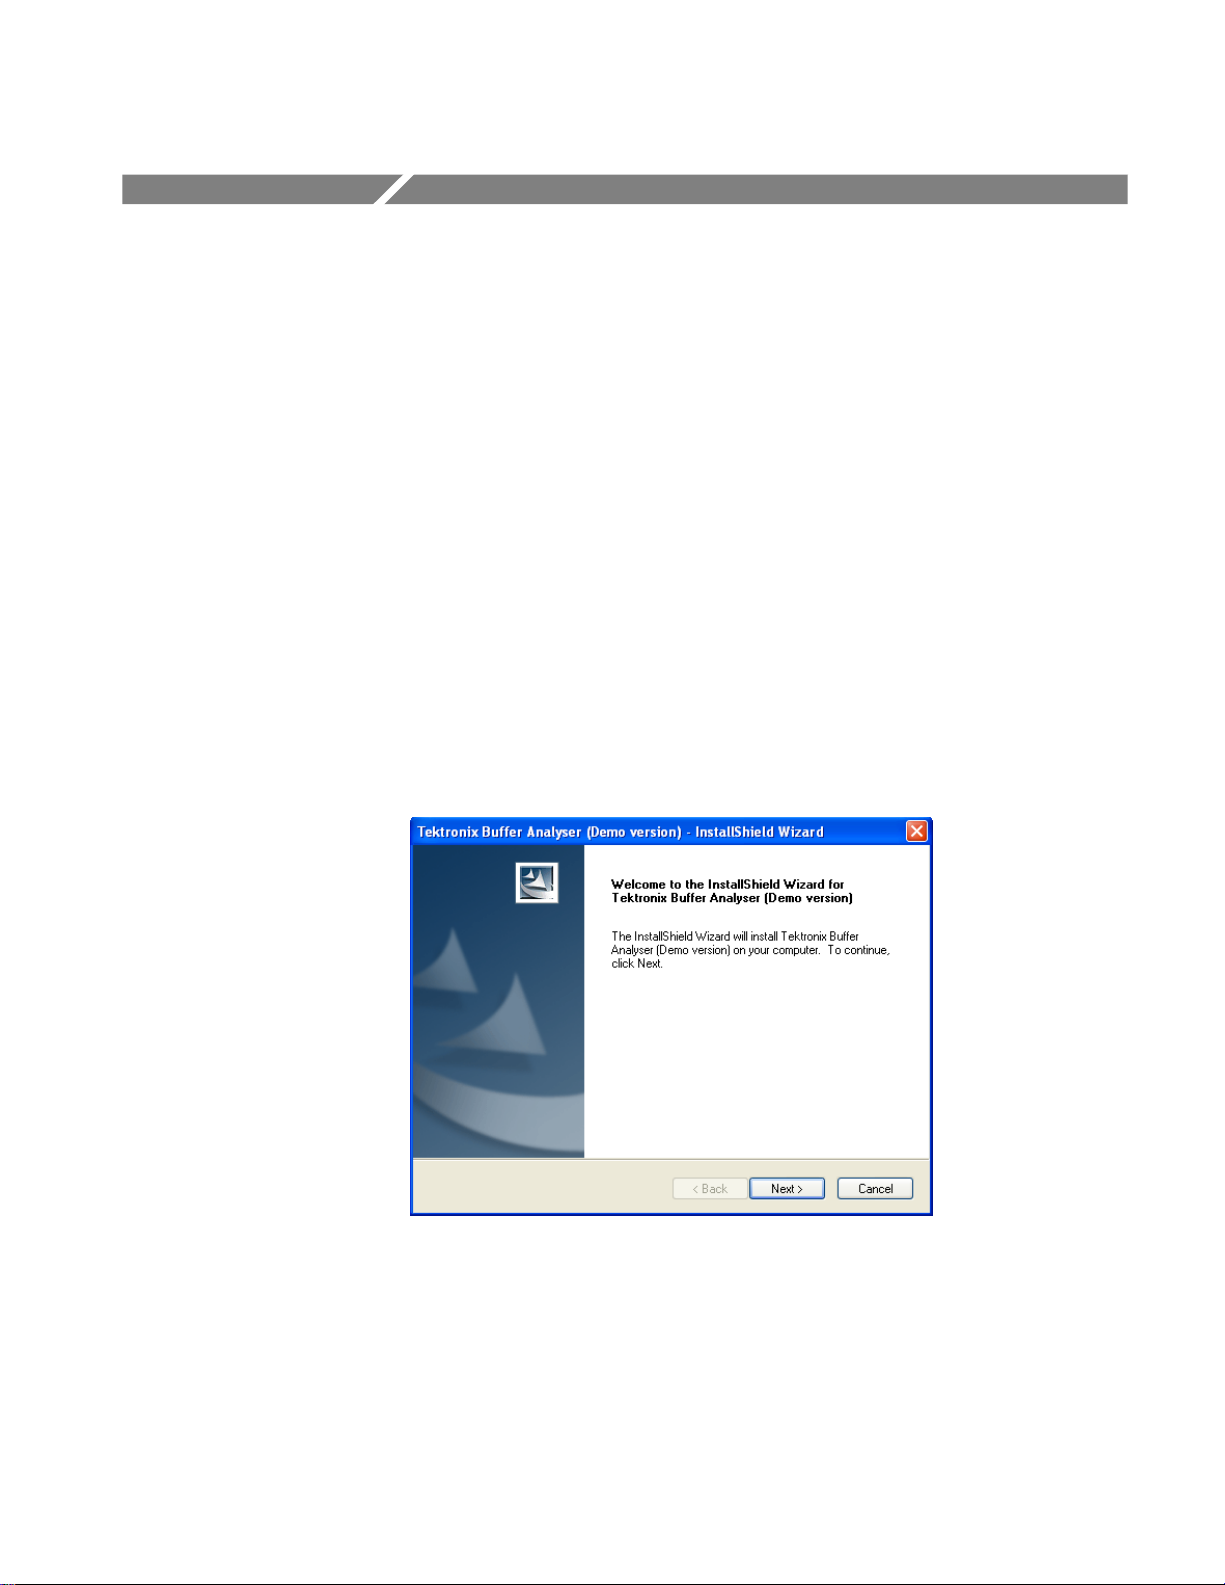
1. Double-click the BufferAnalyserSetup.exe to start the InstallShield Wizard
that installs the Buffer Analyzer demo version on your computer. Click Next
to continue.
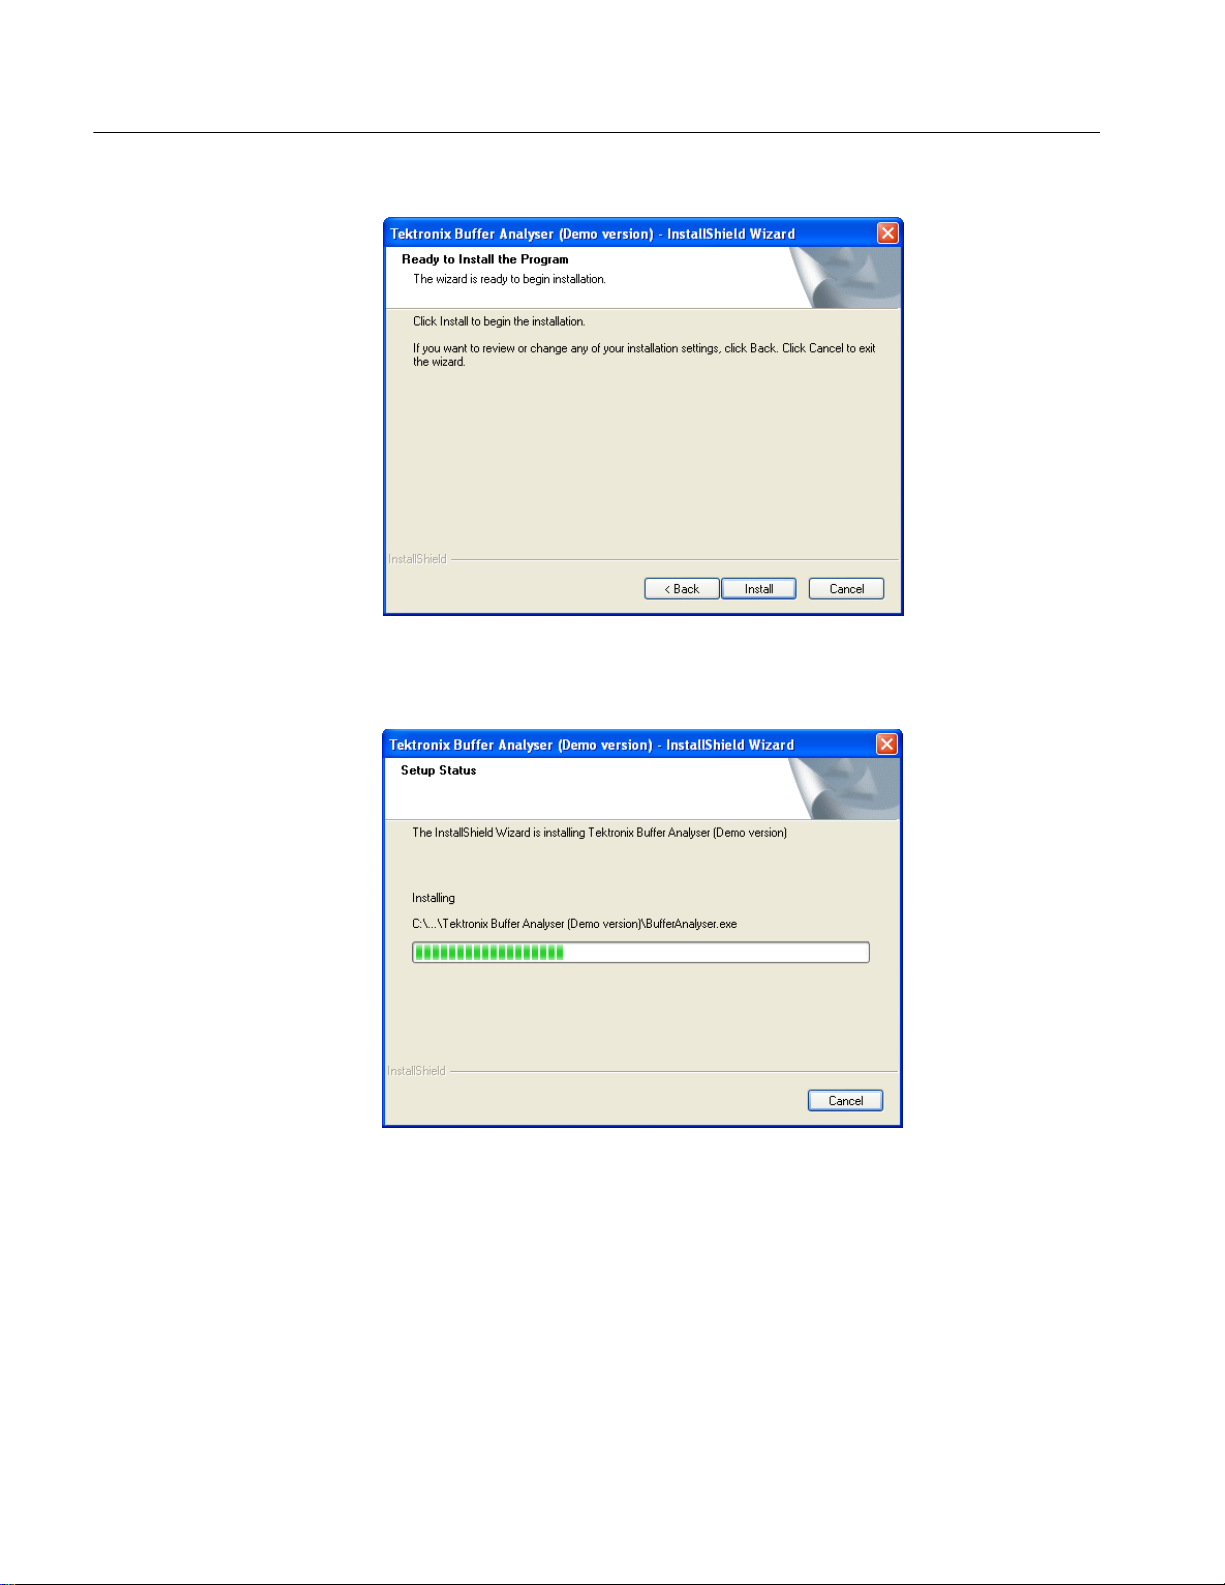
2. Click Install to begin the installation.
Buffer Analyzer (Demo) User Manual
1
Introduction to the Demo Version
The InstallShield Wizard installs the application displaying the progress.
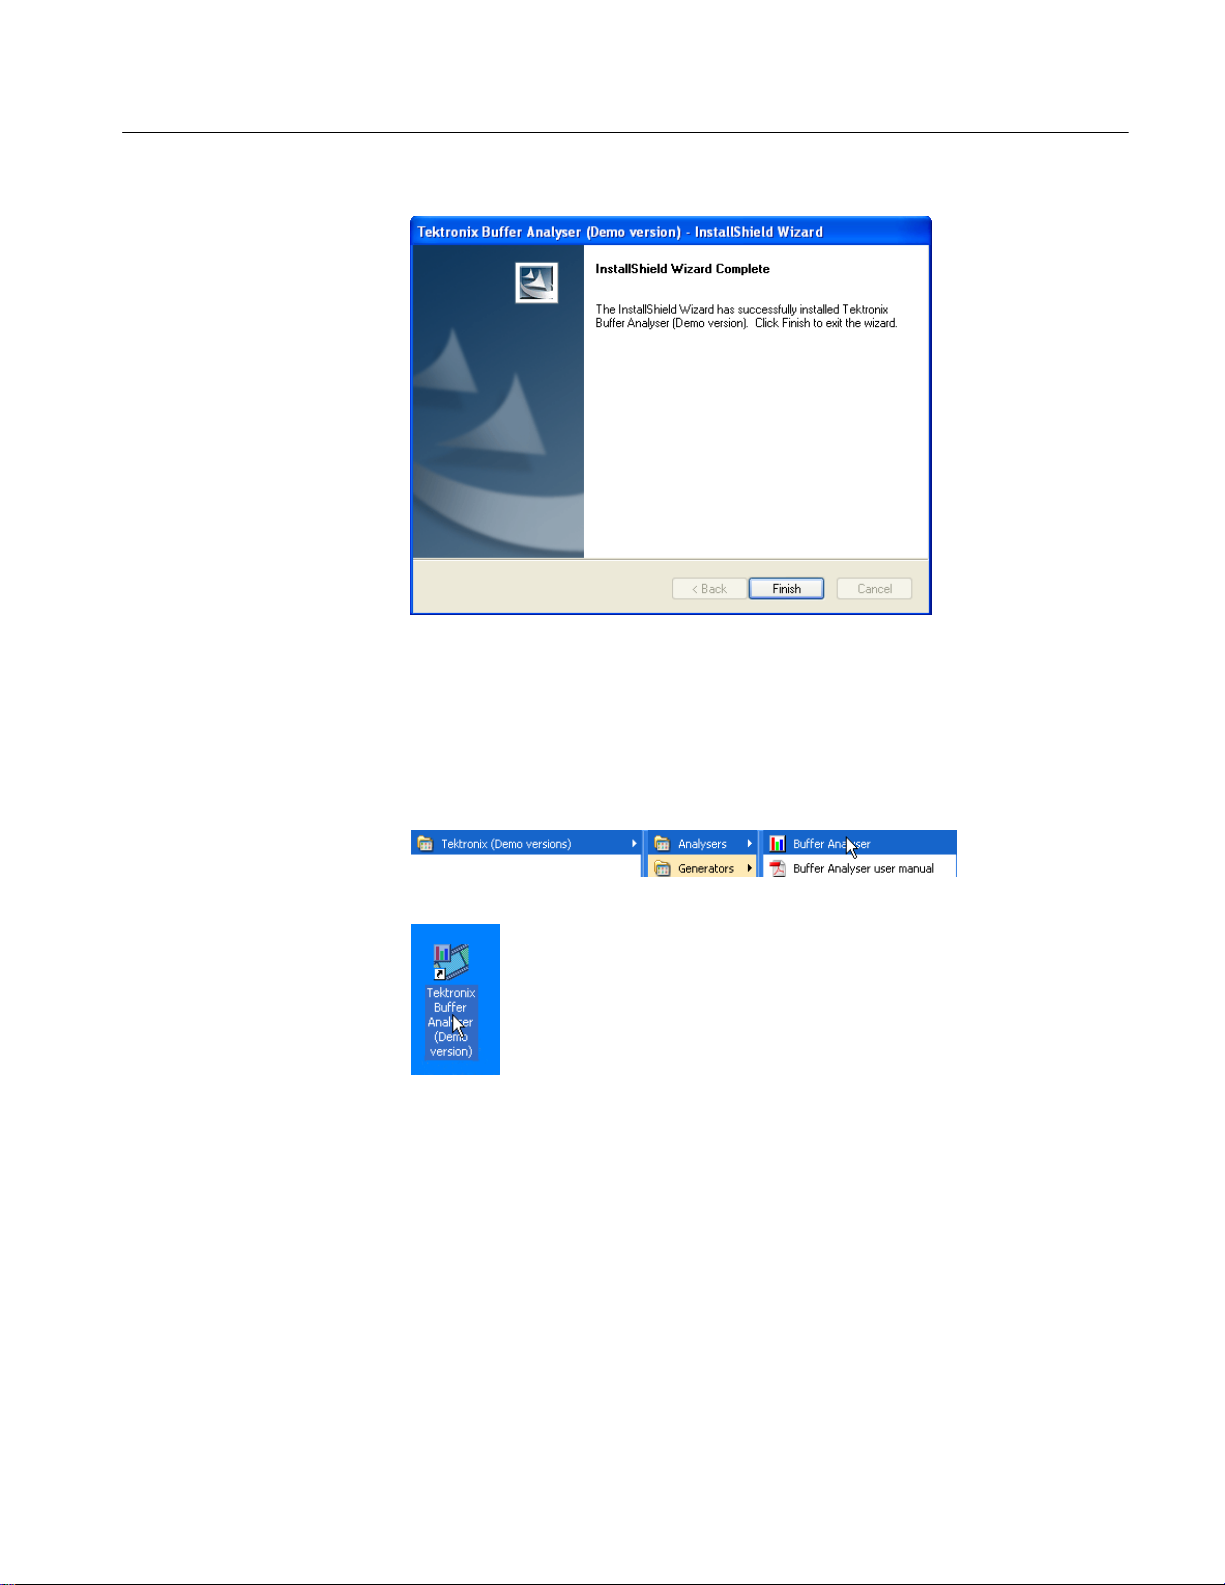
3. Click Finish to exit the Wizard once the demo version is successfully
installed.
2
Buffer Analyzer (Demo) User Manual
Starting the Program
Introduction to the Demo Version
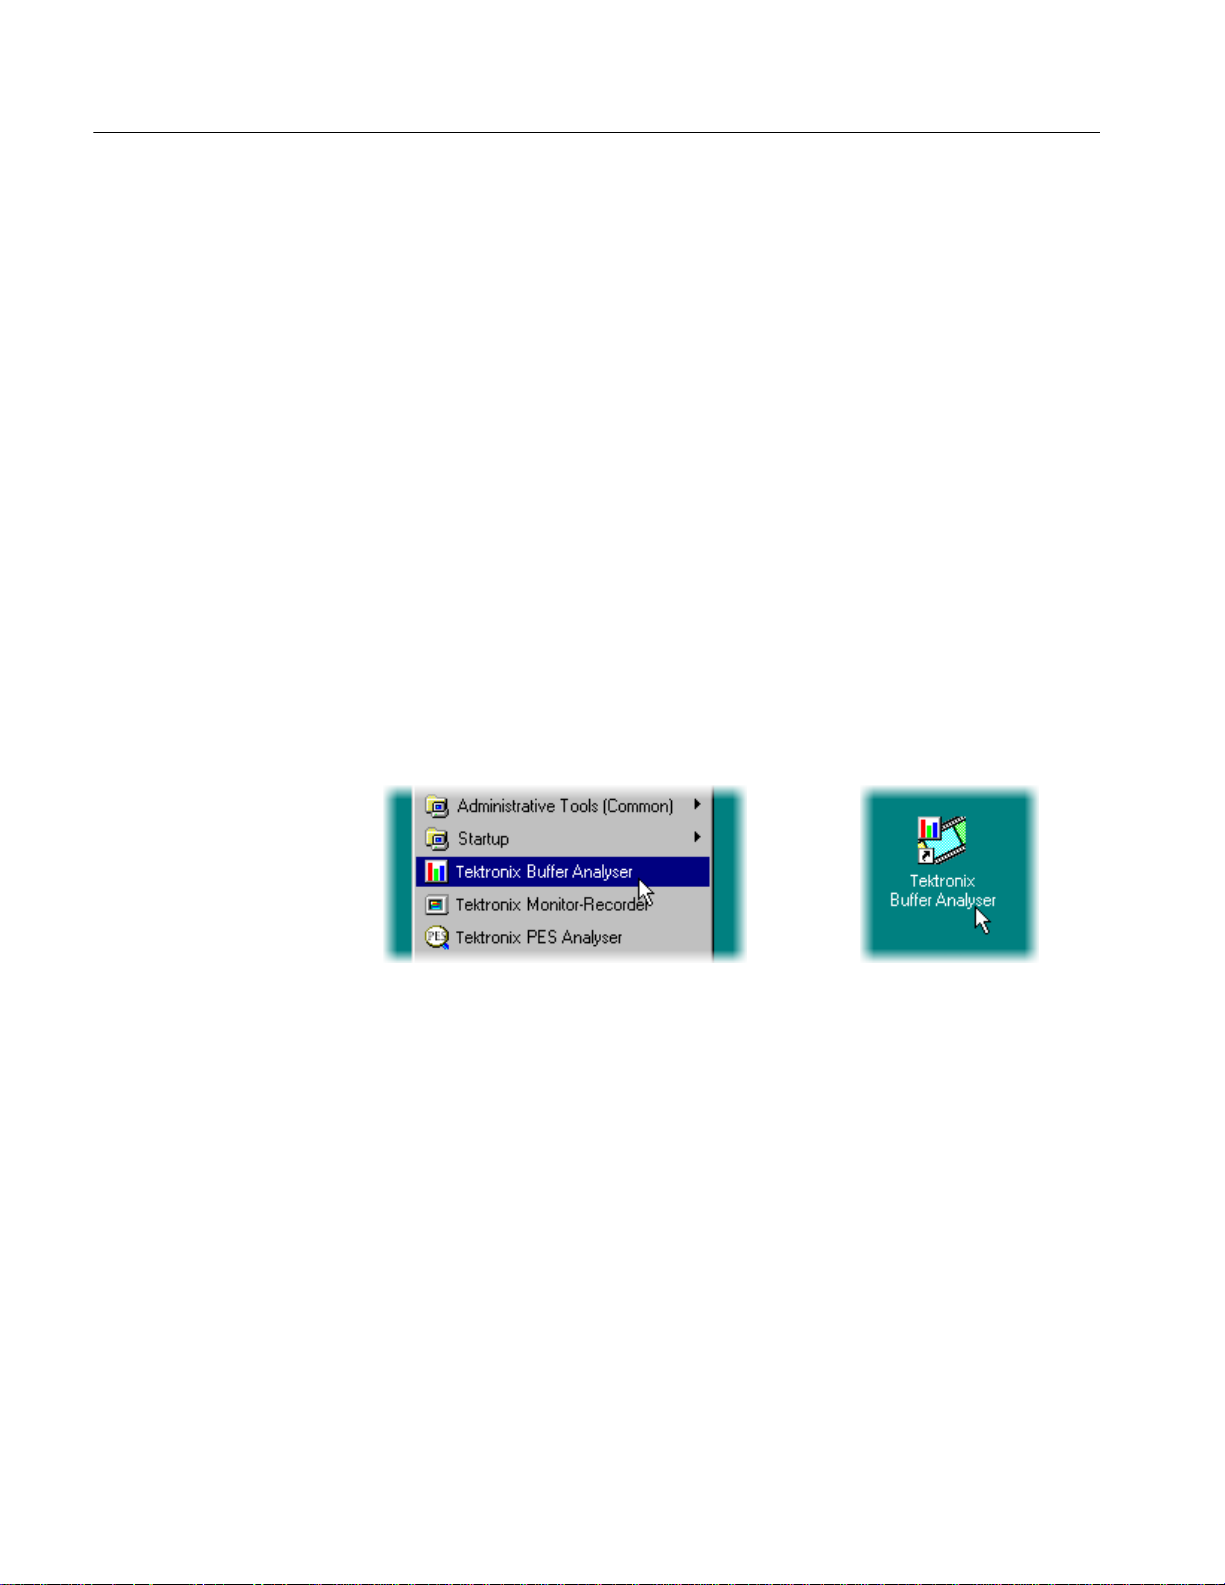
Start the program by selecting the Buffer Analyser option from the Start > Programs > Tektronix (Demo version) > Analysers menu or by double-clicking the
Tektronix Buffer Analyser (Demo version) shortcut on the desktop.
Buffer Analyzer (Demo) User Manual
3
Introduction to the Demo Version
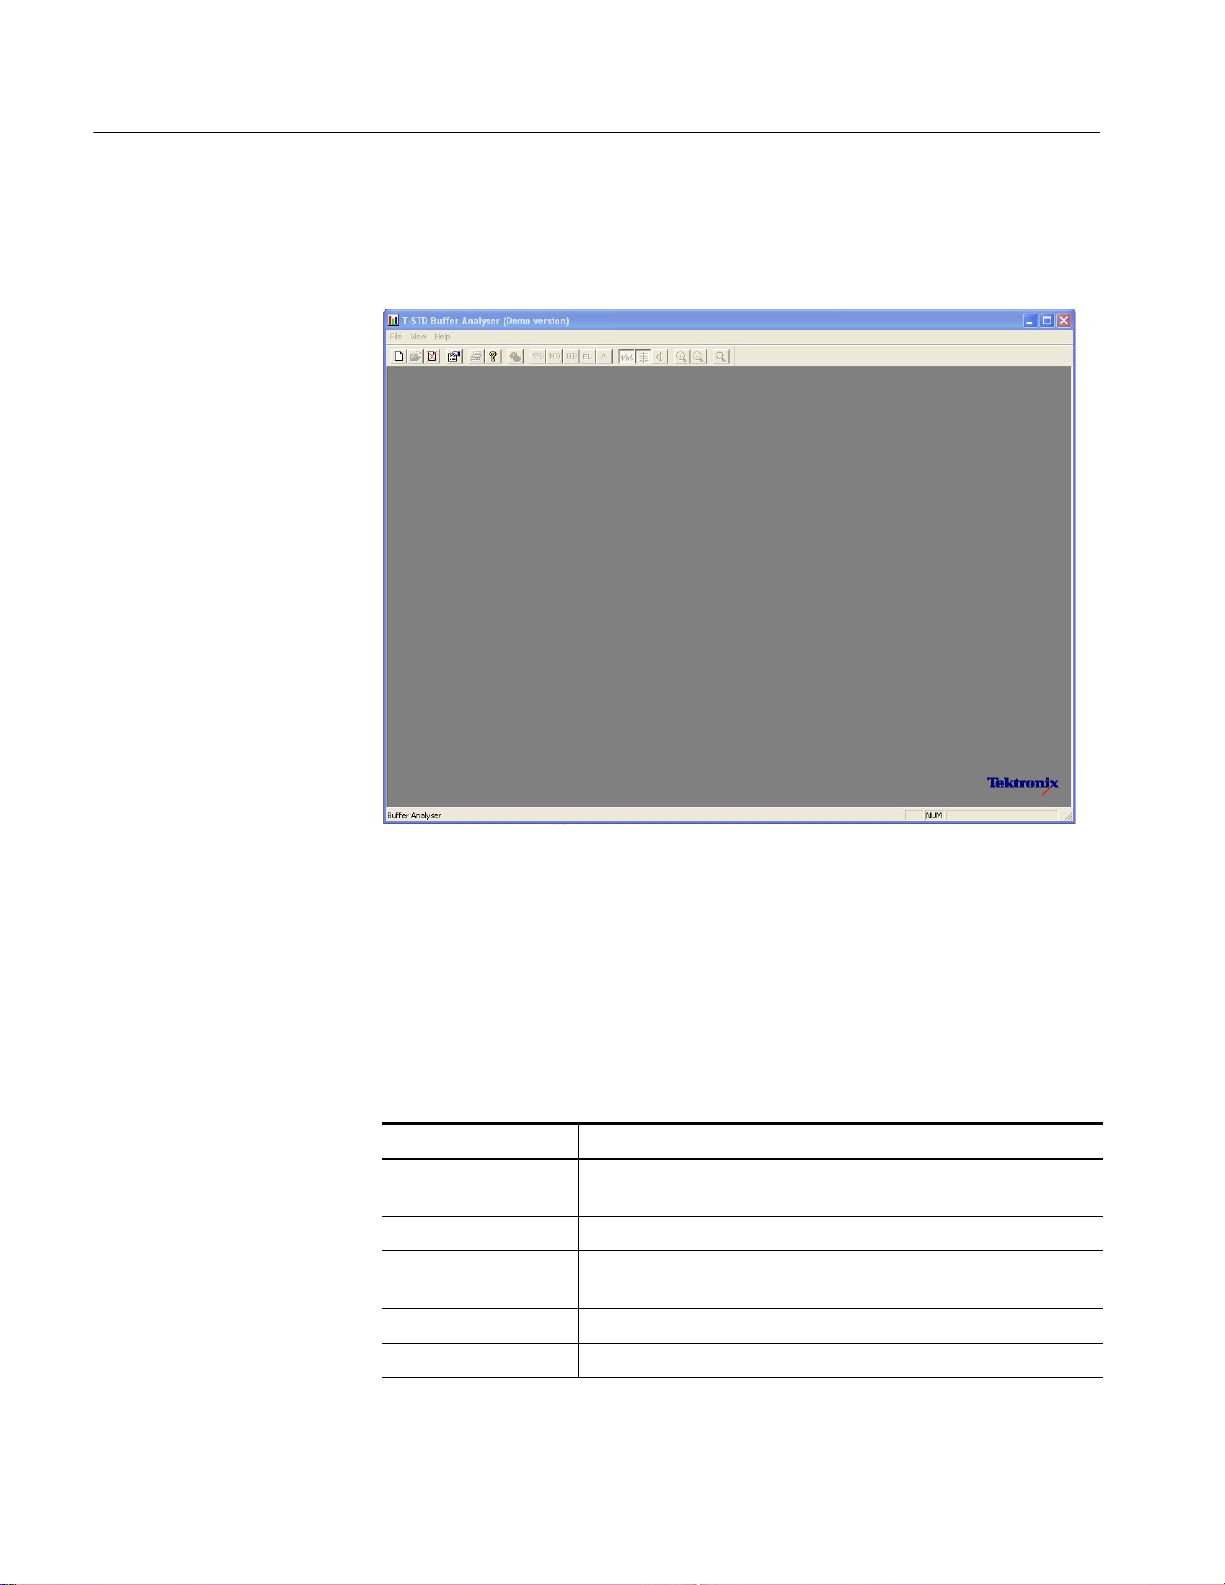
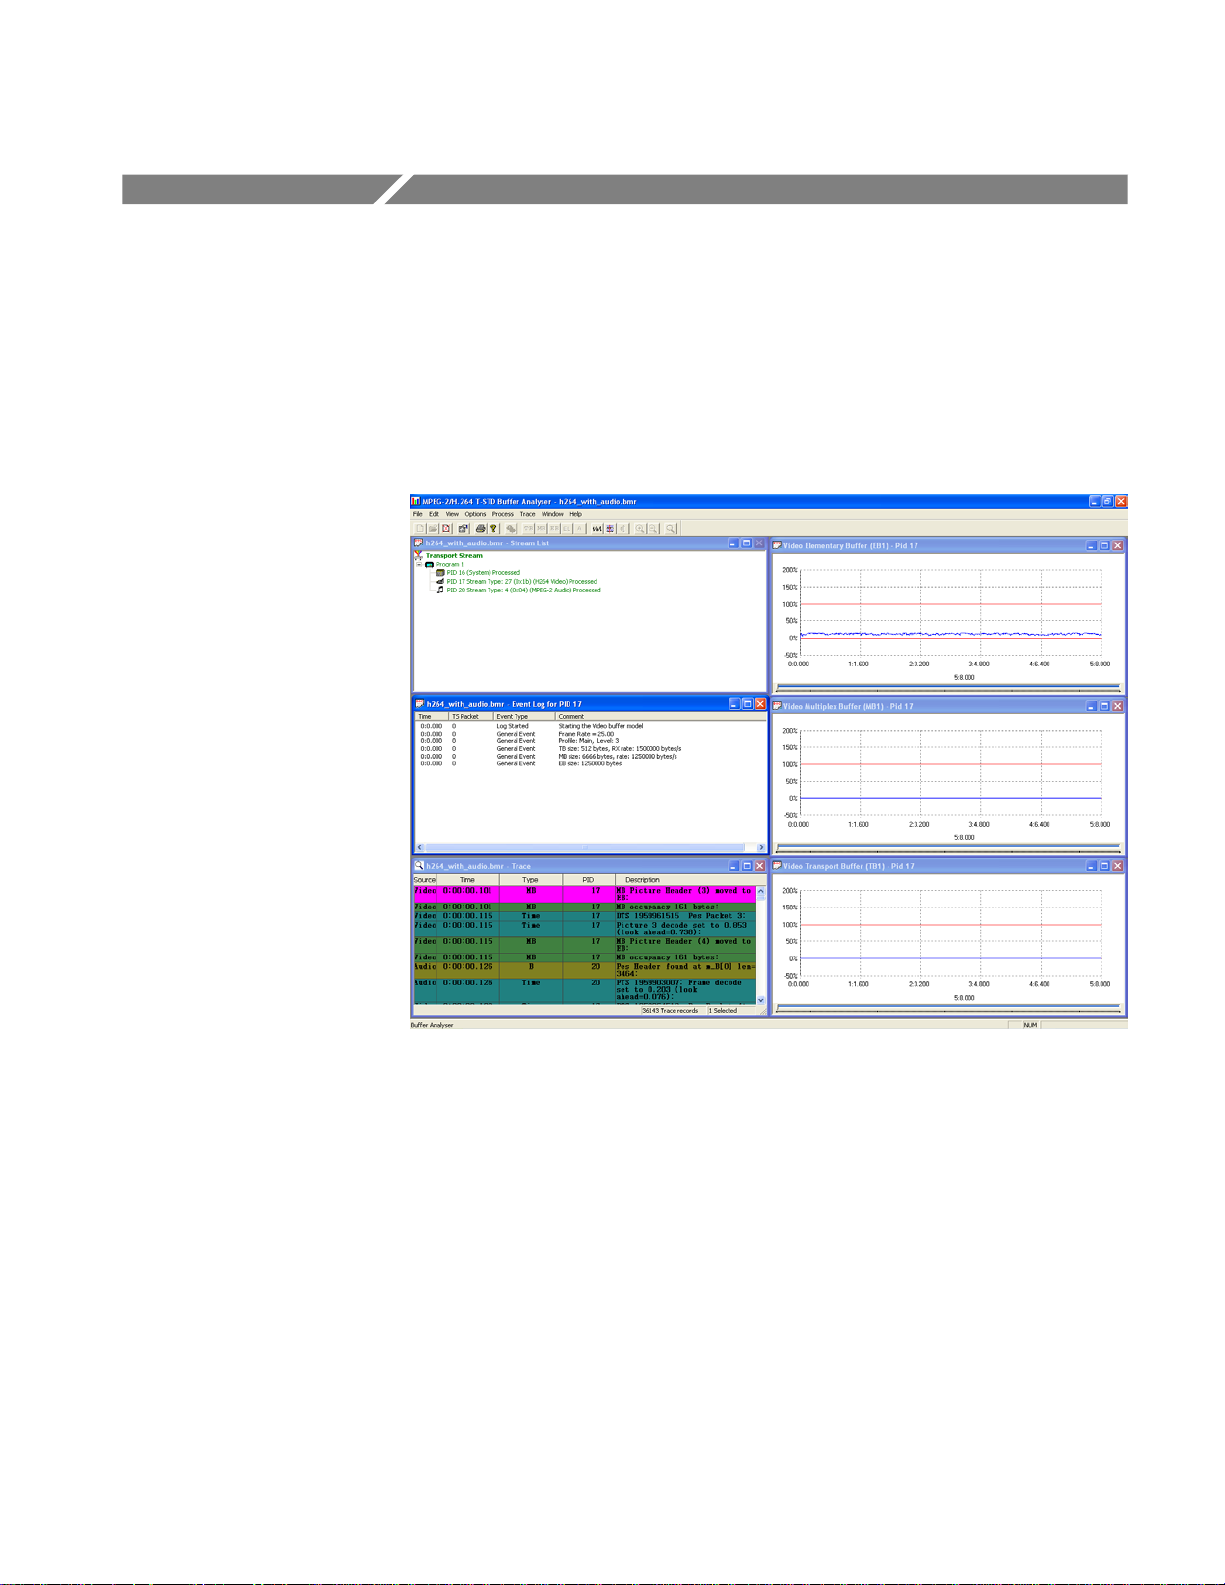
Initial Appearance
Once the demo program starts and is ready for use, it opens a main window as
follows:
Initial Menu Options
The title bar of the main window shows Buffer Analyser to be a demo version.
The demo version of the application supports all menus and options that are
available in the full version except for the File menu options. The File menu
options available when the application has just started, or after a file is closed,
are listed in Table 1-1:
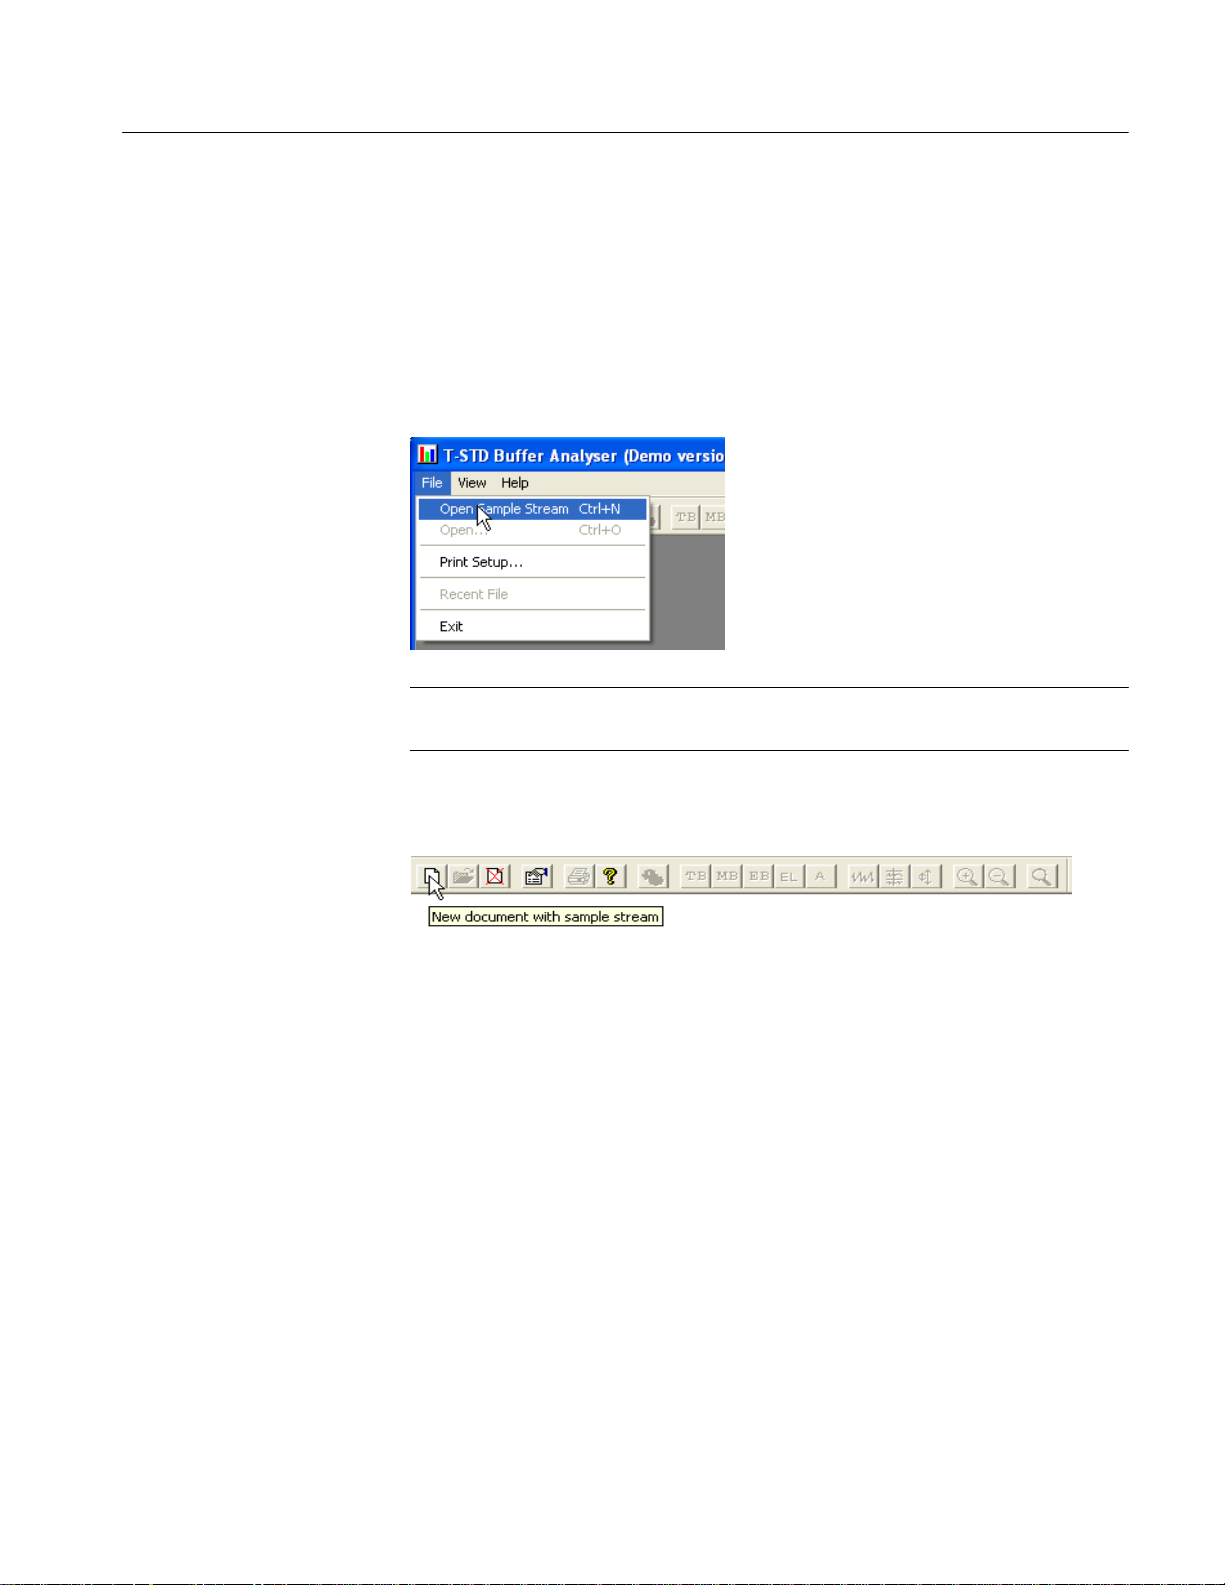
Table 1−1: File menu options for demo version
Command Function
Open Sample Stream Creates a Buffer Model Results (BMR) file using the sample TS file
for analysis. The BMR file will not be saved.
Open... Disabled for the Buffer Analyzer Demo version.
Print Setup... Opens a dialog box for selecting the printer and the associated
options to use.
Recent File Disabled for the Buffer Analyzer Demo version.
Exit Stops running the program.
4
Buffer Analyzer (Demo) User Manual
Opening a File
Introduction to the Demo Version
When you select the Open Sample Stream option from the File menu, the
sample TS file is automatically loaded and displayed in the Buffer Analyser
window. In this version, the Stream File dialog box (from where a file is
selected) does not open and you will not be able to save the results of the
analyzed TS file.
Window Layout
NOTE. The Open and Recent File options are disabled because you can load
only the Sample TS file provided with this application.
The toolbar contains a shortcut for opening the sample stream file.
The Stream List window opens after the sample BMR file is loaded. The
application inspects the file to find the program streams that are present
according to the Packet Interpretation setting.
Buffer Analyzer (Demo) User Manual
5

Introduction to the Demo Version
Once the file is open, the program performs initial analysis to form the Stream
List and calculates the mean transport rate. All further analysis and processing of
streams are the same as the full version application and are described in the
following sections.
NOTE. When PID 32 and PID 33 of the stream list are processed, the elementary
buffers overflow and underflow. During overflow, the elementary buffer
occupancy goes above the 100% level. During underflow, the elementary buffer
occupancy goes below the 0% level.
6
Buffer Analyzer (Demo) User Manual
Getting Started
The T_STD Buffer Analyzer (Full version) models the behavior of the buffers in
the hypothetical Transport Stream System Target Decoder, as specified in
ISO/IEC 13818-1. It can process video, audio, and system control streams. The
results of the analysis are displayed as graphs of the buffer capacity over time
and a log of exceptions and noteworthy events.
Suitable Streams
Any valid MPEG file, recorded or synthesized, can be processed by this
application. A valid file is one that starts on a transport stream (TS) packet
boundary (the first byte of the file must contain the first byte of a TS packet).
The Buffer Analyzer will process video, audio, and system control streams that
are compliant with the 1996 standard ISO/IEC 13818 parts 1-3.
It will handle transport streams that contain PCR and/or PTS/DTS discontinuities. The PTS/DTS and PCR in a stream must, however, use the same time base.
Buffer Analyzer is unable to work on scrambled streams. If it fails to make sense
of a stream, use TS Analyzer to determine if the stream is scrambled.
Buffer Analyzer (Demo) User Manual
7
T-STD Buffer Analyzer - Getting Started
Table Handling
Multiple PAT and PMT
Versions
MPEG−2, DVB and ATSC
Tables
Starting the Program
Buffer Analyzer forms a list of which elementary streams are present in the
transport stream. This is called the Stream List. It creates the Stream List by
reading the first occurrence of the Program Association Table (PAT) and Program
Map Table (PMT).
If more than one version of the PAT and/or PMT are present, TS Cutter may be
used to isolate a particular section for analysis.
Only PIDs carrying MPEG-2 PSI tables are included in the System model. Any
DVB or ATSC tables that are present in the Transport Stream are ignored.
The program may be started by selecting the Tektronix Buffer Analyser option
from the Start > Programs menu or by double clicking the Tektronix Buffer Analyser Shortcut on the desktop.
Initial Appearance
8
Once the program has started and is ready for use, it will open a main window.
When the program starts, the main window looks like the following illustration:
Buffer Analyzer (Demo) User Manual

T-STD Buffer Analyzer - Getting Started
Initial Menu Options
The toolbar (row of buttons above the dark gray area of the empty window) may
be hidden from view, moved to a separate window, or moved to either side or the
bottom of the main window.
The status line at the very bottom of the window may be hidden from view. It
displays information about the application and keyboard status.
The application presents different menus and options, depending on whether a
file is open for analysis. The menu options available when the Buffer Analyzer
has just been started, or after a file is closed, are shown in Tables 2-1 and 2-2:
Buffer Analyzer (Demo) User Manual
9

T-STD Buffer Analyzer - Getting Started
File Menu Options. Table 2-1 lists the File menu options.
Table 2−1: File menu options
Command Function
New Opens a stream file for analysis and opens or creates a Buffer Model
Open... Opens an existing BMR file to review results of a previous analysis.
Print Setup... Opens a dialog box for selecting which printer and associated
Results (BMR) file in which to store the results.
The application opens a file selection dialog box allowing you to
choose the stream file. It then opens another file selector dialog box
to specify the BMR file.
The application opens the file selection dialog box allowing you to
choose the required file.
options to use.
Settings
1 <filename>
2 <filename>
3 <filename>
4 <filename>
Exit Finishes running the program.
A list of the four most recently used BMR files. If the Buffer Analyzer
has recently been installed, the list may hold less than four files.
Selecting a file name opens that BMR file for review.
View Menu Options. Table 2-2 lists the View menu options.
Table 2−2: View menu options
Command Function
Toolbar Displays or hides the toolbar.
Status Bar Displays or hides the status bar.
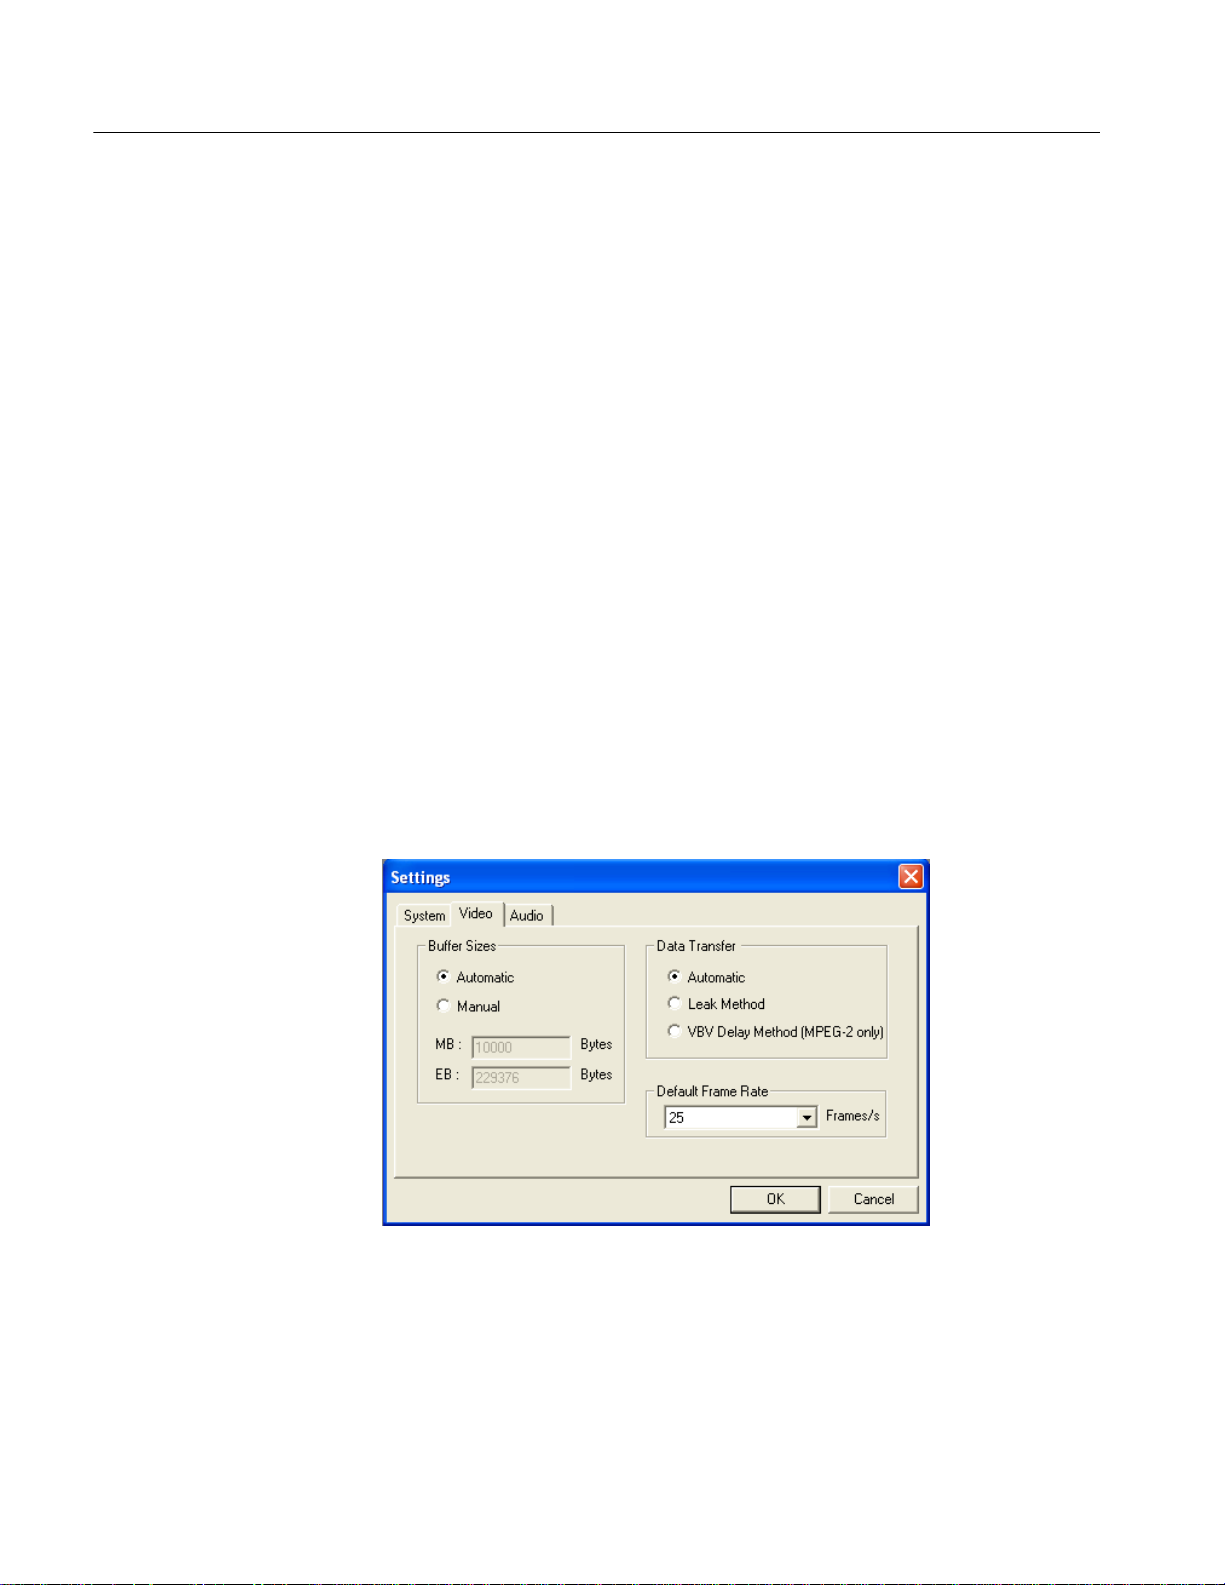
Settings… Opens the Settings dialog for specifying Video Buffer Sizes and
Video Data Transfer method.
(A check mark next to an option shows that the toolbar is currently visible; no check mark
means that it is hidden.)
10
Various configuration parameters, including Packet Interpretation, Pre-Scan
Packets, PES Private Interpretation, Video Buffer Sizes, Video Data Transfer
method, and Audio Buffer sizes can be modified before and after opening an
MPEG file. When a file is open, one or more streams can be analyzed, the
settings can be changed, and then other streams can be analyzed with the new
settings. If the settings are changed, the MPEG file must be closed and opened
again to reanalyze the streams analyzed with previous settings.
Buffer Analyzer (Demo) User Manual
System Settings
T-STD Buffer Analyzer - Getting Started
It is a good idea to check the settings before opening a file to verify the method
with which video streams will be analyzed.
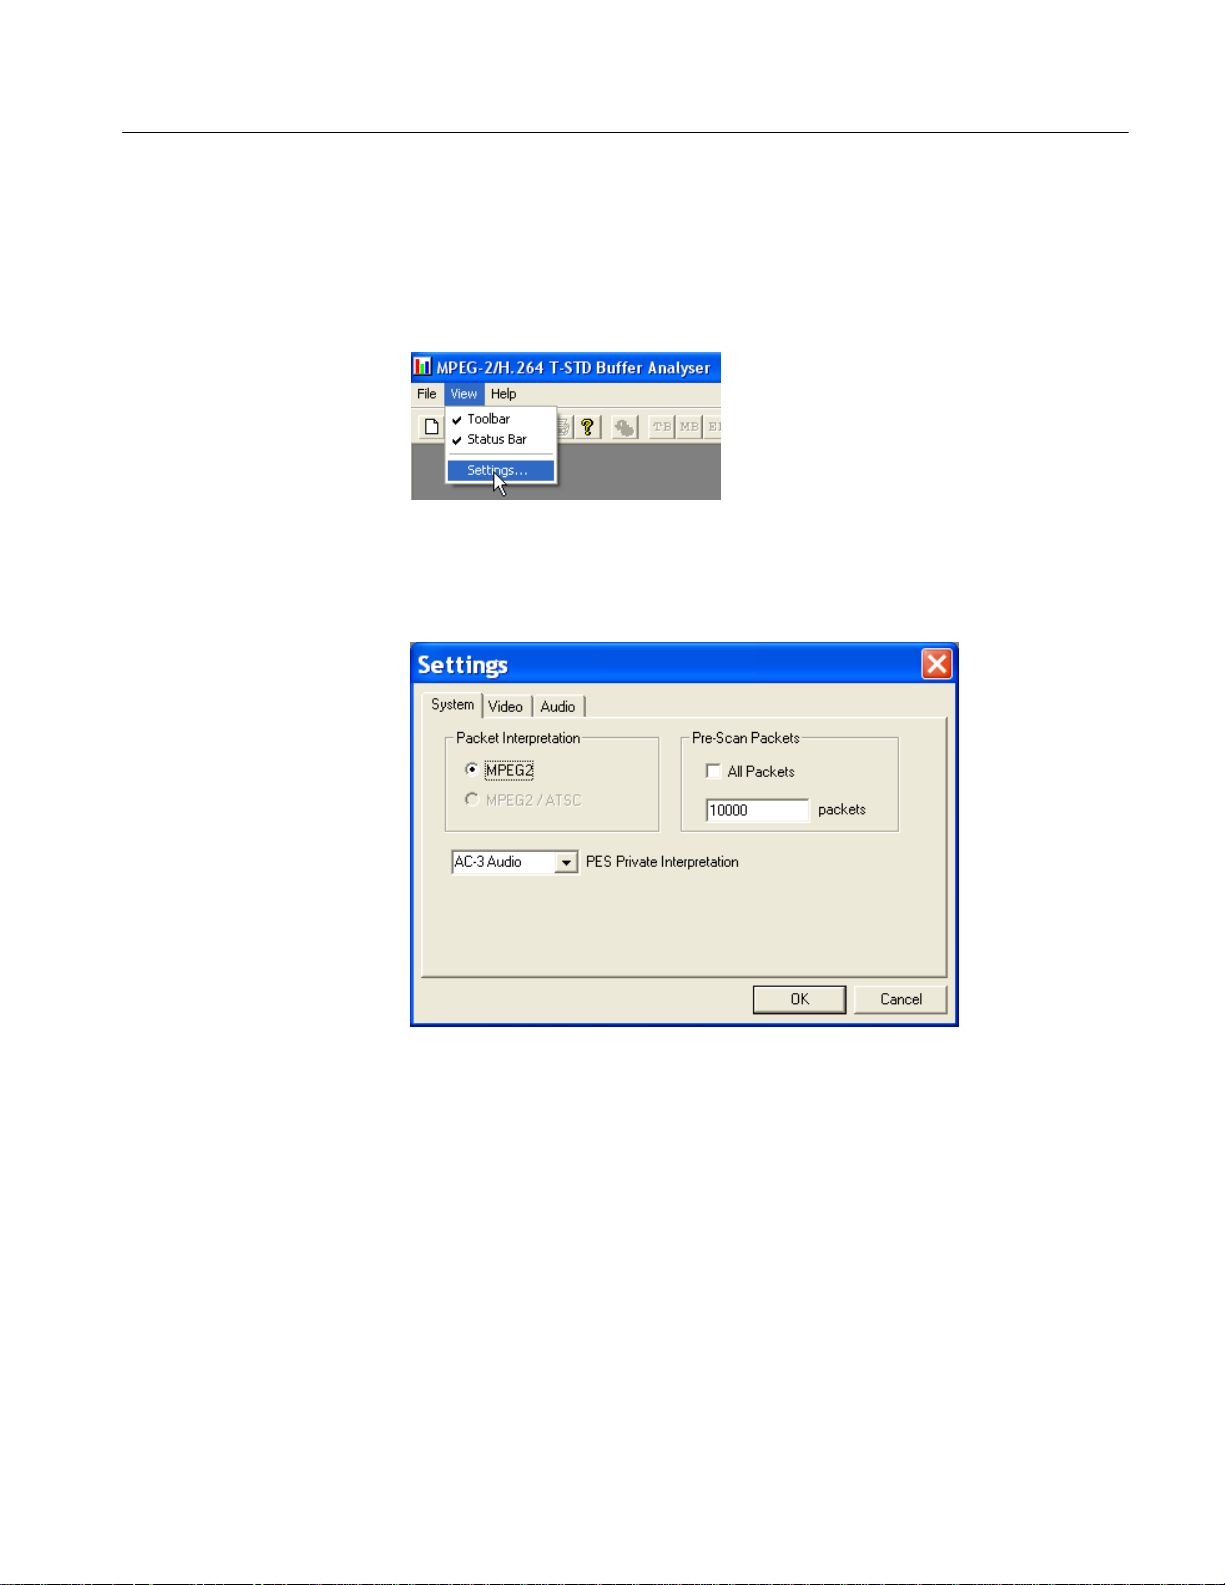
Select Settings... from the View menu.
This opens the Settings dialog box, which has three tabs: System, Video and
Audio.
These options can be set only before analyzing a file. They are disabled (grayed
out) while a file is open.
The MPEG2 / ATSC option is available on ATSC or ATSC/DVB dual standard
MPEG Test System products. It is disabled (grayed out) on single standard DVB
systems.
Packet Interpretation. Specifies which standards will be used for interpreting the
packets in the Transport Stream when a file is opened for analysis. The options
are:
MPEG2 Interprets the packets according to the standards for
Buffer Analyzer (Demo) User Manual
DVB streams.
11
T-STD Buffer Analyzer - Getting Started
MPEG2 / ATSC Interprets the packets according to the ATSC standards.
Pre−Scan Packets. During the initial processing of an MPEG file, a number of
packets are prescanned for information that will result in a more accurate
analysis of the initial parts of the transport stream. The greater the number of
prescanned packets, the greater the chance of locating all of the information
required for accurate analysis. The drawback is increased processing time. By
default, 10000 packets are prescanned, which should be sufficient for most
streams, excluding High Definition Video.
All Packets Select this check box to cause all packets to be pres-
Packets If the All Packets check box is not selected, enter the
This option is required to allow AC-3 audio stream content to be analyzed.
canned. The packets field will be disabled (grayed out).
number of packets to be prescanned in this field.
Video Settings
PES Private Interpretation. This setting specifies the model type to use for streams
signaled as PES Private (stream_type = 6).
The selections available include the following: AC-3 Audio, AAC Audio,
MPEG-2 Audio and Video and System. The default setting is AC-3 Audio.
12
Buffer Analyzer (Demo) User Manual
 Loading...