

TE Group BLUEPERFECTION User Manual
DECLARATION OF CONFORMITY
We, the undersigned,
Company: TE-GROUP nv
Address: Kapelsestraat 61, 2950 Kapellen - BELGIUM
declare, that the following equipment :
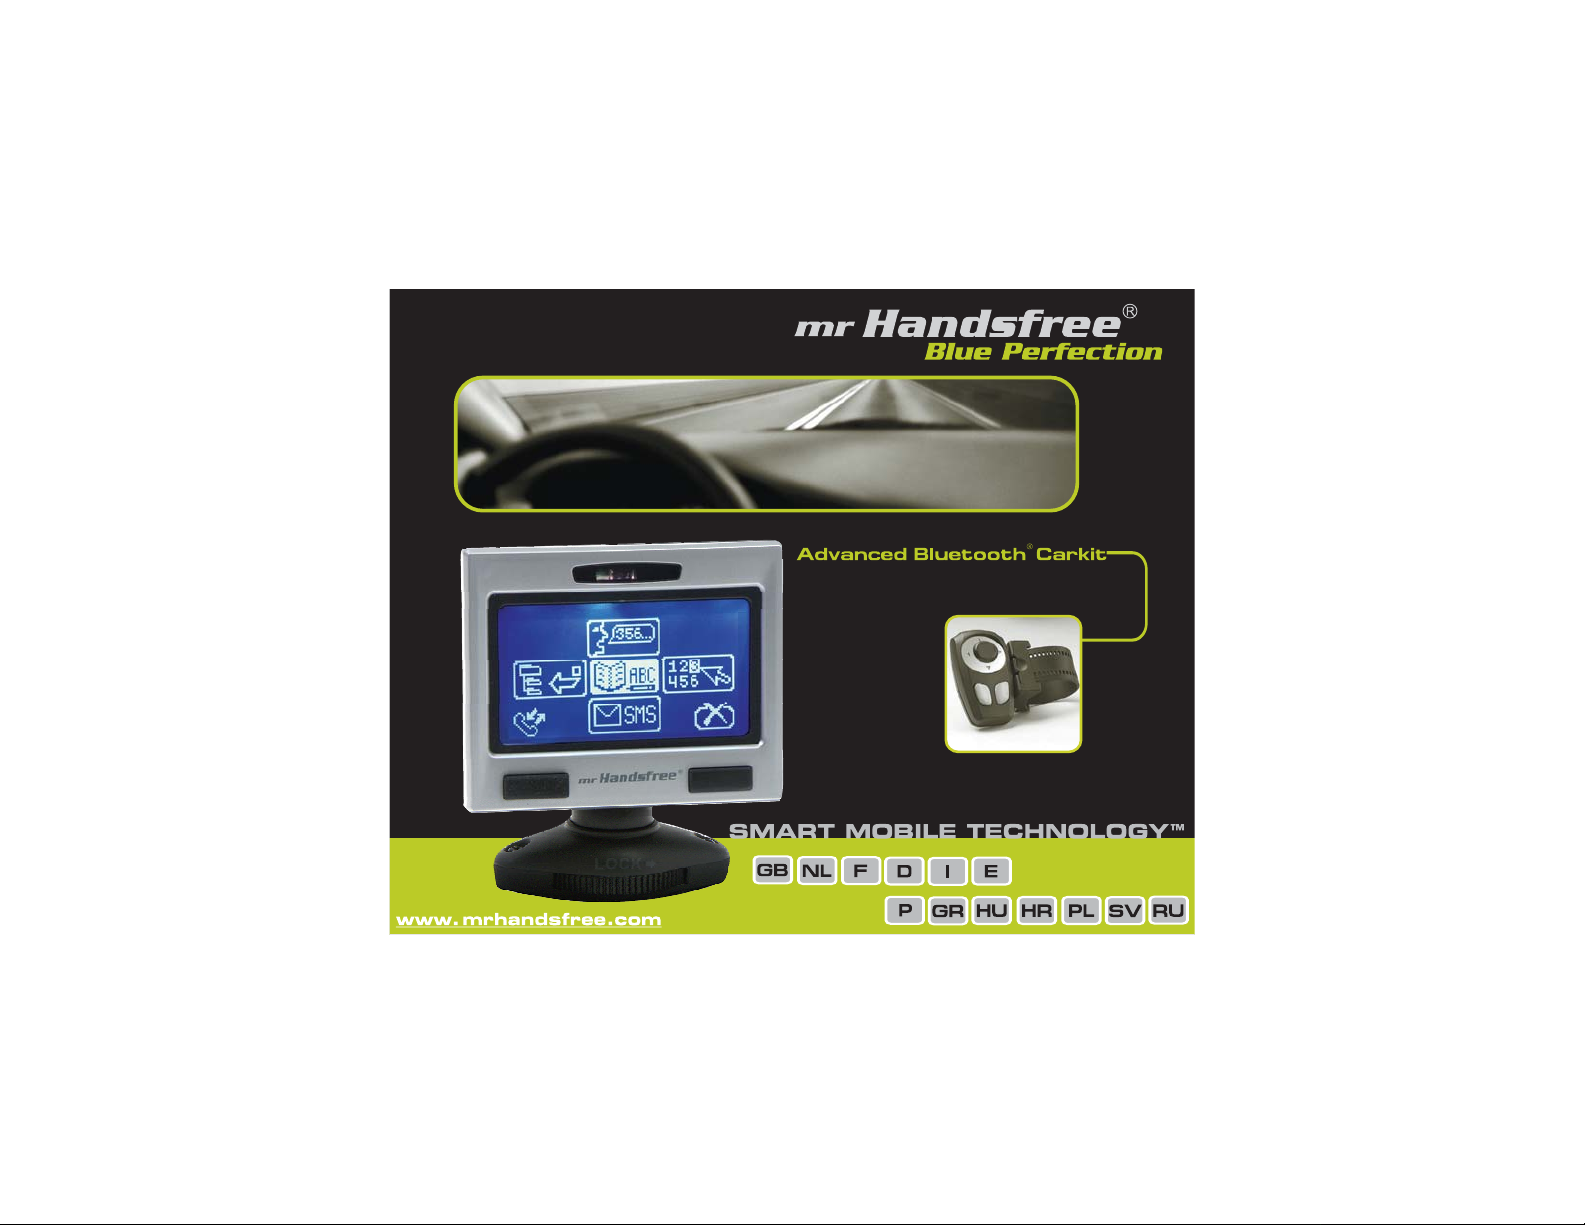
Product Name: mr Handsfree BLUE PERFECTION
Product Type: Bluetooth® Carkit
Conforms with the requirements of European Council Directive 89/336/EEC amended with 92/31/EEC


TABLE OF CONTENTS
SAFETY INSTRUCTIONS .................................................................................... 2
WHA T DOES MR HANDSFREE BLUE PERFECTION INCLUDE? .......................... 2
DESCRIPTION ................................................................................................... 3
INSTALLA TION .................................................................................................. 6
OPERATION....................................................................................................... 10
TROUBLE-SHOOTING ....................................................................................... 23
TECHNICAL PARAMETERS................................................................................ 24
BLUETOOTH
CARE AND TECHNICAL MAINTENANCE ............................................................. 25
®
.................................................................................................... 25

SAFETY INSTRUCTIONS
1. Before starting the installation, make sure that the car ignition is off.
2. Make sure that the operation of the carkit will never influence your safety.
3. Make sure not to damage electrical cables, fuel or brake lines or safety equipment during the installation.
4. Make sure not to impact the steering or braking system or other key systems essential for the proper operation of
the car when installing the carkit. Make sure that the deployment of the airbags is not blocked or impaired in any
way.
5. The carkit may only be used at an operating voltage of 12V with the minus pole earthed. Failure to observe this
requirement may result in damage to the car’s electronics system.
6. Do not operate your carkit off the car battery for a long time, i.e. with the engine switched off, as this may cause your
battery to be empty.
WHAT DOES MR HANDSFREE BLUE PERFECTION INCLUDE?
1. Handsfree unit with built-in speaker (SM1)
2. Bracket of the handsfree unit
3. Screen (D1)
4. Bracket for the screen with system cord (SC1)
5. Angle bracket for fixation of the screen to vertical surfaces
6. Infrared remote control (J1)
7. Lithium battery for Infrared remote control, CR2032, 3B
8. Set of decorative inlays for the infrared remote control – 3 pcs.
9. Microphone (M1)
10. System cable with adapter for connecting the handsfree unit to the power supply of the car, the ignition system and
to mute the radio (SC2)
11. Adapter for connecting the handsfree unit to the power supply of the car via the cigarette lighter (SC3). It includes a
changeable fuse and coil cord.
12. Fixing plates for the brackets of the screen and the handsfree unit – 2 pcs.
13. Contact clips for connecting the cables – 5 pcs.
14. Clips for guiding the microphone cable – 4 pcs.
15. Set of screws
16. Double sided tape plate - 2 pcs.
17. Screw driver
18. User’s manual
...........................................................................................................................................................................
GB - 2
DESCRIPTION
HANDSFREE UNIT (SM1)
The handsfree unit includes built-in speaker, echo canceller, noise suppressor and Bluetooth® wireless technology,
which provides a wireless connection with Bluetooth
®
Since devices with Bluetooth
technology communicate through radio waves, your carkit and your mobile phone do not
need to be in direct line-of-sight. The 2 devices only need to be within a maximum of 10 meters of each other, so you
do not need to take your phone out of your pocket or bag to make and receive calls via the carkit.
®
Since Bluetooth
phones produced by different manufacturers provide various functionalities, some functions described
in this user’s manual could be different or may not be available.
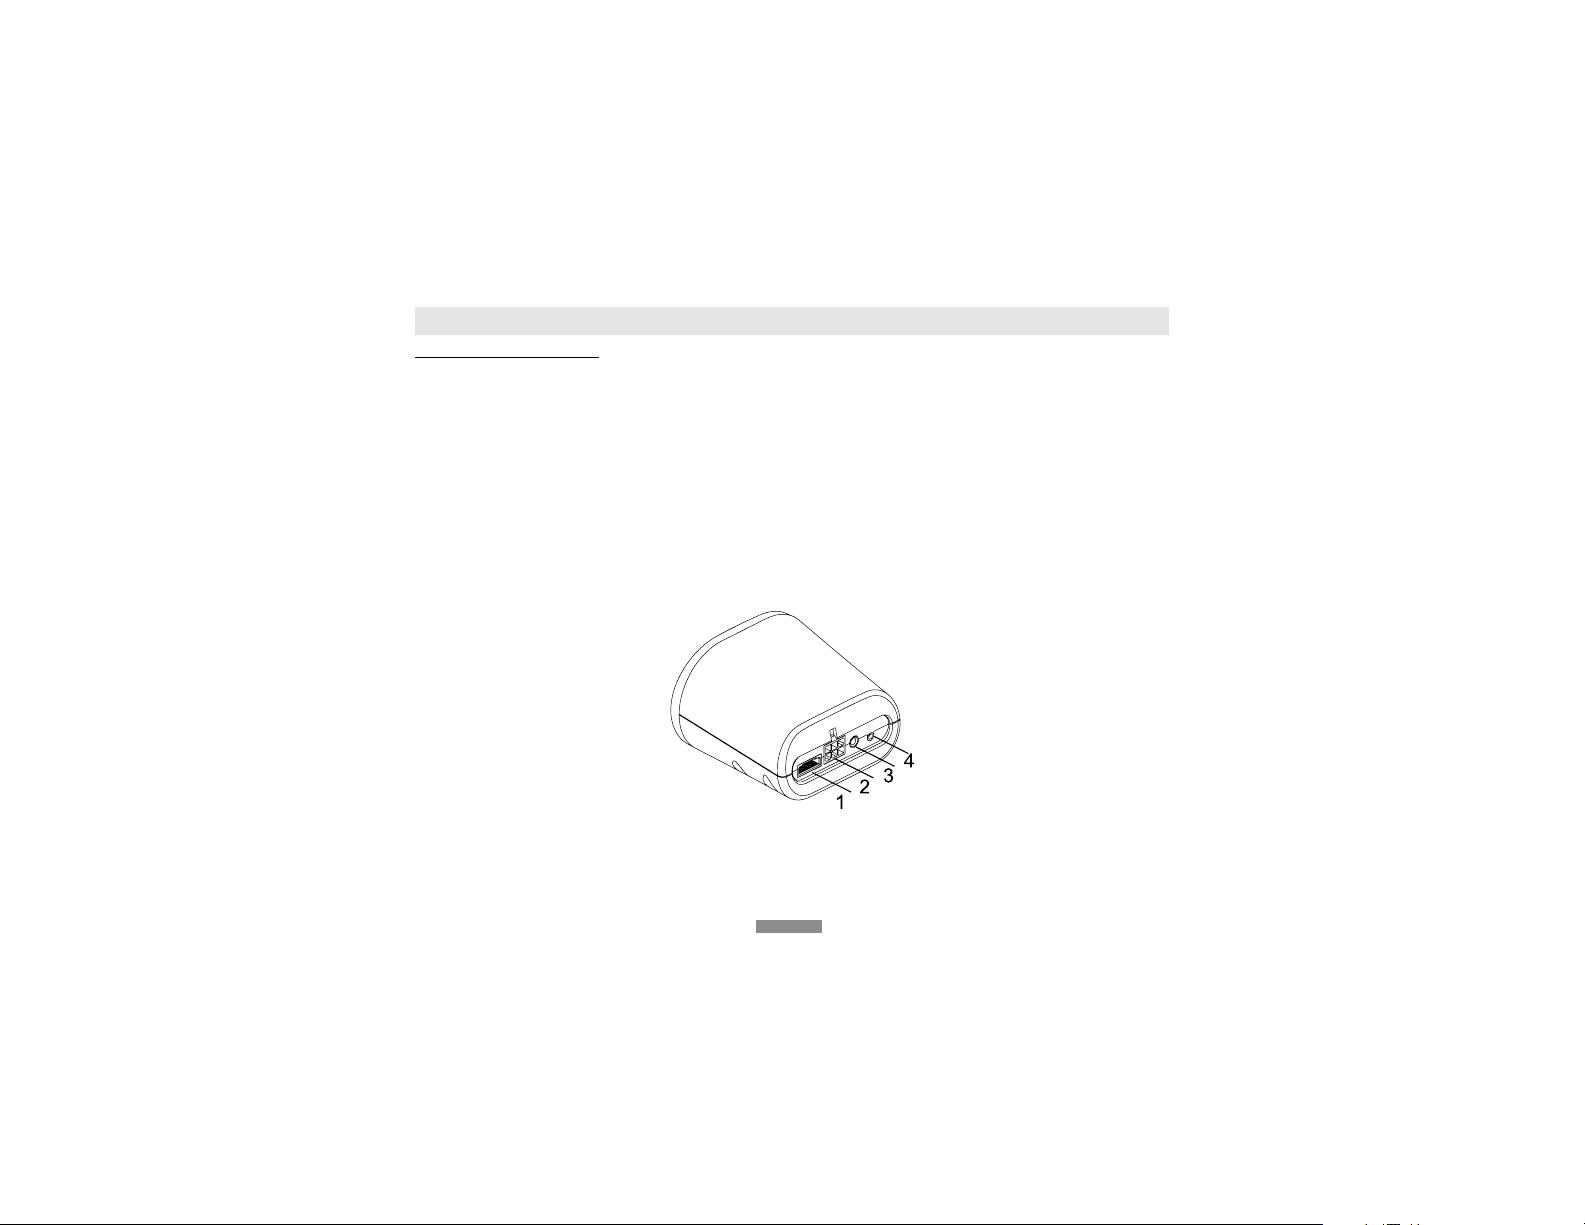
The handsfree unit has the following jacks for connecting external units:
1. Socket for system cable SC1.
2. Socket for cables SC2 and SC3.
3. Socket for external speaker (Use this only with mr Handsfree original accessories).
4. Microphone socket M1.
®
mobile phones.
...............................................................................................................................................................................
GB - 3
SCREEN (D1)
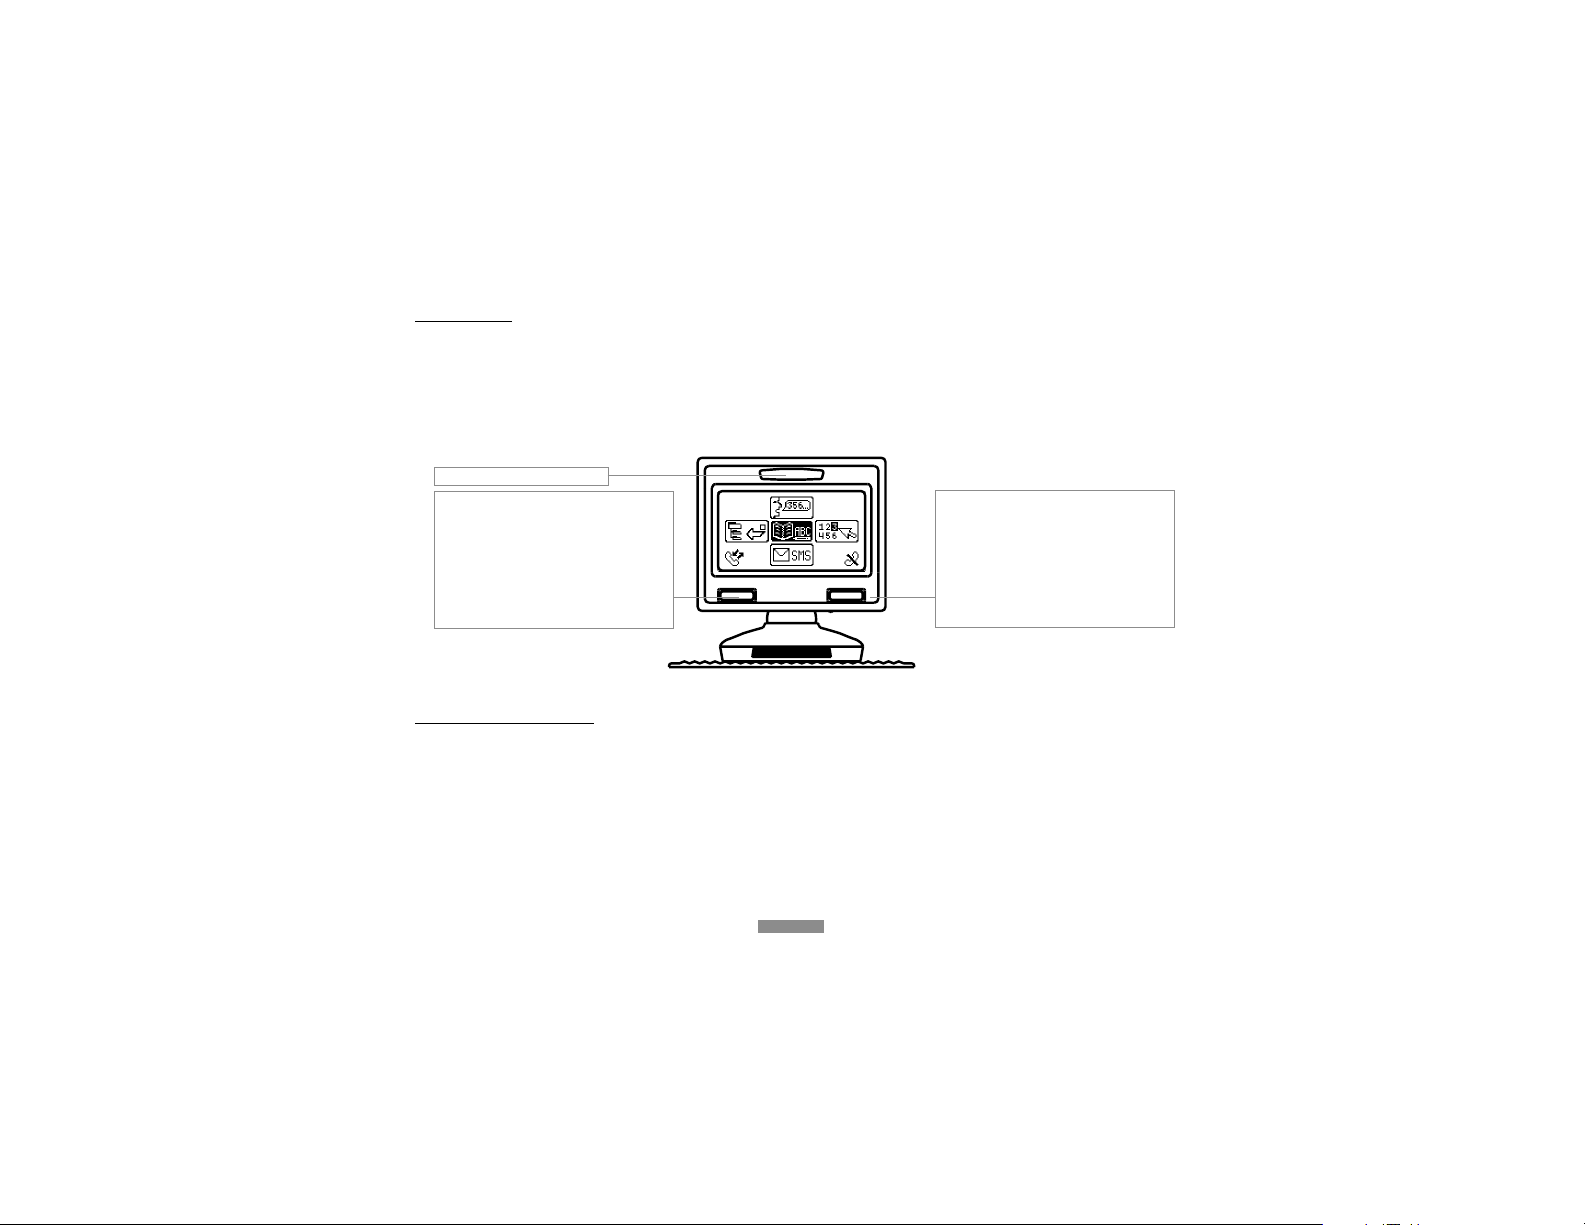
The screen unit includes:
1. LCD with big symbols and icons.
2. Convenient adjustable fixation system which allows you to choose the best viewing position of the LCD and
to release the unit easily from the dashboard to avoid theft.
3. Automatic backlight with variable light colors, contrast and brightness settings.
4. Infrared receiver for the infrared remote control.
Lens of infrared receiver
If press:
- Receiving a call.
- Connecting with paired phone
in Handsfree or Headset profile.
If press and hold:
- Switching on paring mode.
If press:
- Ending a call.
- Returning to the previous
level of the menu.
- Deleting input data.
If press and hold:
- Returning to Stand-by mode.
REMOTE CONTROL (J1)
The remote control should be fixed on the steering wheel. It has 2 buttons and a directional joystick. The remote
control and its functionality are developed to make access to your mobile phone as easy and clear as possible. The
connection between the remote control and the receiver in the screen unit is performed through an infrared channel.
The remote control could be fixed on the left or right side of the steering wheel (See chapter “Installation”).
...........................................................................................................................................................................
GB - 4

If press Up, Down,
Left or Right button:
- Navigation in the Menu.
If press and hold Up, Down,
Left or Right button:
- Quick scrolling of lists.
If press Central button:
- Opening the Menu.
- OK button.
If press:
- Receiving a call.
If press:
- Ending a call.
- Returning to the previous level
of the menu.
- Deleting of input data.
If press and hold:
- Returning to Stand-by mode.
MICROPHONE (M1)
The microphone is developed especially for in-car usage. The location of the microphone significantly influences the
acoustic quality (For a recommendation on locating the microphone, see the “Installation” chapter).
The microphone has a 2 positional button for adjusting its sensitivity. Press the button on the microphone to increase
the volume to the other caller.
BRACKET FOR SCREEN UNIT WITH SYSTEM CORD SC1
The bracket for the screen unit can be fixed using the fixing wheel (1). The bracket allows you to adjust vertical and
horizontal angles of the screen to achieve its best view. On the back side of the bracket there is a button (2) for
releasing the screen.
...............................................................................................................................................................................
GB - 5
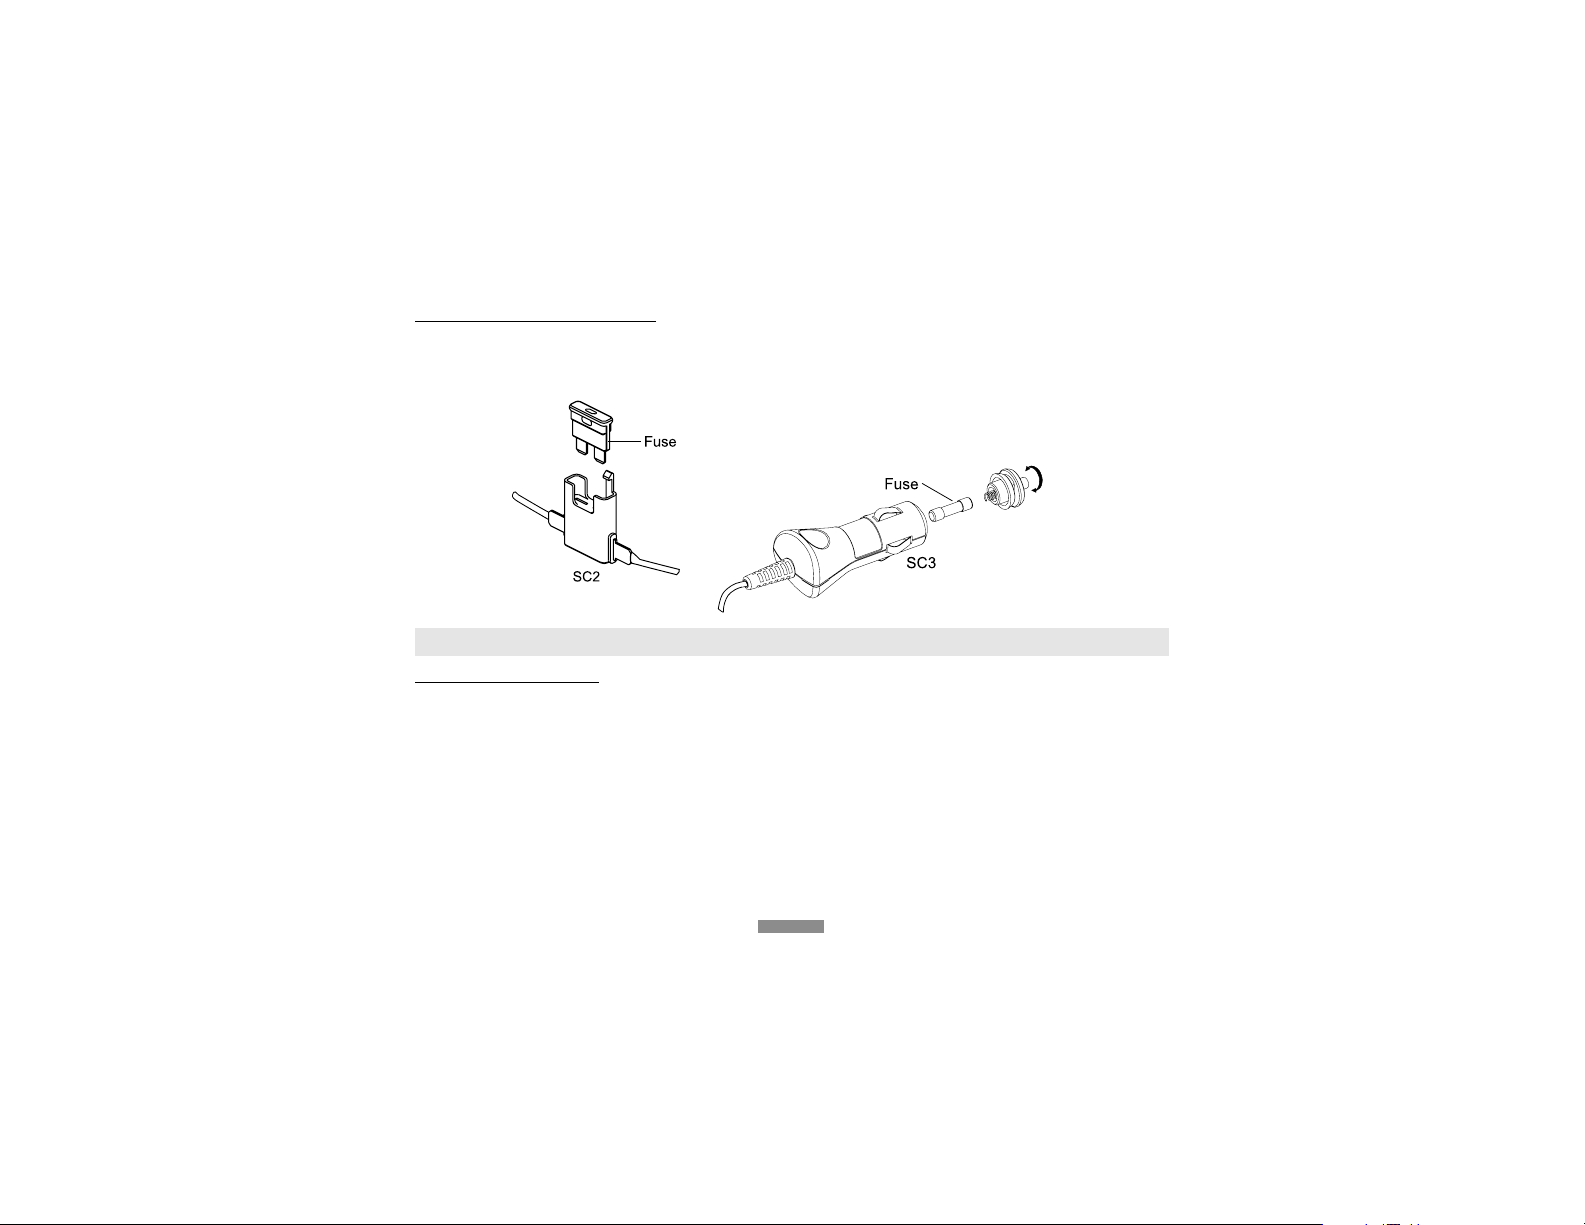
SYSTEM CABLES SC2 AND SC3
The system cable SC2 connects the handsfree unit with the power supply and the ignition system and is used for
muting the radio. The system cable SC3 is used for plug & play installation. It provides power supply via the cigarette
lighter.
Both system cables are supplied with changeable fuses. How to change the fuses is described in the picture below.
INSTALLATION
HANDSFREE UNIT (SM1)
We recommend mounting the handsfree unit at a less visible position in the car. However, make sure that the unit can
provide good acoustic, by directing the speaker towards the user and by placing the unit at a distance of more than 1 meter
from the microphone.
Search for a location in your car where the handsfree unit fits and where it is comfortable for use. Make sure that the location
in your car where you would like to install your handsfree unit is free from dust and dirt.
The bracket for the handsfree unit should be installed so that the handsfree unit slides into place and could be easily
removed if necessary.
The bracket can be fixed in 2 ways:
1. Immediately to the dashboard or to any other place in the car using the installation screws.
2. To the fixing plate using the installation screws. The fixing plate should then be fixed to the dashboard or to any
other place in the car by means of the double sided tape plate.
...........................................................................................................................................................................
GB - 6
 Loading...