

Tegam 710A, 700 Series Quick Start Manual
700 S
HANDHELD BOND METER 710A
ERIES QUICK START GUIDE
Each instrument is electrically and mechanically inspected before shipment.
Upon receiving your new TEGAM Handheld Bond Meter, unpack all items from
the shipping container and check for any obvious damage that may have
occurred during transit. Use the original packing materials if reshipment is
necessary.
If any dents, broken, or loose parts are seen, do not use the equipment.
Notify TEGAM immediately.
The following items are included with every new instrument:
• One (1) Handheld Bond Meter;
• One (1) Quick Start Guide;
• Statement of Traceability;
• Three (3) AA, 1.5 V batteries; and
• Optional accessories (if purchased).
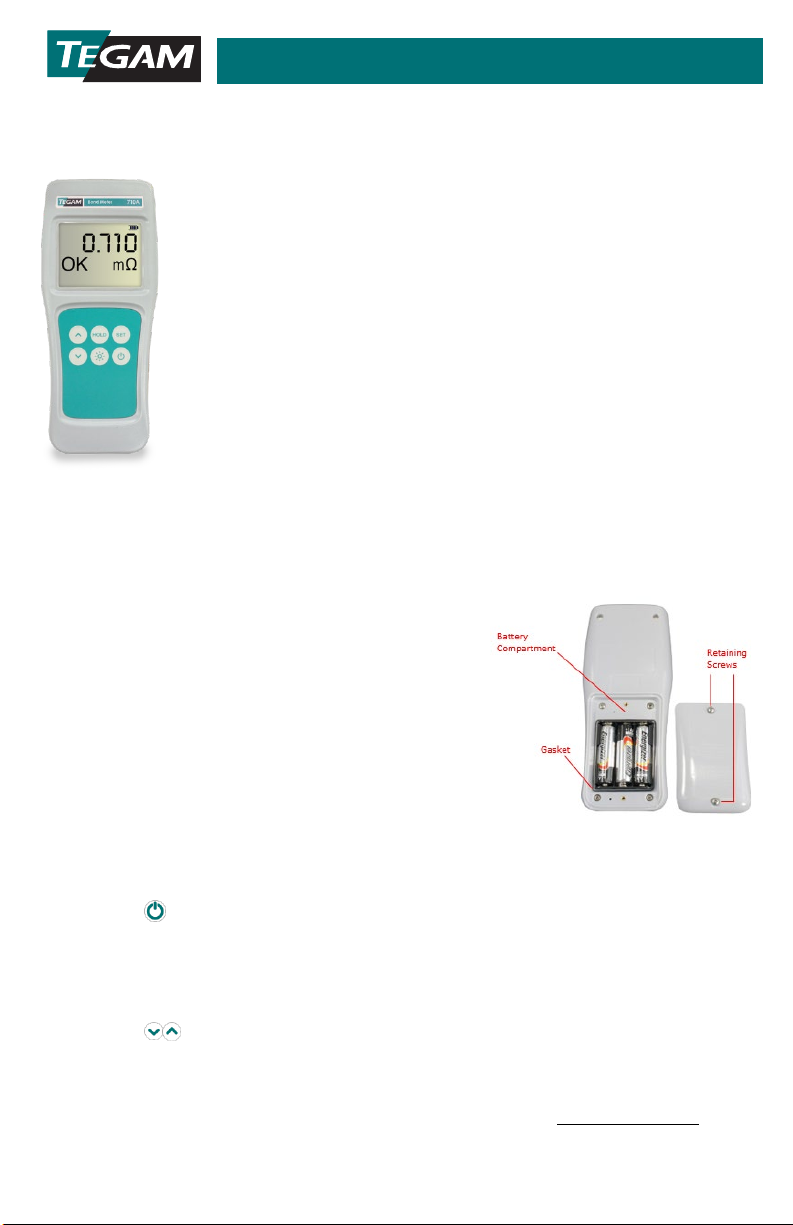
Battery Installation
Three (3) AA 1.5 V batteries are supplied with the instrument, but not installed.
Required Tools: Phillips Head Screwdriver
1. Identify the battery compartment located on the
back of the instrument;
2. Remove the two (2) battery compartment
retaining screws;
3. Remove the battery compartment cover;
4. Observing proper polarity, install three (3) new,
AA alkaline (IEC LR6, ANSI 15) batteries;
5. Re-install the battery cover and two (2) retaining
screws.
Making Your First Resistance Measurement
1. Connect probes by screwing them into the top of the unit;
2. Press to turn unit on;
3. The unit will light all segments of the display as it performs a power on self-test;
4. The instrument will display a resistance if connected to a device. If not connected, “-----“
or “nodut” (No Device Under Test) will be displayed;
5. Press to change ranges or to put unit in Auto-Range mode.
6. You’re now ready to make accurate and reliable resistance measurements!
We know you are eager to begin using your new bond meter, but this overview is just the
beginning. Please take a moment to familiarize yourself with the Operation Manual to
learn about all the features and benefits of your new TEGAM Handheld Bond Meter.
710A-901 Rev. A

10 TEGAM Way
•
Geneva, Ohio 44041
Phone: 440-466-6100
E-mail: sales@tegam.com
www.tegam.com
•
Fax: 440-466-6110
710A-901 Rev. A
 Loading...