

Page 1
UV Sterilizer Upgrade Instructions
Page 2
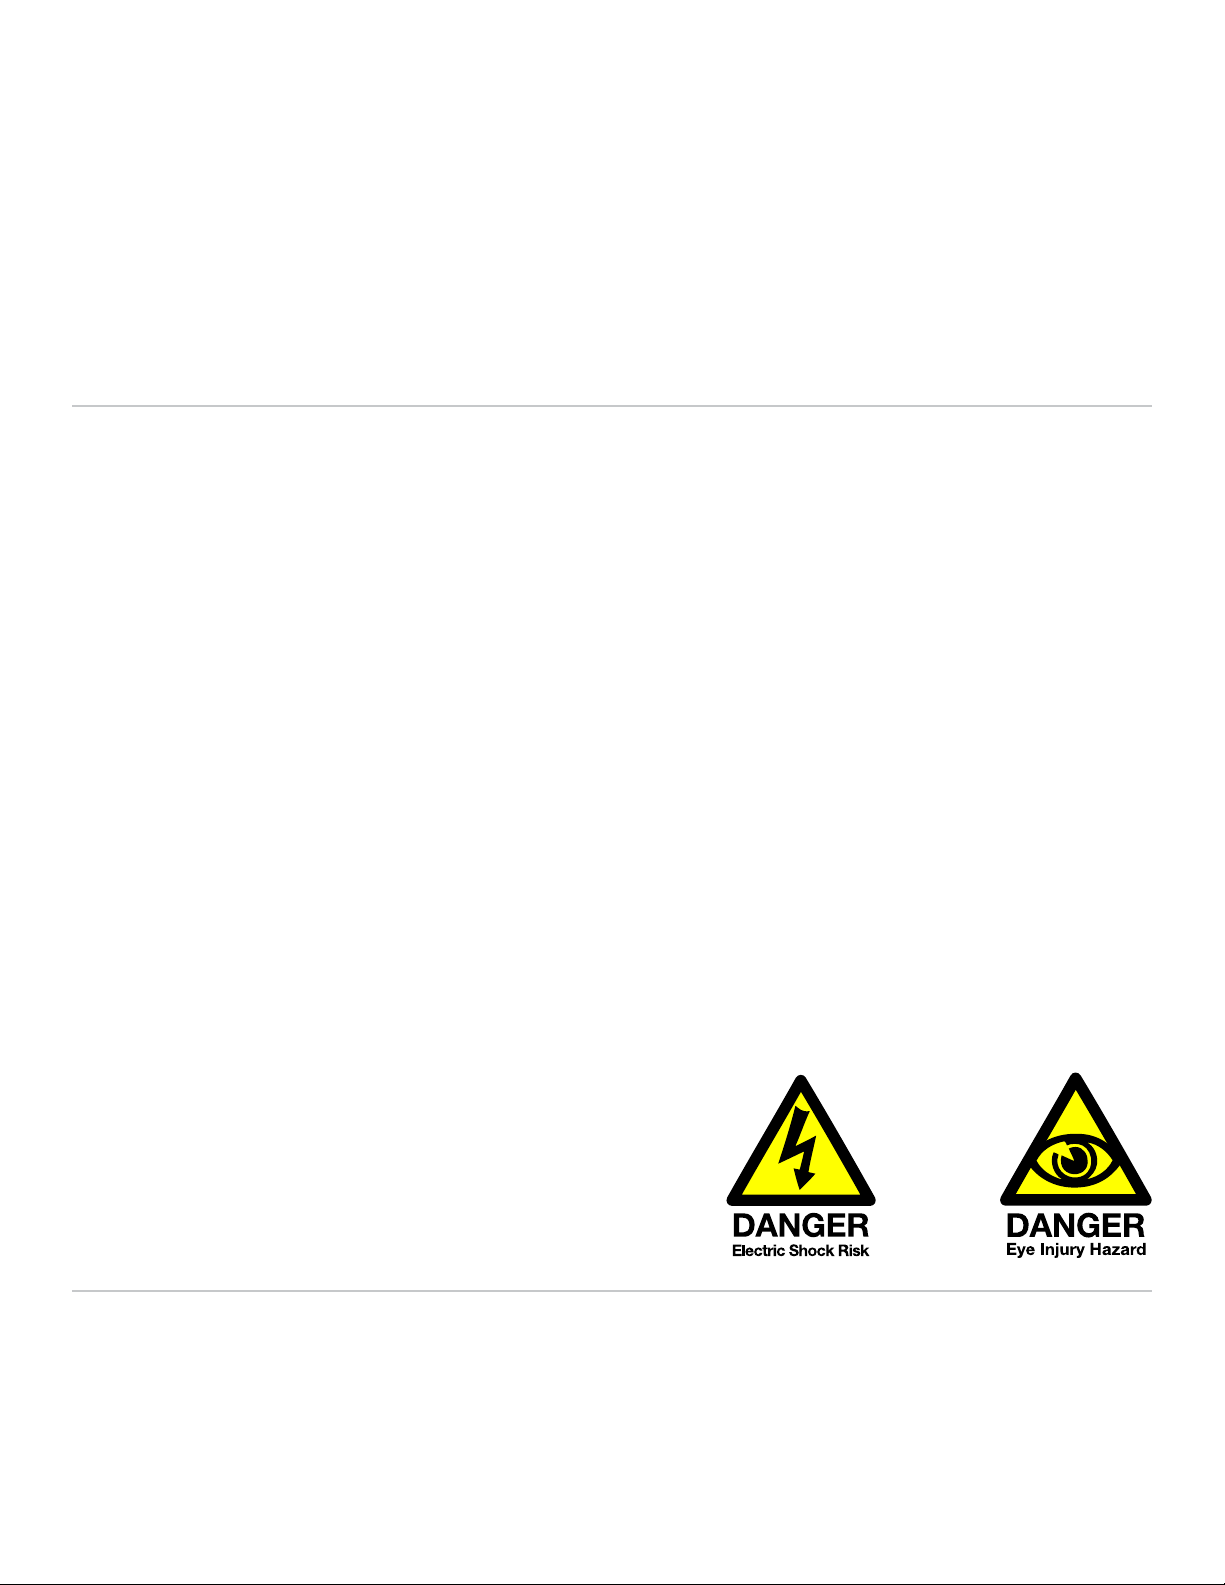
Important Safety Precautions
It is recommended that you plug the chiller into a GFCI outlet at all times. Do not operate SeaChill chillers or any accessory
to SeaChill chillers (heater or UV sterilizer) without water flow. Overheating of lamp or heater may occur.
After installation, monitor unit for at least an hour to confirm there are no leaks.
DO NOT LOOK DIRECTLY AT ULTRAVIOLET LAMP WHEN ON. EYE INJURY MAY OCCUR
Do not handle the glass of the UV lamp with your bare hands or fingers, this will damage the lamp.
To avoid potential electric shock, care should be taken since
aquarium equipment involves use of electricity and water. For
each of the following situations, do not attempt repairs by
yourself; return the appliance to an authorized service facility
for service or discard the appliance:
1. Unplug chiller from wall outlet before installation of
UV sterilizer. Only plug chiller in when directed to by
the installation instructions.
2. If electrical components of the chiller or UV sterilizer
get wet do not plug in until thoroughly dried
3. Examine the UV sterilizer closely after installation.
Do not be plug in if there is water on parts not
intended to be wet.
4. Do not operate chiller or UV sterilizer if it has a
damaged cord or plug, or if it is malfunctioning or
damaged in any manner.
7. Do not use the UV sterilizer for other than intended
use. The use of attachments not recommended or
sold by the UV sterilizer manufacturer may cause an
unsafe condition.
8. Do not install or store the UV sterilizer where it will
be exposed to the weather or to temperatures below
freezing.
9. Make sure the UV sterilizer is properly installed
before use.
10. If an extension cord is necessary, use a cord with a
proper rating. A cord rated for less Amperes or watts
than the chiller with UV sterilizer may overheat. Care
should be taken to arrange the cord so that it will not
be tripped over or pulled.
KEEP THESE INSTRUCTIONS
5. Close supervision is necessary when any appliance is
used by or near children.
6. Always unplug the chiller from an outlet when
before putting on or taking off parts, and before
cleaning. Never yank cord to pull plug from outlet.
Grasp the plug and pull to disconnect.
Contact
TECO US is the United States distributor for Seachill.
For technical support, safety concerns, or sales, contact:
service@tecous.com
or visit us online at:
www.tecous.com
Page 3
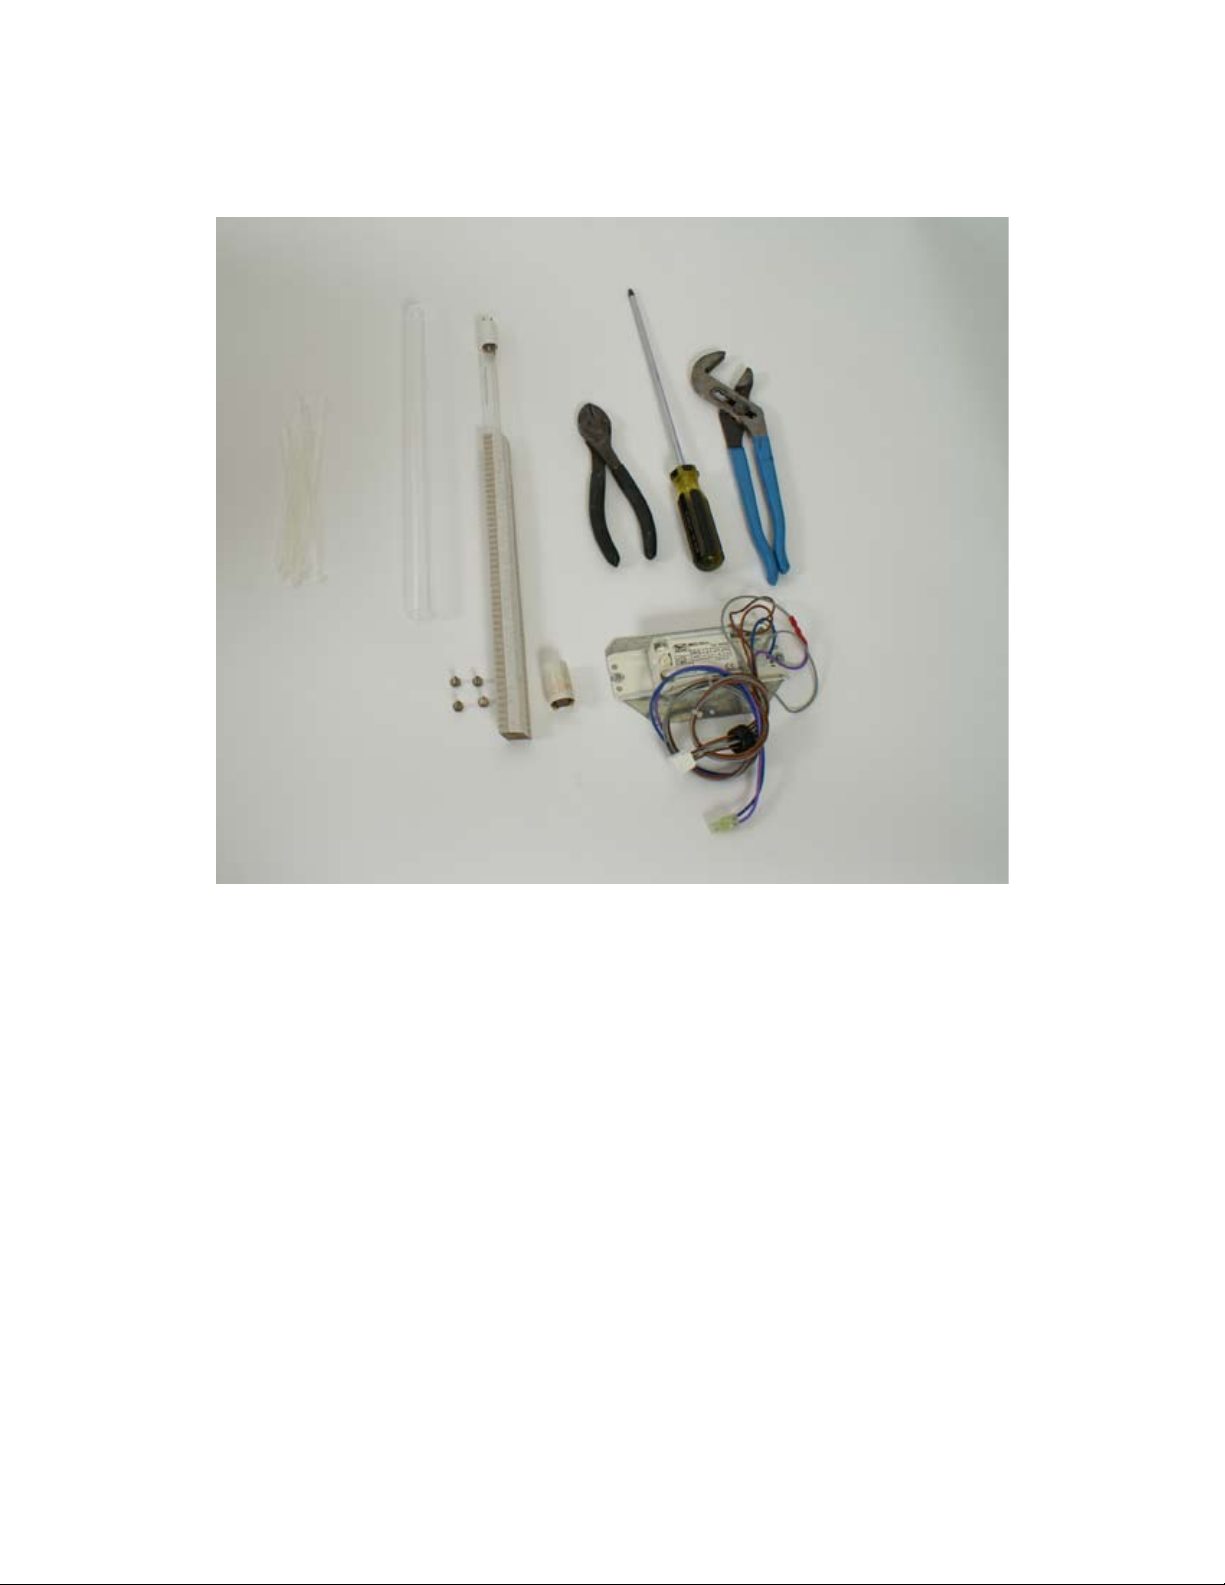
Parts needed for UV installation.
Teco will supply:
UV sterilizer Ballast (with wiring harness)
Starter for UV lamp
Screws to mount ballast (2)
Quartz sleeve
UV lamp
Zip ties for wiring (6)
Tools needed:
Channel lock pliers or similar
Phillips head screwdriver
Wire cutters
Parts & Tools
Page 4
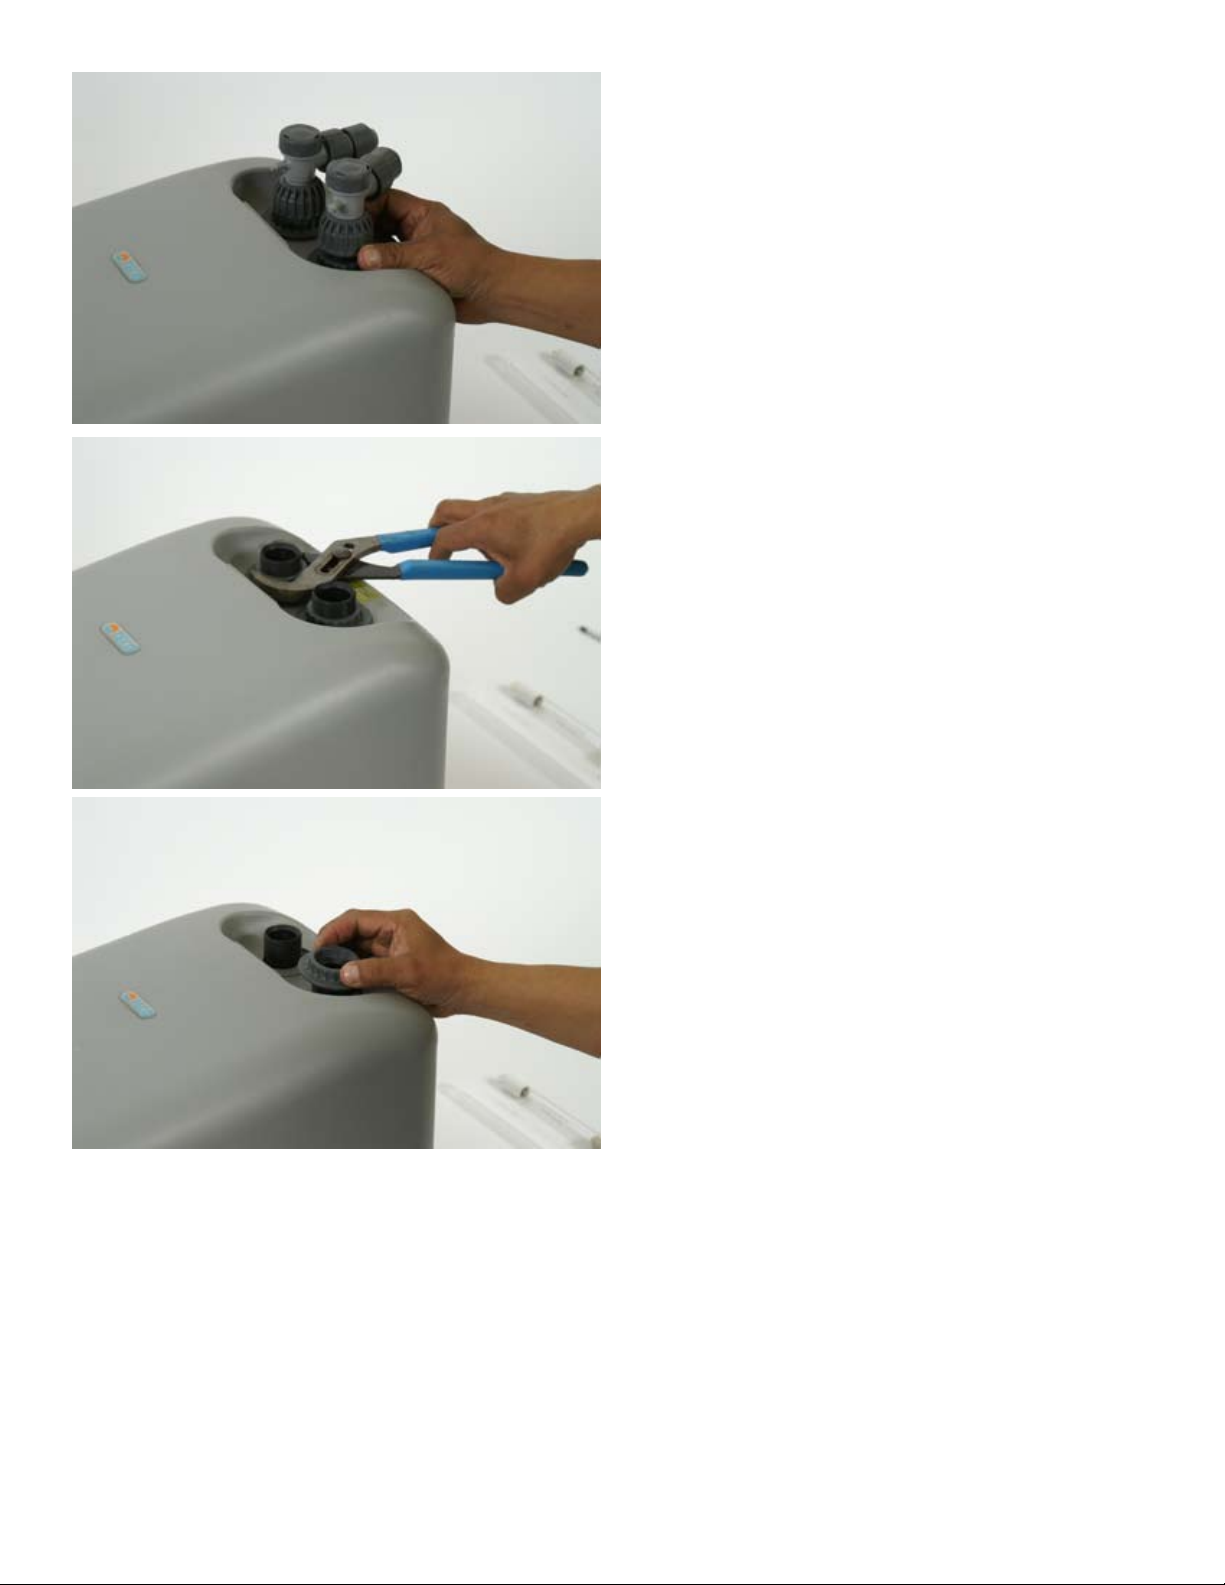
Unscrew the Ring Nuts and remove the shut off valves from
the chiller.
Use channel lock pliers or similar to loosen plastic nuts
holding the housing in place. It is not necessary to grip nuts
tightly, a loose grip will help prevent scarring of plastic. If
desired, a piece of duct tape may be used to cover the teeth of
the channel lock pliers to prevent scarring of the plastic nuts.
Once loosened, manually remove the plastic nuts.
Step 1
Removing The Shutoff Valves
Page 5
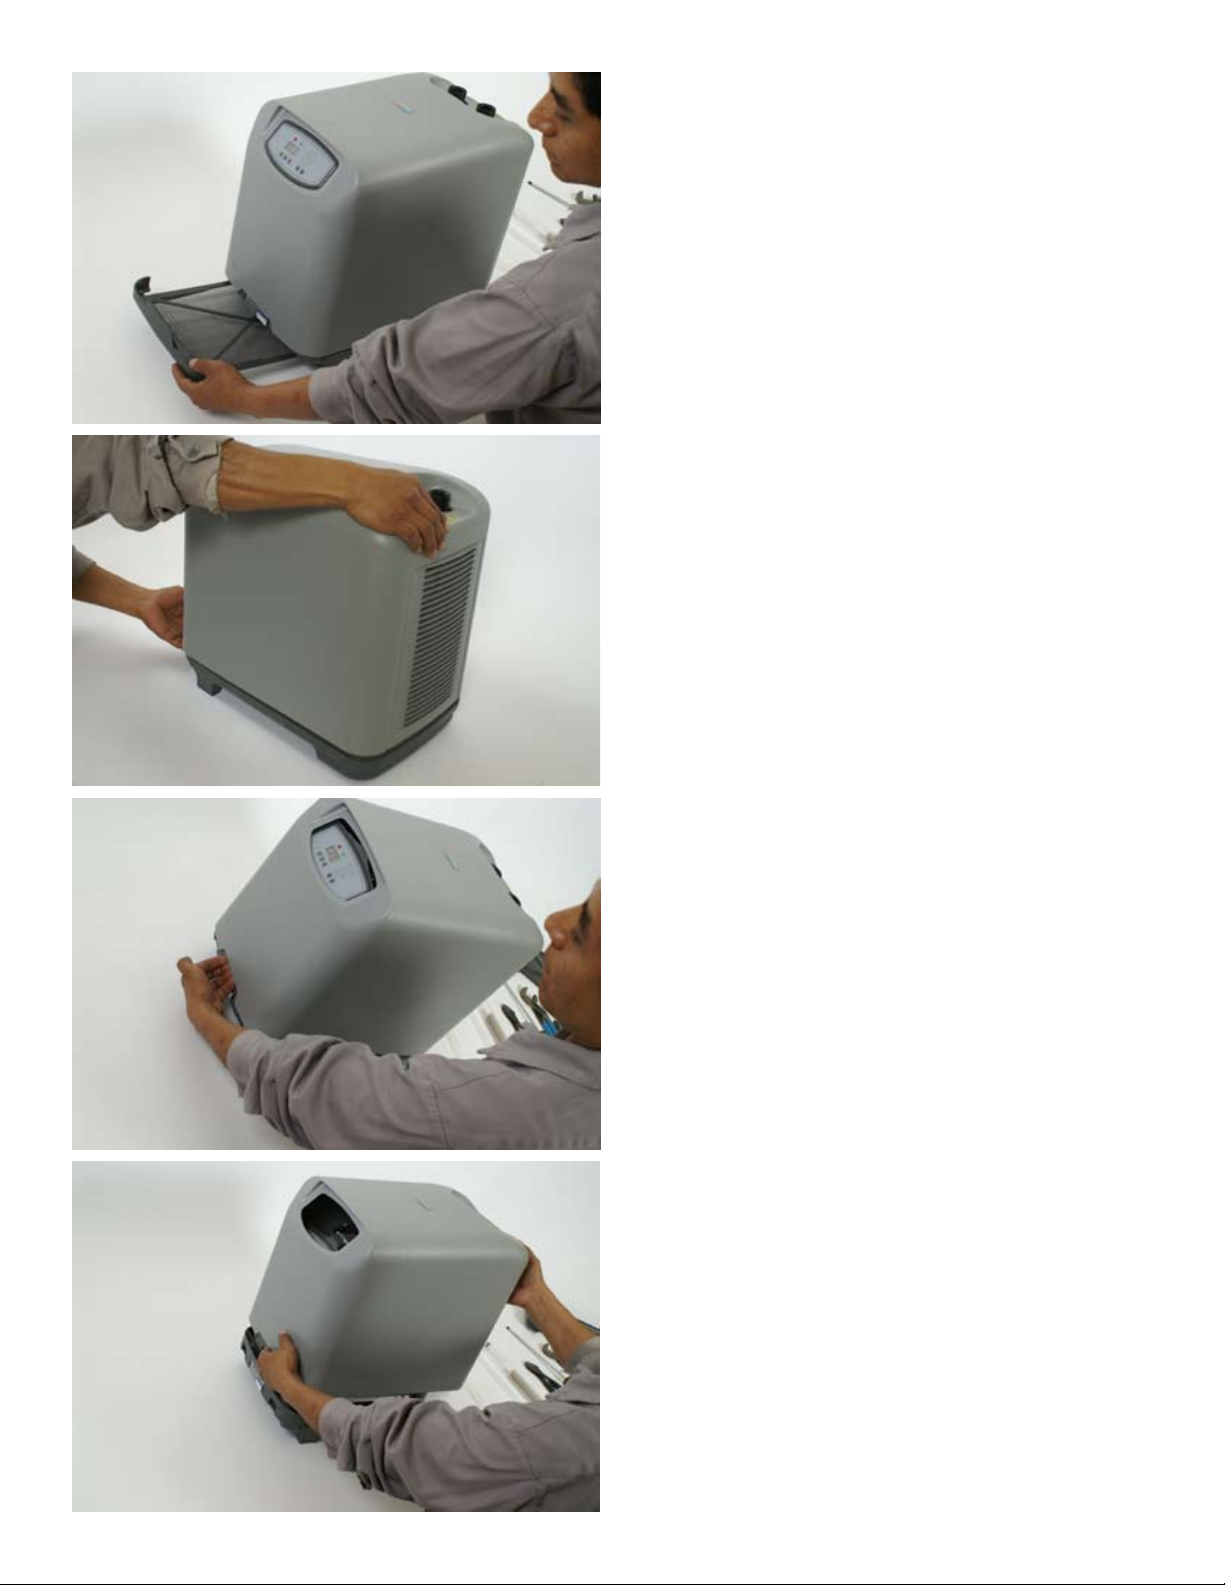
Remove air filter from chiller housing.
Pull upwards on rear of chiller housing, loosening it on the
frame of the chiller.
Insert fingers between housing and frame of the chiller at
the front. Once fingers are between frame and housing,
lift upwards.
Lift housing off of chiller frame
Step 2
Removing Filter / Housing
Page 6

Unscrew and remove ring nut over UV port.
Remove plug and o-ring from ring nut.
Place o-ring over the top of the quartz sleeve and push down
approximately 3/4 inch to 1 inch onto the quartz sleeve.
Insert quartz sleeve into heat exchanger until o-ring seats
into outlet lip. If you encounter resistance while inserting
the quartz sleeve, gently turn sleeve and apply very slight
force.
Step 3
Installing The Quartz Sleeve
Page 7

Put ring nut over quartz sleeve and o-ring. Tighten to seal.
Use channel lock pliers or similar to insure there is no leak.
At the end of the wiring harness is a 4-pin connector for the
UV lamp and a rubber plug
Step 4
Installing The Wiring Harness
Page 8

Slide the rubber plug along the wiring until it is directly
against the 4-pin connector.
Carefully bend the copper capillary tubing to make space
for the ballast. It is helpful to look ahead and see where the
ballast will mount to determine how to move the tubing. Be
careful not to crimp or break the tubing.
Line the holes in the ballast mounting plate with the holes
in the strut supporting the compressor.
Step 4
Installing The Wiring Harness
Page 9

Attach the ballast by screwing the ballast onto the strut
supporting the compressor.
Pull the wiring harness forward and attach the harness to
the ballast mounting plate with a zip tie.
Use zip ties to gather wires together.
Clip excess plastic from zip ties with wire cutter.
(continued)Step 4
Installing The Wiring Harness
Page 10

Take UV lamp and insert pins into 4-pin connector on
wiring harness.
Note: DO NOT touch the UV lamp as finger oil will damage the lamp.
Insert UV lamp into quartz sleeve.
Push plug firmly into quartz sleeve until it is flush with the
top of ring nut.
Step 5
Installing the UV Lamp
Page 11

Connect two pin adapter on wiring harness to two pin
connector mounted on top of support strut.
Use zip tie to fasten wiring harness to support strut.
Step 6
Connecting the Pin Adapter
Page 12

Mount UV starter onto the ballast by inserting pins into slots
and rotating clockwise 1/4 turn.
Step 7
Installing the UV starter
Page 13

Plug in and turn on the chiller
At the top of the control panel, above the display and
controls are a series of small metal prongs. Remove the
plastic “jumper” from the first two prongs.
Place jumper on pins 7&8, this will reset your chiller.
Remove jumper from pins 7&8.
Now turn off your chiller.
CAUTION: Leaving chiller on with no water flowing will cause
the unit to overheat.
Place Jumper over pins 2&3 (see diagram below)
Note: Resting your chiller will change your set temperature
to the default of 73.
Before Instillation Settings Required to operate the UV lamp
1
2
3
4
5
Front of Chiller
6
7
8
UV Jumper
Heater Jumper
(Postion may vary
depending on weather
heater is installed)
Reset Pins
(Place jumper here momentarily to reset)
Front of Chiller
1
2
3
4
5
6
7
8
Step 8
Resetting Chiller / Changing the Jumper Settings
Page 14

Turn on power switch
Turn on UV by pressing button on the front panel.
You should see a glow around the rim of the quartz sleeve
indicating the UV is working. Immediately turn off chiller
after verifying the lamp is working.
CAUTION: Do not look directly at the UV Lamp, UV light is damaging to your eyes.
CAUTION: Turn off chiller after checking lamp - Leaving chiller
on with no water flowing will cause the unit to overheat.
Step 9
Checking The UV Lamp
Page 15

After verifying the UV Lamp is working, turn chiller off and
unplug power cord. Lower housing over chiller.
It is important to line up housing with the control panel. If
the control panel does not fit the slot designed for the control panel, housing is not seated correctly.
Press down firmly an on the rear of the housing. You will
feel the housing snap into place.
Replace plastic nuts over threaded inlet and outlet ports.
Tighten with channel lock pliers. Replace shut off valves.
Chiller is now ready for operation. Once water is flowing
through chiller, check carefully for any leaks.
You may now operate your UV sterilizer.
Step 10
Replacing the Housing
 Loading...