

Tecnosicurezza DigiTech Series, T9510/BR, T9510/DL Installation Instructions Manual
DigiTech
Installation instructions

Installation instructions
DigiTech
Company
Founded in 1983 with the aim of providing a complete range of professional products,
Tecnosicurezza is now a consolidated reality in the field of locks and security systems for safes.
The experience gained in over 35 years of activity in the security sector has allowed the
designing and manufacturing of high technology and reliability systems, which continue to
receive the approval of an increasingly demanding clientele.
TECNOSICUREZZA is present directly on the Italian, Spanish and US markets and, through a
extensive distribution network, in many European and extra-European countries.
TECNOSICUREZZA is aimed at national and international customers of primary importance, such
as banks, safe manufacturers, cash in transit companies, mass market retailers and post offices.
Today TECNOSICUREZZA is a leading company focused on the customers’ needs and
constantly in step with technology.
2 of 20 II_ DigiTech_01_eng

Installation instructions
DigiTech
Table of contents
COMPANY 2
TABLE OF CONTENTS 3
MODELS AND CHARACTERISTICS 4
ACCESSORIES 4
AUDIT AND PROGRAMMING ACCESSORIES 4
CERTIFICAZIONS 5
IMPORTANT NOTES! 6
KEYPAD DIMENSIONS 7
ROTOBOLT LOCK DIMENSIONS 8
STRAIGHTBOLT LOCK DIMENSIONS 8
SPRINGBOLT LOCK DIMENSIONS 9
MOTORLOCK DIMENSIONS 9
MOTORSPRINGBOLT LOCK DIMENSIONS 9
FIXED KEYPAD INSTALLATION INSTRUCTIONS 10
ROTOBOLT LOCK INSTALLATION INSTRUCTIONS 10
STRAIGHTBOLT AND SPRINGBOLT LOCKS INSTALLATION INSTRUCTIONS 11
MOTORLOCK AND MOTOR SPRINGBOLT LOCKS INSTALLATION INSTRUCTIONS 12
FUNCTIONAL TEST 14
CE DECLARATIONS 15
NOTES 17
CONTACTS 20
II_DigiTech_01_eng 3 of 20
Installation instructions
DigiTech
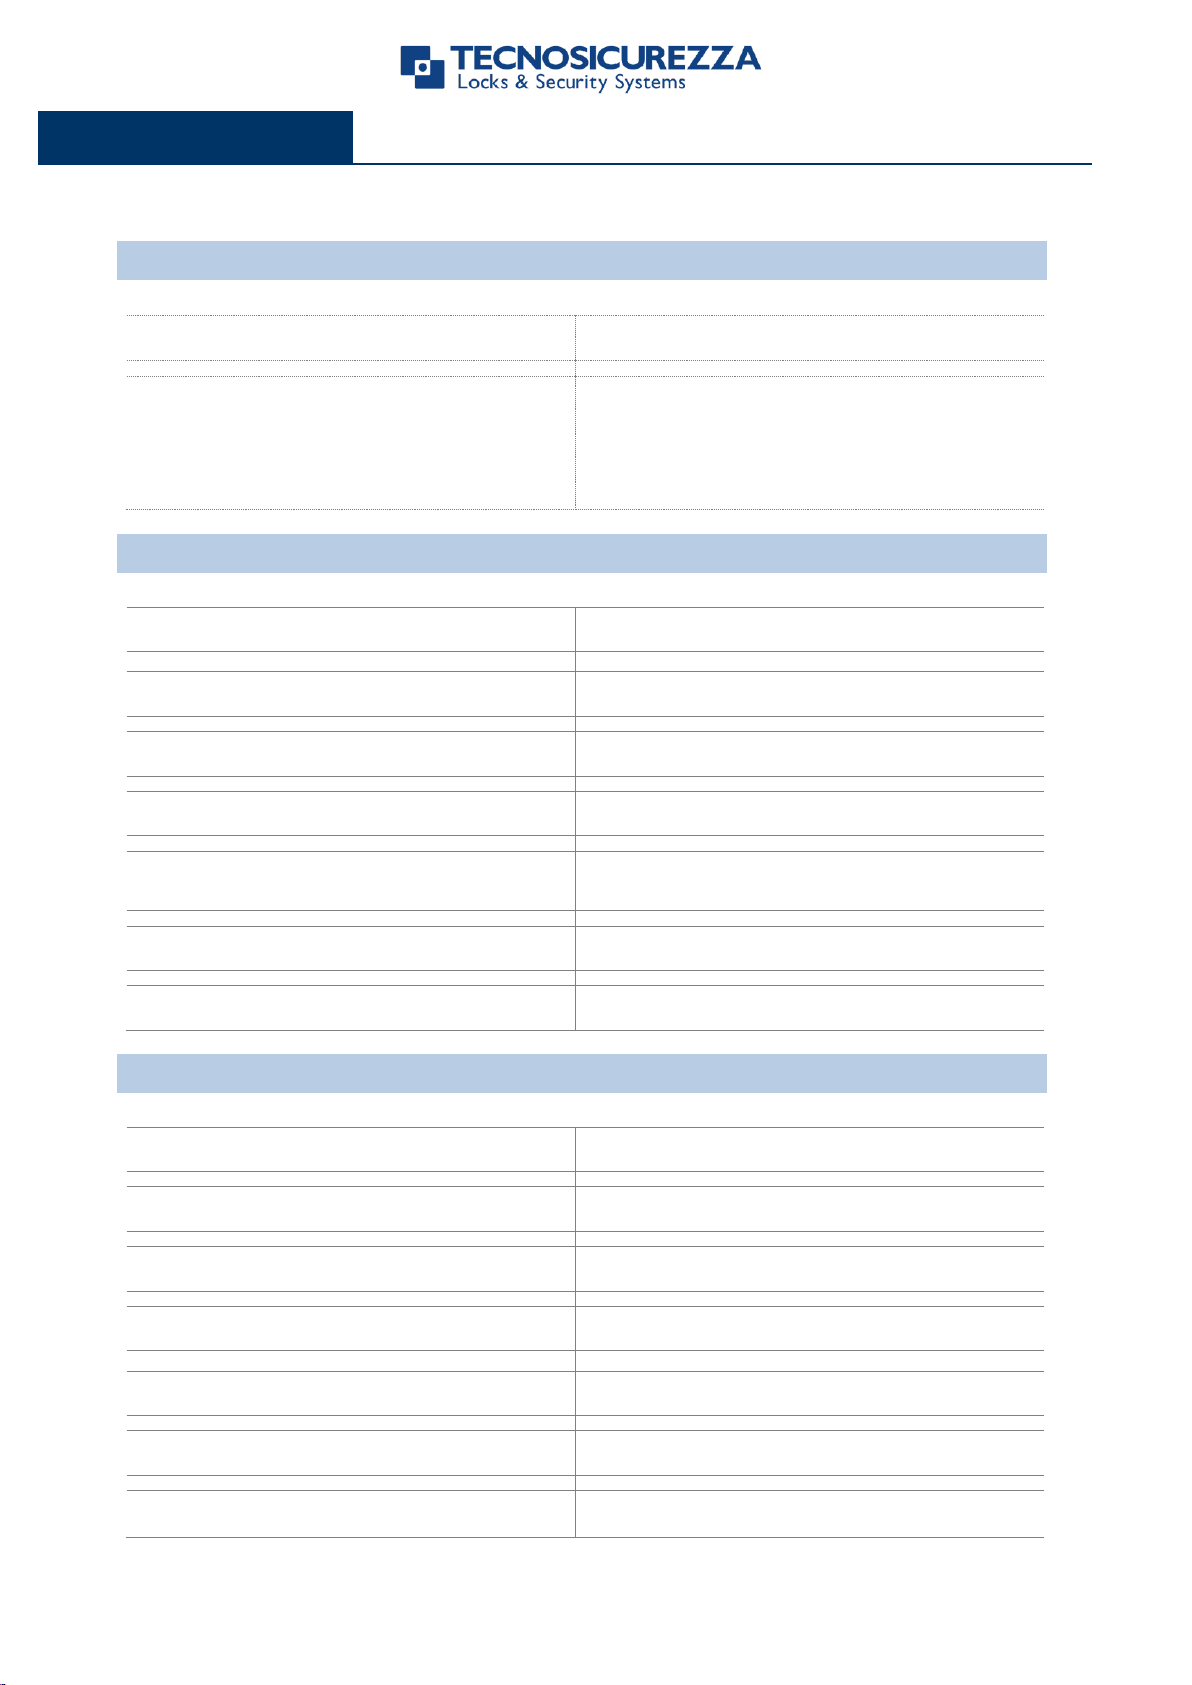
Models and characteristics
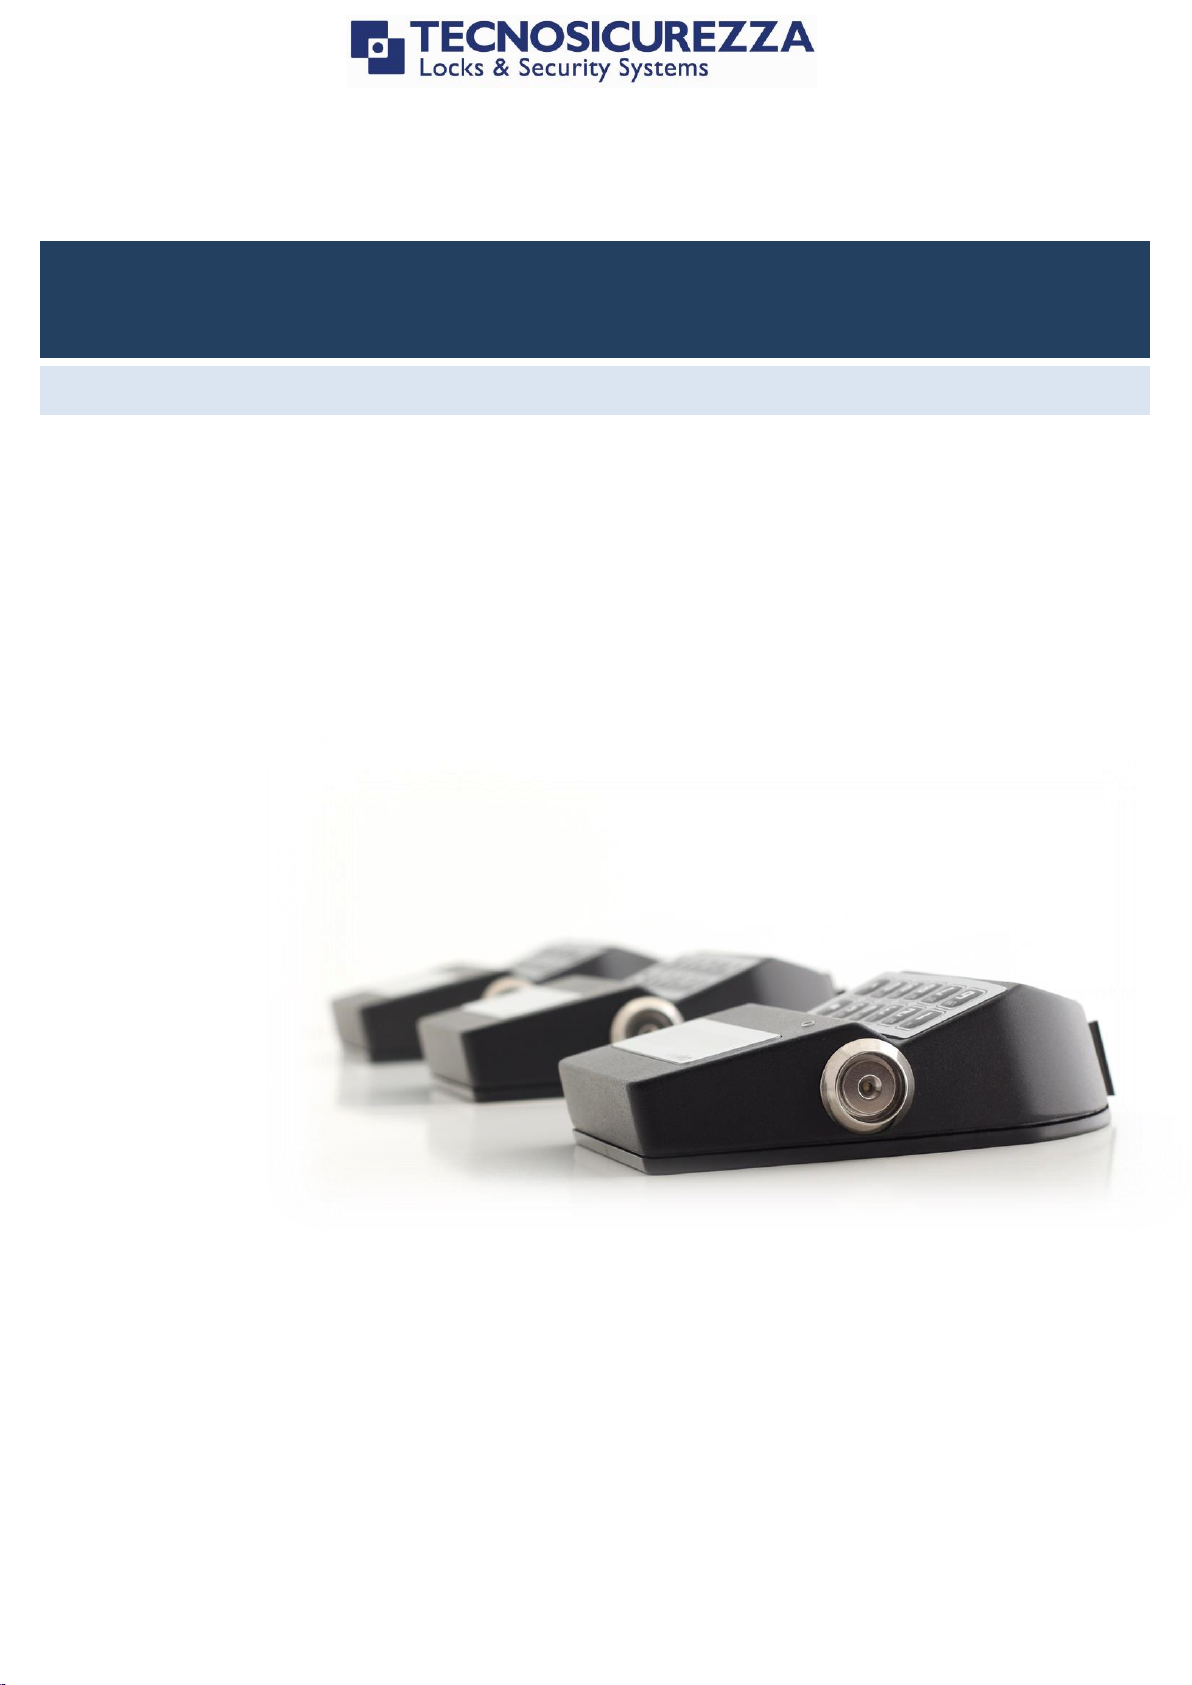
Model
Variant
T9510/BR – Keypad in metal. Black colour
with rubber membrane foil keypad in black
colour.
/DL with Dallas key reader.
Code
Description
N077/A
Battery box with alarm interface.
L4001
Large battery box for 6 size C 1.5V batteries.
T6005/W
Power supply interface (12Vdc).
T6005
Power supply interface (12Vdc) with alarm
interface.
L2666
Knob with 6 mm square spindle.
N1982
User Dallas key.
Code
Description
N42180/T
Interfaccia USB.
N42170/D
Dallas key reader with molex connector.
N42170/J
Dallas key reader with jack connector.
N42170/M
Magnetic Dallas key connection cable.
N1996RM
Magnetic Dallas key for audit.
T42146/J
Setup and audit cable.
Accessories
Audit and programming accessories
4 of 20 II_ DigiTech_01_eng
Installation instructions
DigiTech
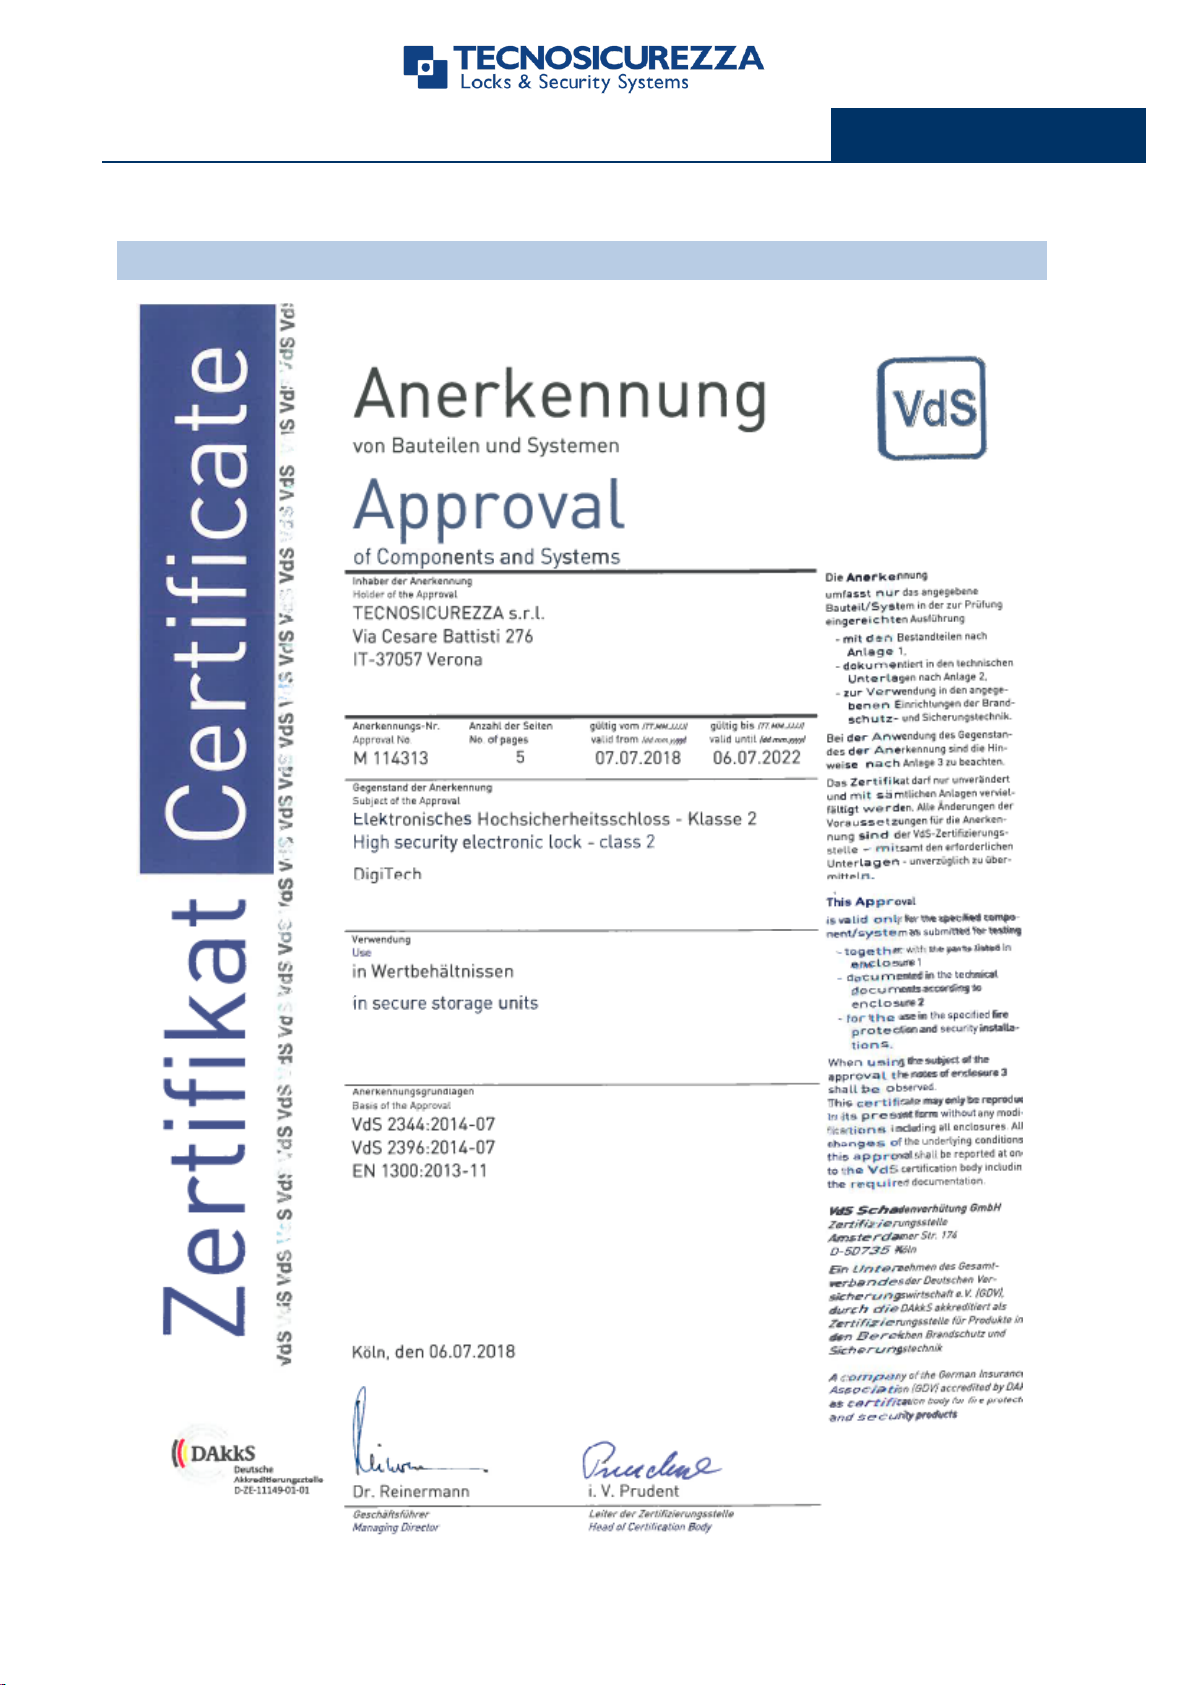
Certificazions
II_DigiTech_01_eng 5 of 20

Installation instructions
DigiTech
Important notes!
Before installing this product, please read carefully the installation and operating
instructions.
Locks can be installed in all traditional safes.
Lock has to be mounted on secure storage metal (preferred steel) units only.
Locks must be protected against external attacks, for this reason it is recommended to
install them on the door away from any through holes.
Any electronic part must be properly protected and not easily accessible even when
the door is open.
Locks have been developed to work correctly in a temperature range from -5 ° C to + 50
° C and in an environment with non-condensing humidity between 25% and 90%.
The mounting dimensions are standard (magic module).
For the installation of the keypad and lock, use only the screws provided by
Tecnosicurezza. Any other screw must be approved in advance.
Locks are supplied with metric (M6) mounting screws. Upon request, Imperial 1/4-20 UNC
format mounting screws are available.
The type of material and the length of the screws must, in any case, be selected so as to
guarantee long life and reliability.
Tighten the screws so that the lock is firmly fixed to the mounting surface
(recommended torque between 2.5 and 5.5 Nm).
The mounting surface must be perfectly flat.
In order to prevent loosening of the screws it is recommended the use of LOCTITE®
threadlocker and/or specific washers positioned under the head of the fixing screw.
The diameter of the passage hole for the connection cable or the spindle must not
exceed 11 mm.
The hole must be completely cleaned of drill dust and no edge should be sharp.
6 of 20 II_ DigiTech_01_eng
 Loading...