

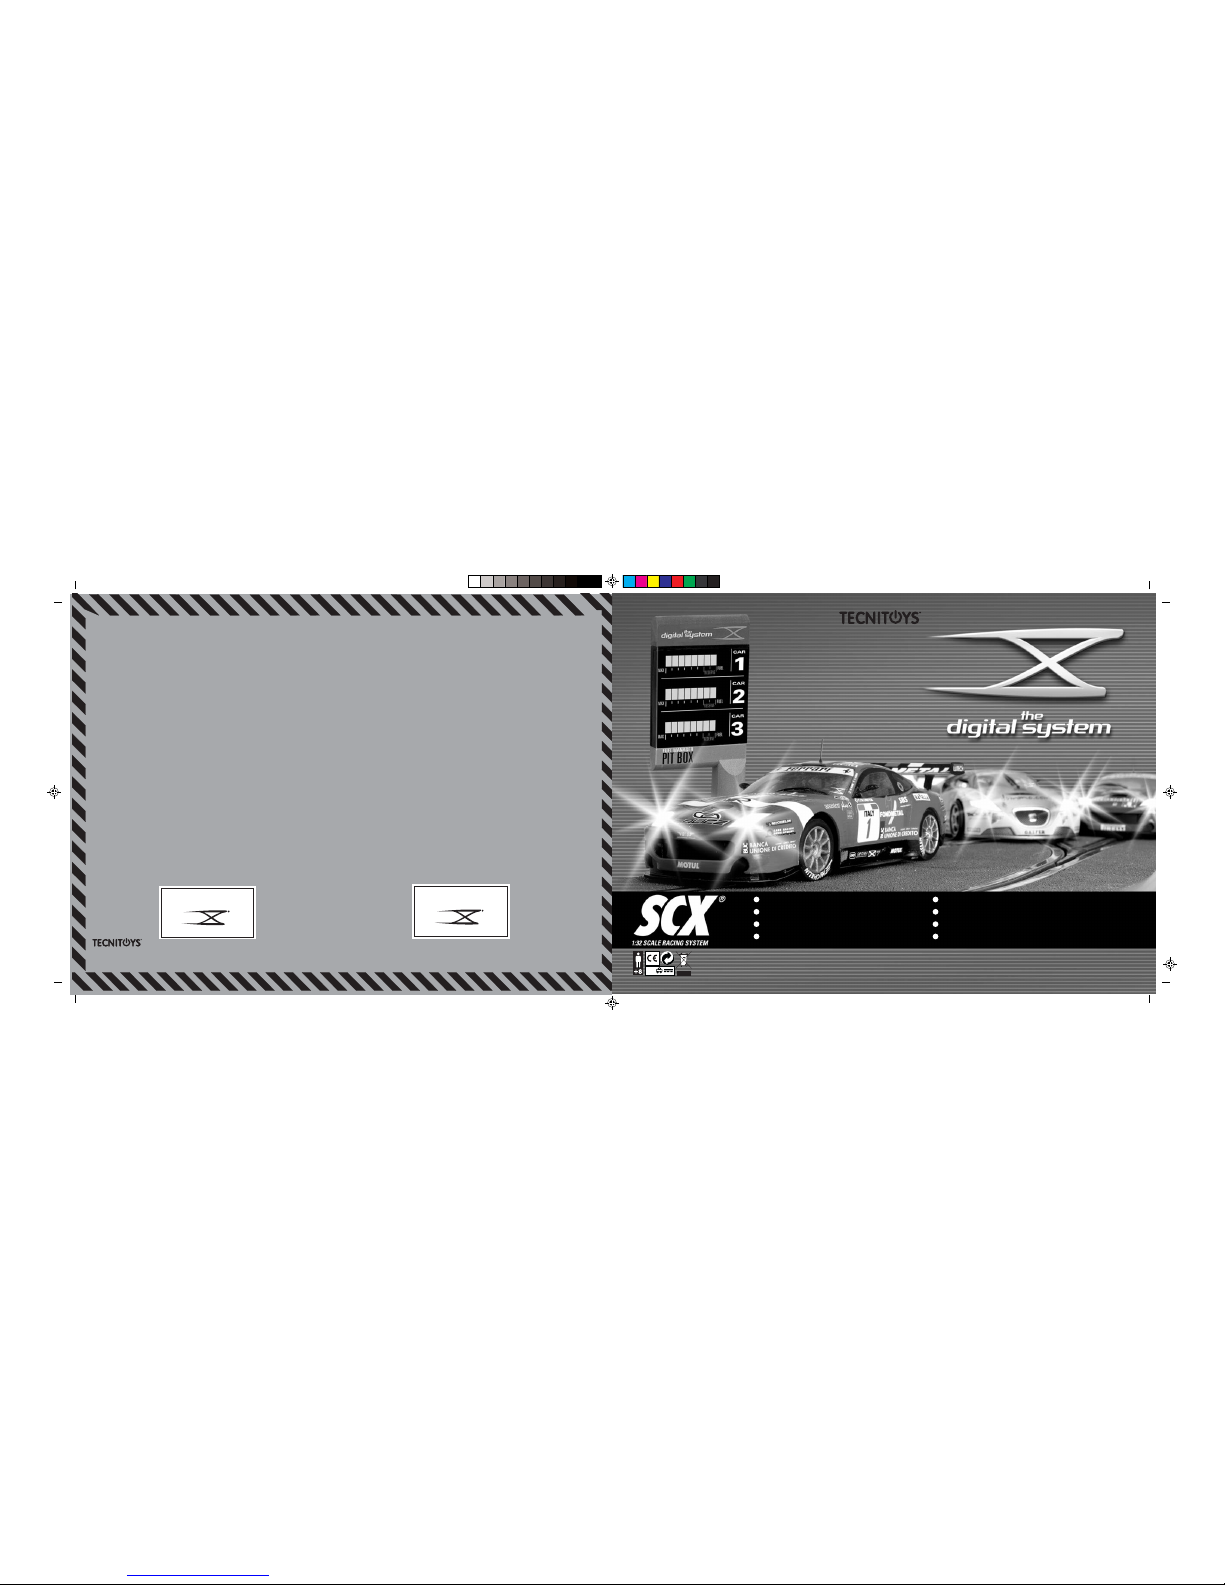
TecniToys The Digital System Instructions Manual
InstructiuSCX.FH11 23/11/05 18:54 Pgina 1
Composicin
C M Y CM MY CY CMY K
18V
© TecniToys, 2005. All rights reserved.
FOR YOUR SAFETY
NOTICE TO PARENTS
The transformers used with the toy should be regularly examined, and in the event of the
detection of any signs of wear in the electrical components of the toy (wire, plug, etc.),
it should not be used until they have been correctly repaired.
Some pieces have sharp points and can be dangerous if used improperly.
ELECTRIC TOY
Not recommended for children under 8.
Use only the transformer provided.
Use only under adult supervision and disconnect when it is not in use.The transformer
is not a toy. As with all electric toys the necessary precautions should be taken to avoid
electric shock.
The transformer should be disconnected when cleaning the toy.Non-rechargeable batteries
are not to be recharged; different types of batteries or new and used batteries are not
to be mixed; only batteries of the same or equivalent type as recommended are to be
used; batteries are to be inserted with the correct polarity; exhausted batteries are to be
removed from the toy; the supply terminals are not to be short-circuited; do not use
rechargable battery.
GUARANTEE
SCX DIGITAL SYSTEM 2 YEARS’ GUARANTEE
Every SCX DIGITAL SYSTEM product is guaranteed for a period of 2 years from the date
of purchase (certified by proof of payment). TecniToys Juguetes, S.A. will repair or exchange
the product if any defect appears in it during the guarantee period.
The guarantee does not cover damage due to causes unrelated to the product or due to
improper installation (particulary not using an original SCX DIGITAL SYSTEM transformer)
or to any alterations done by the user.
IMPORTANT: It is advisable to keep the packing in which the product came, in case it
is necessary to return it to after-sales service, as well as proof of purchase, during the
guarantee period.
ALL SCX DIGITAL SYSTEM PRODUCTS
ARE MARKED WITH THIS SYMBOL
FOR IDENTIFICATION AND TO DISTINGUISH
THEM FROM SCX PRODUCTS
SCX DIGITAL SYSTEM IS NOT COMPATIBLE
WITH SCX PRODUCTS
GEFABRICEERD IN CHINA
ONTWORPEN IN EUROPA.
GEFABRICEERD IN CHINA
ONTWORPEN IN EUROPA.
PARA A SUA SEGURANÇA
AVISO AOS PAIS
Os transformadores utilizados com o brinquedo devem ser examinados regularmente e
caso se detecte alguma deterioração dos componentes eléctricos do brinquedo (cabo, tomada
de corrente, etc.), este não deve ser utilizado até ser devidamente reparado.
Algumas peças têm pontas aguçadas e podem ser perigosas se utilizadas inadequadamente.
BRINQUEDO ELÉCTRICO
Não recomendado para crianças menores de 8 anos.
Utilizar unicamente o transformador fornecido.
Utilizar apenas solo supervisão de um adulto e desligar quando não estiver a ser utilizado.
O transformador não é um brinquedo. Como todos os brinquedos eléctricos, devem ser
tomadas as medidas de precaução necessárias para evitar descargas eléctricas.
Caso se deseje limpar o brinquedo, há que desligar o transformador.
GARANTIA
SCX DIGITAL SYSTEM GARANTIA DE 2 ANNOS
Todos os produtos SCX DIGITAL SYSTEM têm uma garantia de 2 annos a partir da
data de compra (certificada pelo comprovativo da compra). A TecniToys Juguetes,
S.A. reparará ou trocará o produto se aparecer algum defeito no mesmo durante o
período de garantia.
A garantia não cobre deficiências originadas por uma causa alheia ao produto ou por
uma instalação incorrecta (especialmente por não utilizar um transformador original
SCX DIGITAL SYSTEM) ou por qualquer modificação efetuada pelo utilizador.
IMPORTANTE: É conveniente conservar a embalagem do produto no caso de ser
necessário devolvê-lo ao serviço de pós-venda, bem como o comprovativo da compra,
durante o período de garantia.
TODOS OS PRODUCTOS SCX DIGITAL SYSTEM VÊM
MARCADOS COM ESTE SÍMBOLO PARA A SUA
IDENTIFICAÇAO E DIFERENCIAÇAO COM OS DO SCX
OS PRODUCTOS SCX DIGITAL SYSTEM NAO
SAO COMPATÍVELS COM OS DO SCX
Anleitungen für die Rennstrecke Digital System
Istruzioni Circuito Digital System
Instructions du Circuit Digital System
Instruções Circuito Digital System
Digital System Instructions Circuit
Instrucciones de Circuito Digital System
Bane-Instruktioner Digital Systems
Gebruiksaanwijzing voor het Digital System Circuit
TECNITOYS Juguetes, S.A.
Diagonal 545 7º Edifici l’Illa
08029 Barcelona
N.I.F. A 08140543
DESIGNED IN EUROPE.
MADE IN CHINA.
PROJETADO EM EUROPA.
FABRICADO EM CHINA.
DISEÑADO EN EUROPA.
FABRICADO EN CHINA.
PROGETTATO IN EUROPE.
FABBRICATO IN CHINA.
DESIGNED IN EUROPE.
MADE IN CHINA.
PROJETADO EM EUROPA.
FABRICADO EM CHINA.
DISEÑADO EN EUROPA.
FABRICADO EN CHINA.
PROGETTATO IN EUROPE.
FABBRICATO IN CHINA.
ENTWORFEN IN EUROPE.
IN CHINA HERGESTELLT.
CONÇU IN EUROPE.
FABRIQUÉ EN CHINA.
DESIGNET I EUROPA.
FREMSTILLET IN KINA.
ENTWORFEN IN EUROPE.
IN CHINA HERGESTELLT.
CONÇU IN EUROPE.
FABRIQUÉ EN CHINA.
DESIGNET I EUROPA.
FREMSTILLET IN KINA.
InstructiuSCX.FH11 23/11/05 18:54 Pgina 2
Composicin
C M Y CM MY CY CMY K
Setting up the Circuit
Barriers and borders
(in circuits which include them)
CLEANING THE TRACKS
SCX Digital System track slots are impregnated with a special oil which protects
them during manufacture and subsequent storage. Remove this protection by
rubbing all slots with a clean cloth, slightly moistened with alcohol (never with
water or oil). It is very important that the tracks are clean. Use the Track Cleaner
(ref. 88580, sold separately) for this.
Tracks
DISMANTLING AND STORAGE
Once the circuit has been dismantled, it is recommended that you keep it in its
original box, in a dry place safe from high temperatures.
Note: For this equipment to work properly, a transformer marked
with the Tecnitoys and the phrase “This transformer should
only be used with Digital System” must be used.
Welcome to the new digital era of competition
Digital technology makes all this possible:
- Race up to 6 cars at a time on a 2-lane track.
- Actual overtaking by changing to/from any lane.
- Constant information about the progress of the race, showing the leader, the lap
count and more…
- Power Line technology allows connecting several accessories
without the cars losing any power.
Important: The circuit you have just purchased may not include
all the accessories described in this instruction manual.
Important : In order to connect or disconnect any device on the circuit (with the exception
of the speed controllers), you must first disconnect the Pit Box
transformer.
For Digital System circuits to work properly,
all tracks must be correctly put together.
Connections
Power LED: The power LED (a red light next to the transformer connections) shows
whether the circuit requires more power. If the LED is flashing rapidly or slowly, this
means that another transformer needs to be added to the circuit.
The circuit you have just purchased includes the transformer needed for it to work
properly. Should you require further transformers, these are sold separately as ref.
20070.
Programming the car
Important : The Pit Box must ALWAYS be connected to your connection track (this
is the track supplied with this circuit which has starting positions 1 and 2 marked
on it). This connection track is exclusively for Pit Box and cannot be replaced by any
other part. If the Pit Box is not connected to this exclusive track it will NOT work.
When you connect the Pit Box transformer the controller connection lights will flash
intermittently. As you connect the controllers these lights will come on constantly.
The transformers can be connected to any of the three connections on the side of
the Pit Box.
PROGRAMMING THE CAR
Before programming:
Put the numbers on the cars in order from left to right:
1. The first controller controls the car with number 1.
2. The second controller controls the car with number 2.
3. The third controller controls the car with number 3.
This avoids confusion in determining which controller controls which car and over the
position of each car during the race. This circuit is supplied with a sheet with all the
numbers.
To programme the cars, follow these steps ALWAYS from the primary digital central
unit (remember that the digital base unit is only used to connect the controllers
for cars 4, 5 and 6).
4. Press the red button down until the red light come on
(see illustration 4 ).
5. Press the change button at the back of
the controller (see illustration 5 ).
6. The car’s lights will automatically come on,
showing that the car has been programmed.
Then take the car off the track, replace it and
the car will be ready to race.
(see illustration 6
).).
1. Cars must always be programmed one at a time,
NEVER all at once.
2. Select the car and controller with which to race.
3. Place the car on the track. There must not be any
other cars in either of the two slots on the circuit,
otherwise all the cars on the track would be programmed
with the same controller and connection.
If the connection of the controller is changed, the car will still
be programmed for the old connection.
It is very important to remember that the car is programmed
for the connection, not the controller.
5
6
1
2
3
SETTING THE SPEED
Speed modes:
1. Expert: For experienced drivers (default speed
programmed into the circuit)
2. Junior: For novice drivers.
To set the speed to Junior, do the following:
1. Put the car on the track (see illustration 1 ).
Remember that the car must first have been
programmed (see previous section).
2. Press the yellow button down for 4 seconds until
the red light comes on (see illustration 2 ).
1
2
www.scxdigitalsystem.comwww.scxdigitalsystem.com
4
Power Led
Comunications
port
Fuel Panel
Pit Box
connection Track
Display
InstructiuSCX.FH11 23/11/05 18:54 Pgina 3
Composicin
C M Y CM MY CY CMY K
Programming the car
4. To return to Expert speed, follow the same steps and the orange controller
connection light will change to green.
If you wish to set the other two cars to Junior speed, you must repeat the same
steps with each of them.
3. Press the change button at the back of the controller and
the green controller connection light will change to amber.
The car is now set to Junior speed (see illustration 3 ).
3
CHANGING LANES
Changing lanes is very simple. As you are coming to a lane change track, simply
hold down the rear button on the controller and the car will change lanes.
This track is also sold separately (ref. 20030) and you can fit as many lane change
tracks as you wish.
The following SCX references are compatible with SCX Power Line Digital
System:
• Remember to clean the slots in the circuit before testing the operation of the
car.
• Place the car on the track, programme it (see the section “Programming the
Car”) and operate the corresponding controller. If the car does not respond
to the the controller or does not work properly:
- Check that the track sections are properly fitted together.
- Check that the transformer is properly plugged in and connected to the
circuit.
- Check the connection between the controllers and the central unit.
- Check the car is properly programmed through the central unit.
- Unplug the transformer and make sure there is no metallic object on the
track which could cause a short circuit (a screw, pin, screwdriver, etc.)
and no bent sections of the metal slot are touching each other and causing
a short circuit.
XENON EFFECT LIGHTS ON THE CARS
The cars can race with the xenon effect lights on or off. For
this all you have to do is to press the blue button and the
lights of all the cars on the track will come on. From this
moment any car placed on the track will have its lights on.
To switch all the cars’ lights off just press the same button
again.
Ref. 88580 Track cleaner
Ref. 86140 Braids
Ref. 88150 Type 1 rear axle
Ref. 88160 Type 2 rear axle
Ref. 88170 Type 3 rear axle
Ref. 88360 Type 6 rear axle
Ref. 87670 Type 1 tyres
Ref. 87680 Type 2 tyres
Ref. 87690 Type 3 tyres
Ref. 87700 Type 4 tyres
Ref. 87710 Type 5 tyres
Ref. 88370 Type 7 tyres
Ref. 88340 Type 8 tyres
Ref. 50020 Pro special braids
Ref. 50030 Pro tyres 1
Ref 50040 Pro tyres 2
Ref. 50050 Pro competition axle kit
Ref. 50230 Pro synthetic oil
Pit Box
Race mode WITH fuel load
1.1 Personalising the Car
1.1.1 Personalising the size (capacity) of cars’ tanks (all cars the same)
You may now set the size (capacity) of all the cars’ fuel tanks.
This function is set equally for all cars taking part in the race. It is not necessary
to place the cars on the track.This type of personalisation enables you to set the
tank size according to the length of the race to allow a suitable number of pit stops.
For example, in a 500-lap race cars may have a greater tank capacity in order not
to have to stop for refuelling so often.
To personalise tank capacity, the following steps must be taken:
1. Press the MODE key down for 2 seconds to access the programming menu
(the letters PIT will appear on the base unit’s display).
2. Press the MODE key 4 times until you can see the RAC option (race
personalisation).
3. Press the SELECT key once (the letters CAP will appear on the base unit’s
display).
4. Press the SELECT key once (025 will appear on the base unit’s display).
You should now decide what size (capacity) of tank all the cars are to have.
Each successive press of the SELECT key will offer you a different size
(capacity) of tank in litres of fuel (025, 050, 100, 200 or 400).
5. When you have decided on the size (capacity) of tank all the cars taking
part are to have, press the MODE key once, and ( - - - ) will appear on the
base unit’s display.
Race Mode WITH Pit Box (with fuel load)
The main feature of this mode is that cars consume the fuel contained in their
tanks as the race progresses, with fuel consumption varying depending on the use
of the accelerator trigger on the controller. Before the fuel runs out the driver must
refuel their car by going into the Pit Box.
You can decide each car’s strategy for the race by planning the number of pit
stops depending on how much fuel the car starts the race with. You should bear
in mind that the car’s performance will depend on the fuel load, i.e. more fuel
means more weight, which will affect the car’s top speed and increase response
time (for accelerating and braking).
Once the cars have been programmed to each controller, you can start racing
immediately with a full tank and 100% braking. The race will count the laps up.
To start the race press the START / STOP key for 2 seconds. The green light will
come on and you can begin the race.
To finish the race you need to follow these steps:
1. Warn the participants that this is to be the last lap.
2. Press the START/STOP key for 2 seconds. The green light in front of
the key will begin to flash, showing that this is the last lap.
3. When the winning car passes the finishing line, the Pit Box fuel panel
will show this by making the fuel lights flash in their box.
4. When the last car passes the finishing line the green light will stop
flashing.
The Pit Box enables you to compete in races with maximum realism.
You can plan your own race strategy by setting the amount of fuel in
your car, its braking level and the fuel tank capacity. At the same
time, it also gives you the chance to play without personalising your
car, so that you do not need to plan the race (you need not fill up
with fuel).
Below is an explanation of how to play WITH the Pit Box (with fuel
load) or WITHOUT the Pit Box (no fuel load).
If you wish to start another race the same as the previous one, take the following
steps:
1. Check that the green light in front of the START/STOP key is off. If it is
not, press the START/STOP key for 2 seconds and it will go off.
2. Press the START/STOP key for 2 seconds; the green light will come on and
you can start the race.
This is the race mode automatically offered by the system
1
www.scxdigitalsystem.comwww.scxdigitalsystem.com
4
Testing the car
6
 Loading...