

Page 1
Instruction Manual
Warning
An R/C aircraft is not a toy! If misused, it can cause seriousbodily
harm and damage to property. Fly only in open areas,preferably
AMA (Academy of Model Aeronautics) approvedflying sites,
following all instructions included with your radio.Always assume
the electric motor can come on at any time souse extreme
caution.Before beginning assembly of your , we
strongly uggest that you read through this instruction manual so
you canbecome familiar with the parts and the assembly
sequence.Assemble the kit according to the sequence provided in
the instruction manual. Do not attempt to modify or change the kit
design as doing so could adversely change the models flying
characteristics.
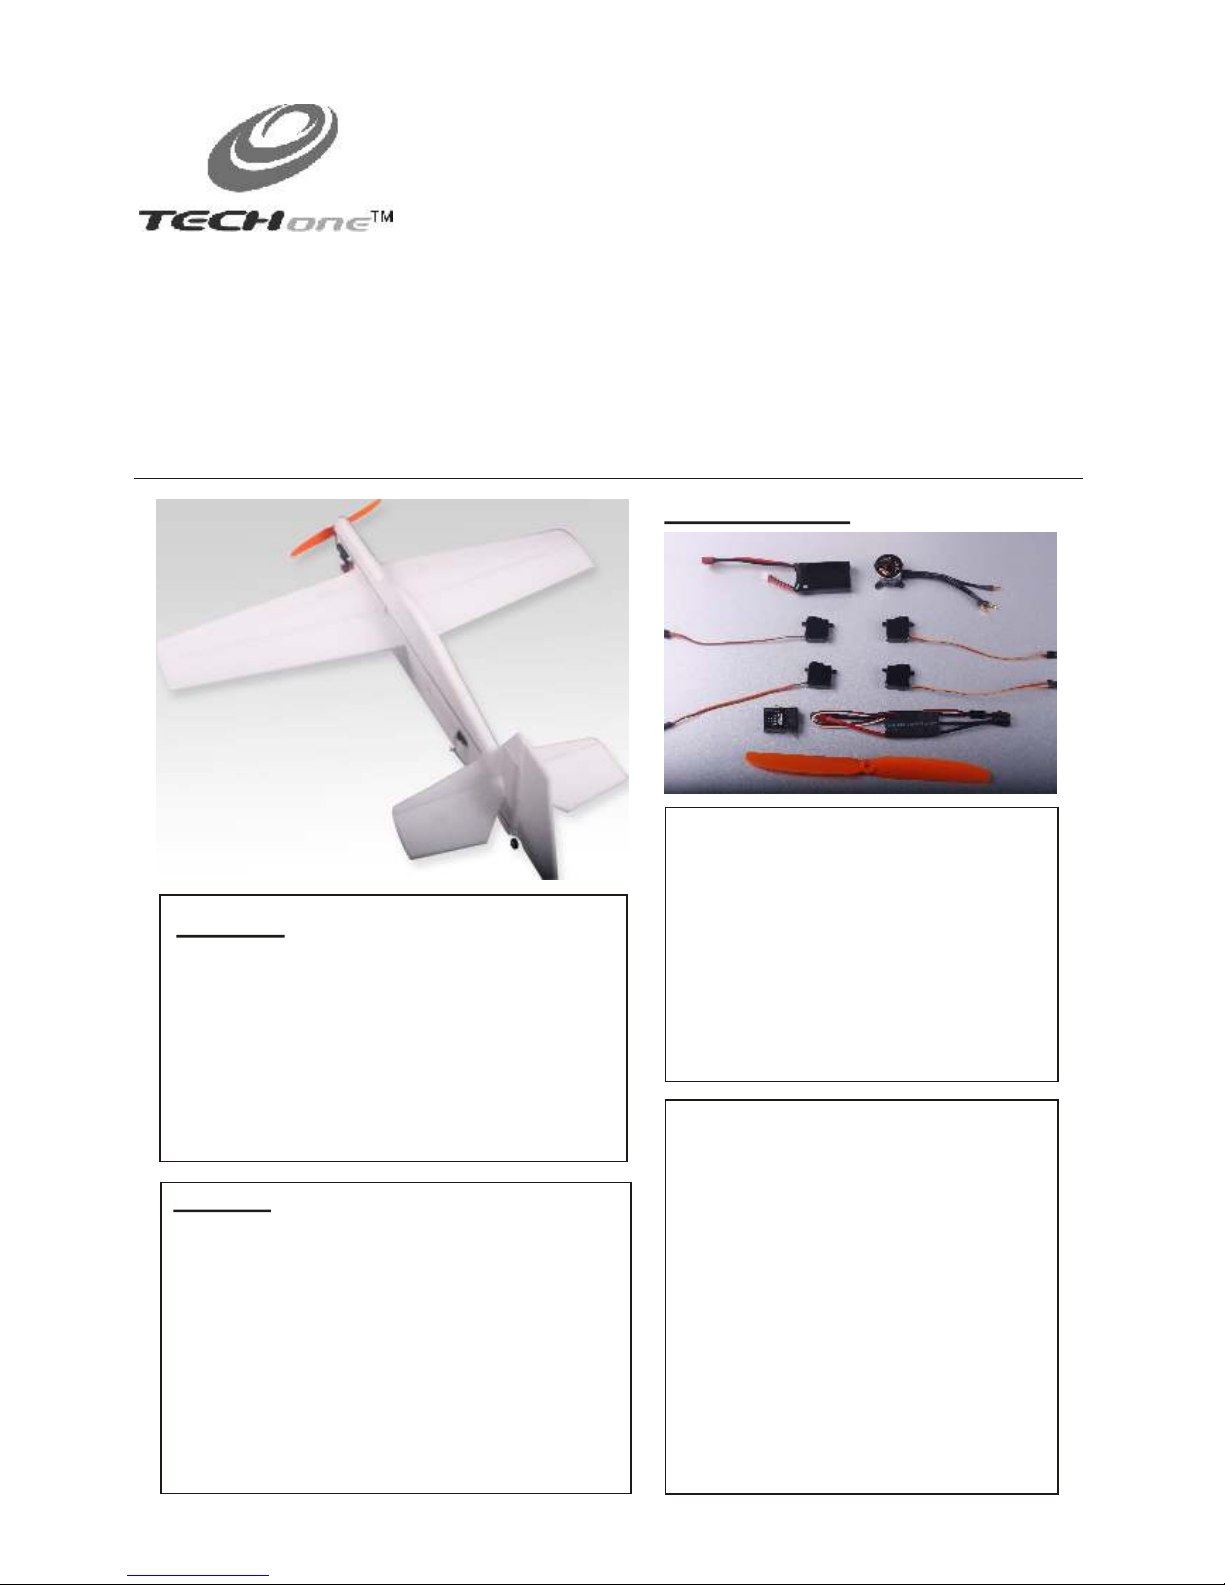
EPP-YAK54
s
Yak54 EPP
Before operating this unit, please read these instructions completely.
Features:
EPP-YAK54 is super aerobatic model for 3D aerobatic flying.
Model is produced by modern technology on CNC machines
from EPP “almost unbreakable” material.
The flying time of EPP-YAK54 is between 8 to 15 minutes, it
depends on the flying figures. The model is able to “torque
roll”and then after giving more “gas” to rise verticaly up, looping
in “knife” flight and all aerobatic figures. It is very easy to land
with the model, you are able to do it into your hand if you want
like with handlaunch glider.
Product Specifications
Fuselage length: 925mm (36.4in.)
Wingspan: 900mm (35.4in.)
Flying Weight:380-470g (with battery)
Motor: 2212 KV 1400
ESC: 20-30Amp
Propeller: GWS 8040-9050
Servo: 8-10g micro servo * 4pcs
Radio: 4/more channel
Battery: 11.1V 800-1200mAh Li-po 20C
Do not fly under the conditions below
Wind strong enough to make the trees rustle
A street with many trees or street lamps
Close to high voltage electrical wires
High Population density areas
Cautions for flying
Large gyms, front lawns and parks make
excellent flying areas. Make sure you have
permission to fly and follow safety guidelines set
by local authorities. The calmer the wind, the
better!
Note for Storage
Please disconnect the lipo packs when finished
flying
Do not press or crush the airplane when storing
The best way to store is to hang the airplane to
keep the control surface rigid
Page 2
-1-
Recommended Flying Setup
Max servo travel of aileron: 30 degrees up and 30degrees
down(38mm)
Max servo travel of elevator:60 degrees up and 60 degrees
down(70mm)
Max servo travel of rudder: 65 degrees left and 65 degrees
right (96mm)
CG Position:
80-95mm from the leading edge of the wing,.
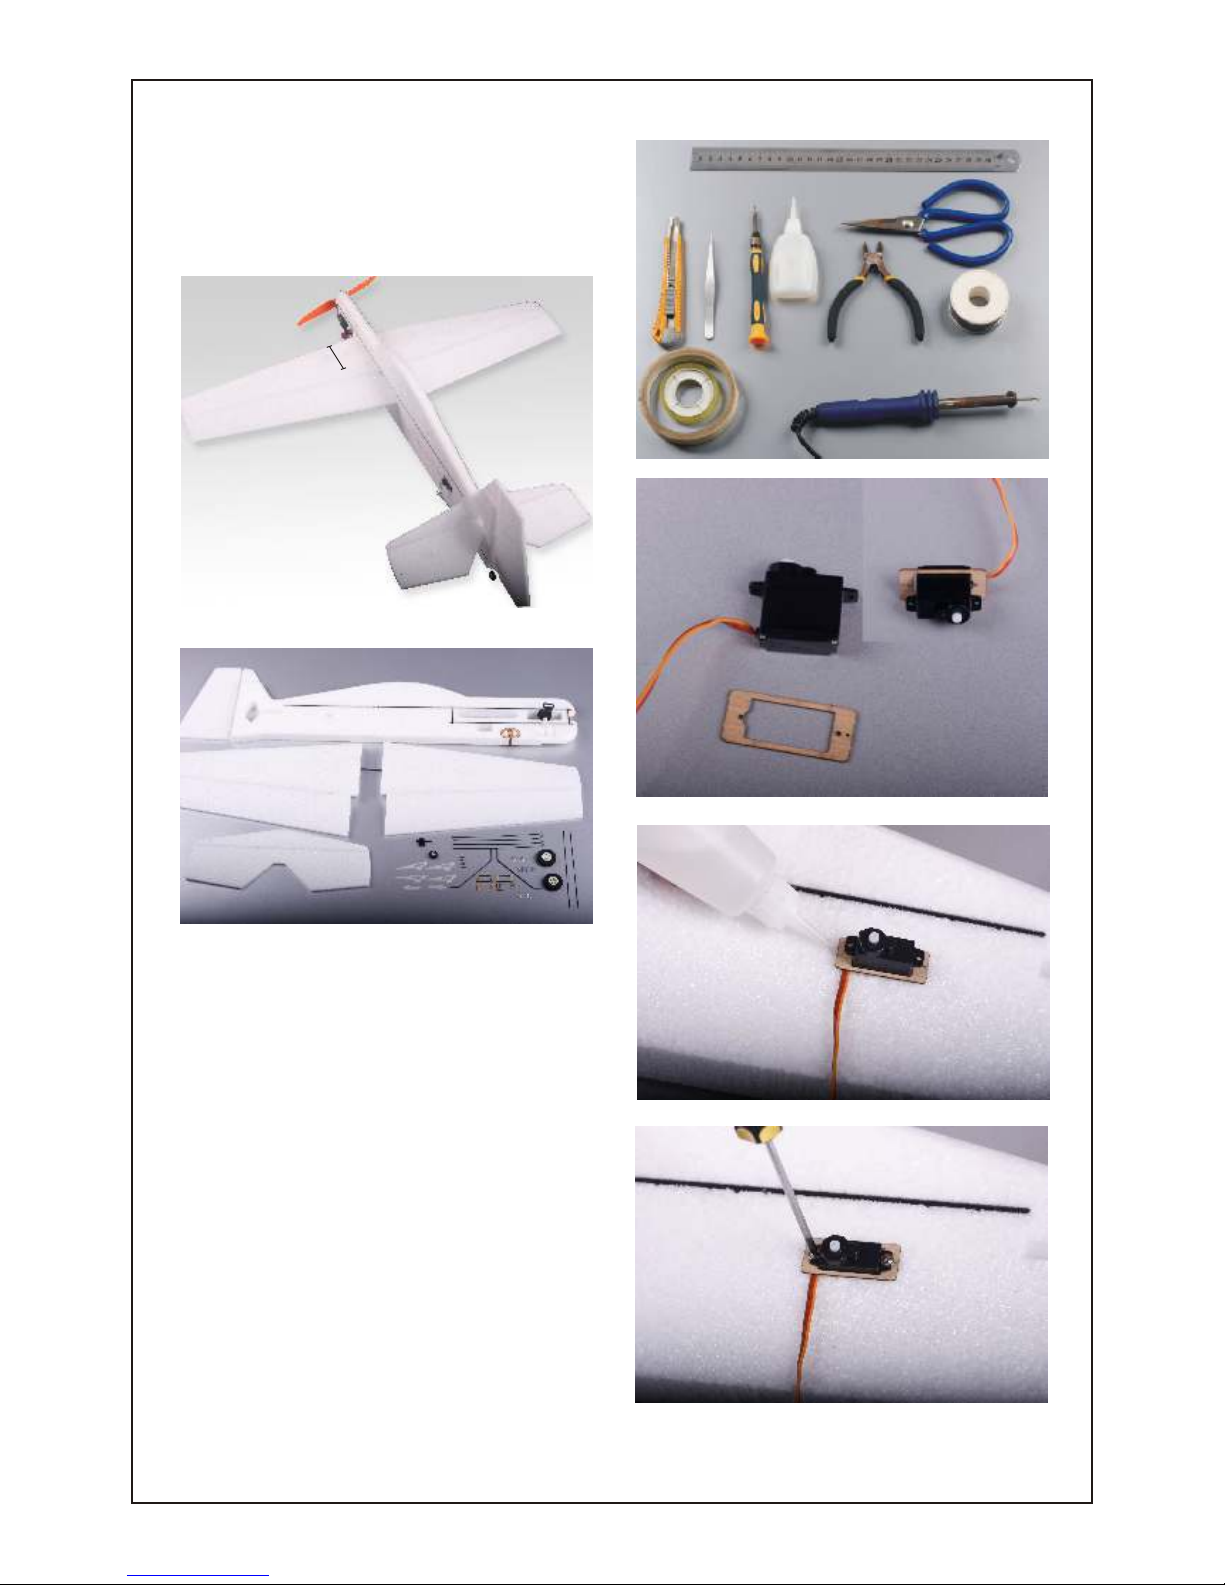
Parts included in the packing
1 Fuselage + Rudder(vertical tail) 1pcs
2 Wing with aileron (right and left) 2pcs
3 Elevator (stabilizer) 1pcs
4 Landing gear 1pcs
5 Wheel 2 pcs
6 Extension arm 2pcs
7 Pushrod connector 4pcs
8 Screw 3*10 4 pcs
9 Screw 2*3 2 pcs
10 Wheel pants 2pcs
11 Plywood control horn 4pcs
12 Bracing 1pcs
13 Z -Bend 1.2 mm *220mm 4pcs
14 Carbon rod 1.3mm*190mm 2pcs
15 Baldachin 4pcs
The items below are required for assembly
1.Set the servo mount on the servo.
2.Glue the rudder servo mount on to the around of pre-cut hole.
3.Fix the servo onto the servo arm by using 2pcs screw
Pls pay more attention the servo wires when you fix the servo .
1
2
3
4
5
7
8
9
10
11
13
14
6
15
12
CG 80-
95m
m
Page 3
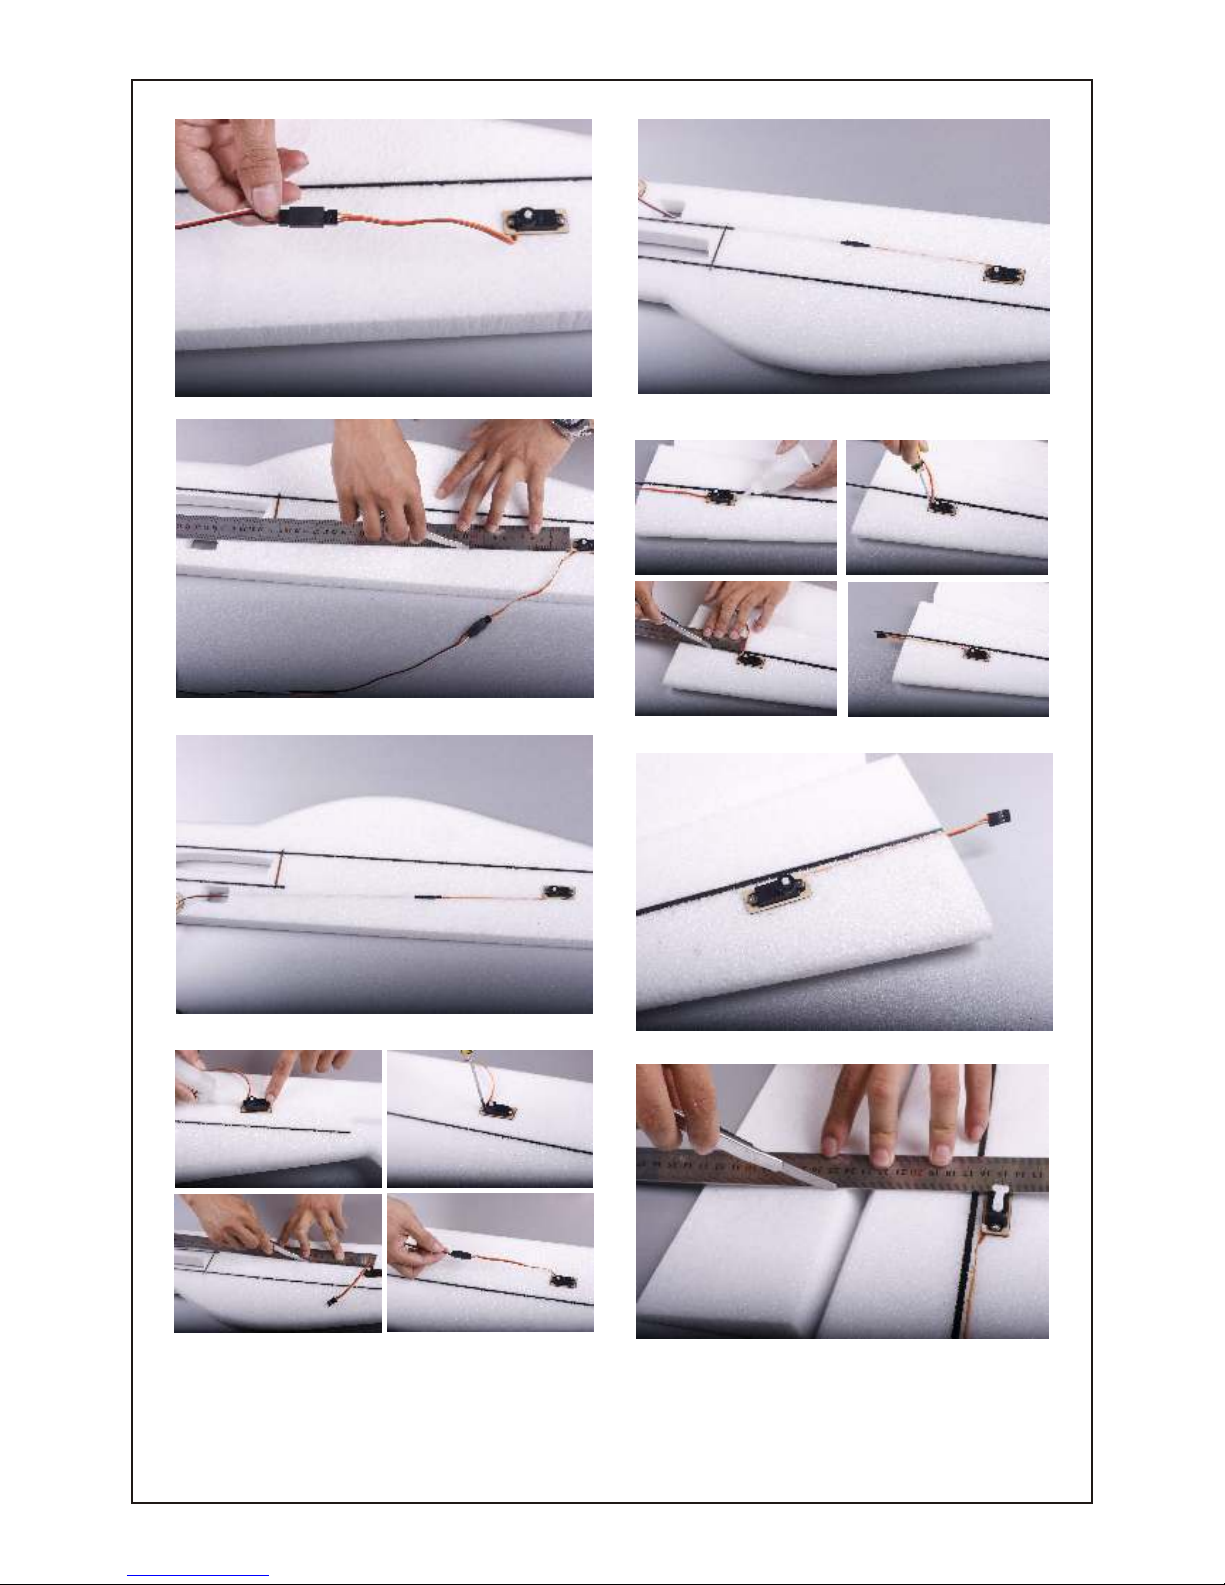
4.Connect the servo extension wire with the servo wire
5.Use the hobby knife to cut a 10mm depth slot , make
sure the servo wire to reach the receiver location .
6.As the picture shown , insert the servo wire into the precut slot .
7.Use the same method to install the elevator servo as
installing the rudder servo .
8.Install the left aileron servo.
9.Use the same method to install the right aileron servo.
10.Pls use a hobby knife to cut a slot which is vertical to
the servo arm , so that can install the servo control horn
easily .
-2-
Page 4

11.Glue the control horn by using the CA .
12.Increase the servo arm hole by using the aiguille ,
convenient for installing the pushrod connector.
13.Install the pushrod connector.
14.Install the Z-Bend , tighten the screws by using the
screwdriver.
15.Use the pinchers to cut off the superfluous steel wire.
16.At the junction of the receiver and wing location ,cut a
hole , convenient for the aileron servo wire pass through
easily .
17.Connect the left and right wing with 3 x 100 mm carbon
rod , insert it into the wing slot.
18.Thread the servo wire through the hole till the receiver
location.
-3-
Page 5

A
B
A=B
19.Make sure A=B after installed the wing .
20.Glue the both sides of the joint of the wing and fuselage
by using CA .
C
D
C=D
90
21.Insert the horizontal stabilizer into the fuselage slot
using CA glue.
22.Use a knife to cut a slot , as the picture shown.
23.Glue the control horn using CA .
24.Glue the vertical stabilizer onto the fuselage.
-4-
Page 6

25.Use a knife to cut a hole onto the rudder .
26.Glue the control horn by using CA .
27.Fix the servo extension arm onto the servo arm with
screw .
28.Install the pushrod connector onto the extension arm .
29.Install the Z wire onto the pushrod connector , and
then tighten the screw with screwdriver.
30.Center the rudder and elevator , and then tighten the
servo arm .
31.Glue 2pcs of 1.3mm*190mm carbon rods onto the back of
the horizontal stabilizer and the both sides of the under of
thefuselage. To avoid the twisting of the horizontal stabilizer.
32.Use a knife to cut a slot under the fuselage.
33.Glue the tail wheel set into the fuselage slot.
-5-
Page 7

34.Install the wheel and the wheel pant.
35.Insert the landing gear into the slot .
36.Install the motor into the motor mount ,and then tighten
them by using 4pcs screws.
37.Install the ESC on the right of the fuselage hole , and
then tighten them with the band.
38.Use the knife to cut off the superfluous band .
39.Install the lipo battery pack ,and then fix them with velcro.
40.There is a receiver location under the wing, connect
the servo and ESC wire to the receiver , And then insert
the receiver into the slot .
41.Fix the propeller with O-ring .
-6-
Page 8

A perfect YAK54 3D-EPP is done after your careful assembly.
While assembly, the flying weight is really critical to the flight
performance and will be affected by adding weight, so you
should reduce any unnecessary weight while assembly.
Then you’ll get the best flying performance.
-7-
 Loading...