

Page 1
Upgrade your kitchen faucet to a cleaner
and more convenient one
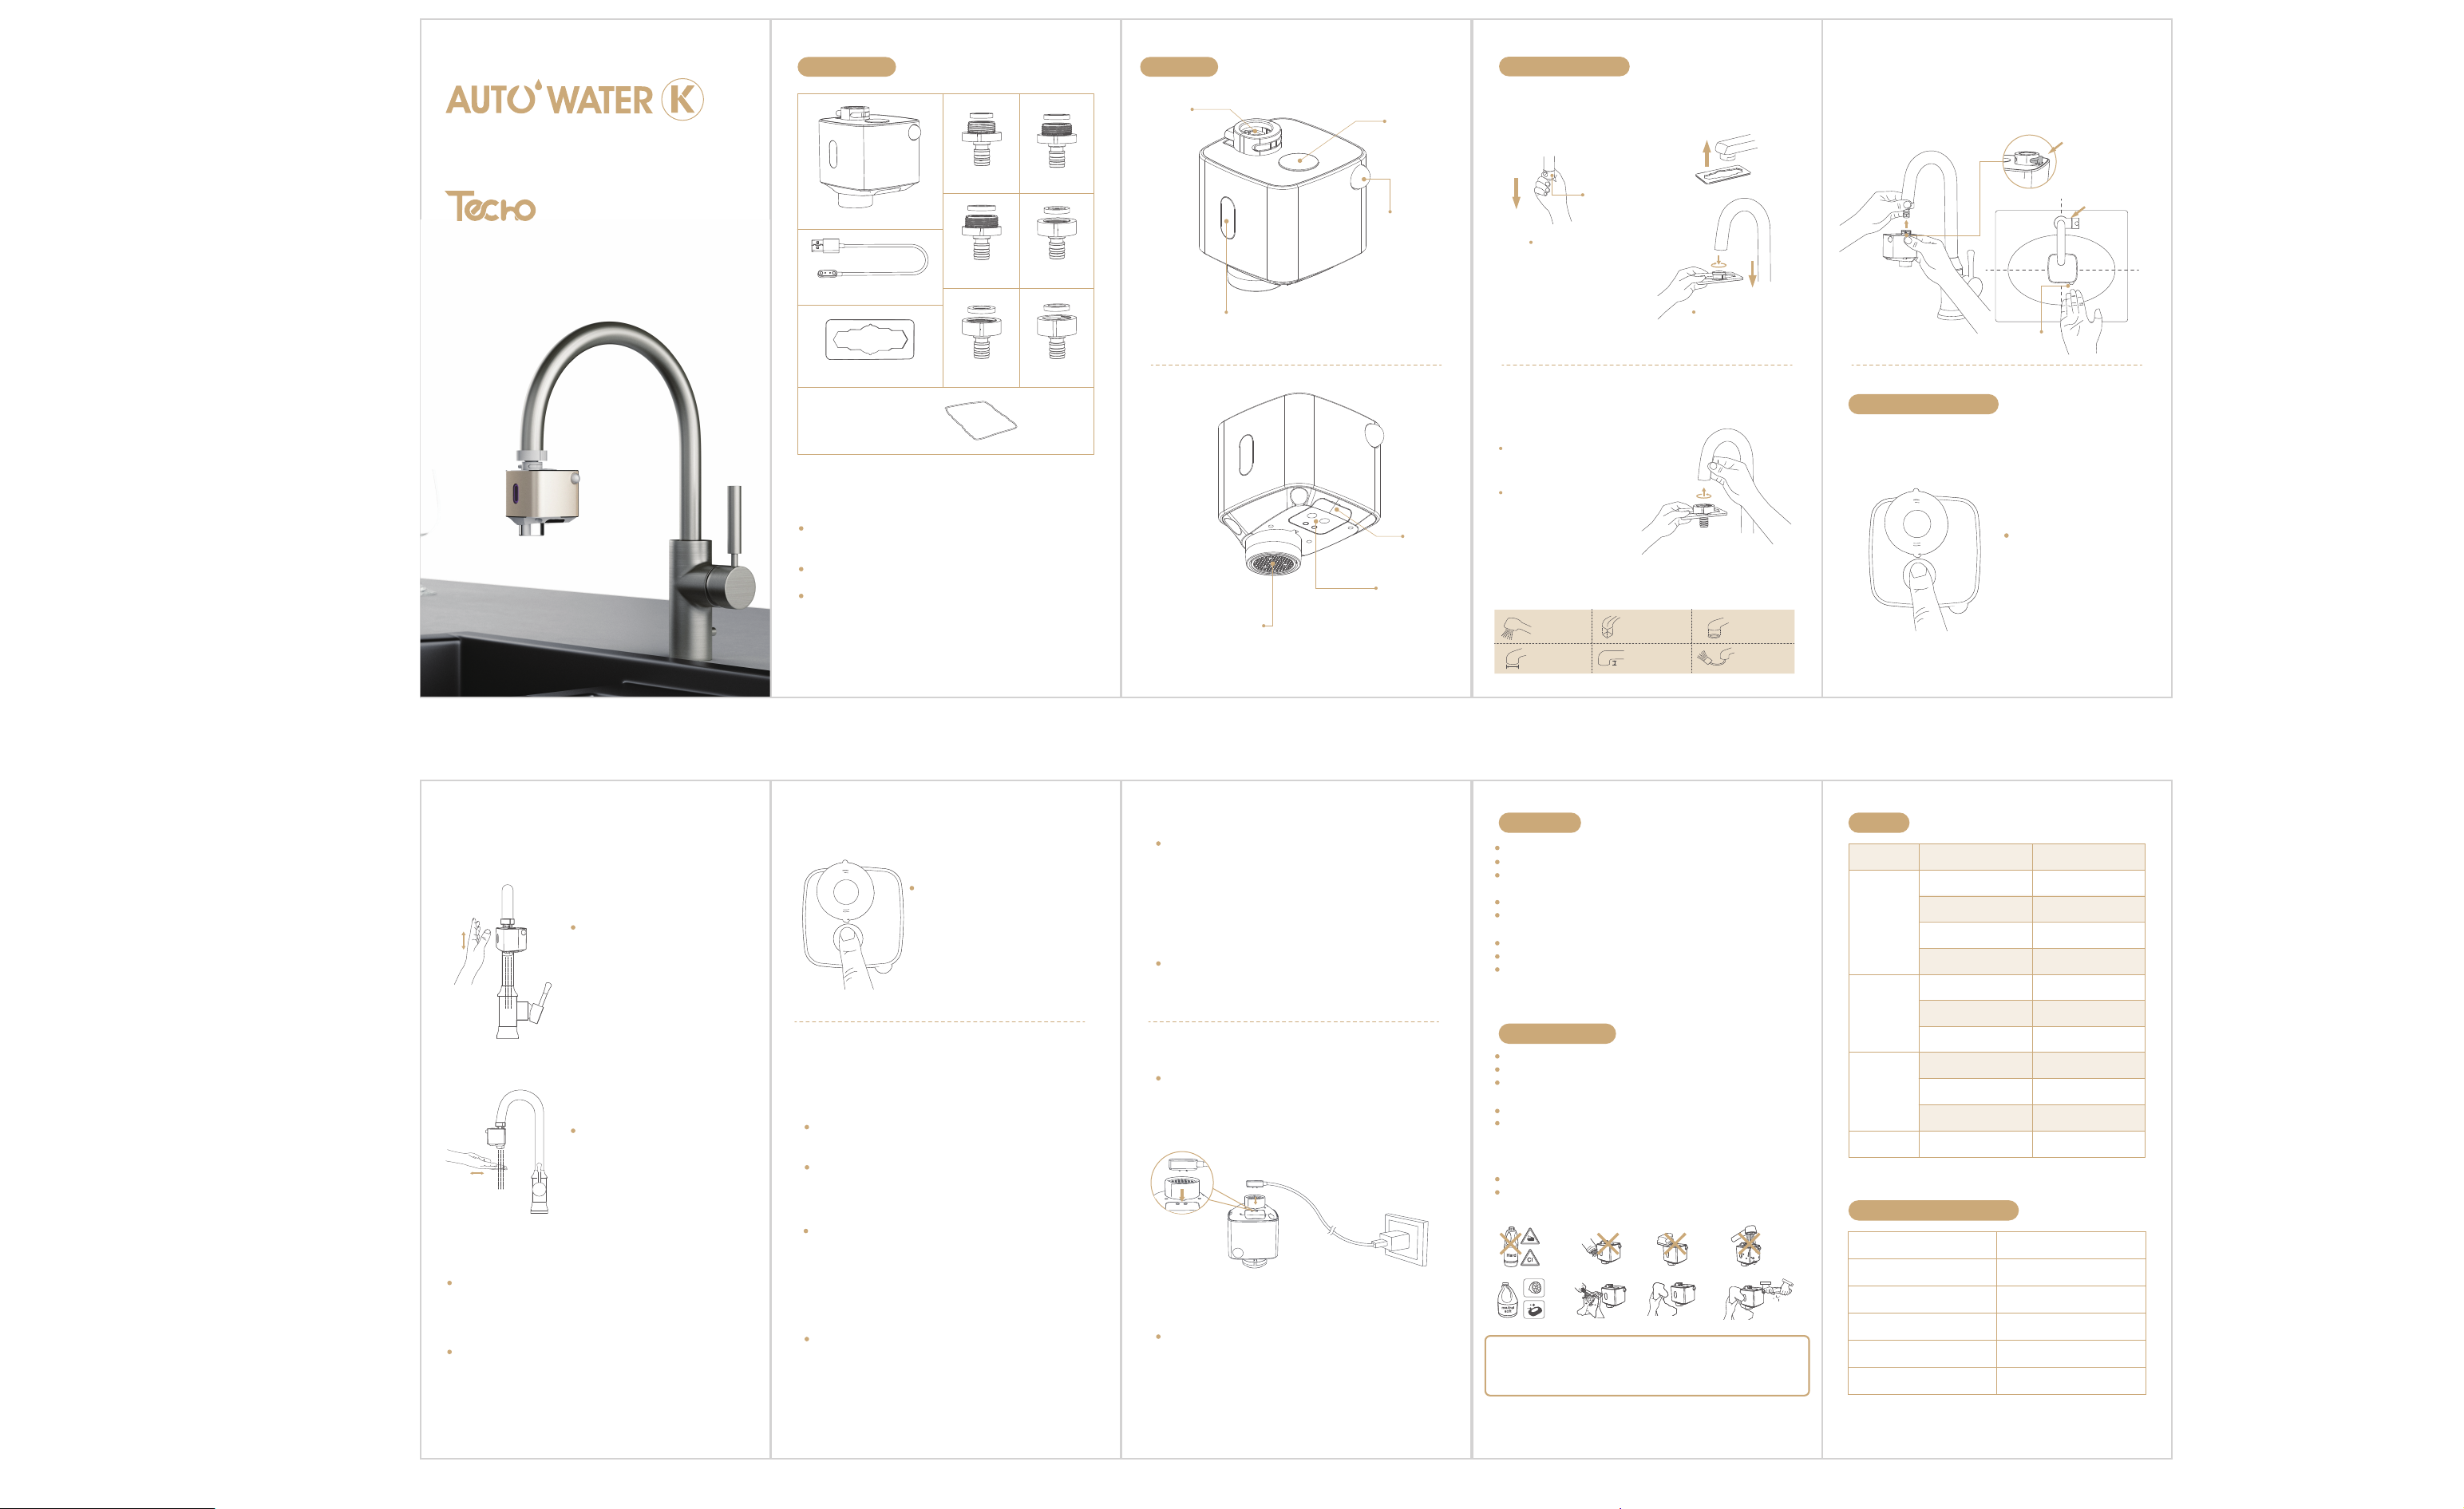
Package List
Autowater
Magnetic Charging Cable
Wrench
M20
M24
F22
M22
F20
G 1/2
Overview
Water Inlet
Infra-red Sensor
Setting Botton
Night Infra-red Sensor
for LED
Installation Steps
1. Remove the aerator of your faucet and
the aerator’s O-ring
Aerator
Aerators with
smooth surface
can be detached
by hands.
Aerators with bayonet
can be detached with
the wrench.
3. Install Autowater on your faucet
Push adapter into the water inlet of Autowater till you hear a “click”,
make sure the night infra-red sensor for LED is directed outwardly.
Button for Installing &
Detaching Autowater
Central
Night Infra-red Sensor
for LED
Faucet
2. How to turn on/off the water
Move your hand above the upside sensor
to turn on the water, and move your hand
beside the sensor again to turn off
the water.
Put your hand below the underside
infra-red sensor to turn on the water,
and remove your hand to turn off the water.
Notes
If you turn on the water through the upside sensor, you can’t turn off the water
through the sensor on the underside.
You have to turn on and turn off the water through the same senor.
If the sensor is activated for over 3 minutes, Autowater will automatically
turn off the water.
Cleaning Cloth
Notes
The letter in the adapter’s name Indicates the type of the adapter,
the “M” means it is a male adapter, the “F” means it is a female one.
The number in the adapter’s name indicates the diameter of the adapter.
EXAMPLE: “M20” means the adapter is a male adapter with a
diameter of 22mm.
3. How to change the color of LED night light
To switch colors, press the button at 2-3
seconds interval, release the botton to
choose the light color you want.
Autowater has 7 color modes (white, blue,
red, green, purple, yellow, blue-green).
4. How to turn on/off the night light function
How to adjust the underside sensor’s range
How to shut down Autowater
To turn on/off the night light function, to adjust sensing range, and
to turn off the device, the setting mode has to be activated.
To activate the setting mode, press and hold the setting button,
the setting mode turns on when the LED light starts blinking white, release
the setting botton and immediately press it again to switch between
three different functions.
Each function is indicated by a different light color:
The green light indicates that you can turn on/off the LED night light function.
The red light indicates that you can shut down the device.
The purple light indicates that you can start adjusting the underside senor’s range.
4.1 How to turn on/off the night light function
Activate the setting mode, and press the botton, switch the light color
to green, release the botton, the green light will blink for sever times,
after the light goes off, the night light function will be successfully turned on/off.
Infra-red Sensor
Water Outlet
4.2 How to adjust the sensing range of underside sensor
Turn off your faucet, activate the setting mode, switch the light color
to purple. When the light flashes a few times and then automatically
changes its color to blue, position your hand on the desired distance
under the underside sensor, don’t move your hand until the light stopes
blinking and goes off.
The maximum sensing range of underside sensor is 30cm.
4.3 How to shut down Autowater
Activate the setting mode, switch the light color to red, after
the light flashes a few times and goes off, the device will
automatically shut down.
5. How to charge
Remove the device from your faucet.
Connect the USB interface to an USB plug, put the plug in a socket.
Place the magnetic charging cable on the charging interface of Autowater.
Note
The charging time of Autowater’s battery is 4h.
LED Light
2. Install the Techo adapter
Find a Techo adapter that suites
your faucet.
Install the adapter on your
faucet with your hand, and
tighten it with the wrench
in the package.
Autowater is NOT compatible with the following kinds of faucet.
Shower faucets
Faucets with outlet
wider than 24mm
Faucets with
square outlet
Faucets’ outlet
shorter than 15mm
Faucets with
oval shape outlets
Retractable
faucets
Cautions
Using the product in overly damp or dusty environments will damage the product.
Exposing the product to temperatures under 0
Exposing the product to strong and direct sunlight or over 55
damage the product.
Rinsing the product in water will damage the product.
Using the product with turbidity water supplys will damage the product, the product
is only compatible with municipal water supplys.
Squeezing, knotting the charging cable will damage the cable.
Don’t use the charging cable to charge the product if the cable’s surface is damaged.
When the charging is completed, please cut off power supply by removing
the USB plug, please don’t cut down the power supply by pulling the power cable
out of the USB plug.
℃ will damage the product.
℃ hot water will
Maintenance
Cleaning the filter in the adapter to prolong the life of Autowater.
Charging the product when the red light that indicates low power is blinking.
Dismantling the product requires professional skills, please don’t dismantle the
product by yourself.
Keeping the surface of product dry to prolong the life of Autowater.
Cleaning the product with the following chemicals and items will damaging
the product: Acid cleaning agent, Chlorinated bleach, Alkaline cleaning agent,
Banana oil, Gasoline, Decontamination powder, Other cleaning agents
containing particles, Nylon brush, Other kinds of brush.
If the product wiil be left unused for one or two weeks, please turn off your faucet.
If the product will be left unused for over two weeks, please store it in a dry and
clean environment.
Disclaimer
Techo is only responsible for accidents caused by quality problems of our product.
Techo will not take responsibility for accidents caused by using Autowater with faucets
of poor quality.
Operation Manual
1. How to power on Autowater
Press and hold the setting
button for 3 seconds
to power on Autowater.
FAQ
Question Possible cause Solution
Charge the battery
Check the water supply
Clean the filter
Check the water pressure
Adjust the sensing range
Clean the solenoid valve
Make sure the surface of
senor is clean
Check the water supply
Cleaning the filter
Check the water pressure
Check the water pressure
No water
comes out
The device
can’t be
turned off
Water flow
is too weak
Water flow
is too strong
The battery is out of juice
Water supply is cut off
The filter in the adapter
is clogged
Water pressure is too low
The sensing range is too wide
The solenoid valve is clogged
There are stains on the
sensors
Water supply is weak
The filter in the adapter
is clogged
Water pressure is too low
Water pressure is too high
Productparameters
Product serial number
Power supply
Water pressure
Types of Sensors
Charging time of batteries
Water temperature
SZ01
3.7 V
0.05-0.7 Mpa
Infra-red sensor
4h
1℃ -55℃
Contact us: [email protected]
 Loading...