

Page 1
Quick Starter Guide English
Well done !
With the climatic controller "TERRA by TechnoKiss" you are all safe
side for a terrarium with healthy and happy animals or plants. For a
right use, we recommend you to read at first the Quick Starter Guide. Please
follow the steps, as mentioned in this Quick Starter Guide.
1 / 4
Page 2
Quick Starter Guide English
1
central unit
1
Temperatur Sensor
1
Humidity
Sensor
1 Ventilator
1 Quick starter Guide
1 CD
-
Rom
with a complete
Your Starter-Kit TERRA
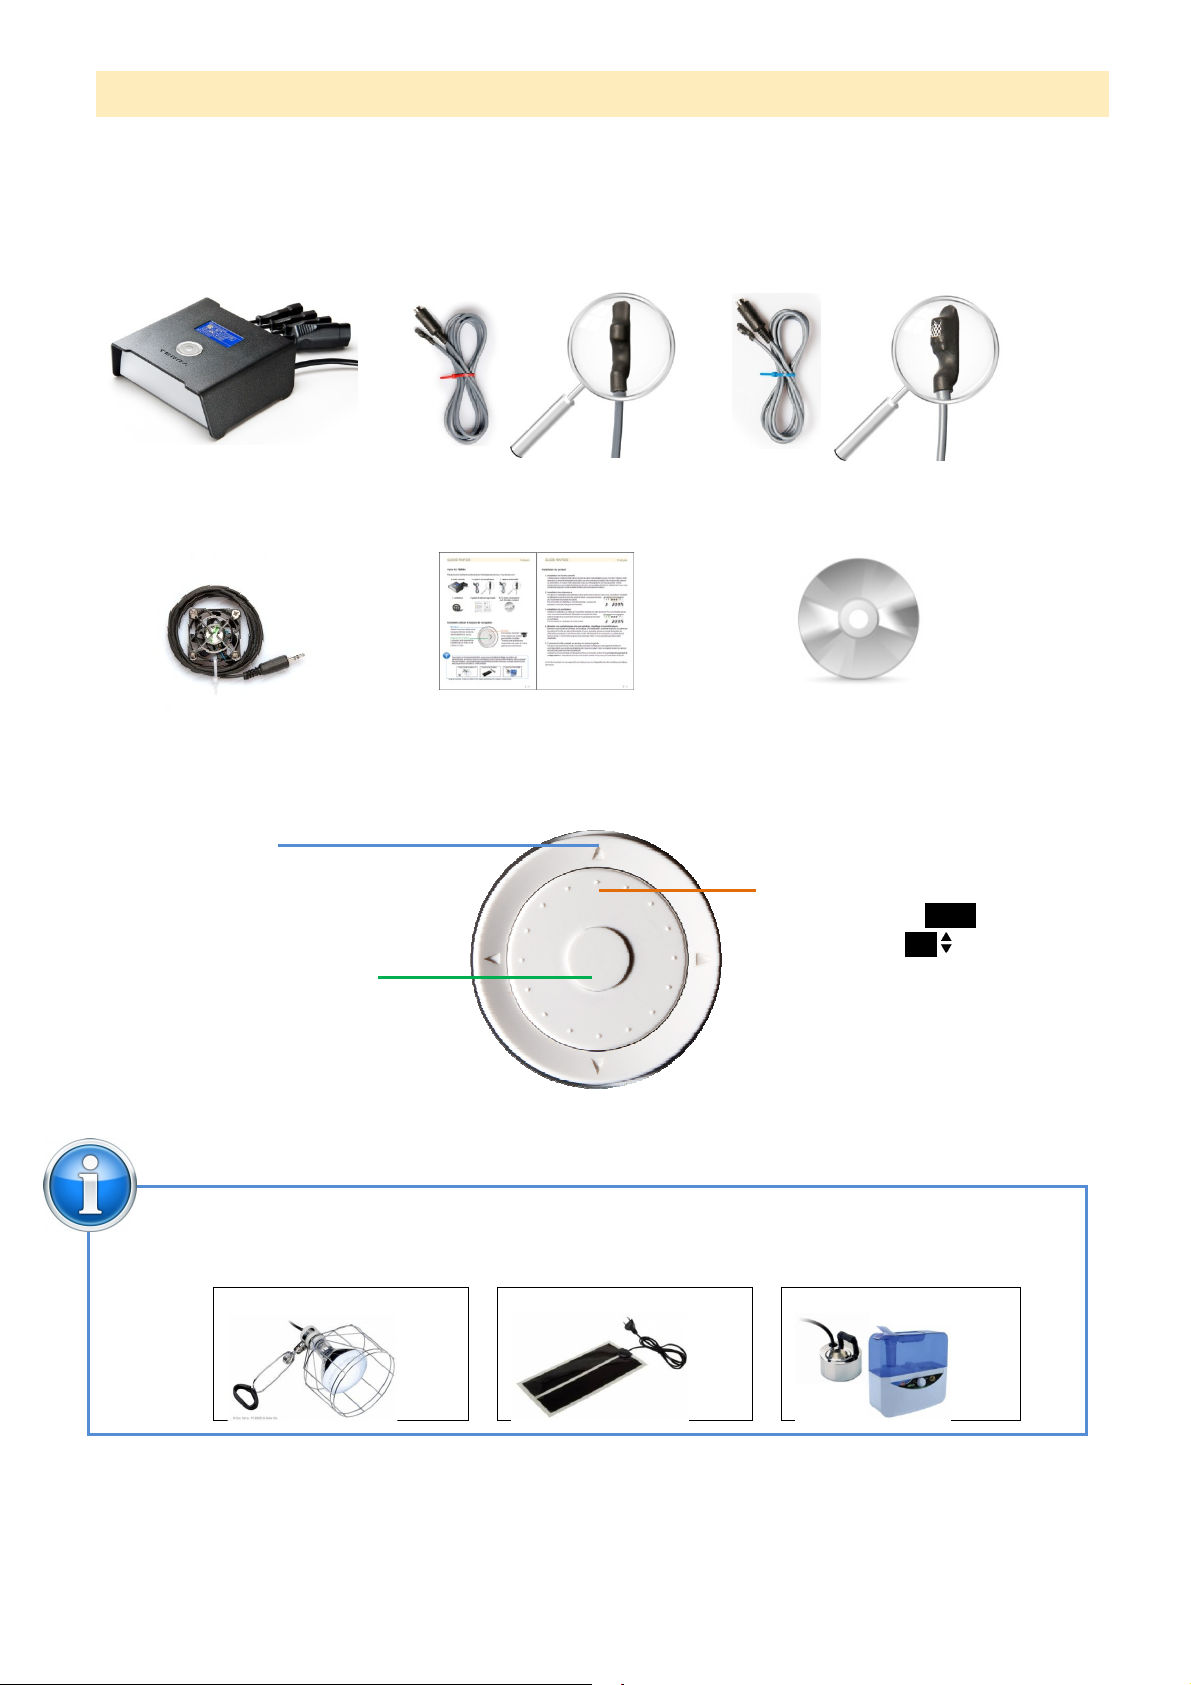
If you expand all the parts in your Starter Kit TERRA, you should find the following pieces:
How to use the navigation key
Navigation
Use the outer ring to move
between the icons and fields
Select/Confirm
The middle button allows you
to select a menu or to confirm a
selection
user manual
Change
The text fields
number fields
modified.
Turn right and the values increase,
turning left decreases the values.
TEXT
123
and the
can be
To create ideal environmental conditions, we recommend at least the following accessories in
addition to the supplied fan use. These devices can be purchased at most pet stores. All
brands can be used, as only the power supply is connected to the central unit.
1 UV Light Source
1 Heat Source
1 Humidification
2 / 4
Page 3
Quick Starter Guide English
Installation of the product
1. Installation of the central unit
Please set up the central unit, without being coupled to the power supply. The unit must be installed
in an accessible location, horizontal and on leveled surface. Avoid direct exposure to sunlight and
direct contact with water. Also make sure you have easy access to the navigation button and to the
screen. We encourage you to install the central unit either next to or on a terrarium/vivarium.
2. Installation of the sensors
Next step is to install the sensors in your terrarium/vivarium. We recommend installing the sensors
at the same time than your decors, so you can hide the wires better
in the decor.
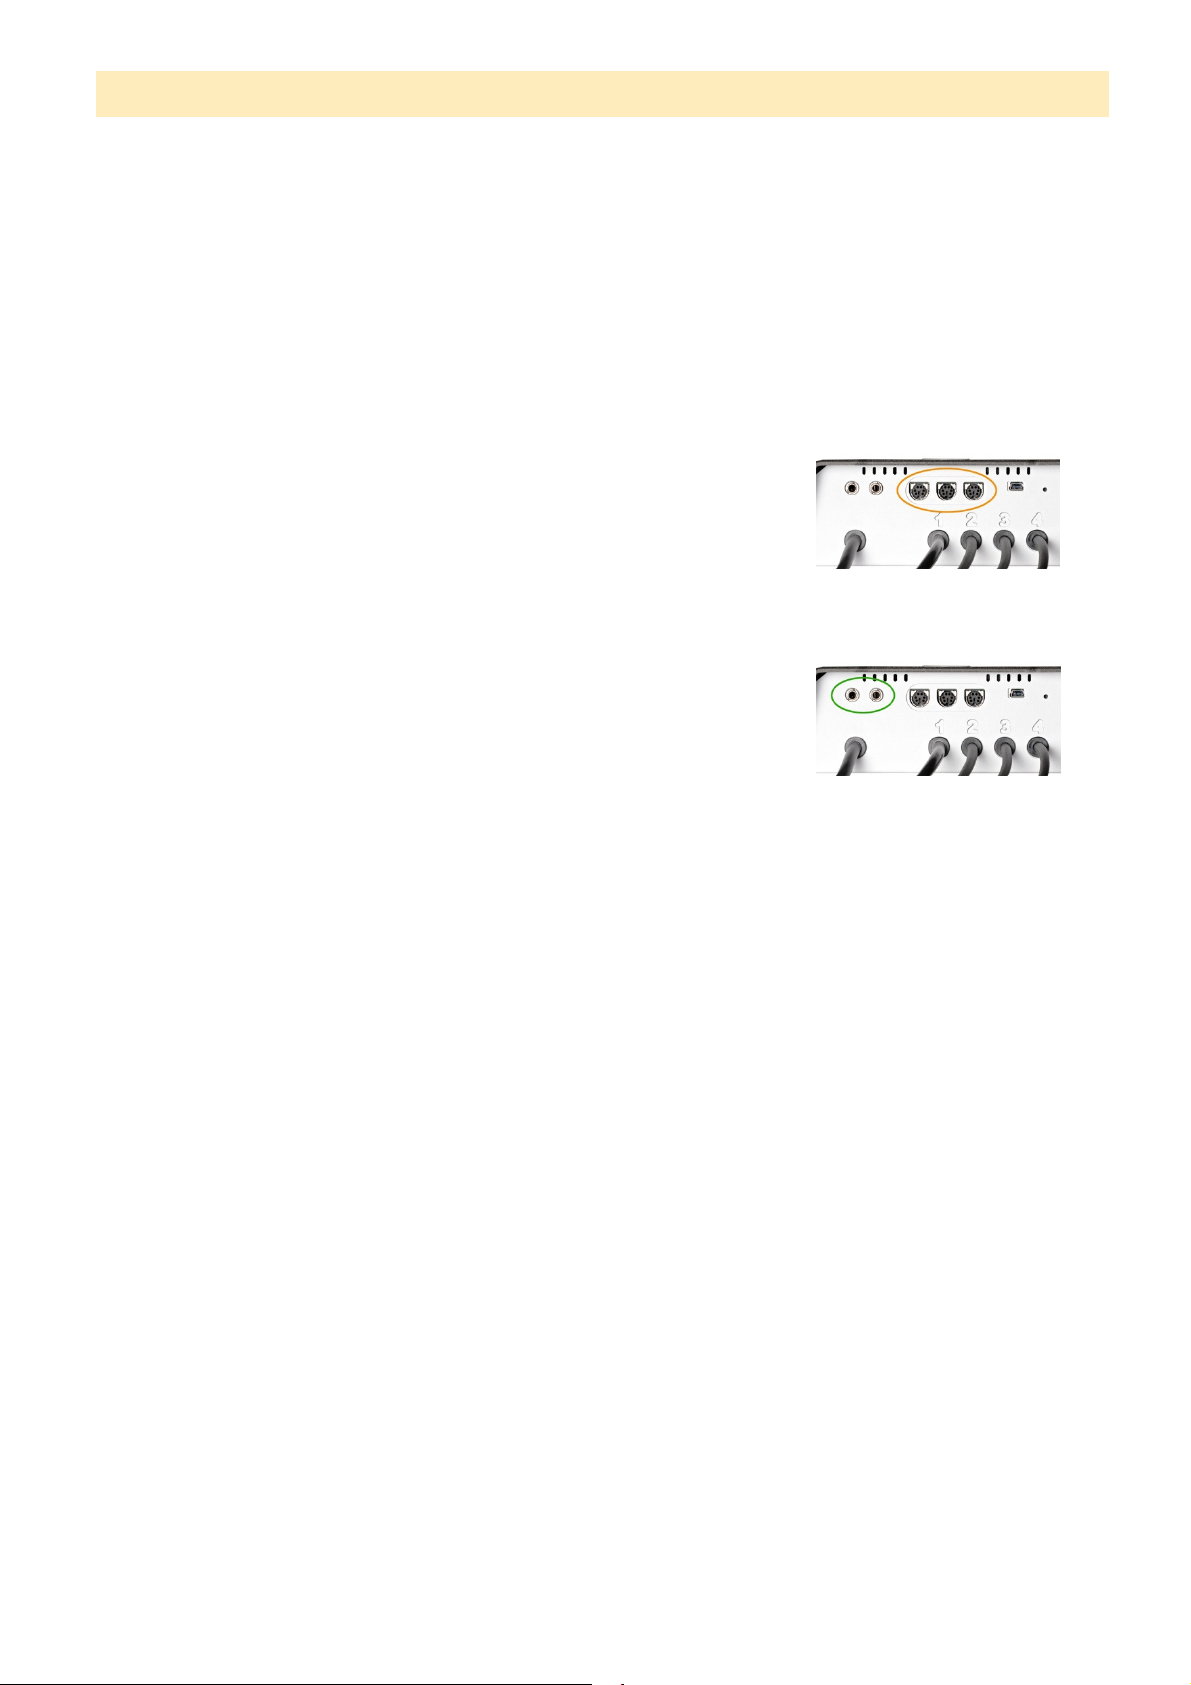
Then connect the sensors to the central unit. The sensors are
automatically recognized by the central unit.
3. Installation of the ventilator
Install the ventilator above of a ventilation grid on your terrarium/vivarium. To secure it better, we
recommend using a double-sided adhesive tape. Make sure that the
rotors are not blocked.
Then connect the ventilator to the central unit.
4. Connect your devices such as light, heater and humidifier
Connect sources of light, heater, humidifier, raining systems or other external devices to the 220V
power plugs of your unit. If you use multiple light sources, then you should connect them in a
decreasing order. The strongest light on plug 1 and the lower one on plug 2. The same if you are
connecting several heating systems.
5. Connect your central unit and follow the instructions on the screen
Once you connect the central unit to a power supply, a short animation will show you that your
device is working correctly. At the end of the animation, you will be on the main screen. This shows
you all the connected devices and sensors.
To open the main menu, you need only to push once the central navigation button. If you press a
second time, you will open directly the setup wizard. Follow the instructions on the screen for a
quick installation.
At the end of the setup wizard, you will be informed that the installation of the climatic controller TERRA
by TechnoKiss has been completed successfully.
3 / 4
Page 4
Quick Starter Guide English
0801
-
01
2001
-
40
0802
-
01
2001
-
60
2001
-
80
WARNINGS
This product has been manufactured for the management of an environment in a
terrarium, vivarium or indoor greenhouse. The manufacturer is not liable for any
damages caused by the misuse of this product.
This product has been developed for indoor use only. As the product is not waterproof,
it can only be used outside of a terrarium, vivarium or an indoor greenhouse. If a large
terrarium, vivarium or indoor greenhouse with large water area or with much moisture is
used, then you have to be aware that no water or condensation runs along the cables to
the central unit.
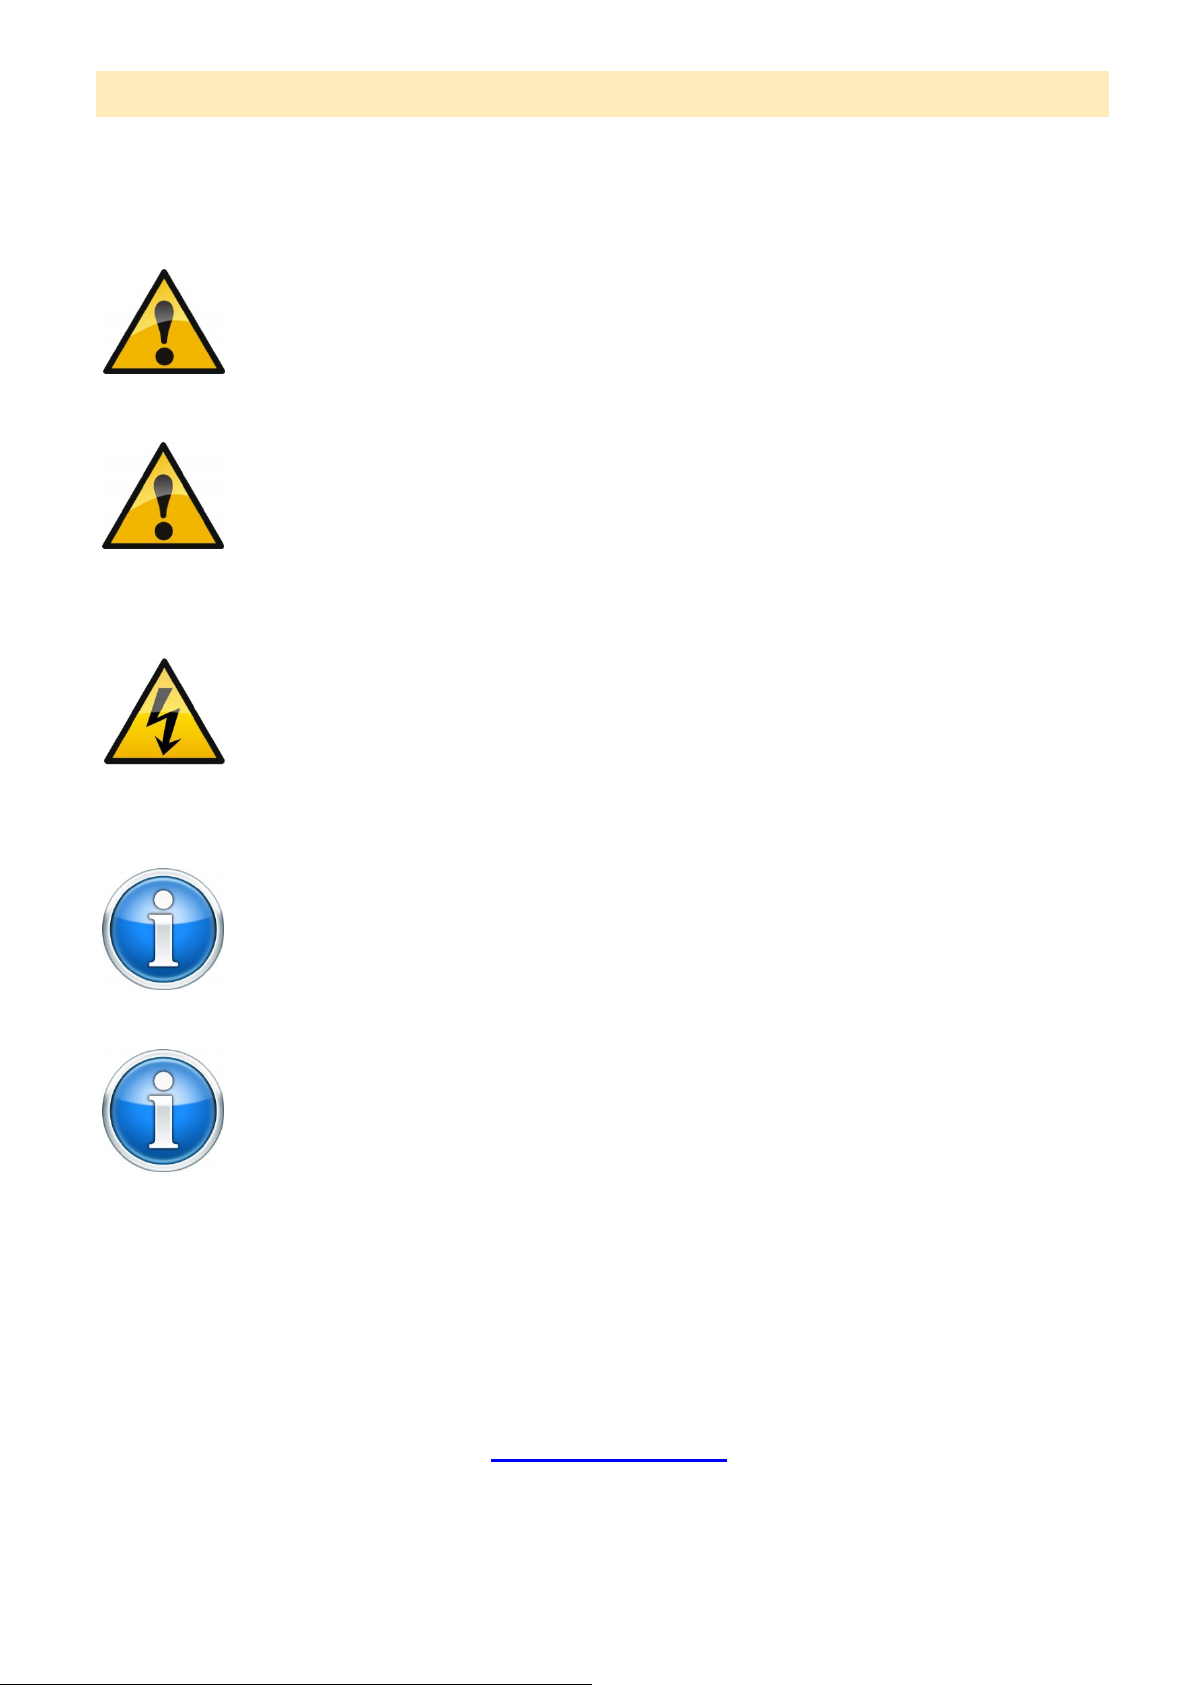
The device must be used between a voltage of 85 and 250 volts. Don’t open the device
in any circumstance. The plug 2, 3 and 4 can hold each a maximum of 150W. The plug
1 is able to hold 650W. The total load of all connected external devices must not exceed
1100W.
The temperature sensor (red tape, without any grid) is waterproof and can therefore be
immersed in water. In a terrarium, vivarium or indoor greenhouse with a water area, you
can use to different temperature sensors and regulate separately the temperature and
humidity in dual-zone mode. You can also heat up your irrigation water.
The humidity sensor (blue tape, with a grid) is not waterproof. He can hold some water
drops, but to avoid any false information, we recommend to not fixing it under a raining
system.
Accessories, replacement parts and contact
Temperature sensor
Humidity sensor
Accessories can be ordered by mail at : [email protected]
Ventilator with grid, 40x40 mm
Ventilator with grid, 60x60 mm
Ventilator with grid, 80x80 mm
4 / 4
 Loading...