

Page 1
Tesco Stores Ltd, Delamare Road, Cheshunt, Herts, EN8 9SL
HEADPHONE LISTENING
AFTER USE
CARE ANDCLEANING
A stereo headphone socket is provided for quiet
listening. When used with earphones the sound
quality willbe greatly improvedas the speakersin
your unit are quite small. The recommended
headphonematching impedance is32 Ohms.
Press the POWER/STANDBY button to switch the
unit into Standby.The Red Standby indicator will
illuminate.
As there no presets or other settings in this unit
that require the set to be under constant power,
you mayswitch the setoff at themains if youwish.
tosave electricity.
Cleaning should be carried out with the unit
unplugged fromthe mains.
The surface of the unit can be cleaned with a
barely damp cloth and then dried off. Do NOT
clean the inside of the CD player with a cloth.
Lightly blow out any dust. Lightly brush speaker
grilleswith a softbrush.
If your CDsjump, skip or don’tplay properly, this
is likely to be caused by damage or dirt on the
CD ratherthan any faultof the unit.If the CDlens
gets dusty or dirty,use a proprietary lens cleaner
and followthe instructions carefully.Keep the CD
lid closedwhen the unitis not inuse to protectthe
laserassembly and tokeep outdust.
Replace handset batteries when
transmission becomes erratic. Dispose of used
batteries according to the recyclingprovisions in
your area. throw batteries in the general
rubbish,a fire orwater.
5” & 3” compatible.
(LxWxH)
110 x 162 x 205
291 x 201 x 77
2.85 Kg
Batteries:
Never
Dimensions
Loudspeakers:
Main Unit:
Net Weight:
WARRANTY
YourTechnikaappliance is covered bya warranty
for 12months fromthe date ofpurchase. Ifa fault
develops during this period, please contact the
TESCO electrical help line on 0845 456 6767.
Please have your original purchase receipt with
you whenyou call. Thiswarranty in noway affects
yourconsumer rights.
SPECIFICATIONS
Model:
Power Source:
Frequency Range:
Output Power:
Frequency Resp:
CD Section:
MC
AC 230-240V ~ 50 Hz
FM 88 - 108 MHz
540 - 1600 kHz
2W RMS per channel
110 Hz - 16 kHz.
307
AM
Producedafter 13th August2005.
Waste electrical products should not
be disposed of with household waste.
Please recycle where facilities exist.
Check with your Local Authority or
retailerfor recycling advice.
User Handbook
MC 307
AM/FM/CD Micro System
Page 2
Readthese instructions.
Keepthese instructions.
Heedall warnings.
Followall instructions.
Donot usethis apparatusnear water.
Cleanonly witha slightlydamp cloth.
Donot blockany ventilationopenings.
Installin accordancewith themanufacturer's instructions.
Do not install or operate near any heat sources such as radiators,
stoves,or otherapparatus thatproduce heat.
Unplug this apparatus during lightning storms or whenunused for
longperiods oftime.
Refer all servicing to qualified service personnel. Servicing is
requiredwhen theapparatus hasbeen damaged in any way,such as
thepower-supply cordor plugis damaged, liquidhas beenspilled or
objects have fallen into the apparatus, the apparatus has been
exposedto rain ormoisture, does notoperate normally, orhas been
dropped.
Warning: Toreduce the riskof fire orelectrical shock, do notexpose
thisproduct torain ormoisture. Theproduct mustnot beexposed to
dripping and splashing and no objectfilled with liquids such as a
vaseof flowersshould beplaced onthe product.
No nakedflame sources such as candles should beplaced on the
product.
Changes or modifications not expresslyapproved by the
manufacturercould voidthe user'sauthority tooperate thisdevice.
Usage of controls or adjustments or performance of
procedures other than those specified herein may result in
hazardousexposure.
These labels tellyou that the unit contains a Lasercomponent. Do
notstare atthe laserlens.
This equipment generates, uses and can radiate radio frequency
energy and, if not installed and used in accordance with the
instructions,may cause harmfulinterference toradio ommunication.
However, this is no guarantee that interference will not occur in a
particular installation. If this equipment does cause harmful
interferenceto radioor televisionreception, which canbe determined
byturning the equipmentoff and on,the user isencouraged to tryto
correctthe interferenceby oneof thefollowing measures:
-Reorient orrelocate thereceiving antenna.
-Increase theseparation betweenthe equipmentand receiver.
- Connect the equipment into an outlet on a circuit different from
thatto whichthe receiveris connected.
-Consult thedealer oran experiencedradio/TV technicianfor help.
The mains operating voltageof this unit is on the
ratingplate onthe rear.In theUK thisis 230/240V.
he appliance cord is terminated with a UK approved mains plug
fittedwith a 3Afuse. If
DO NOT connecteither of these wires to the terminalmarked E, or
colouredgreen orgreen andyellow, ormarked bythe earthsymbol.
ClassII construction doubleinsulated. This productmust
notbe connectedto earth.
Caution:
Caution:
IMPORTANT
Mains Supply:
ELECTRICAL INFORMATION
T
thefuse needs tobe replaced,an ASTAor BSI
approved BS1362 fuse rated at 3A must be used. If you need to
change the mains plug, remove the fuse and dispose of this plug
safelyimmediately aftercutting itfrom thecord.
The wires in the mains lead are coloured in accordance with the
code:Blue: NEUTRAL; Brown:LIVE:
As these colours may not correspond to the coloured markings
identifyingthe terminalsin yourplug, proceedas follows:
The BLUEwire must be connected to theterminal marked with the
letter N or coloured BLUE or BLACK. The BROWN wire must be
connected to the terminal marked with the letter L or coloured
BROWNor RED.
CAUTION!
RISK OF ELECTRIC SHOCK
DO NOT OPEN
TO REDUCE THE RISK OF ELECTRIC SHOCK DO
NOT REMOVE COVER (OR BACK)
This symbol indicates that there are important
operating and maintenance instructions in the
literatureaccompanying thisunit.
This symbol indicates that dangerous voltage
constitutinga risk of electric shock ispresent within
thisunit.
3A FUSE
BS 1362
BROWN
(Live)
BLUE
(Neutral)
IMPORTANT SAFETY INFORMATION
2
FM RECEPTION
AM RECEPTION
!
!
!
!
!
!
!
Setthe CD/RADIO Switchto ‘ ’
Setthe AM/FM selectorto ‘ ’
Selectthe desired stationusing theTuning Knob.
Switch theAM/FM switch to‘ ’ This setsthe radio to
monoand will eliminatemost of thenoise.
Move the antenna cable round for the best
reception.
Setthe CD/RADIO Switchto ‘ ’
Setthe AM/FM selectorto ‘ ’(Medium Wave)
Selectthe desired stationusing theTuning Knob.
RADIO
FM STEREO
FM .
RADIO
AM
The display shows the station frequency. If the station is in
stereothe FM stereoindicator lights.
Ina bad signalarea, stereoreception may benoisy.
Theantenna is requiredonly forFM reception.
Medium Wave(AM) reception is liable tointerference from
cars,etc. so positionthe mainunit for bestreception.
NOTE:
ADVANCED CD PLAY
REPEATINGA TRACK ORA COMPLETEDISC
PROGRAMMED DISCPLAY
Playing theProgram:
Tocancel anderase a programfrom the memory:
!
!
!
!
!
!
!
!
!
!
!
!
!
!
!
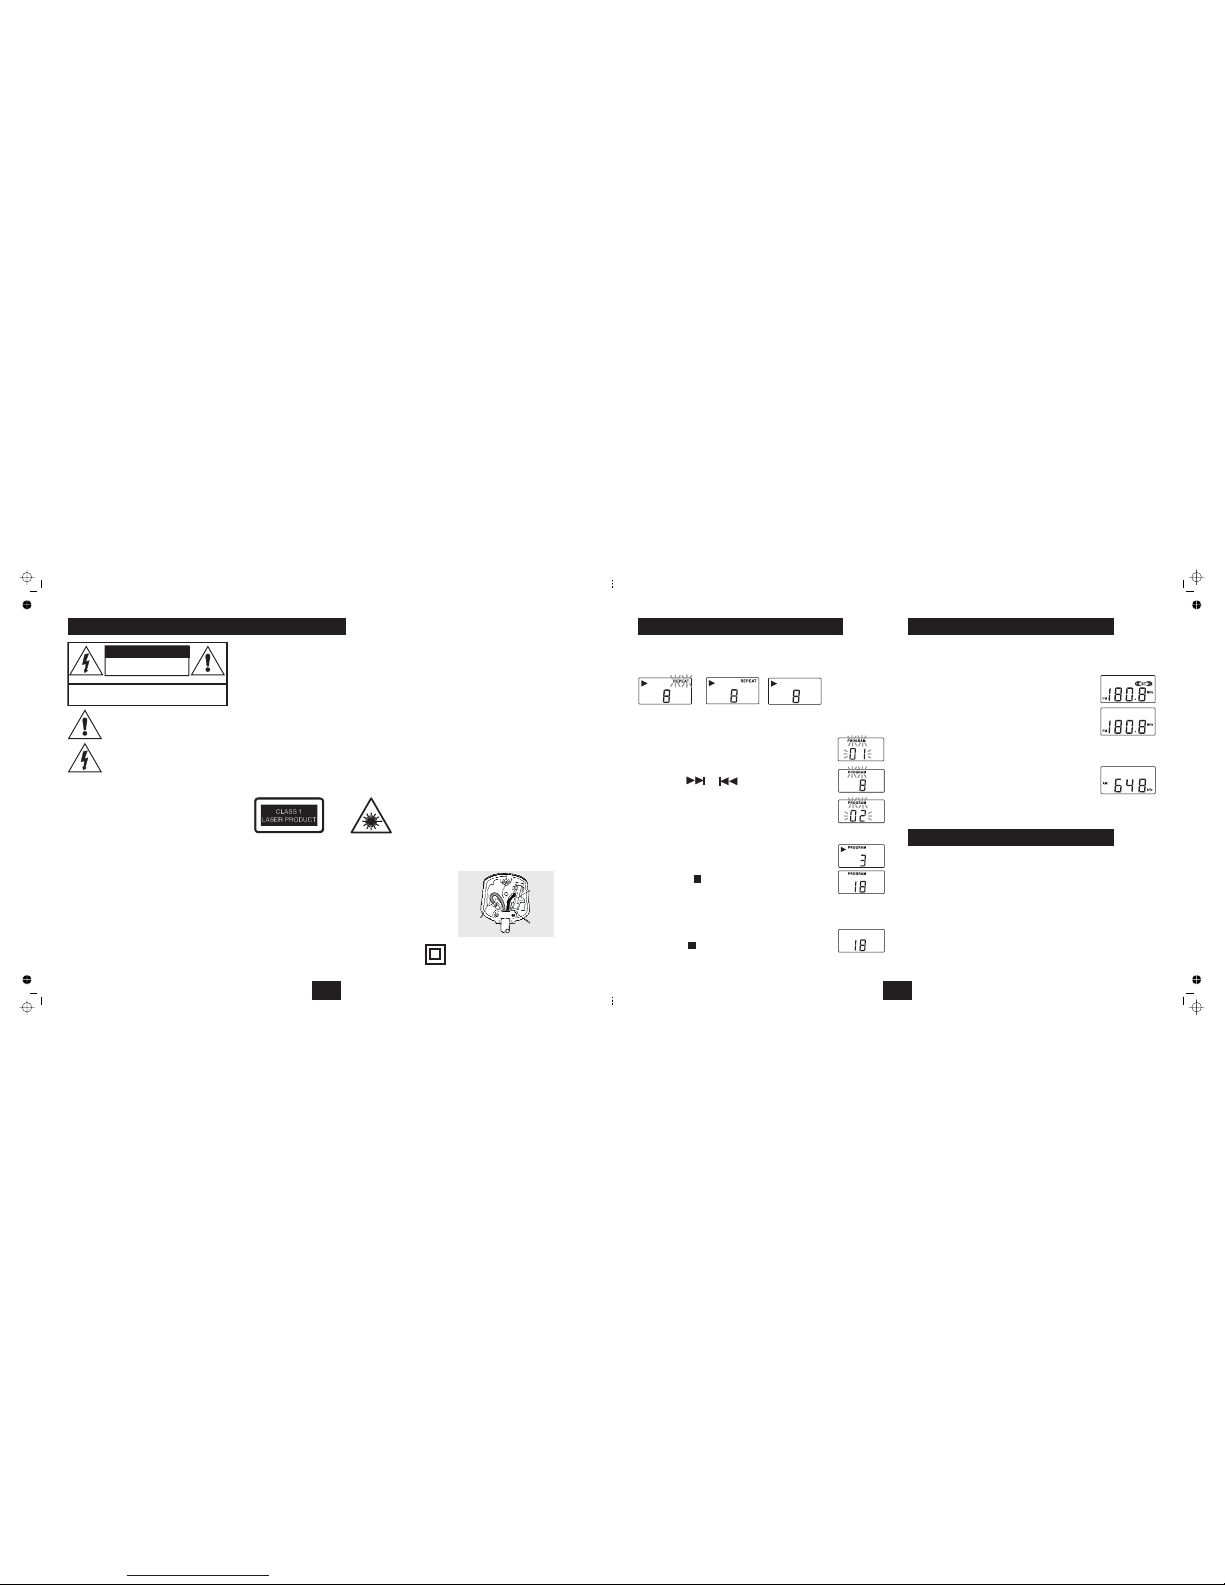
Pressthe REPEATbutton to cyclethe repeat mode:
REPEATTRACK REPEATALL REPEAT OFF
PressSTOP to cancelRepeat andstop the disc.
Program play can only be selected when the CD is
stopped. Youmay program upto 30tracks.
Press the PROGRAM Button.
PROGRAM
PressSKIP or to selecta track
Press PROGRAM to store the selection.
0
Choose anothertrack (orthe same track).
PressPROGRAM to storethe selection.
Press PLAY/PAUSE The program will play once and
stop.
Press STOP to interrupt a program.
PressPLAY/PAUSE tore-instate theprogram.
Youcan change tracks and search for passages within
the program.REPEAT modeis alsoavailable.
PressSTOP twice; or liftthe CD lid.
twice
once
The display flashes 01
andthe indicator lightsup.
Thedisplay flashes 2
.
Thedisplay indicates thecurrent track inplay.
The
displayindicates the numberof trackson thedisc.
USING THE RADIO
ALTERING THE VOLUME AND TONE
VOLUME
BASS BOOST
!!Press toincrease or decreasethe volume.
Toincrease thebass effectset the BASSswitch toON.
PLAYINGTHE SYSTEM ATVERYHIGH LEVELS CANDAMAGE YOURHEARING!
VOLUMEUP/DOWN
Do notset the volume toohigh. If the soundbegins to distortor break up, reduce
the volume IMMEDIATELY.If you set the BASSswitch to ON at high volumesyou
increasethe likelihood ofdistortion.
7
Page 3

LOUDSPEAKER CONNECTIONS
FINAL CONNECTIONS
The speakerterminals are spring loaded.To connect,press the terminal downto
open it. Insert the bare end ofthe cable into the hole in the socket. Release the
terminal.Make sure theterminal trapsthe bare wireand notthe insulation.
Connect the loudspeakers as shown n thediagrams The cable has a stripe
on one core. Connect thisto the Positive (RED) terminal. Connect the plain
coreto the Negative(BLACK) Terminal.
Extendthe FM antenna.Do NOTcut it short!
When running speaker cables, keep them well away from areas whey they
couldcause a dangerto peopleor pets.
Connectthe power cordto the mainspoint butdo not switchon.
Plugin the mainsplug andswitch the systemon atthe mains point.
The systemwill respond andgo into Standby. TheRED standby lightwill glow
onthe front panel.
Press the button on the unit.
!
!
!
!
!
!
!
SWITCHINGON
POWER/STANDBY The unitswitches on and
the display lights up. In normal use the system will revert to the mode and
volume aslast used.
CONNECTION AND OPERATION
Press
Insert
Release
RIGHT LEFT
RIGHT SPEAKER
LEFT SPEAKER
!
!
!
!
!
!
!
!
!
!
!
Setthe switchto
Pressthe button
Placea CD (labelside up)onthe central spindle lock
Pressgently to securethe CDin place.
Closethe CD door.
Pressthe PLAY/PAUSEbutton
Thedisc will playfrom Track1
Pressthe button
The disc will pause. In Pause mode the sound mutes
andthe display flashes.
Pressthe STOPbutton
Insertthe CD
PressSKIP or to selectthe track.
PressPLAY/PAUSE toplay from thetrack.
PressSKIP or repeatedly, toselect and
thenplay from thedesired track.
PressSKIP once.
Press and hold SKIP or until the passage is
located.Release the buttonto returnto normal play.
CD/RADIO CD
DOOR OPEN .
TOPLAY ACD FROM THESTART
TOPAUSE ACD WHILE PLAYING
PLAY/PAUSE
TOSTOP ACD WHILE PLAYING
TOPLAY ACD FROM ASELECTED TRACK
TOCHANGE TRACKS DURINGPLAY
TORETURN TOTHE STARTOF ATRACK DURING PLAY
RAPID SEARCHFOR A PASSAGE DURING PLAY
The disc will spin briefly, then stop. The display will
indicatethe number oftracks onthe disc .
Duringrapid search thevolume isreduced
!
!
!
!
!
PLAYING A CD
6
UNPACKING
PREPARATION
T
hecarton contains:
TheMC 307 AM/FM/CDreceiver:
Onepair of loudspeakers:
Remotehandset and batteries
Unpack and inspect the components carefully. If
any item is damaged or missing,contact the Tesco
store from where you purchased this product, or if
that isnot possible, yournearest Tescostore. Please
haveyour receipt readywhen youcall.
Retain the packaging. If you dispose of it, do so in
accordancewith recycling regulationsin yourarea.
Retainthe User Handbook.If you passthe unit onto
athird party makesure youpass on thehandbook.
CDCOMPARTMENT
Removethe two stripsof tapeover the CDdoor.
Pressthe DOOR OPENbutton toopen the CDlid.
Carefully remove the protective card from the CD
mechanism.
Close the CD door and discard the card and the
piecesof tape.
Check that the mains voltage on the rating plate
which is located at the rearof the unit matches the
mainsvoltage in yourarea.
Unwrapthe power cord
Uncoilthe FM antennaand extendit fully.
Make sure there is a suitable power point within
easyreach.
The means ofdisconnection of the appliance is the
mains plug. This must not be obstructed and must
befreely operable atall times.
Site the system on a stable surface (ideally a stout
shelf) whereit is unlikely to fallor get knocked over.
This is specially important in the case of the
speakers which should be placed on either side of
the main unit with at least150mm between each
speakerand the mainunit.
The radio performance of the system is dependent
onthe aerial.
The FM aerial should be moved around to get the
optimum results.
The AM aerial is internal to the system, so if you
need good medium wave reception, try the system
indifferent locations beforemaking afinal choice.
Make sure that you position the unit where the
remote handsetcan easily beoperated indirect line
ofsight and nomore than3 metres away.
Dirty, scratched or warped discs may cause
skippingor noise.
Handle the disc only by the edges. To keep discs
clean,do not touchthe surface.
Discs should be stored in their cases after use to
avoidscratches.
Do notexpose discsto direct sunlight,high humidity,
high temperature, dust, etc. Prolongedexposure to
extreme temperaturescan warpthe disc.
Do not stick or write anything on the disc. Sharp
writing instruments or the inks used in somefelt tip
pensmay damage itssurface.
Positionthe disc overthe centrespindle
Makesure the printedside facesout
Pressthe CD gentlyinto place
NEVERuse force
Presslightly on thecentre spindle
Gentlyease the CDoff byholding it atthe edges.
Donot touch theplaying surface
NEVERuse force
!
!
!
!
!
Do not extend or cut the FM
antenna lead.
When loadinga CDinto the player:
When removinga CDfrom the player:
PRELIMINARIES
CD TOPICS
SITING AND PLACEMENT
3
Page 4

CONTROLS AND FUNCTIONS - MAIN UNIT
1. POWER/STANDBY BUTTON
2. STANDBY INDICATOR
3. REMOTE SENSOR
4. DISPLAY WINDOW
5. PROGRAM BUTTON
6. REPEAT BUTTON
7. SKIP/SEARCH DOWN BUTTON 9
8. SKIP/SEARCH UP BUTTON :
9. CD PLAY/PAUSE BUTTON
10. CD STOP BUTTON <
11. VOLUME UP BUTTON
12. BASS ON/OFF SWITCH
13. AM/FM/FM ST. SWITCH
14. CD/RADIO SWITCH
15. CD DOOR OPEN BUTTON
16. PHONES JACK
17. TUNING KNOB
18. FM ANTENNA
19. SPEAKER TERMINALS
20. POWER CORD
21. VOLUME DOWN BUTTON
1
2
3
4
11
12
13
14
15
56
10
9
7
8
21
19
18
20
TOP VIEW
REAR VIEW
16
LEFT SIDE VIEW
17
RIGHT SIDE VIEW
4
FITTING HANDSETBATTERIES HANDSET CONTROLS
HANDSET OPERATION
Open the battery compartment cover. Unwrap the
batteries and insert them as shown. Replace the
cover
Always useAAA batteriesand replace themin pairs.
Do not mix old and new batteries. If you are not
using the system for an extended period, remove
thebatteries to avoidleakage andcorrosion.
Never short circuit batteries or leave them lying
around. When disposing of used batteries do not
throw theminto a fire, thegeneral rubbish or water.
Dispose of batteries having regard to the recycling
regulationsin force inyour area.
The remote handset has a range of 3 metres.
Ensure there is a clear line of sight between the
handsetand the remoteeye onthe main unit.
Thenormal operating angleshould notexceed 30º
Direct bright sunlight may adversely affect remote
operation. If this happens, move the unit and
handsetinto a shadierlocation.
The handset contains basic functions for remotely
controlling CD operation only. All the controls on
thehandset are replicatedon themain unit.
REMOTE HANDSET
SKIP/
SEARCH
UP
PLAY/PAUSE
REPEAT
SKIP
STOP
<
:
:
PLAY/
PAUSE
REPEAT
STOP
SKIP/
SEARCH
DOWN
LCD DISPLAY WINDOW
THE LCD DISPLAY IN CD MODE
THE LCD DISPLAY IN RADIO MODE
AM/FM
INDICATOR
FM STEREO
INDICATOR
STATION FREQUENCY
FREQUENCY UNITS
FM =MHz
AM =kHz
PLAY
INDICATOR
PROGRAM
INDICATOR
REPEAT
INDICATOR
TRACK INDICATOR
5
 Loading...