

Page 1
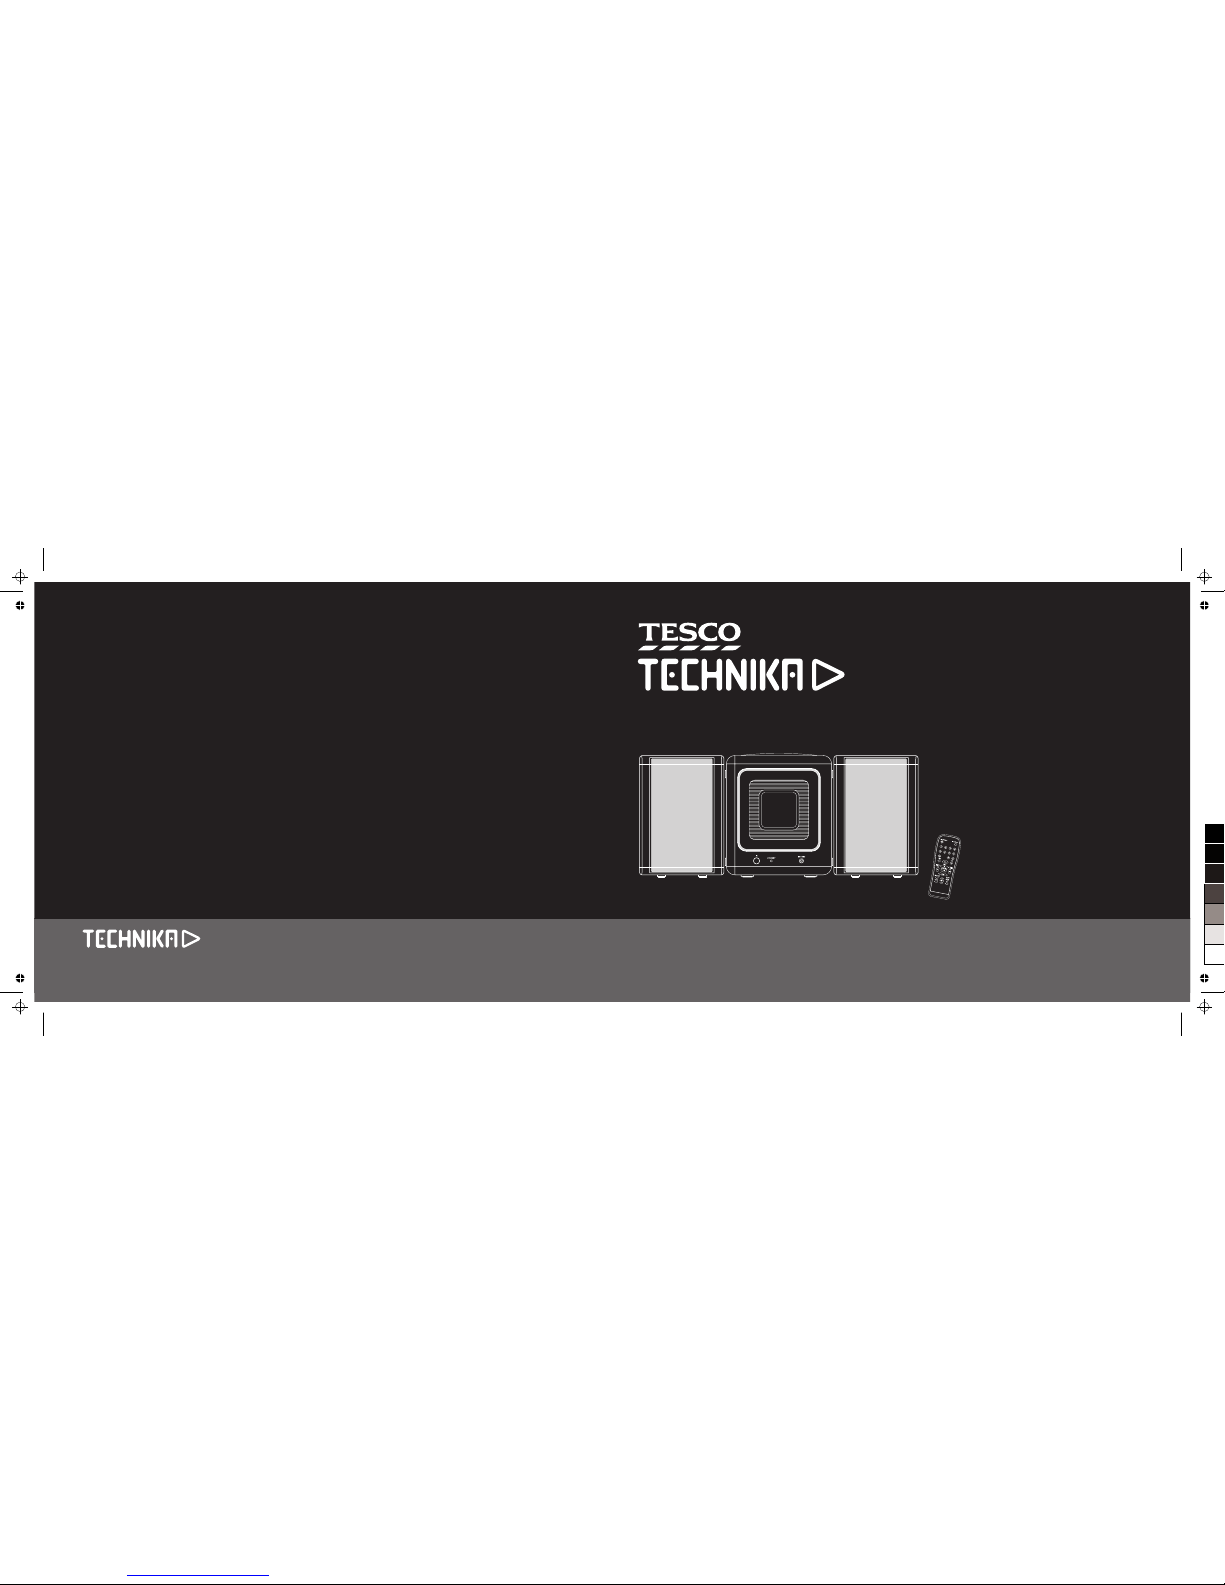
MC 110
CD MICRO SYSTEM
Tesco Stores Ltd, Delamare Road, Cheshunt, Herts, EN8 9SL
User Handbook
0
5
25
75
95
100
Page 2
dropped. that to which the receiver is connected.
Warning: To reduce the risk of fire or electrical shock, do not expose - Consult the dealer or an experienced radio/TV technician for help.
this product to rain or moisture. The product must not be exposed to
ELECTRICAL INFORMATION
dripping and splashing and no object filled with liquids such as a
Mains Supply: The mains operating voltage of this unit is on the
vase of flowers should be placed on the product.
rating plate on the rear. In the UK this is 230/240 V.
No naked flame sources such as candles should be placed on the
The appliance cord is terminated with a UK approved mains plug
product.
fitted with a 3A fuse. If
Caution: Changes or modifications not expressly approved by the
manufacturer could void the user's authority to operate this device.
Caution: Usage of controls or adjustments or performance of
procedures other than those specified herein may result in
hazardous exposure.
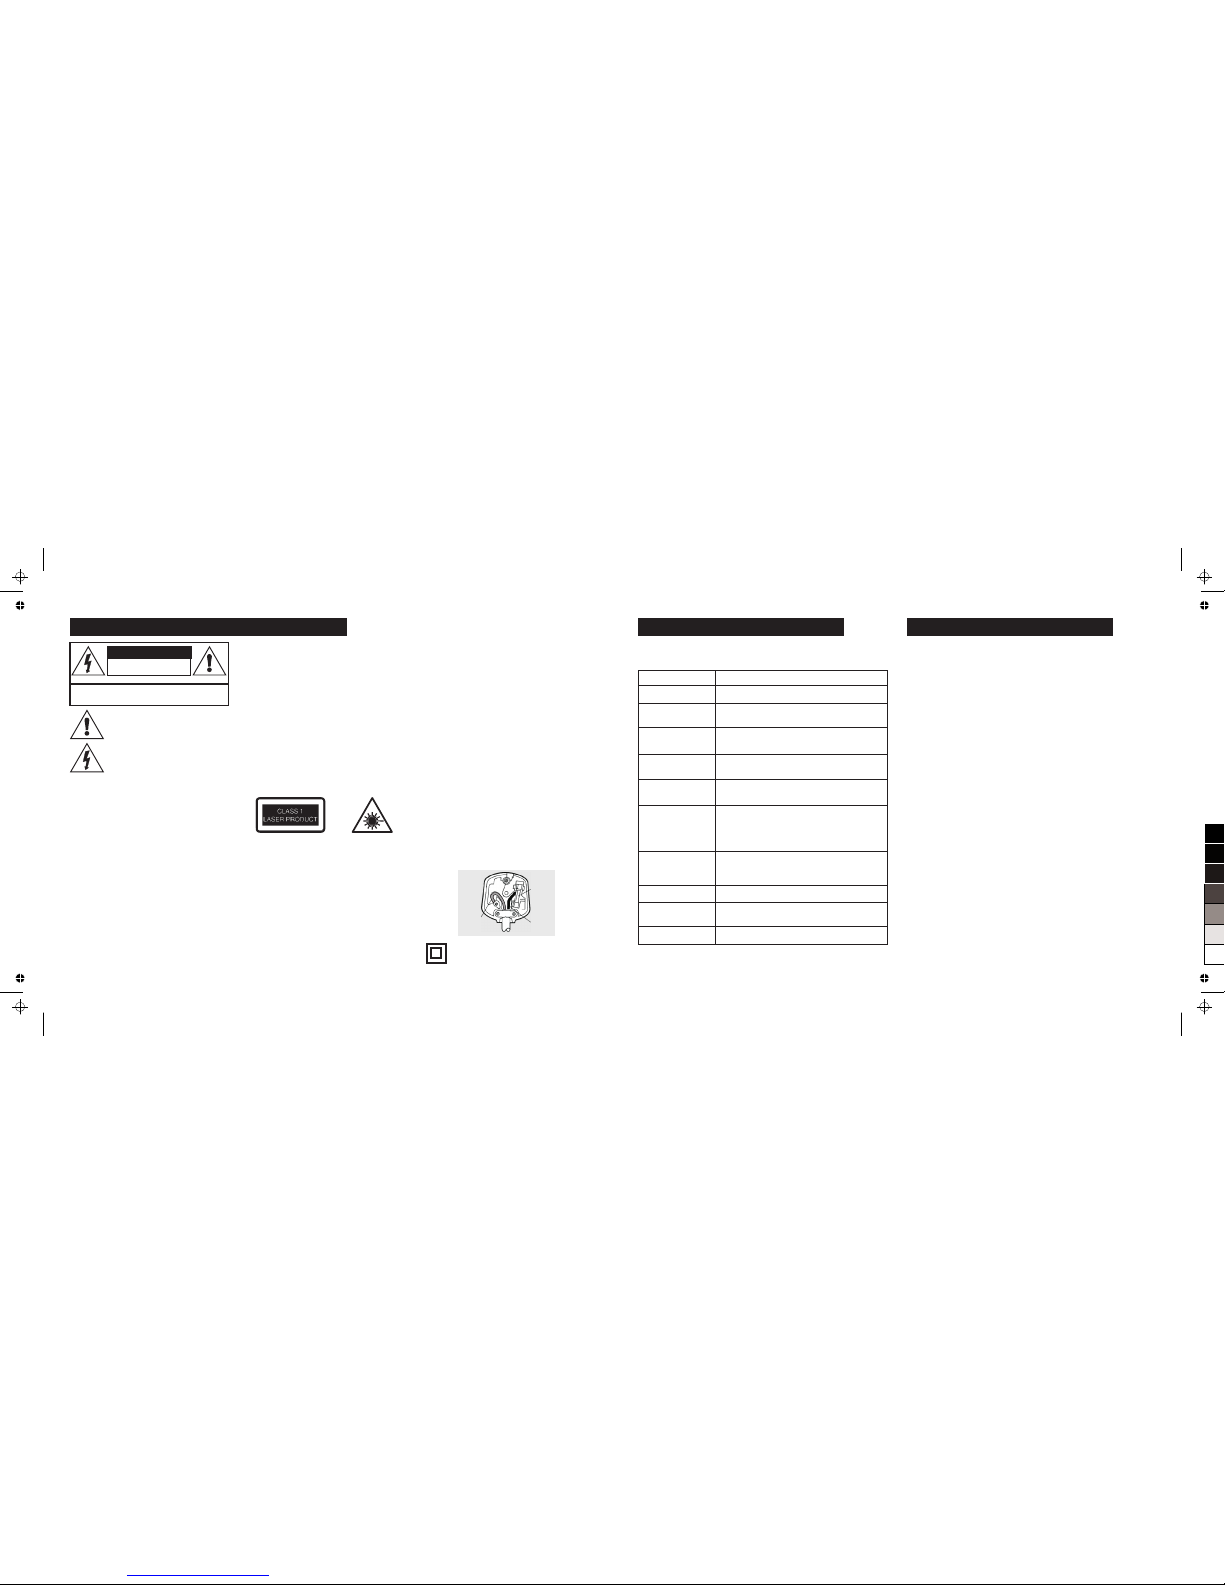
These labels tell you that the unit contains a Laser component. Do
Read these instructions.
not stare at the laser lens.
Keep these instructions.
Heed all warnings.
Follow all instructions.
Do not use this apparatus near water.
Clean only with a slightly damp cloth.
IMPORTANT
DO NOT connect either of these wires to the terminal marked E, or
Do not block any ventilation openings.
This equipment generates, uses and can radiate radio frequency
coloured green or green and yellow, or marked by the earth symbol.
Install in accordance with the manufacturer's instructions.
energy and, if not installed and used in accordance with the
Do not install or operate near any heat sources such as radiators,
instructions, may cause harmful interference to radio ommunication.
stoves, or other apparatus that produce heat.
However, this is no guarantee that interference will not occur in a
Unplug this apparatus during lightning storms or when unused for
particular installation. If this equipment does cause harmful
long periods of time.
interference to radio or television reception, which can be determined
Refer all servicing to qualified service personnel. Servicing is
by turning the equipment off and on, the user is encouraged to try to
required when the apparatus has been damaged in any way, such as
correct the interference by one of the following measures:
the power-supply cord or plug is damaged, liquid has been spilled or
- Reorient or relocate the receiving antenna.
objects have fallen into the apparatus, the apparatus has been
- Increase the separation between the equipment and receiver.
Class II construction double insulated. This product must
exposed to rain or moisture, does not operate normally, or has been
not be connected to earth.
- Connect the equipment into an outlet on a circuit different from
the fuse needs to be replaced, an ASTA or BSI
approved BS1362 fuse rated at 3A must be used. If you need to
change the mains plug, remove the fuse and dispose of this plug
safely immediately after cutting it from the cord.
The wires in the mains lead are coloured in accordance with the
code: Blue: NEUTRAL; Brown: LIVE:
As these colours may not correspond to the coloured markings
identifying the terminals in your plug, proceed as follows:
The BLUE wire must be connected to the terminal marked with the
letter N or coloured BLUE or BLACK. The BROWN wire must be
connected to the terminal marked with the letter L or coloured
BROWN or RED.
CAUTION!
RISK OF ELECTRIC SHOCK
DO NOT OPEN
TO REDUCE THE RISK OF ELECTRIC SHOCK DO
NOT REMOVE COVER (OR BACK)
This symbol indicates that there are important
operating and maintenance instructions in the
literature accompanying this unit.
This symbol indicates that dangerous voltage
constituting a risk of electric shock is present within
this unit.
3A FUSE
BS 1362
BROWN
(Live)
BLUE
(Neutral)
IMPORTANT SAFETY INFORMATION
If your system is not performing as well as you might expect please check
through this list before returning the unit to Tesco for attention.
SYMPTOM POSSIBLE CAUSE AND CORRECTIVE ACTION
No power Poor plug connection, re-insert plug, switch power on
No sound Volume too low
Headphone plugged in
Distorted sound Turn Volume down, CANCEL EQ.
Faulty format on CD/CDR
Muddled bass Bass too high - Cancel EQ
CD will not play Wrongly loaded CD; re-load CD
Wrong format; load another CD
CD skips Dirty or scratched CD; clean the CD
Faulty formatting on CDR; try another disc
Lens dirty; clean lens
Player is being vibrated or shaken, relocate
Noisy FM reception Reposition aerial
You are not tuned to the correct BBC station for your
area. Re-tune to the correct station.
Noisy AM reception Re-position the system
No handset response Do commands from the main unit operate?
Replace batteries in handset, reposition handset
Humming noise Faulty AUX cable; re-insert, replace
TROUBLESHOOTING GUIDE
9
Disconnect the unit from the mains supply before cleaning.
MAIN UNIT
Wipe the housing gently with a soft, dry cloth. If the unit is heavily stained or
soiled, wipe with a moistened cloth. To avoid damage, do not use any cleaning
agents or abrasive cleaners.
SPEAKERS
Wipe the speakers gently with a clean, very slightly damp soft cloth. To avoid
damage, NEVER use any cleaning agents or abrasive cleaners.
CDS AND CD COMPARTMENT
DO NOT remove a CD from the compartment until after the disc has stopped
spinning.
Do NOT force a CD onto the spindle.
Keep the CD compartment closed when not in use to prevent dirt and dust from
settling inside.
Do NOT leave a CD in the compartment when you have finished using the
system. Remove it and pack it safely in its proper packing.
CD LENS
When the lens gets dirty, malfunctions may occur. Switch off and unplug the
system from the mains before cleaning. NEVER clean the lens with the system
connected to the mains.
Blowing on the lens with a camera blower will get rid of most dust. Only in
exceptional cases will further cleaning be needed. The lens should be cleaned
using a commercially available CD lens cleaner. Follow the instructions explicitly.
When you have cleaned the lens, re-connect the system to the mains.
You will now need to reset the clock.
CARE AND CLEANING
0
5
25
75
95
100
Page 3

Retain the packaging. If you dispose of it, do so in Dirty, scratched or warped discs may skip or cause
INTRODUCTION
accordance with recycling regulations in your area. noise.
The MC 110 system is an integrated CD player with
Retain the User Handbook. If you pass the unit on to Handle the disc only by the edges. To keep discs
FM/AM radio with remote control. Playback of a
a third party make sure you pass on the handbook. clean, do not touch the surface.
auxiliary source such as an external MP3 player is
also available.
Discs should be stored in their cases after use to
FITTING HANDSET BATTERIES
avoid scratches.
WARRANTY
Open the battery compartment cover. Unwrap the
Do not expose discs to direct sunlight, high humidity,
Your Technika appliance is covered by a warranty
batteries and insert them as shown. Replace the
high temperature, dust, etc. Prolonged exposure to
for 12 months from the date of purchase. If a fault
cover
extreme temperatures can warp the disc.
develops during this period, please contact the
Always use AAA batteries and replace them in pairs.
Do not stick or write anything on the disc. Sharp
TESCO electrical help line on 0845 601 2549.
Do not mix old and new batteries. If you are not
writing instruments or the inks used in some felt tip
Please have your original purchase receipt with you
using the system for an extended period, remove
pens may damage its surface.
when you call. This warranty in no way affects your
the batteries to avoid leakage and corrosion.
consumer rights.
When loading a CD into the player:
Never short circuit batteries or leave them lying
SPECIFICATIONS
around. When disposing of used batteries do not
Position the disc over the centre spindle
throw them into a fire, the general rubbish or water.
Make sure the printed side faces out
Supply Voltage : AC 230-240V ~ 50Hz
Dispose of batteries having regard to the recycling
Power Consumption : 20W
Press the CD gently into place
regulations in force in your area.
RF Range : FM 87.5 - 108 MHz
NEVER use force
MW 522 - 1620 kHz
Freq. Resp (CD): 20Hz-20kHz
Power Output: e5W
When removing a CD from the player:
UNPACKING
Press lightly on the centre spindle
The carton contains:
Gently ease the CD off by holding it at the edges.
$The MC110 AM/FM/CD receiver:
Do not touch the playing surface
$One pair of loudspeakers:
NEVER use force
$Remote handset and battery.
Unpack and inspect the components carefully. If
any item is damaged or missing, contact the Tesco
store from where you purchased this product, or if
that is not possible, your nearest Tesco store. Please
have your receipt ready when you call.
PRELIMINARIES
CD TOPICS
1
Discs should be stored in their cases after use to
avoid scratches.
Do not expose discs to direct sunlight, high humidity,
high temperature, dust, etc. Prolonged exposure to
extreme temperatures can warp the disc.
Do not stick or write anything on the disc. Sharp
writing instruments or the inks used in some felt tip
pens may damage its surface.
When loading a CD into the player:
Position the disc over the centre spindle
Make sure the printed side faces out
Press the CD gently into place
NEVER use force
When removing a CD from the player:
Press lightly on the centre spindle
Gently ease the CD off by holding it at the edges.
Do not touch the playing surface
NEVER use force
Discs should be stored in their cases after use to
avoid scratches.
Do not expose discs to direct sunlight, high humidity,
high temperature, dust, etc. Prolonged exposure to
extreme temperatures can warp the disc.
Do not stick or write anything on the disc. Sharp
writing instruments or the inks used in some felt tip
pens may damage its surface.
When loading a CD into the player:
Position the disc over the centre spindle
Make sure the printed side faces out
Press the CD gently into place
NEVER use force
When removing a CD from the player:
Press lightly on the centre spindle
Discs should be stored in their cases after use to
avoid scratches.
Do not expose discs to direct sunlight, high humidity,
high temperature, dust, etc. Prolonged exposure to
extreme temperatures can warp the disc.
Do not stick or write anything on the disc. Sharp
writing instruments or the inks used in some felt tip
pens may damage its surface.
When loading a CD into the player:
Position the disc over the centre spindle
Make sure the printed side faces out
Press the CD gently into place
NEVER use force
When removing a CD from the player:
Press lightly on the centre spindle
Discs should be stored in their cases after use to
avoid scratches.
Do not expose discs to direct sunlight, high humidity,
high temperature, dust, etc. Prolonged exposure to
extreme temperatures can warp the disc.
Do not stick or write anything on the disc. Sharp
writing instruments or the inks used in some felt tip
pens may damage its surface.
When loading a CD into the player:
Position the disc over the centre spindle
Make sure the printed side faces out
Press the CD gently into place
NEVER use force
When removing a CD from the player:
Press lightly on the centre spindle
Press TUNER/BAND
The tuner will switch on. In normal use the last used
band and station will be the one displayed.
Press TUNER/BAND again to select MW or FM
(The default at first use is FM)
TUNING A STATION - Auto Tuning
Press and hold for three seconds. The tuner
will scan the band looking for a station. When a
usable station is reached the tuner will stop and
play the station.
To scan at high speed, press and hold .
Release the button when you get a wanted
frequency range and the tuner will stop at the first
usable station.
TUNING A STATION - Manual Tuning
Press repeatedly in short presses.
The tuner scans the band in increments of 100KHz
(FM) and 9KHz (AM) In this mode you may get
inter-station noise so please turn the volume down.
Stereo and Mono
When a stereo station (FM) is detected the stereo
beacon will light. If you are in a poor signal area
FM stereo reception may be noisy. Forcing the
tuner into mono will improve background noise.
Press MODE to toggle mono/stereo reception.
The stereo beacon will now switch off.
IMPORTANT NOTE: Forcing mono sets all FM
reception including presets to mono. If you suspect
that a station is broadcasting in stereo but the
stereo beacon is not displaying, press the MODE
switch to restore stereo reception.
USING THE TUNER
87.50
MHz
TUNE
522
KHz
TUNE
8
FM
AM
87.50
MHz
TUNE
FM
((ST))
PRESETS
You can preset 20 FM and 12 AM stations
1. Tune the wanted radio station
2. Press PROGRAM to enter the menu
3. Press PRESET +/- to select a preset number
4. Press PROGRAM to save the station. This will
overwrite any information already stored in the
preset with the new information.
5. Repeat steps 1 to 4 to store additional stations.
To recall a preset station:
4. Press PRESET +/- to select the Preset No.
Display Indications
When a station is tuned or a preset is selected after
a few seconds the display defaults to show the
clock time. The displays differ, however.
Listening to a preset station
Listening to a station not that is not preset
AUX MODE
Press AUX
The Volume level briefly indicates and the display
then reverts to show the clock time.
You can now play external equipment through the
system. In this mode only the Volume. EQ and
MUTE functions operate.
87.50
MHz
TUNE
FM
89.50
MHz
TUNE
FM
89.50
MHz
TUNE
FM
01
89.50
MHz
TUNE
FM
07
89.50
MHz
TUNE
FM
07
19.50
TUNE
07
19.50
TUNE
19.50
AUX
PRESETS AND AUX MODE
0
5
25
75
95
100
Page 4

CONTROLS AND FUNCTIONS - MAIN UNIT
1. TUNER/BAND: Switches to Radio and selects AM/FM mode.
2.PROGRAM:
3. AUX: Play an auxiliary input
4. STANDBY/ON: Bring the unit in and out of Standby
5. MODE:
6. PRESET+/-:
7. EQ:
8. *SKIP BACK/TUNE DOWN:9
9. STOP: < Stop a CD
10. PLAY/PAUSE: Select CD: Play a Disc; Pause a disc
11. *SKIP FORWARD/TUNE UP: :
12. OPEN/CLOSE: Push to Raise, push to lower the CD door
13. VOLUME +/-: Increase or Decrease Volume
In Clock Mode, increase or decrease minutes
14. REMOTE SENSOR
15. STANDBY INDICATOR
16. DISPLAY SCREEN
17. EARPHONE SOCKET: Connect Earphones-disconnects speakers
*In CD mode, search a CD or skip tacks
In Radio Mode, Tune up or down the band
3
1
2
3
4
5
6
7
8 910
1112
13 14 15 16 17
In Clock Mode, increase or decrease hours
IMPORTANT NOTE
This system is intended to be controlled from the handset.
Apart from opening and closing the CD compartment lid, all the
system functions that can be carried out on the front panel can be
carried out from the handset, but there are many functions that
can only be carried out from the handset.
This manual concentrates on handset commands.
While a disc is playing:
To change tracks: Press repeatedly
The disc will go forward/back one track at a time
To repeat a track: Press once.
The disc will replay the track from the beginning
To search at speed back or forward:
Press and hold .
The disc will search at speed and the sound will
mute. Release the button to revert to normal play.
To pause a disc: Press .
The disc will pause. In pause mode the sound
mutes and the track time flashes.
Press to resume normal play.
To stop the disc:
Press
The disc displays the tracks and the total time on
the disc briefly - then reverts to clock time.
Changing functions to Radio mode will also stop
the disc.
To start a stopped disc from the beginning
Press .
To start a stopped disc from a particular track
Press repeatedly to select the track number
Then press .
The disc will play from the start of the chosen track
To access track numbers higher than 10.
Press the 10+ key; Press once for numbers greater
than 10, twice for numbers greater than 20, etc,
ALTERING THE SOUND
To increase /decrease the volume
Press VOL +/–
The max. volume level is 40, the minimum is 0.
The volume level appears briefly on the screen
before reverting to the track display.
Do not play the system at very high levels of
volume as you may damage your hearing.
Muting the sound
Press MUTE.
The sound will mute:
The MUTE indicator lights and stays lit in Mute
mode. In Mute mode all the controls operate but
there is no sound.
To cancel mute:
Press MUTE: The mute indicator switches off or
Press STANDBY/ON twice.
Sound Modes
Pressing EQ cycles the player through
ROCK, JAZZ, POP, CLASSIC, Off -(No Eq).
The display indicates the new mode . When any
EQ mode is selected the mode will display on
screen.
PLAYING A CD CONTROLLING THE SOUND
6
CD
12
2:07
CD
12
52:37
CD
02
0:01
VOL
22
18:01
CD
12
18:07
MUTE
CD
12
18:08
CD
12
18:08
ROCK
0
5
25
75
95
100
Page 5

GETTING STARTED
Plug in the mains plug and switch the system on at
the mains point.
The system will respond and go into Standby. In
standby mode the display is off and only the clock
time shows. The RED Standby light will come on.
Press BACKLIGHT on the remote handset to
switch the screen illumination on and off.
The backlight key operates only in Standby mode.
When the system is operational the back light will
be permanently on.
SETTING THE CLOCK
The clock can only be set from STANDBY mode.
Press the MODE key on the handset or the player.
the time will begin flashing. Press the key to
decrease the hour.
• Press the key to increase the hour.
Press and hold the keys to scan up or down
the hours. Release when the hour is reached.
• Press the VOLUME – key to decrease the minutes
• Press VOLUME + key to increase the minutes.
Press and hold the VOLUME+/- keys to scan up
or down the minutes. Release when the minute is
reached.
When the desired time has been set: Press the
MODE key to confirm and revert to Standby mode.
If there is no activity for 10 seconds, the unit will
automatically exit CLOCK SETTING Mode and
revert to Standby mode.
The clock is a 24 hour clock: Enter 8:25 pm as
18:30.
SWITCHING ON
Press STANDBY/ON: The unit switches on and
the backlight comes on.
In normal use the system will revert to the
mode and volume it was in when last used.
Playing a CD
1. Press CD: If no disc is in the player:
2. Press PUSH/OPEN on the player to open the
compartment door.
3. Place a CD into the tray with the label facing
opwards.
4. Press PUSH/OPEN on the player to close
the compartment door.
5.The player will now read the disc.
The display will briefly register the total no. of
tracks and then start play from track 1. The time
elapsed will briefly indicate. The player will then
show the track being played and the clock time.
6. If the disc is a standard audio CD the display will
show “CD”. Other formats may not be recognised
- the player will indicate Er Disc and then revert to
display the Error message and the time.
6. When the disc reaches the end : The display
shows the number of tracks and the time.
During Disc play:
Press PRESET to display the time elapsed in the
track currently being played; the elapsed time will
briefly display and then the display will revert to
show the clock time.
20:25
00:00
CD
OPERATION PLAYING A CD
5
20:25
OPE
O1
20:07
isc
P
isc
P
isc
P
E
CD
15
20:07
CD
05
03:12
1. STANDBY/ON 12. EQ
Switches the unit in and out of Standby.
Selects equalizer mode (Rock; Jazz; Pop;
2. Number Keypad
Classic and Off)
Select a number from 1-9
13. *TUNING/SKIP FORWARD
3. +10 button
* See Note
Press once followed by a number key to select
14. MUTE
tracks/presets from 10-19
Toggle mute/unmute.
Press twice for numbers between 20-29, etc.
15. TUNER/BAND
4. VOL-
Switch to Radio and select AM/FM mode.
Press to reduce volume
16. AUX
5. STOP
Select and play the auxiliary input
Stop a CD
17. PRESET:
6. *TUNING/SKIP BACK
Preset and select up to 20 radio stations.
* See Note
7.PLAY/PAUSE
*Note: TUNING/SKIP/SEARCH
Press to select, play a CD; Press to pause a CD
Skip a track back or forward (CD mode);
8. PROGRAM
Skip backwards or forwards through radio
Program a CD play sequence in CD mode or
stations (Tuner mode);
sets radio stations.
Skips through hours (Clock mode).
9. MODE: Press and hold for faster advance or reverse.
FM Radio: switch between Mono/ Stereo
CD: Set repeat functions
10. BACKLIGHT
Switch the backlight on/off in Standby mode.
11. VOL+
Press to increase volume
CONTROLS AND FUNCTIONS - REMOTE HANDSET
4
0
5
25
75
95
100
Page 6

The Modes are:
NORMAL PLAY: (NO ICON)
REPEAT 1: Repeat one track continuously.
REPEAT ALL: Repeat the entire CD continuously
RANDOM: The Player plays all the tracks on a CD
randomly and then stops..
RANDOM WITH REPEAT. The Player plays and
continuously repeats all tracks on a CD randomly
PROGRAM PLAY
PROGRAM PLAY allows up to 20 selected
tracks on the disc to be played in any order.
1. Load a CD; Press STOP
2. Press PROGRAM 00 / P 02 appears.
The display prompts you to enter a track
3. Press to locate the desired track.
4. Press PROG to confirm. 00 / P 02 appears
5. Repeat steps 3 and 4 to program more tracks.
Up to 20 tracks may programmed.
6. Press to play the program. “PROGRAM”
displays continuously on the screen to indicate
Program Play.
To cancel a program before it plays:
Press STOP
To cancel a program during Program Play:
Press STOP . The disc will stop but the program
is retained in the memory.
The number of tracks displayed is the number of
tracks on the disc not the tracks in the program.
Press to replay the program.
To erase the program completely:
Press STOP twice.
The word “PROGRAM” disappears.
Editing a Program
From STOP mode during program play:
1. Press PROG repeatedly until you reach the track
you want to replace.
2. Press to locate the desired new track.
3. Press PROG again to confirm.
4. Press to play the program.
The full program will now play but when it reaches
P-03, instead of track 11, track 7 will play.
CD MODE AND PROGRAM PLAY
REPEAT 1
REPEAT ALL
RANDOM
RANDOM/REPEAT
NORMAL
MODE
Each press of the MODE key changes the way in which the disc is played. MODE
can be ACCESSED when the disc is playing or paused.
The modes can be cycled continuously as shown below:
7
5
MODE1MODE2MODE3MODE
4
REPEAT
REPEAT
RANDOM
RANDOM
REPEAT
CD
00
P 01
CD
05
P 01
CD
00
P 02
PROGRAMPROGRAM
CD
12
15:30
PROGRAM
CD
05
P 01
CD
12
15:30
PROGRAM
CD
11
P 03
PROGRAM
CD
07
P 03
PROGRAM
Preliminaries Loudspeaker Connections
! Check that the mains voltage on the rating ! Plug in the loudspeakers as shown in the diagram below. The connectors will fit only one way
plate which is located at the rear of the unit round. Plug the connectors in firmly but do not force them.
matches the mains voltage in your area.
Auxiliary Connections
! Unwrap the power cord
! Aux Use this to connect the audio line output of an external unit such as a tape recorder, TV set,
! Uncoil the FM antenna. second CD player etc. You can connect the headphone output of an MP3 player to this input with
a suitable adaptor cable (not supplied)
Make sure there is a suitable power point within
easy reach. The mains plug must not be Final Connections
obstructed and must be freely operable at all
! Extend the FM antenna. Do NOT cut it short!
times.
! Connect the power cord to the mains point but do not switch on.
The system can be used freestanding or wall
mounted
If you are free standing the system, site the system
on a stable surface (ideally a stout shelf) where it
is unlikely to fall or get knocked over. This is
specially important in the case of the speakers.
The radio perfor mance of the system is
dependent on the aerial. If you plan to wall mount
the unit make sure that there is adequate signal
strength in your proposed location before drilling
the wall.
The FM aerial should be moved around to get the
optimum results. Do not extend or cut the FM
antenna lead.
The MW aerial is internal to the system, so if you
need good medium wave reception, try the
system in different locations before making a final
choice.
Make sure that you position the unit where the
remote handset can easily be operated in direct
line of sight and no more than 15 metres away.
SITING AND PLACEMENT CONNECTING THE SYSTEM
2
AUX INPUT
From tape deck
MP3 player, etc
TO LEFT
LOUDSPEAKER
TO RIGHT
LOUDSPEAKER
FM ANTENNA
CABLE
MAINS POWER CORD
0
5
25
75
95
100
 Loading...