

Page 1
Before you begin
PLEASE READ THE FOLLOWING INSTRUCTIONS CAREFULLY BEFORE YOU OP-
EN
ERATE THE UNIT. ALWAYS KEEP THIS BOOKLET FOR FUTURE REFERENCE.
Before you plug for power
Y ou have to set the time zone and the daylight saving switch corresponds to your
region. They are located inside the battery compartment.
1. Setting Time Zone
Slide the time zone selector inside the battery compartment. See
below table for corresponding regions.
2. Daylight Saving Time (DST)
Slide the DST switch inside the battery compartment to turn on/ off
in areas observing/ not observing such summer time change.
When turned on, a daylight saving icon lights up on display.
Area Code 1 2 3 4
Ireland
Portugal
UK
Austria
Czech
republic
France
Germany
Holland
Italy
Poland
Spain
Sweden
Eastern Europe
Finland
Greece
AREA CODE
1 2
DST
ON
Russia
RR75 Euro IB 6/22/00, 2:12 PM1
1
Page 2
Power Supply
Your set can be powered from the mains
EN
(via its stand) or by batteries (independent
operation).
Protection against power cutoffs
for Automatic Time Set (ATS)
function
As a backup for Automatic Time Set (A TS),
a button lithium battery is already included. However, this button cell battery
can also be exhausted and we recommend
that you replace it every 2-3 years
1. Remove the radio-alarm clock from its
stand.
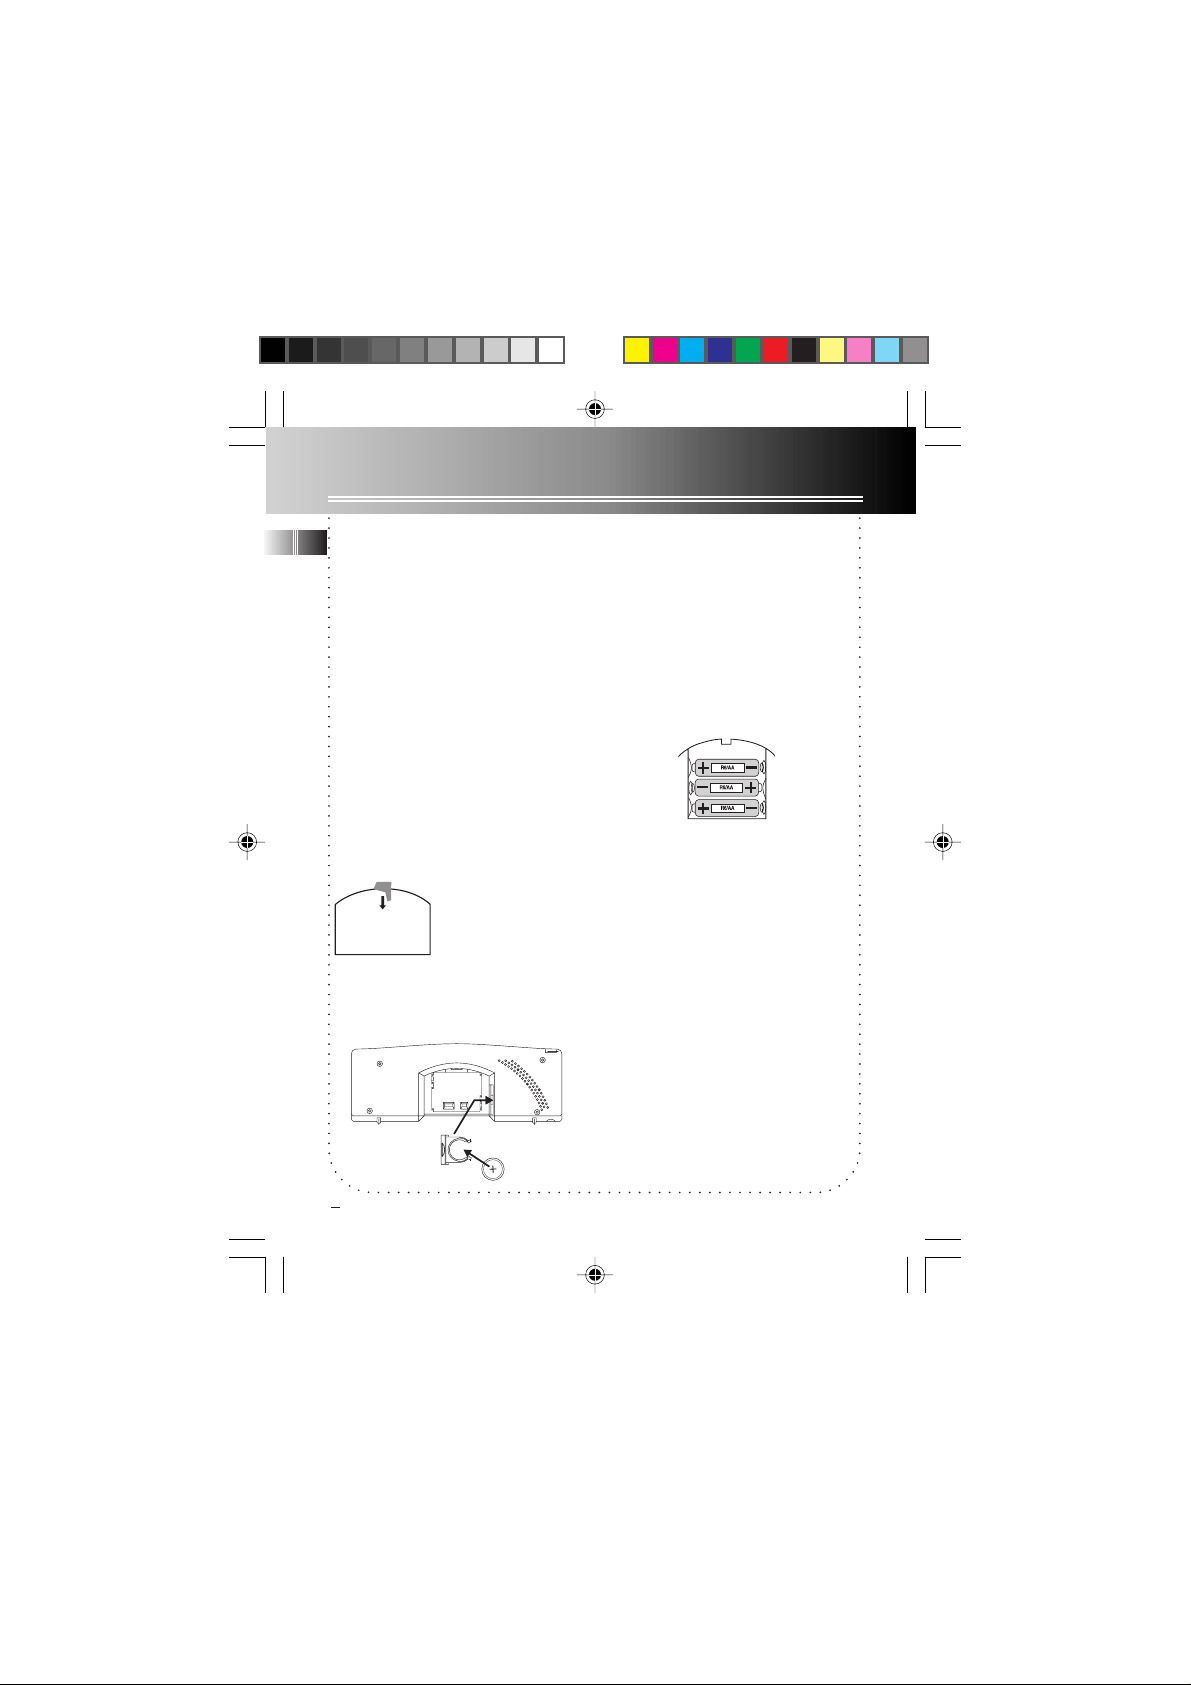
2. Remove the cover of the battery compartment at the rear of
the set by pushing the
cover in the direction of
the arrow.
3. Pull out lithium battery holder located
at the side of the battery compartment.
2
4. Insert/ replace lithium battery. Polarities must match with indications.
5. Replace the holder.
Batteries
Insert 3 x 1.5 volts (R6/AA) batteries as indicated in the rear of the unit. Put the
cover back in place.
1
2
RR75 Euro IB 6/22/00, 2:12 PM2
Page 3

Power Supply
BLUE
BROWN
Power Supply 230V ~ 50Hz
The rating label is at the bottom of the
stand. Connect the power cord into a mains
power sockets. Put the radio-alarm clock
on its stand. The batteries are not used
when the set is powered from the mains.
Important:
• The unit carries voltage even when
switched off. It is necessary to unplug the
mains lead to cut power supply off.
Mains Connections (For UK Only)
CAUTION:
Do NOT under any circumstances plug the
severed plug into any mains socket as this
could result in electric shock.
Do NOT make any connection to the terminal in the plug which is marked by the
letter E or by the earth symbol
coloured green and yellow.
A fuse plug must be fitted with a 3A fuse
approved by ASTA or BSI to BS 1362 and
or
• The apparatus should not be exposed to
dripping or splashing.
• Never put metallic things on the stand.
Connect the
power cord
into a mains
power socket
fuse covers must always be securely replaced. If the unit does not work, the fuse
may be blown.
230V ~50Hz
EN
3
RR75 Euro IB 6/22/00, 2:12 PM3
Page 4

Listening to the radio
EN
ON / OFF
BAND
AM
TUNING
DWN
VOLUME
DWN
ON / OFF
1. Press briefly, the radio is switched on.
2. Set selector to the desired frequency band:
FM= frequency modulation: 87.5 to 108 MHz
FM
AM= medium wave (MW): 525 to 1620 kHz
or Long Wave (LW): 148 to 284 kHz (according to version)
3. Find the radio station.
UP
Notes:
• For AM, turn the set to find the position which gives the best reception.
• In FM, unfold the telescopic aerial at the top left. When the radioalarm clock is on the stand, the aerial does not have to be unfolded
since FM is received via the stand.
4. Adjust the volume
UP
Notes:
• If there is a power cut, the sound is not interrupted when the power
supply mode changes from the mains to the batteries.
5. Press briefly, the radio is switched off.
4
RR75 Euro IB 6/22/00, 2:12 PM4
Page 5

Setting Time
Setting Time
You do not have to set the clock time as a built-in Automatic Time Set (ATS) system is
equipped in this clock powered by a 3V lithium battery (CR2430, included). All you
have to do is to plug this unit for power and current time will be shown automatically .
In case you want to do manual clock setting:
TIME SET
LOCK
REV
SCROLL/ WEC
REV
TIME SET
LOCK
1. Slide the function switch to TIME SET.
FWD
2. Press to set the time.
3. Shift to year setting.
FWD
4. Press to set the year
5. Repeat steps 3-4 for setting month/ day.
6. Slide the function switch to LOCK position when setting
finished.
EN
RR75 Euro IB 6/22/00, 2:12 PM5
5
Page 6

Setting Alarm
Setting Alarm Time
EN
TIME SET
LOCK
FWD
REV
1. Slide the function switch to AL SET.
2. Press to set alarm time. (Press and hold to speed up setting)
TIME SET
LOCK
3. Slide the function switch to LOCK position when setting
finished.
ALARM MODE - there are 2 alarm modes
1. Radio Alarm
TUNING
DWN
VOLUME
DWN
ALARM MODE
1. Tune to the station desired for the alarm call. Make sure that the
UP
station is transmitting at the set alarm time.
2. Adjust volume if necessary.
UP
3. Press until the music-note icon shows on display . The radio will switch on at the programmed time and stop automatically after 2 hours.
2. Alarm buzzer
ALARM MODE
Press until the bell-shaped icon shows on display . The alarm
buzzer will switch on at the programmed time and stop
automatically after 2 hours.
6
RR75 Euro IB 6/22/00, 2:12 PM6
Page 7

Operating the Clock Radio
Cancelling alarm mode
ALARM MODE
Press and hold until bell-shaped or music-note icon disappeared.
Checking alarm time
TIME SET
LOCK
Slide the function switch to AL SET to show the current alarm time
setting on the display.
Stopping the alarm momentarily
Press briefly, the alarm or radio cuts out. The radio or alarm will
SNOOZE/ LIGHT
automatically start up again about 9 minutes later. (see Snooze
Alarm operation next page for more details)
Stopping the alarm completely
ON / OFF
Press briefly, the radio or alarm stops and only starts again 24 hours
later .
Week End Canceller (WEC)
SCROLL/ WEC
Press briefly until WEC icon shows on display. The alarm function
will be stopped automatically every Saturday and Sunday. Press
briefly for de-selection.
Lighting the display
If you want to know the time when the set is in the dark, press
SNOOZE/ LIGHT
briefly, the display is lit up for a few seconds.
Note: this function is only possible when the set is powered through
the mains.
EN
RR75 Euro IB 6/22/00, 2:12 PM7
7
Page 8

Operating the Clock Radio
Programmable Sleep
EN
In this mode, the radio will turn off automatically. Simply:
SLEEP
SLEEP
REV
1. Press to turn on programmable sleep time. The default setting is
59 minutes.
2. For manual setting, press and hold SLEEP and at the same time
set the programmable sleep time by pressing REV or FWD. You
FWD
can set the time between 1 to 120 minutes.
Snooze Alarm Operation (Progammable Snooze)
This operation allows extra sleep time after the alarm is on. The alarm will be off by
pressing SNOOZE button and then turn on again automatically when the snooze period (default - 9 minutes) is over. Snooze function can be used r epeatedly up to 2 hours.
To program the snooze period:
The default setting is 9 minutes.
1. For manual setting, press and hold SNOOZE and at the same
SNOOZE/ LIGHT
REV
SNOOZE/ LIGHT
REV
time set the programmable snooze period by pressing REV or FWD.
You can set the period between 0 to 30 minutes (note: alarm will
FWD
not be on again until 24 hours later by pressing SNOOZE if you set
to 0 minute).
2. Release REV or FWD while still pressing SNOOZE to complete
the setting.
FWD
Tip: If you wake up earlier than the preset wake time, press ALARM
MODE briefly to de-select the alarm function.
8
RR75 Euro IB 6/22/00, 2:12 PM8
Page 9

More information
USEFUL ADVICE
• Do not use your set immediately after
transport from a cold place to a warm
place: there may be condensation problems.
• Make sure that you keep your set away
from water and high temperatures.
• If you do not use your set on battery
power for more than one month, we
advise you to take out all the batteries.
• To prevent personal injury, do not reverse any battery and do not mix battery types.
The descriptions and characteristics given in this document are given as a general indication and
not as a guarantee. In order to provide the highest quality product possible, we reserve the right
to make any improvement or modification without prior notice. The English version serves as the
final reference on all product and operational details should any discrepancies arise in other
languages.
ECOLOGY
• Help protect the environment - we recommend that you dispose of used batteries by putting them into specially
designed receptacles.
MAINTENANCE
• Clean the unit with a soft cloth, or a
damp chamois leather. Never use solvents.
EN
RR75 Euro IB 6/22/00, 2:12 PM9
9
 Loading...