

Page 1
4. Press PREV on the main unit or PR- on the remote to
return to the previous track. Press NEXT on the main unit
or PR + on the remote to go to the next track.
5. Press STOP on the main unit or STOP on the remote control to end playback.
Quick scan
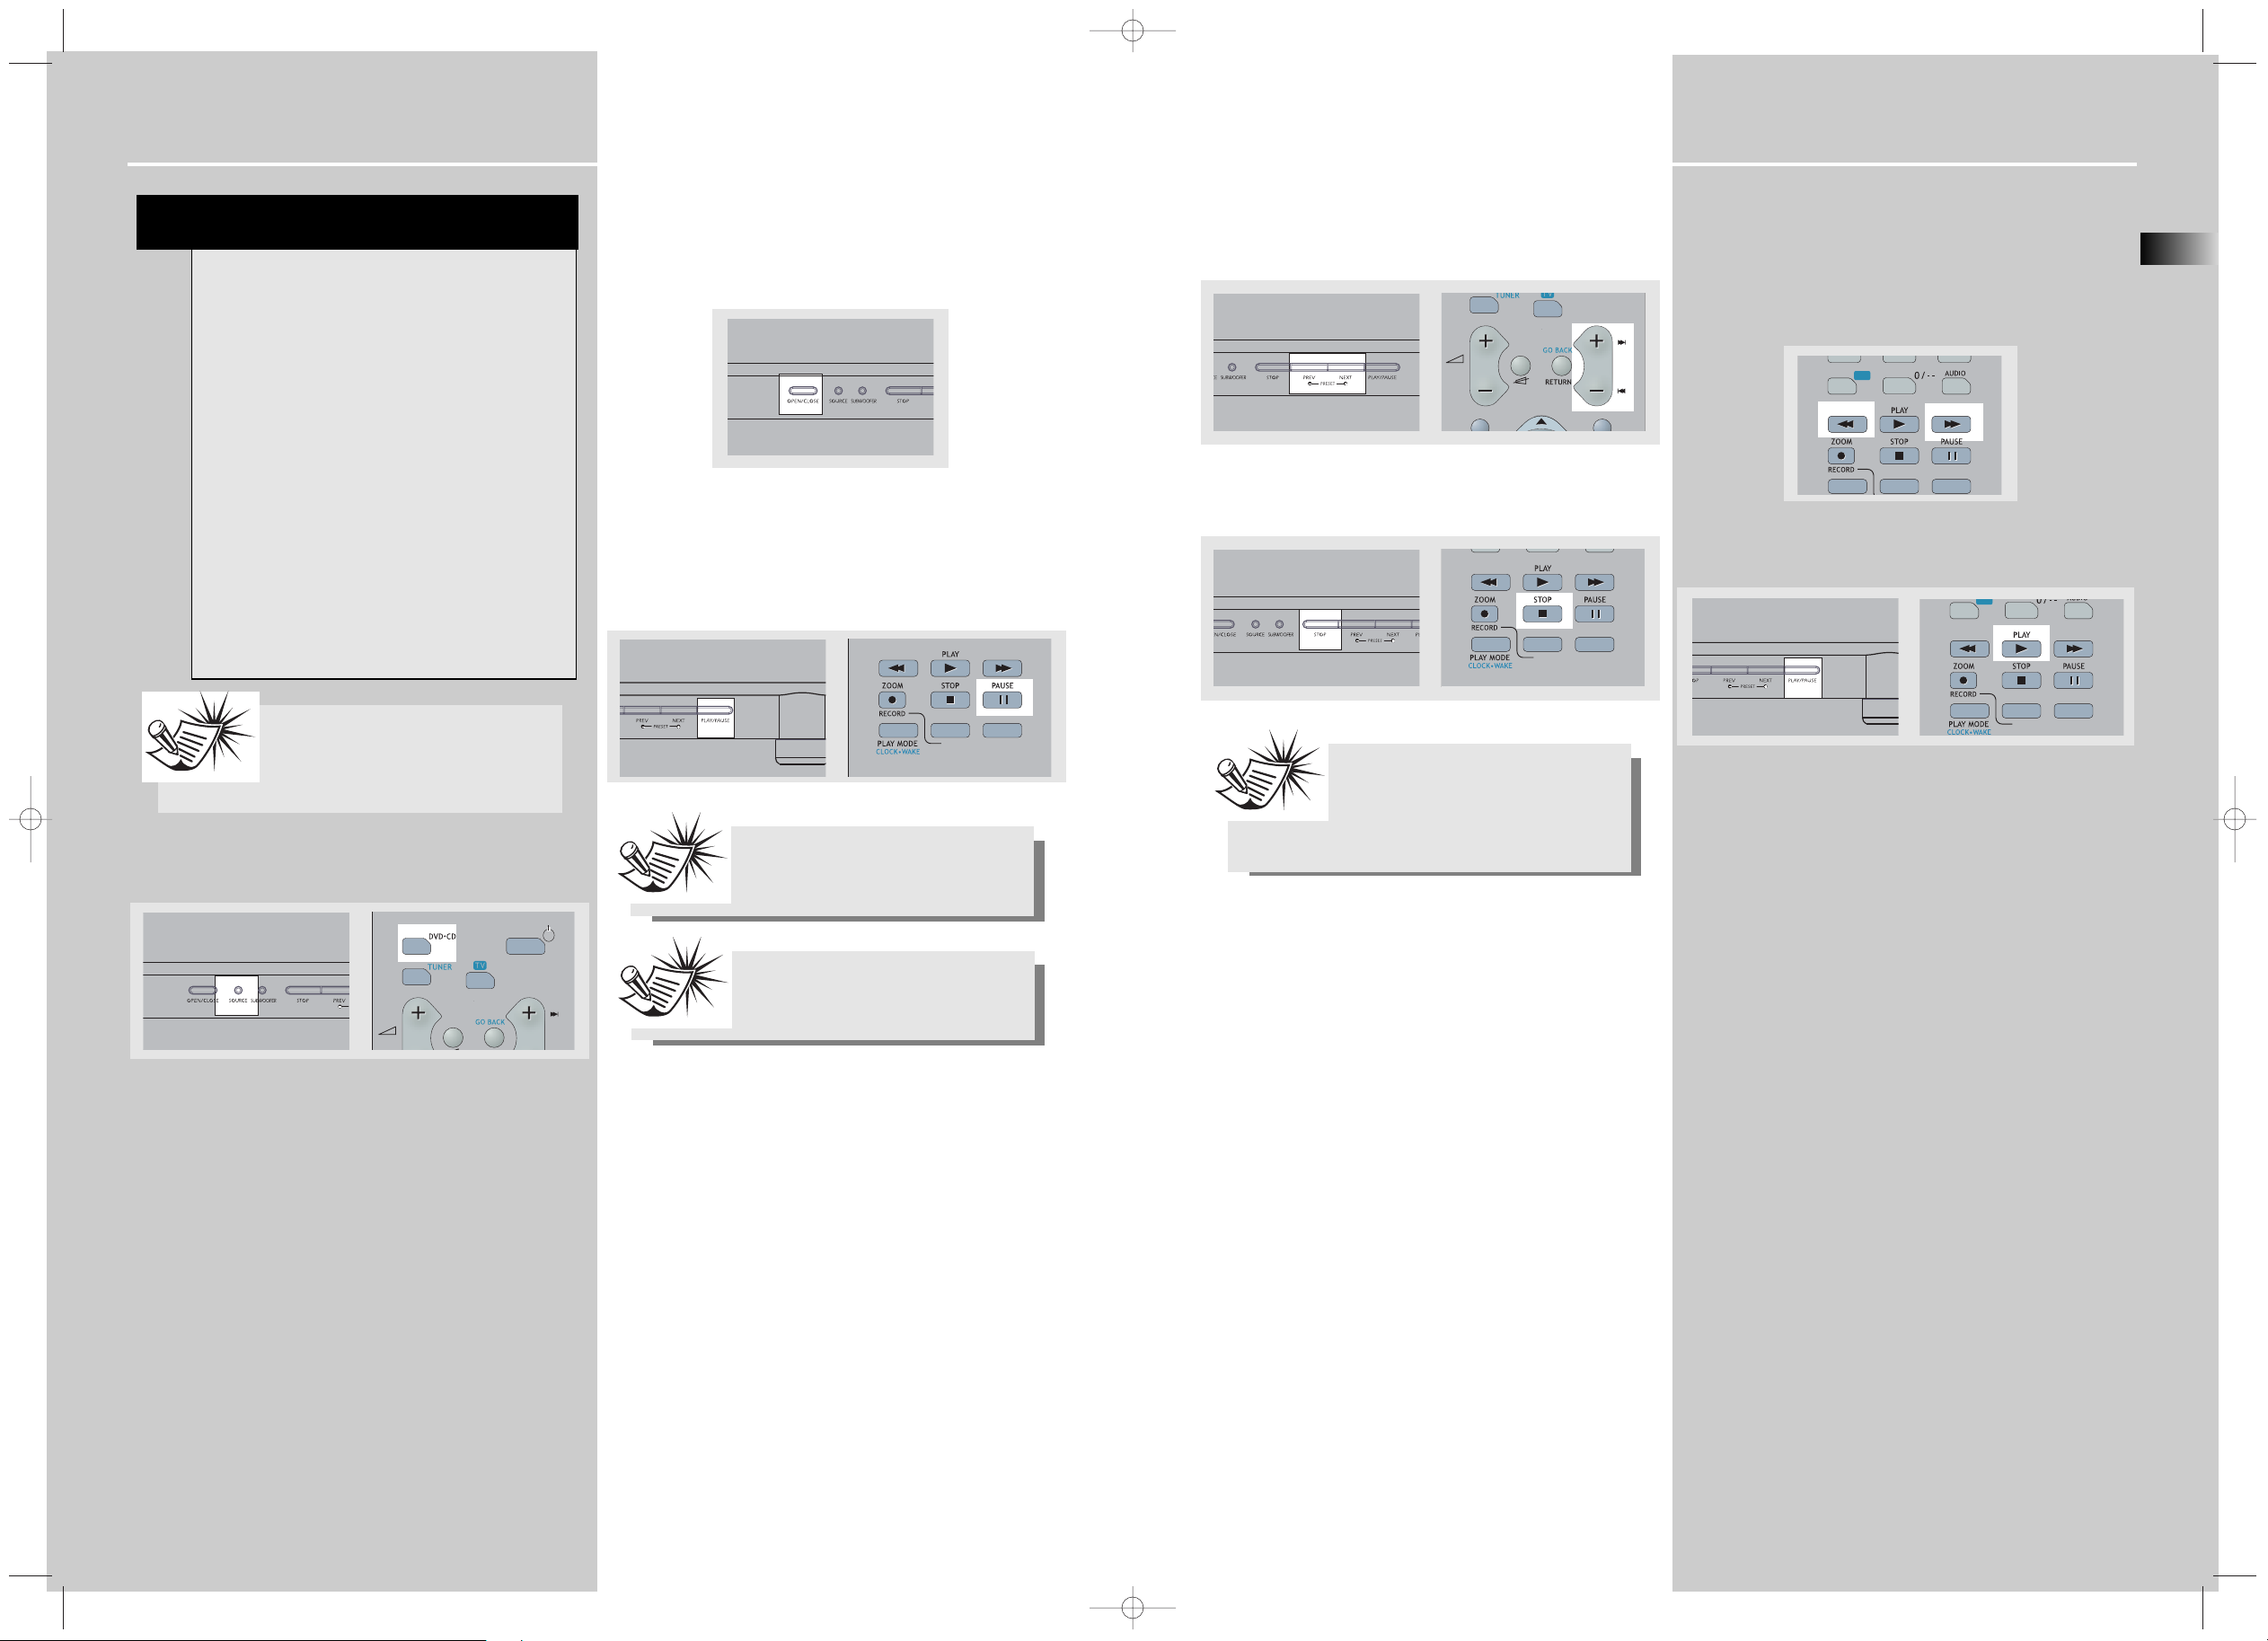
1. Press FWD or REV on the remote to scan through a track
quickly during playback. To change quick scan speed, press
FWD or REV repeatedly during scan.
2. Press PLAY/PAUSE on the main unit or PLAY on the
remote to resume normal playback.
CD / mp3 Player
EN
31
CD / mp3 Player
30
AV
Press SOURCE on the main unit or DVD/CD on the remote
to select the DVD/CD input source.
Loading and playing an audio CD
1. Press OPEN/CLOSE on the front panel to open the disc
tray. Place the disc on the disc tray with the label side
facing up. Press OPEN/CLOSE again to close disc tray.
2. Press PLAY/PAUSE to start the playback if the disc does
not start automatically.
3. Press PLAY/PAUSE on the main unit or PAUSE on the
remote control to pause playback. Press PLAY/PAUSE again
on the main unit or PLAY on the remote to resume normal
playback.
mp3 recommendations
• Use .mp3 as the extension when converting
audio files into mp3 for saving onto CD-R(W) or
CD-ROM, e.g. Rocky08.mp3. Do not use any other
extension e.g. .doc, .pdf.
• Do not use the .mp3 extension for other text or
non-audio data files as this may result in serious
malfunction and harmful noise interference.
• Most commonly available CD creation software
can make files compatible for the system but do
not forget to finalize your disc after creation. This
set cannot read DirectCD recordings.
• In order to get audio CD quality, you need to
record your MP3 CD at 128 kbps. You can record
up to 256 kbps. The unit might not read the file
which is not recorded within this range.
• Do not combine CD Audio and mp3 tracks onto
a CD-R(W) or CD-ROM. The player will only
playback CD audio tracks from mixed CD formats.
• The file name of mp3 songs should not exceed
10 characters.
Note:
• If over 400 items (songs/folders) are on
the disc, only the first 400 songs can be
played.
• Resume function does not operate in mp3 mode.
Note:
If the CD is a mp3 CD, reading may take up
to 30 seconds. Try re-inserting the disc if it
is not detected after 30 seconds.
Note:
Be sure to remove the disc from the disc
compartment before moving or transporting the unit!
Note:
When playback is interrupted, the location
at which it stopped will be memorized.
Playback will resume at the position it was
last stopped.
DPL930VD-EN CD_MP3 6/30/04 5:34 PM Page 2
REV
AUX 2
VCR
FWD
AUX 1
SAT - CABLE
REV
AUX 2
VCR
FWD
AUX 1
SAT - CABLE
PR
AV
REV
FWD
REV
AUX 2
FWD
AUX 1
-
PR
Page 2
CD / mp3 Player
EN
33
CD / mp3 Player
32
Bookmarks (Audio CDs Only)
The bookmark feature allows you to mark a point on the
disc for quick access. 12 bookmarks can be selected.
Adding Bookmarks (Audio CDs Only)
1. Open the bookmark menu.
2. Use the arrow keys to highlight the “Bookmark” option,
then press OK to enter bookmark menu.
3. Use the arrow keys to select a bookmark location, then
press OK to add bookmark when you reaching a point of
interest.
4. To add another bookmark, move the cursor to the right
and then press OK when reaching another point of interest.
5. Press CLEAR to exit menu.
Recalling bookmarks
1. Open the bookmark menu.
2. Use the arrow keys to highlight the “Bookmark” option,
then press OK to enter bookmark menu.
3. Use the arrow keys to select a bookmark location, then
press OK to recall the bookmarked point.
4. Press CLEAR to exit menu.
Clearing bookmarks
1. Open the bookmark menu.
2. Use the arrow keys to highlight the “Bookmark” option,
then press OK to enter bookmark menu.
3. Use the arrow keys to select a bookmark location, when
you see a trash icon, select it and press OK will erase this
bookmark.
The bookmarks are cleared each time a disc is removed
from the player or when the power is turned off
completely.
Time display (Audio CDs Only)
1. Open the time display menu.
2. Press the arrow keys to move the cursor to the time display box, then you can press UP to switch among "Track
Elapsed", "Track Remain" time during playback. The selected mode is displayed on the banner.
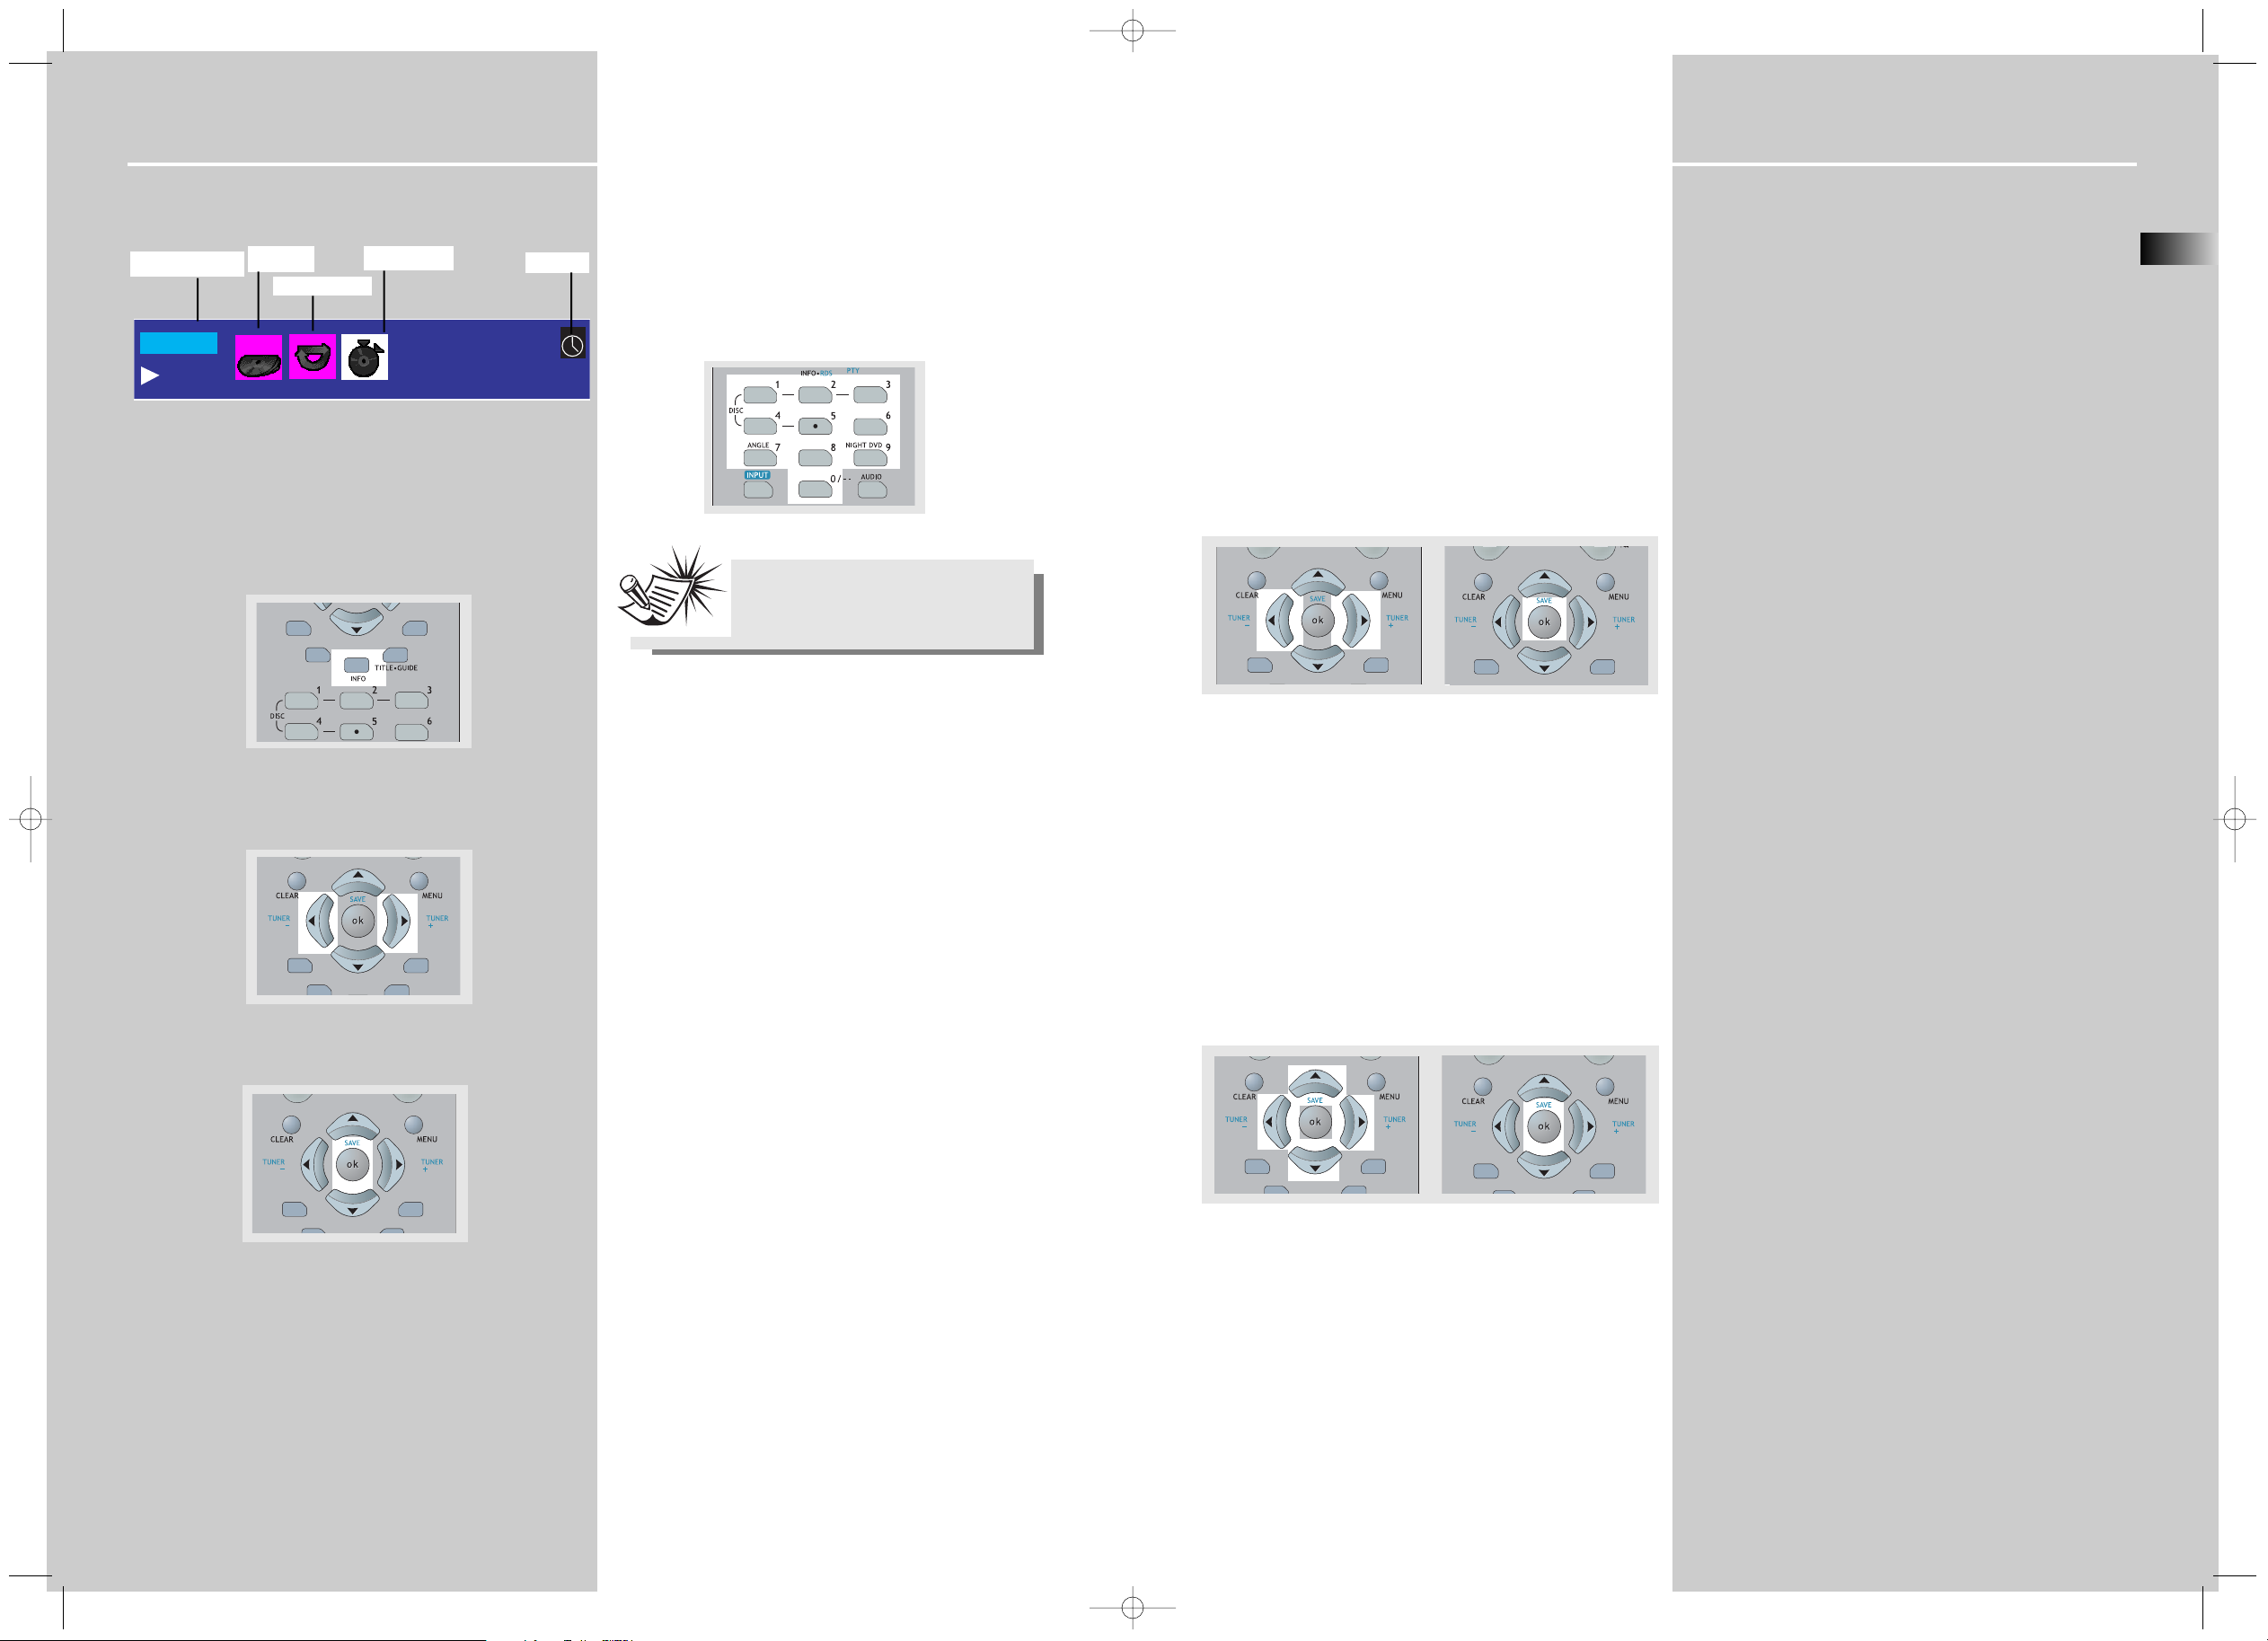
On- screen banner display for CD playback
General use
1. Press INFO on the remote control to hide and show
the on- screen banner. (Only audio CD banner)
2. Use LEFT / RIGHT to move the cursor on the banner. The
selected feature icon will be highlighted.
3. Press UP / DOWN to change setting of the selected feature. (except BOOKMARK function)
Selecting a track
1. Refer to “General use” to open the track menu.
2. Enter a track number. Start any single-digit track number by a 0 (e.g. 9 = 09).
Playmode selection for CD
There are several options for this feature.
1. Standard – normal CD playback
2. Program – plays the programmed tracks (usable in stop
mode only)
3. Random – randomly plays all the tracks of that disc.
4. Disc Repeat – repeatedly plays the selected or currently
playing disc.
5. Track Repeat – plays one track over repeatedly.
6. Repeat A-B – repeatedly plays the selected time frame.
7. Intro scan – plays the initial 10 seconds of each song in
the disc.
Track
Bookmark
Playmodes
Time indicator
Note:
You must be in playback mode for track
selection.
Sleep
DPL930VD-EN CD_MP3 6/30/04 5:34 PM Page 4
00:03:20
T:4
PLAY
SURROUND
EQ. LEVEL
SUBWOOFER
Z
Z
Z
SURROUND
SUBWOOFER
SURROUND
SUBWOOFER
SURROUND
SUBWOOFER
SURROUND
SUBWOOFER
SURROUND
SUBWOOFER
SURROUND
SUBWOOFER
Page 3

CD / mp3 Player
EN
35
CD Player
34
Program playback
Edit program
1. In STOP mode, enter the OSD banner to display the edit
playlist (program screen)
2.
2. Press UP/DOWN to select a track. Press OK.
3. Repeat steps 2 and 3 to add additional tracks to the program.
4. Move to highlight “Done”, and then press OK to confirm
program playback or return to the stop mode.
5. Press PLAY during program edit to start program play-
back.
Cancel program
Program will be cancelled when;
1. the disc tray is opened;
2. power is turned off.
Intro scan
1. In STOP mode, select “Intro Scan” under playmode
menu.
2. Press OK on the remote control to start intro scan playback.
On- screen display for mp3 playback
Standard Play
File mode
1. In the playmode window, press UP/DOWN on the remote
to select the standard mode.
2. In the file window, use the arrow buttons on the remote
to select the file you wish to begin playing.
3. Press OK to select a file to play.
4. Press PLAY/PAUSE on the main unit or PLAY on the
remote control to start playback.
5. You may use the arrow buttons to selected the next file
to be played.
Playback will stop when all the files have been played.
Playmode selection for mp3
1. You can select your desired playmode in mp3 menu.
i. Standard - normal playback
ii. Program - play your programmed tracks
iii. Random - play tracks randomly
iv. Track repeat - repeat desired track
v. Folder repeat - repeat desired folder
vi. Disc repeat - repeat the whole disc
2. Press INFO on the remote to show the menu banner.
3. When the Play Mode window is highlighted, use
UP/DOWN to toggle different playmodes, then press OK to
confirm.
4. Press INFO on the remote to hide the menu banner on
screen.
AV
Note:
You can select a maximum of 24 items
DPL930VD-EN CD_MP3 6/30/04 5:34 PM Page 6
All
Tra ck 1
Tra ck 2
Tra ck 3
Tra ck 4
Tra ck 5
1: -3: -5: -7: --
9: --
11: -- 12: --
2: -4: -6: -8: --
10: --
Done
Title1
Title 2
Title 3
Title 4
Title 5
Title 6
Current Selection
Not Selected
Not Selected
SURROUND
SUBWOOFER
SURROUND
SUBWOOFER
SURROUND
SUBWOOFER
SURROUND
SUBWOOFER
SURROUND
SUBWOOFER
REV
AUX 1
AUX 2
FWD
-
Page 4

mp3 Player
36
Program playback
Edit program
1. In STOP mode, enter the OSD banner to display the edit
playlist (program screen)
2. Press the arrow buttons to select a folder or a track.
Press OK.
3. Repeat steps 2 and 3 to add additional tracks to the program.
4. Press PLAY to start program playback.
5. Move to highlight “Done” to return to normal playback
with program saved.
Cancel program
Program will be cancelled when;
1. the disc tray is opened;
2. power is turned off.
Note:
You can select a maximum of 24 items
DPL930VD-EN CD_MP3 6/30/04 5:34 PM Page 8
All
Tra ck 1
Tra ck 2
Tra ck 3
Tra ck 4
Tra ck 5
1: -3: -5: -7: --
9: --
11: -- 12: --
2: -4: -6: -8: --
10: --
Done
SURROUND
SUBWOOFER
SURROUND
SUBWOOFER
 Loading...