

Page 1

EN
No film output on this page
CS1200VD EN PART 3 5/20/03 11:26 AM Page 1
Page 2
33
EN
32
EN
Playing Discs (JPEG files)
Viewing JPEG files
This DVD Player can play discs with JPEG files on it.
Yo u can use the DVD Player to show the pictures in a
slide show format.
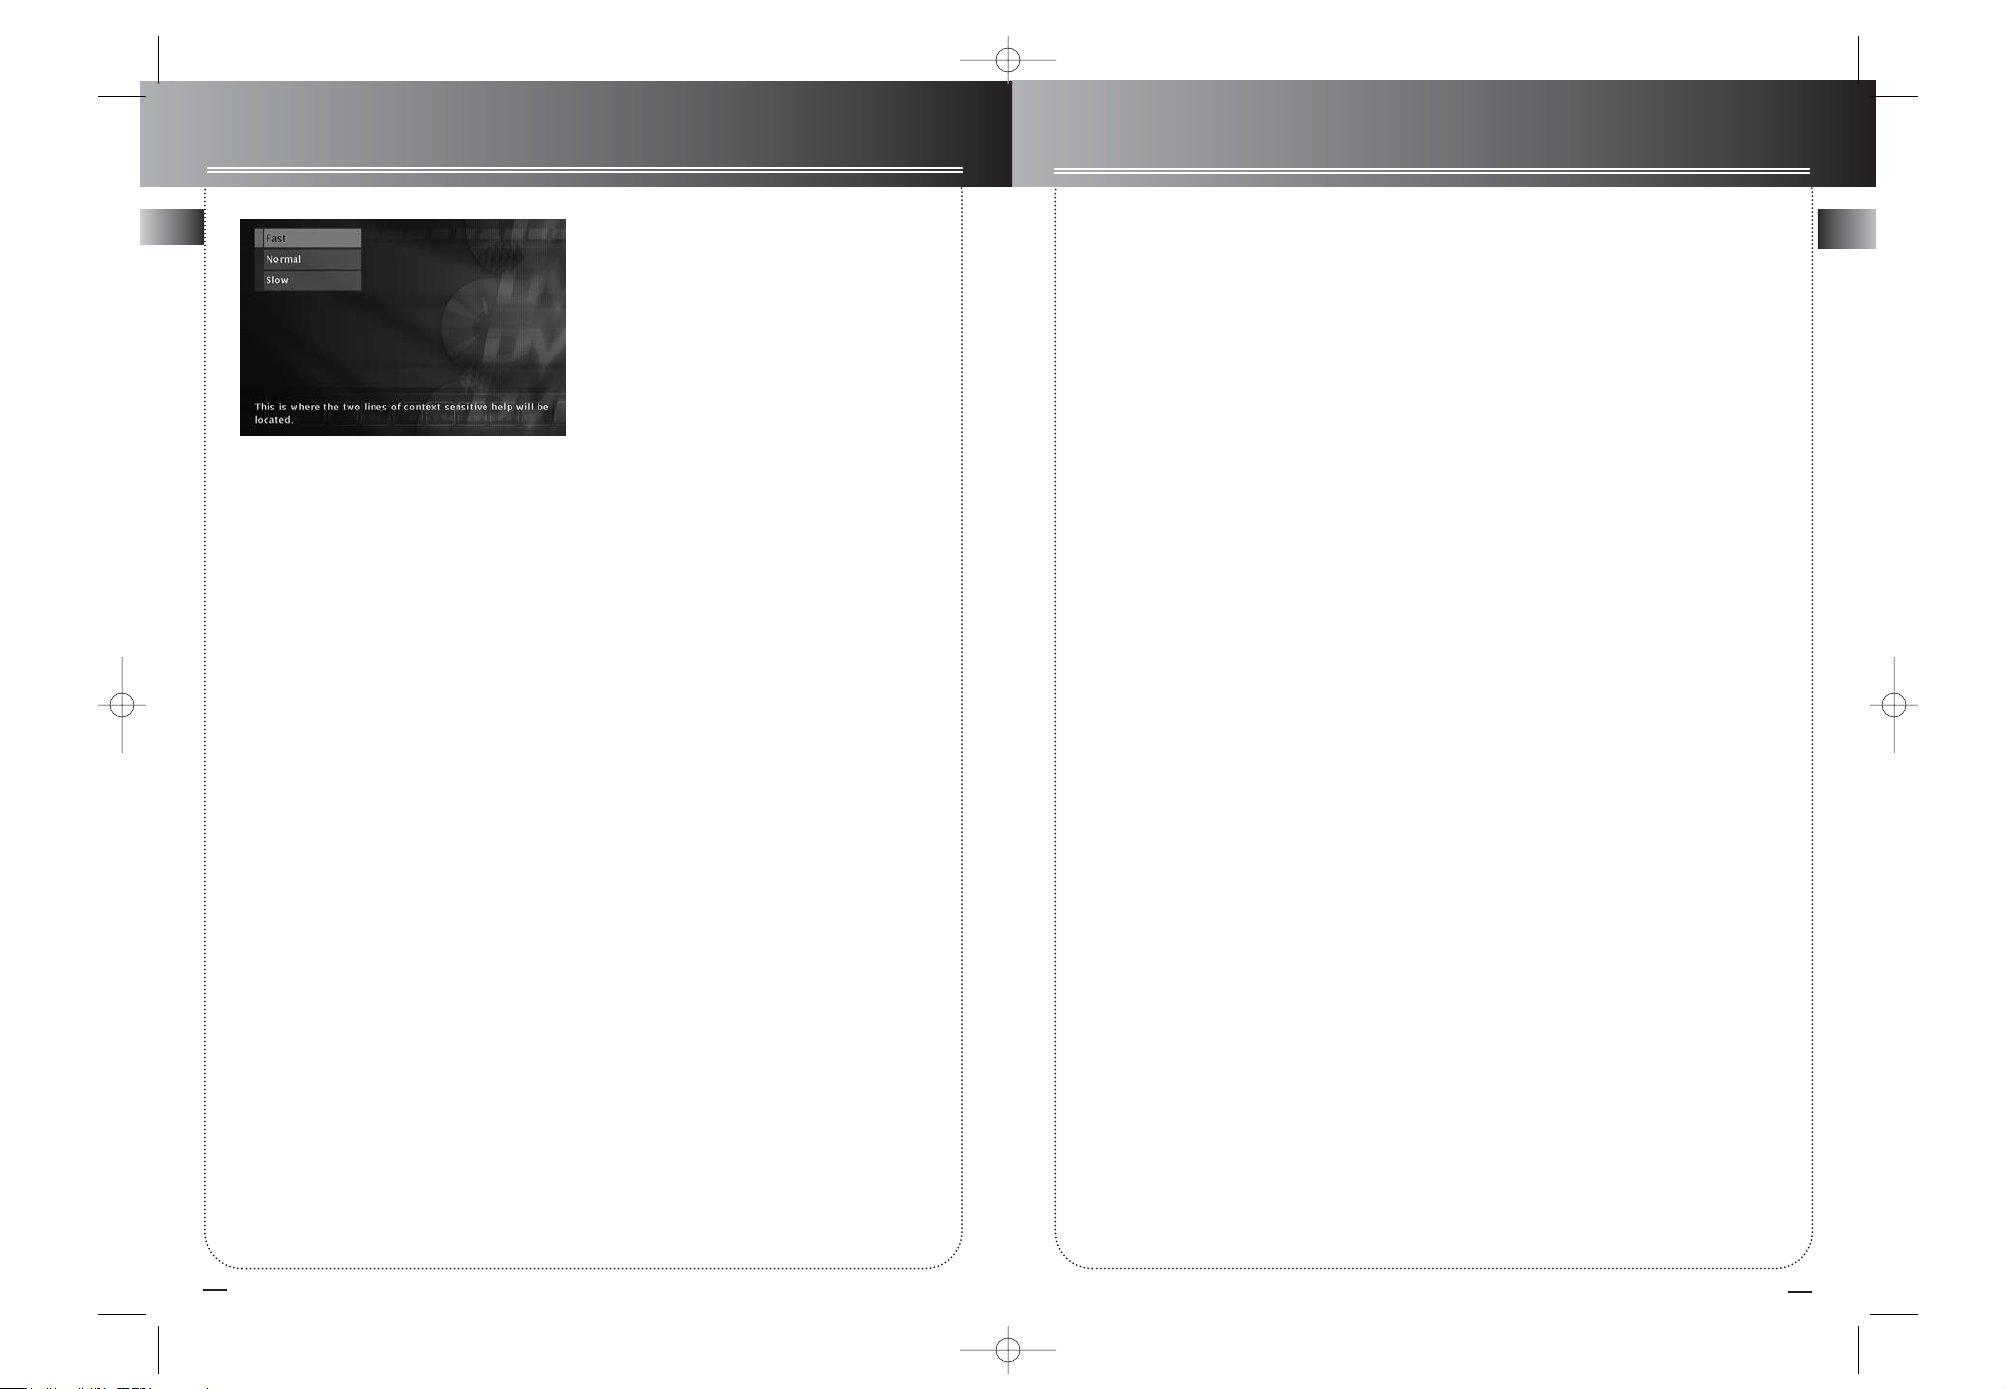
Slide Show
After you put the disc in the DVD Player and it
detects there are JPEG files on the disc, the slide
show menu appears automatically.
1. Use the up or down arrow buttons on the
remote to highlight how fast you want the
slide show to play.
Fast - the picture stays on the screen for 10
seconds before displaying the next JPEG file
(picture).
Normal – 15 seconds between pictures.
Slow – 30 seconds between pictures.
2. Press OK (the folders and/or JPEG files appear
on the screen). Use the up and/or down arrow
buttons to highlight a folder, and press PLAY
(the slide show begins). To stop the slide show,
press the STOP button.
The slide show menu appears automatically when you put a disc in the player that
has JPEG files on it.
Operating the clock and radio
Setting the Clock
1. Press CLOCK/TIMER until “CLK” blinks on display.
2. Press SKIP REVERSE or SKIP FORWARD buttons
to set the hour and then press PROG./SET to shift to
minute digits.
3. Press SKIP REVERSE or SKIP FORWARD buttons
to set the minute.
4. Press PROG./SET to save settings.
Note:
• Press CLOCK to display the current time for
about 2 seconds.
Setting the Timer
1. Press and hold CLOCK/TIMER until the ON
appear with the hour flashing ( ON - timer on
time )
2. Press SKIP REVERSE or SKIP FORWARD buttons
to set the hour and then press PROG./SET to shift
to minute digits.
3. Press SKIP REVERSE or SKIP FORWARD buttons
to set the minute and then press PROG./SET to
shift to source selection.
4. Press SKIP REVERSE or SKIP FORWARD buttons
to select DVD / Tuner.
5. If DVD is selected as the source, press SKIP
REVERSE or SKIP FORWARD buttons to select
volume.
If Tuner is selected as the source,SKIP REVERSE or
SKIP FORWARD buttons to select the preset sta
tion. Then press PROG./SET to shift to select vol
ume.
6. Press SKIP REVERSE or SKIP FORWARD buttons
to select volume, then press PROG./SET to set
timer off time.
7. Repeat steps 2 and 3 to set timer off time, press
PROG./SET to save your settings.
Activating the Timer
Press and release TIMER to turn on/off the timer. The
timer indicator will light.
Sleep Mode
Yo u can select the time interval in minutes before the
unit turns off automatically. Press SLEEP to select
among 90, 80, 70, 60, 50, 40, 30, 20, and 10
minutes and off.
CS1200VD EN PART 3 5/20/03 11:26 AM Page 2
Page 3

EN
35
Troubleshooting Tips
Power
No power ?
• Correctly connect the AC Power Cord to an AC Outlet.
Power is switching off automatically ?
• If the player is not used, i.e. no key pressed for 30 minutes, it
automatically switches to standby (Auto Power Off). Press the
SOURCE key to switch the player on again.
The keys do not activate the functions they control (unit
and / or remote control).
• Set the STANDBY key to OFF (red light on) and back to ON
again. Alternatively, turn off the power, disconnect the power
plug and then re-connect it (The player may not be operating
properly due to lightning, static electricity or some other external factors).
• If keys still do not activate the functions they control even
when the above mentioned corrective actions are taken, contact your RCA retailer.
• During protection such as OCP, OVP, OTP,the unit may
already go into the “Latch mode”, and the unit will need
sometime to power on again.
Video and audio
There is no picture ?
• Turn on the TV set.
• Check connections.
• Make the correct input selection on the TV set.
The picture is distorted or shakes during search, forward
or reverse.
• Search, forward or reverse playback generates a slight distortion, but this is not a malfunction.
There is no sound or it can hardly be heard ?
• Make sure the speakers are connected.
• Make sure the MUTE button is not on.
• Check connections.
• Make the correct audio input selection and volume adjustment on the TV set or hifi system (e.g. AV selector).
• There is no sound during a pause (still picture), still picture
advance, or slow playback.
• Disc is defaulted to DTS.
No "Surround" sound ?
• Check speaker configuration in the menu.
Noise interference appears on the TV, while watching a
TV program and the DVD player is left on ?
• Turn off DVD player.
• The TV is too close to the audio system.
Volume level differences playing different disc types
(DVDs, audio / video CDs).
• Adjust the master volume .
No audio from one channel.
• Check the speaker level setting.
• Check the speaker wire or cable connections.
Remote control
The remote control does not work ?
• Load the batteries with their polarities (+ and –) aligned correctly.
• Batteries are low. Replace with new ones.
• Point the remote control to the front of the player.
• Operate the remote control within an 26 ft range from the
player.
• Remove any obstacles between the remote control and the
player.
The invalid icon appears on-screen ?
• When invalid icon appears on-screen, it indicates that you
have pressed the wrong key, because :
1. The DVD does not allow it.
2. The DVD does not propose this option /e.g., angles.
3. The function is not available on that part of the disc.
4. You have requested a title or chapter number or search time
that is not available.
TV or video recorder cannot be operated with the
remote control.
• Not all models can be operated with the supplied universal
remote control.
No picture or the picture shown is not that of the DVD
player.
• Switch off the other video device connected to the AV jack of
the player.
Playback
Playback does not start when the PLAY key is pressed ?
• Make sure that the disc (single sided) is loaded correctly with
the title label facing up.
• Make sure you are in the proper source mode.
Playback stops immediately after the PLAY key is
pressed ?
• This player can play DVDs, Video CDs and Audio and mp3 CDs
only, check that your disc corresponds to one of these formats.
• If the disc is dirty, wipe it with a soft and clean cloth.
• Condensation occurred inside the player. Leave it at room
temperature for 1 to 2 hours.
Disc cannot be played.
• Wipe the disc clean.
• Use a RCA lens cleaner.
• The disc's region No. differs from your player's region No.
Search forward & reverse playback does not work ?
• Some DVDs have segments where search forward & reverse
playback functions do not work.
34
EN
Operating the clock and radio
The unit has a built-in tuner that allows for AM/FM
eadio function.
Manual tuning
1. Connect the FM and AM antenna.
2. Press Source button to enter Tuner mode.
3. To select band, press the BAND/APP button on
main unit or the TUNER button on the remote to toggle between AM/FM mode.
4. Press STOP/TUNE/PRESET button to enter tuning
mode.
5. Press TUNING + or - buttons repeatedly until the
desired radio station is found.
6. You can press and hold the TUNING + or - buttons
to active the automatic search function, the unit will
automatically tune frequencies until it finds a station.
Storing preset stations
1. Select the band by pressing the BAND/APP button
on main unit or the TUNER button on the remote to
toggle between AM/FM mode..
2. Tune to a radio station you want to store.
3. Press PROG./SET once, the preset station number
will blink on display.
4. Press SKIP REVERSE or SKIP FORWARD buttons
to select the preset station number you want to store
in.
5. Press PROG./SET button again to confirm selection.
6. Repeat step 2-5 to store other stations.
Automatic Preset Programming
(FM only)
1. Select the band
2. Press and hold BAND/APP button, AUTOMATIC
TUNER PROGRAMMING will scroll on display.
3. Radio frequencies will be scanned and radio station
will be stored automatically. WHen all the available
radio station are stored or all memory station are full,
the automatic programming will stop.
Tuning to a RDS Station
Tip: RDS stations broadcast on FM only. When
the tuner detects an RDS signal, the RDS icons
turns on.
1. Follow steps under “Tuning to a Station” to tune
to the desired radio station or follow steps under
“Using Presets” to tune to a preset station.
2. If RDS station found, RDS lights on display with
station name shown.
Displaying RDS Station Information
Press PLAY/RDS on the main unit or INFO.RDS on
the remote to display the frequency, station name
(PS), station type (PTY) or radio text (RT) in radio
mode.
Searching by Program Type (PTY)
1. Press TITLE-GUIDE/PTY to enter PTY selection
2. Press TITLE-GUIDE/PTY repeatedly to select a PTY
mode.
3. Within 5 seconds, press SKIP BACKWARD / SKIP
FORWARD on the main unit or
TUNING - or + on the remote control to search
for a station broadcasting the selected
type of program.
You can search for stations using one of the
following program types:
RDS NEWS (news), AFFAIRS ( news and documentaries), INFO (weather, medical), SPORT (sports),
EDUCATE (education), DRAMA (series and plays),
CULTURE (religion), SCIENCE (science and technology), VARIED (miscellaneous), POP M (pop music),
ROCK M (rock music), MOR M (middle-of-the road
music), LIGHT M (light music), CLASSICS (classical
music), OTHER M (unclassified music).
CS1200VD EN PART 3 5/20/03 11:26 AM Page 4
Page 4

EN
EN
37
Care and Maintenance
Disconnect the audio system from the power source before performing any maintenance.
Cleaning
Clean the exterior of the system using a soft dust cloth.
The player
CAUTION! This system operates with a laser. It must be opened
by only a qualified technician.
• Never move the player during playback.
• Never put more than one discs on a tray or put a disc
slipping out of the guide area.
Handling discs
• Do not touch the signal
surfaces.
• Hold discs by the edges,
or by one edge and the
hole.
• Do not affix labels or adhesive tapes to the label surfaces.
• Do not scratch or damage the label. Discs rotate at high
speeds inside the player.
• Do not use damaged (cracked or warped) discs.
Cleaning discs
• Dirty discs can cause poor
sound and visual quality.
Always keep discs clean by
wiping them gently with a
soft cloth from the inner
edge toward the outer perimeter. Never wipe the disc in a circular motion since circular scratches are likely to occur and could
cause noise during playback.
• If a disc becomes dirty, wet a soft cloth in water, wring it out
well, wipe the dirt away gently, and then remove any water
drops with a dry cloth.
• Do not use record cleaning sprays or antistatic agents on discs.
Also, never clean discs with benzene, thinner, or other volatile
solvents which may cause damage to disc surface
Disc lens care
• When your disc lens gets dirty it can also cause the system to
output poor sound and visual quality. To clean the lens you will
need to purchase a disc lens cleaner which can maintain the
output sound and visual quality of your
system. For instructions on cleaning the disc lens, refer to the
ones accompanying the lens cleaner.
Important battery information
• Remove the batteries to avoid leakage if you do not use your
remote control for more than one month.
• Discard leaky batteries immediately as leaking batteries may
cause skin burns or other personal injuries.
• Dispose of batteries in the proper manner, according to
provincial and local regulations.
• Any battery may leak electrolyte if mixed with a different battery type, if inserted incorrectly, if all batteries are not replaced
at the same time, if disposed of in fire, or if an attempt is made
to charge a battery not intended to be recharged.
Safety precautions
• Never open the cabinet under any circumstances. Any repairs
or internal adjustments should be made only by a trained technician.
• Never operate this product with the cabinet removed.
• Do not touch the player with wet hands. If any liquid enters
the player cabinet, take the player to a trained technician for
inspection.
• This player uses a laser to read the data on the disc. The laser
mechanism corresponds to the cartridge and stylus of a record
player. Although this product incorporates a laser pick-up lens,
it is completely safe when operated according to directions.
• Discs rotate at high speed inside the player. Do not use damaged, warped, or cracked discs.
• Do not touch the pick-up lens which is located inside the disc
compartment. Also, to keep dust from collecting on the pickup lens do not leave the compartment door open for an
extended period of time. If the lens becomes dirty, clean it with
a soft brush, or use an air blower brush designed for camera
lenses.
• The apparatus shall not be exposed to dripping or
splashing and that no objects filled with liquids, such as
vases, shall be placed on the apparatus.
Headset safety
• Do not play your headset at a high volume. Hearing experts
warn against extended high-volume play.
• If you experience a ringing in your ears, reduce volume or discontinue use.
• You should use extreme caution or temporarily discontinue
use in potentially hazardous situations.
• Even if your headset is an open-air type designed to let you
hear outside sounds, don’t turn up the volume so high that you
are unable to hear what is around you.
Don’t infringe
This product should only be used for the purposes for which it is
sold, that is, entertainment, violating no copyright law. Any
attempts to use this product for which it is not intended is
unlawful and therefore not condoned by Thomson.
The descriptions and characteristics given in this document
are given as a general indication and not as a guarantee. In
order to provide the highest quality product possible, we
reserve the right to make any improvement or modification
without prior notice. The English version serves as the final
reference on all products and operational details should any
discrepancies arise in other languages.
V
i
d
e
o
D
i
s
c
T
h
o
m
s
o
n
D
i
g
i
t
a
l
36
Troubleshooting Tips
Subtitle, language, camera angle etc.
Disc menu operation and contents may differ from disc to disc.
Please refer to the instructions accompanying the disc.
There are no subtitles ?
• Check that the subtitle is recorded on the disc.
• Subtitles disappear from the TV screen.
Subtitle (or language) setting cannot be changed ?
• The disc being played has been recorded in only one
language.
• Depending on the type of DVD, some segments limit
language selection.
The picture is not displayed in the correct format on the
TV (4 x 3 or 16 x 9)
• According to your TV, make the correct "TV Screen"
setting in the set-up menu (page 29).
The camera angle cannot be changed with the angle
button ?
• This function does not work when a DVD has not been recorded with a multi-camera angle system. Some DVDs use a multicamera angle system only in certain portions of the DVD.
The menu language is not the one you want ?
• The menu language for your player has not been set during
set-up.
• Your preferred menu language on a DVD disc (if
available) has not been set during set up.
Audio (spoken) and / or subtitle language is not the one
selected during the initial player set-up ?
• If the audio or subtitle language is not available on the DVD
disc, the language selected during initial player set-up will not
be heard or seen. The disc's priority language (default language) is selected automatically. If you want another language,
press menu during playback, if the disc has its own language
selection menu.
Radio
STEREO indicator is off.
• Adjust the antenna.
The signal is Mono. Severe hum or noise.
• The signal is too weak. Connect an external antenna.
Equipment Specifications:
AMPLIFIER SECTION:
All 2 channels:
Front Speaker: each 20W at 8 ohm. 10% THD @1 kHz
Subwoofer channel: 40w at 4Ω 10% THD @80 kHz
Muting Attenuation: 65dB
Frequency Response: 20Hz to 20kHz +/-3dB
Signal to Noise Ratio: 65dB (Bypass mode)
VIDEO SECTION:
Input ( Sensitivity/ Impedance ):1Vp-p/ 75ohm
Output (Level/ Impedance): 1Vp-p/ 75 ohm
Frequency Response: 10Hz to 6MHz at +/- 3dB
Signal to noise ratio: 40dB
Crosstalk @3.58MHz: 40dB
AM TUNER SECTION:
Frequency Response: 80Hz – 2kHz +/-6dB
Usable Sensitivity: 1000uV/m @ S/N 20dB
Signal to Noise: 38dB
Image Ratio: 27dB @ 1000kHz
IF Rejection: 35dB
FM TUNER SECTION:
Frequency Response: 40Hz – 15kHz +/-3dB
Quieting: 24dBu
Signal to Noise: 50dB(stereo) / 50dB(mono)
Image Ratio: 20dB
IF Rejection: 50dB
Dimensions (H x W x D mm) :
Unit - 87 x 250 x 288
Speaker - 241 x 112 x 120
Subwoofer - 323 x 180 x 410
CS1200VD EN PART 3 5/20/03 11:26 AM Page 6
Page 5

EN
38
Language Codes
Abkhazian 6566
Afar 6566
Afrikaans 6570
Albanian 8381
Amehanie 6577
Arabic 6582
Armenian 7289
Assamese 6583
Aymara 6588
Azerbaijani 6590
Bashkir 6665
Basque 6985
Bengali, Bangla 6678
Bhutani 6890
Bihari 6672
Bislama 6673
Breton 6682
Bulgarian 6671
Burmese 7789
Byelorussian 6669
Cambodian 7577
Catalan 6765
Chinese 9072
Corsican 6779
Croatian 7282
Czech 6783
Danish 6865
Dutch 7876
English 6978
Esperanto 6979
Estonian 6984
Faeroese 7079
Fiji 7074
Finnish 7073
French 7082
Frisian 7089
Galiean 7176
Georgian 7565
German 6869
Greek 6976
Greenland 7576
Guarani 7178
Gujarati 7185
Hausa 7265
Hebrew 7387
Hindi 7273
Hungarian 7285
Icelandic 7383
Indonesian 7378
Interlingua 7365
Interlingue 7369
Inupiaic 7375
Irish 7165
Italian 7384
Japanese 7465
Javanese 7487
Kannada 7578
Kashmiri 7583
Kazakh 7575
Kanyarwanda 8287
Kirghiz 7589
Kirundi 8278
Korean 7579
Kurdish 7585
Laothian 7679
Latin 7665
Latvian, Leltish 7684
Lingala 7678
Lithuanian 7684
Macedonian 7775
Malagasy 7771
Malay 7783
Malayalam 7776
Maltese 7784
Maori 7773
Marathi 7782
Moldavian 7779
Mongolian 7778
Naru 7865
Nepali 7869
Norwegian 7879
Occitan 7967
Oriya 7982
Oroma (Atan) 7977
Punjabi 8065
Pashto, Pushao 8083
Persian 7065
Polish 8075
Portuguese 8084
Quechua 8185
Ahaero- Romance 8277
Romanian 8279
Russian 8285
Samoan 8377
Sangbo 8371
Sanskrit 8365
Sents Gaelic 7168
Serbian 8382
Servo-Croatian 8372
Sesotho 8384
Setswana 8478
Sindhi 8368
Singhalese 8373
Siswati 8383
Slovak 8375
Slovenian 8376
Somali 8379
Spanish 6983
Sudanese 8385
Swahili 8387
Swedish 8386
Tagalog 8476
Tajik 8471
Tamil 8465
Tatar 8484
Telugu 8469
Thai 8472
Tibetan 6679
Tigrinya 8473
Tonga 8479
Tsonga 8483
Turkish 8482
Turkmen 8475
Twi 8487
Ukrainian 8575
Urdu 8582
Uzbek 8590
Vietnamese 8673
Volapuk 8679
Welsh 6789
Wolaf 8779
Xhosa 8872
Yiddish 7473
Yoruba 8979
Zulu 9085
CS1200VD EN PART 3 5/20/03 11:26 AM Page 8
 Loading...