

Page 1
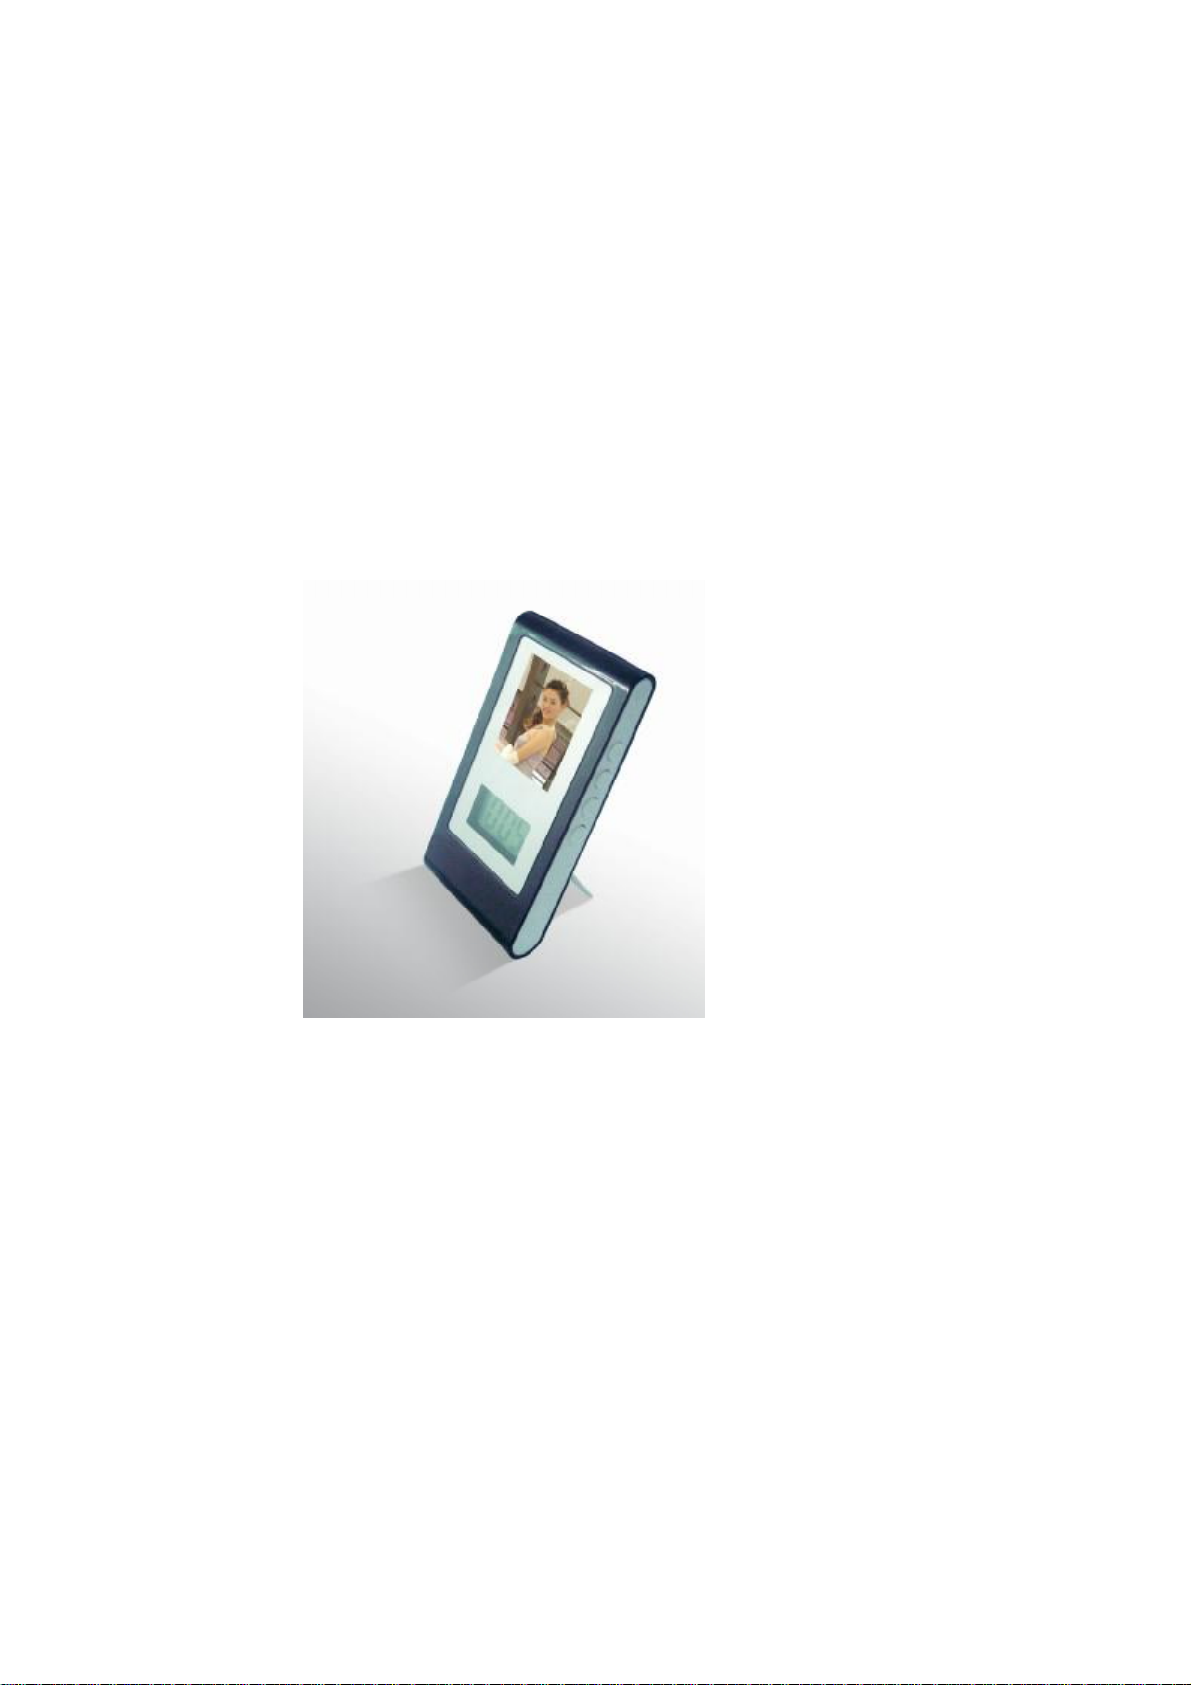
1.8’ TFT photo frame
User manual
Page 2
1
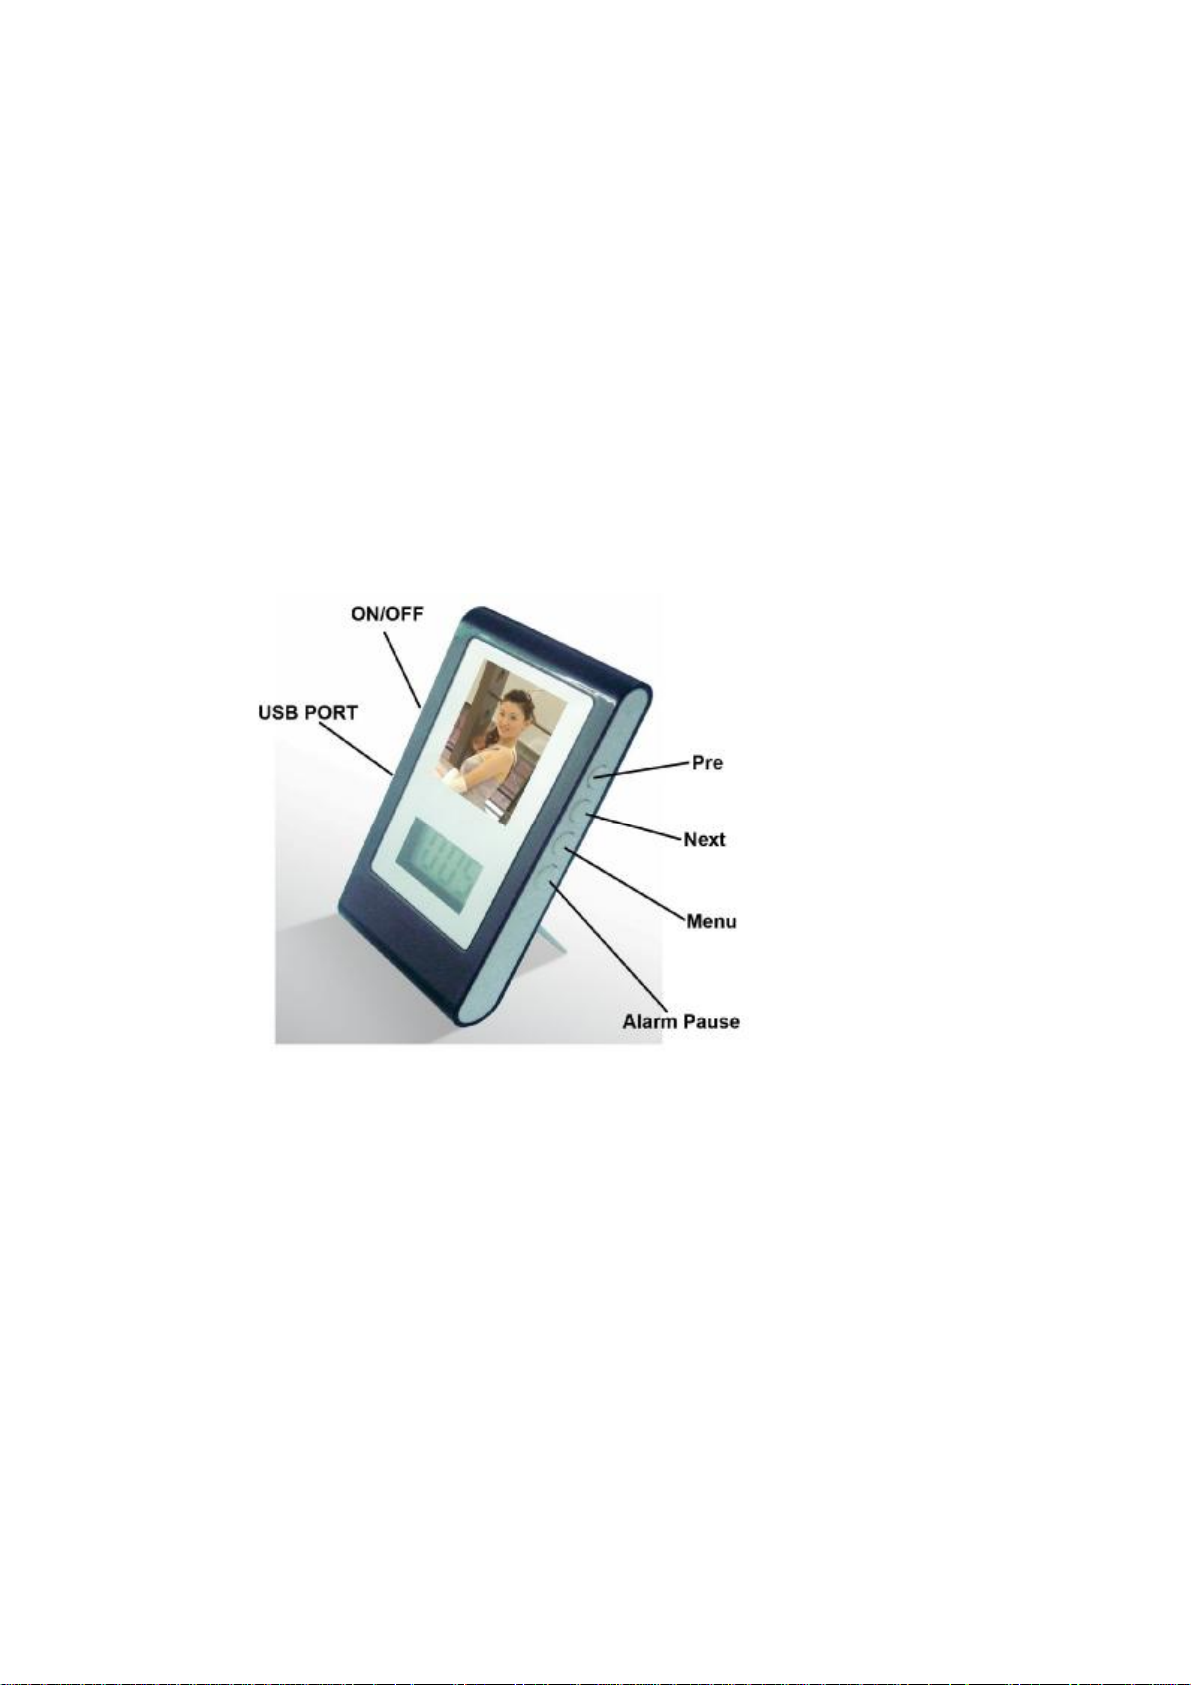
1. Figure and Keys
Page 3

2
l The keys function
USB port: download the picture
ON/OFF: Power on/off
Menu: keep pressing “menu” button may turn on the frame or go to the main menu.
Pre : previous
Next: Next
Alarm Pause: Press Alarm Pause button when you want to stop the alarm
Battery: This photo frame plays with two AAA batteries
Notice: This photo frame can support pictures of BMP, JPG, PNG, TIF, GIF format, but the file must be
converted by the convert tool, or can not play in the frame.
² When the frame have no files, the screen will display:
2. Basic functions
Press menu button to enter into main menu:
2.1. Off
Page 4

3
If you select “OFF’, then press Menu button, the frame will turn off at once. Keep pressing Menu button to turn
on the frame.
2.2 Display Mode
Press “Pre” or “Next” to select “Display Mode”, then press “Pre” or “Next” again to select “Auto Slide” or
“Manual Slide”
2.21 Auto Slide
You can set the auto slide time that you want, then the picture will play automatically in every seconds that you
set.
2.22 Manual Slide
If you choose this mode, then you should press “Pre” or “Next” button one time by one time to view the
pictures.
You can Press “menu” button to exit after operation.
2.3. Clock set
Select clock set mode, press “menu” to enter into it.
Press menu button to select the date and time, press “Pre” and “Next” to set the time, then press “menu” to
confirm and exit.
Page 5

4
※ Note: When you changed the battery, you have to reset the clock.
2.4. Auto ON/OFF
Select Auto ON/OFF mode, press “menu” to enter into it.
2.41 Select Auto on/off “on” to set turn on and turn off time, turn on and turn off time can not be the same time.
Press “Pre” and “Next” to set the time. Then press menu to confirm and exit.
2.42 Select Auto on/off “off” to cancel the setting.
2.5. Clock display
Select clock display mode, then press “menu” button to enter into it.
2.51 If you select “Display Clock Normal”, then date and time will appear on the screen.
2.52 If you select “Display Clock Water Mark”, then you can see the time when the picture is playing.
2.6 Alarm ON/OFF
Select “Alarm ON/OFF”, then press “Menu” to enter into it.
2.61 If you choose Alarm ON/OFF “on” and press “Menu”, then you can set the alarm time here.
2.62 You can turn off the alarm by choosing Alarm ON/OFF “off”.
Press Menu button to confirm and exit.
2.7. Exit
Press “pre” or “next” button to choose “Exit”, then Press “menu” to exit.
Page 6

5
3. Connect with the computer
Connect the photo frame with computer by the USB cable, like the following pictures:
3.1 USB Charge: This is to get the power supply from USB, not from AAA batteries.
Note: This function is not to charge the rechargeable batteries. Don’t put any rechargeable batteries to
charge here. When you select this mode, please remove the AAA batteries from the frame, or it may
damage the AAA batteries.
3.2 USB Update: it can download and upload the pictures that converted by convert tool and upgrade
software.
Note1: when you connect USB to your computer and select “USB Update”, your computer will
recognize a removable disk. You can’t visit this removable disk and you can’t drag and drop the photo to
this device. You MUST use the convert tool to install the photos
Note2: If you try to click this removable disk, your Windows system will ask you to format the device, but
this device is not allowed to be formatted. If you try to format it, Windows will show format fail. This is not
malfunction.
Page 7

6
Note3: When you connect this device to some version of Windows Visa, the Visa will ask you to format
the device. Please disregard this warning message. Don’t format it.
:
4. Picture convert tool and instructions
The tool can convert the picture of JPG, BMP, GIF, TIF, and PNG format.
Note: You should install the software attached in CD before you use this tool.
4.1. After you have connected the photo frame with computer, please select USB Update, press menu button
to confirm it.
4.2. Running the tool: PhotoViewer.exe.
Page 8

7
4.3. Select the photo that you want to convert
4.4. Edit the picture that you want to convert
!Click it to choose any part of the picture you selected
"Click it to cancel the above action
# $Click it to make the selected pictures clockwise and counterclockwise rotation
Page 9

8
% you can delete the picture you want by clicking this button, and then press “Synchronize” to delete it.
&you can save the pictures in any disk of the computer.
4.5. Click“ ”button, then you can add the picture to the Album, then press” Synchronize” to start converting
the picture.
4.6. When all of the photos are converted, then click “OK” to exit.
4.7. Please Exit the USB in a normal way.
5. Update firmware
The digital photo frame can be upgraded or maintained system firmware by using the tool installed in the
computer. This function is only available for our service center
6. Technical specification
Dimension 10.8*5.5*1.5cm
Screen display 1.8 inch TFT
Battery 2 *AAA batteries
Page 10

9
Photo format JPG'BMP,GIF,TIF,PNG
Memory capacity 8MB NOR flash, can store about 56 photos
Accessories USB cable(user manual; Driver CD; 2 AAA batteries
7. Trouble shooting
Can not format the device
Can’t see the picture that you
want
Max play time 10 hours
This is not malfunction. This is not USB mass storage device. It
is not allowed to format the device
Make sure you have converted correctly by the software
provided in the driver CD .make sure press “Synchronize” after
you added the picture to the Album.
Page 11

10
 Loading...