

Page 1
P-VISION Digital Photo Frame
1. When you power on the system, firmware revision number will be shown on screen.
Power-up screen
°
2. If no card is insert, you will see the following start-up screen.
° Start-up screen without card inserted
Page 2
Memory Card Selection
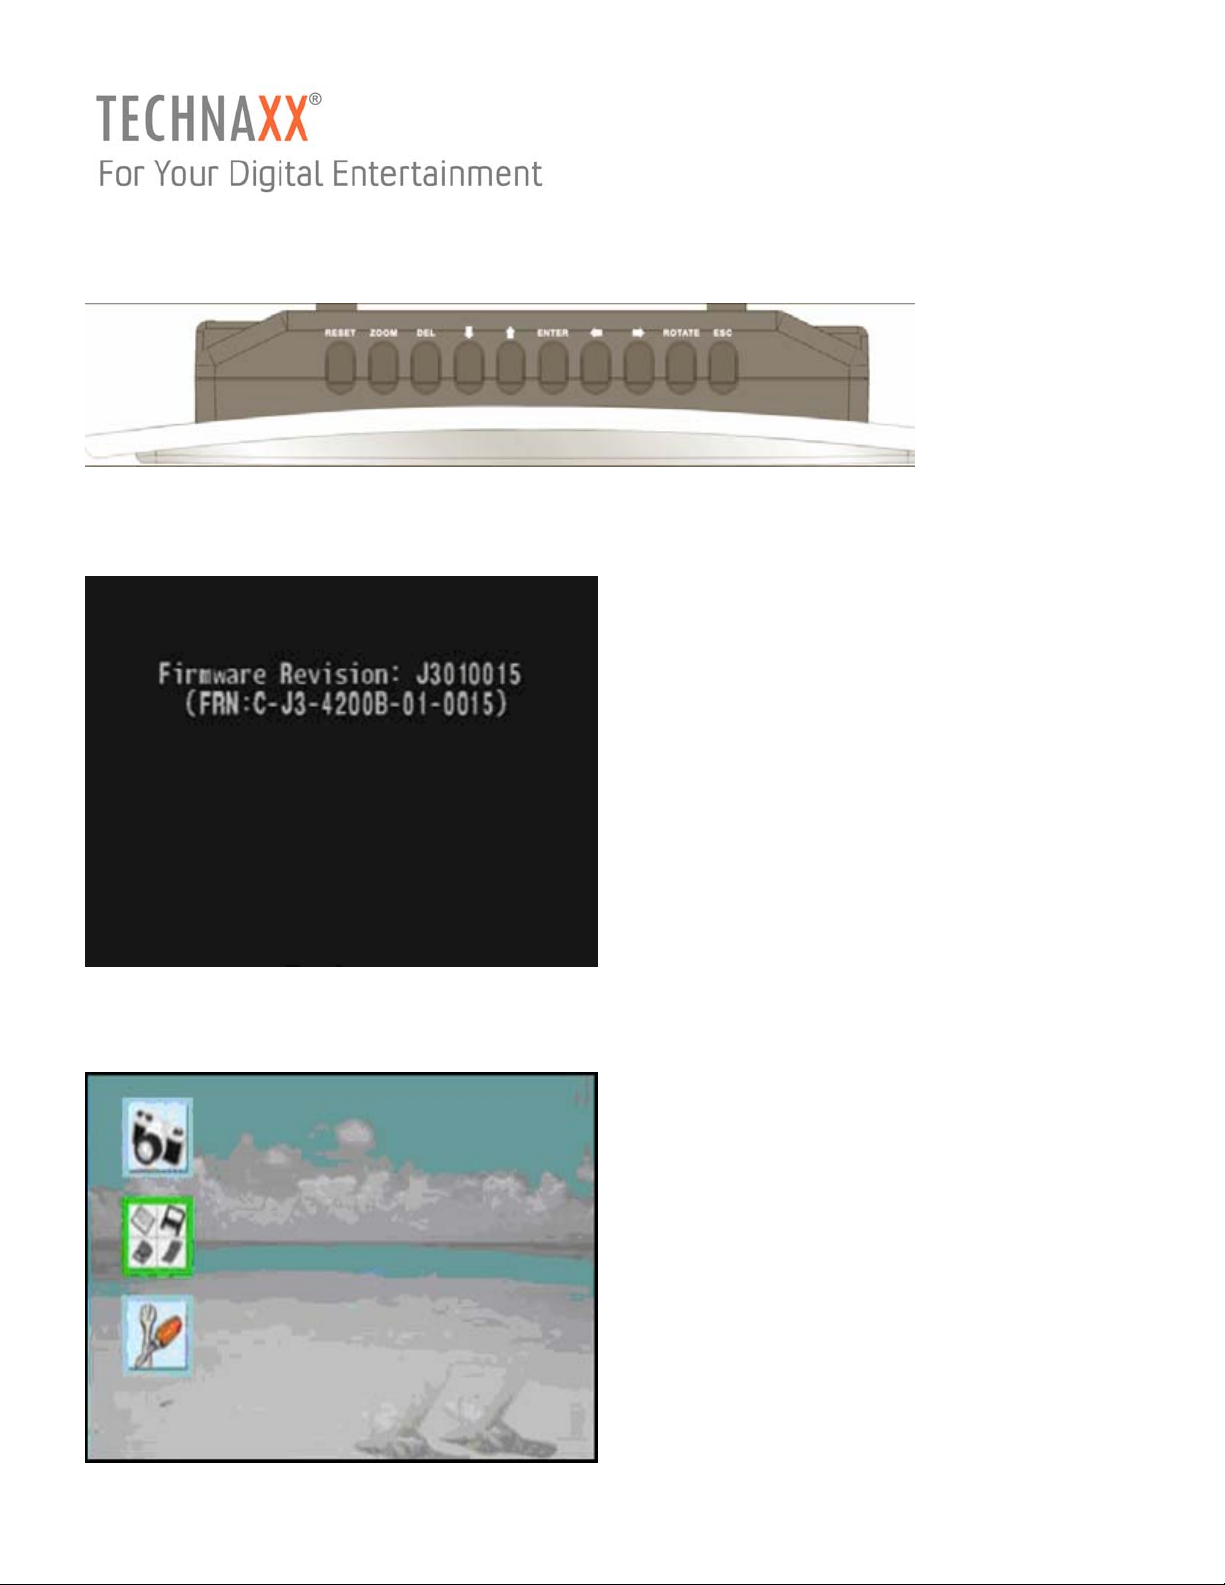
1. Press UP and DOWN button to navigate the green frame to memory card icon shown below.
2. Press ENTER button. You will see four icons shown on the right side.
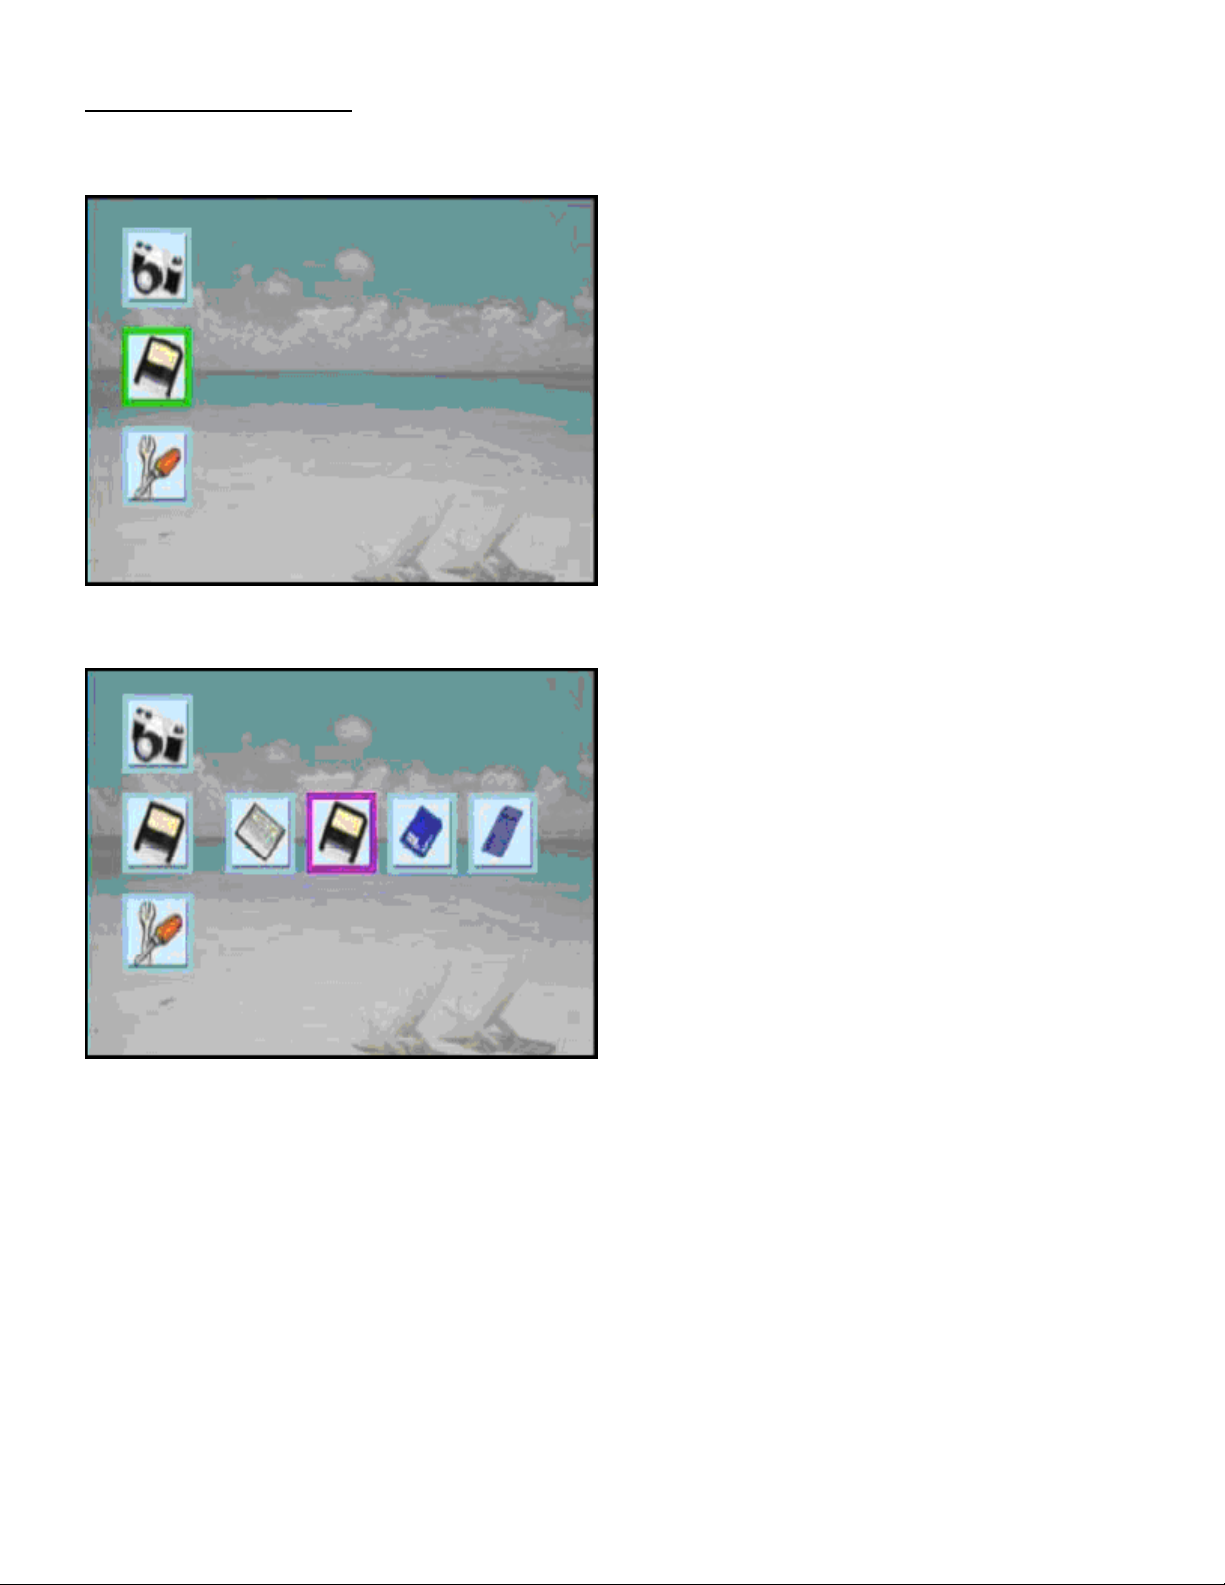
3. Press LEFT or RIGHT button to navigate which memory card you want to explore, then press
ENTER button to explore the selctetd card.
Page 3
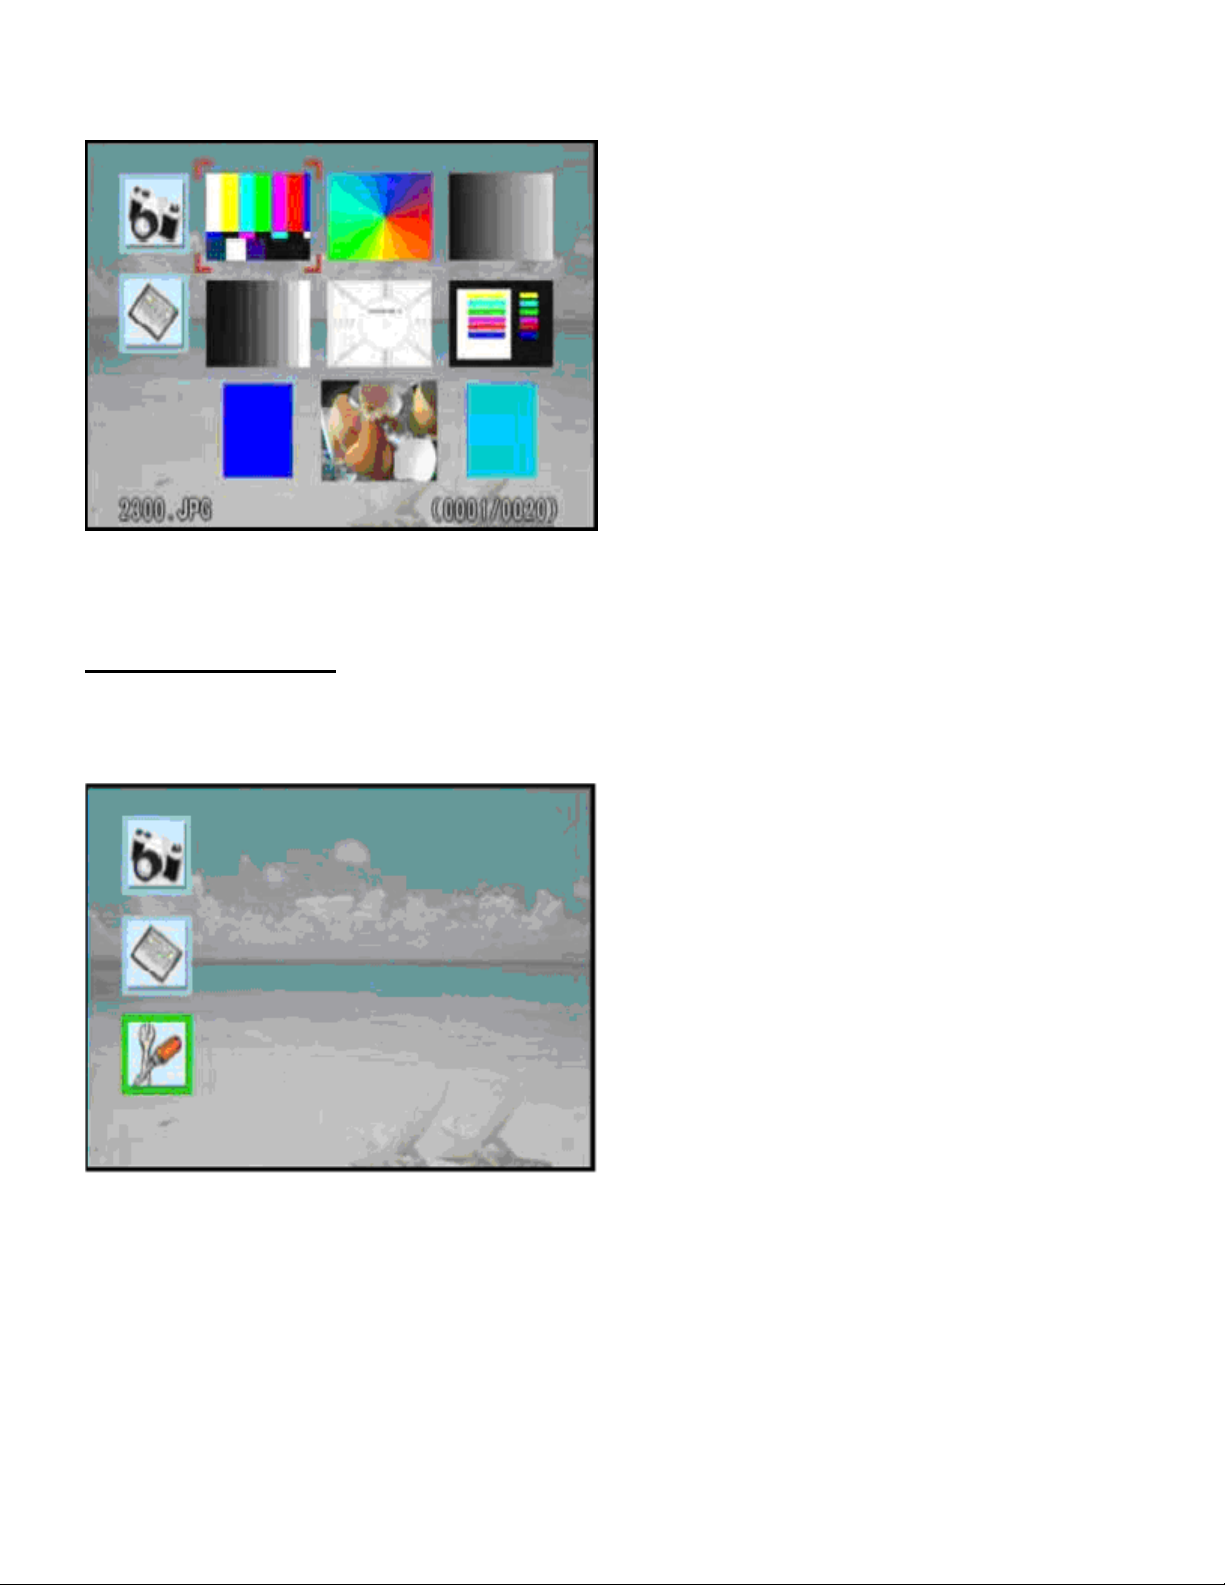
4. If the inserted card has photos, you will see the following screen to show the thumbnail photos.
Main Setup Screen
1. You can use UP and DOWN button to navigate to the tool icon shown below.
Page 4

2. Press ENTER button. Setup screen now showing. The firmware supports following languages:
English, German, French, Italian, Spanish, Polish, Chinese und traditional Chinese.
3. Press UP/DOWN/LEFT/RIGHT button to choose which parameter you want to change. After
changing the parameters, you can press ESC button to exit the setup screen. If any parameter is
changed, you will see the following screen. Then, you can press either ENTER button to store the
modified parameter or press ESC button to abort the change.
Page 5

Photo Display
1. Press UP/DOWN/LEFT/RIGHT button to navigate the picture that you want to view.
Folder mode is YES: Press UP/DOWN/LEFT/RIGHT button to navigate the folder thumbnail photo
that you want to view.
Folder mode NO: Press UP/DOWN/LEFT/RIGHT button to navigate the thumbnail photo that you
want to view.
2. If the selected icon is a folder, you can press ENTER button to go to the sub-folder. If the
selectetd icon is a photo, you can press ENTER button to view the photo in full-screen mode.
Page 6

3.1. Press LEFT/RIGHT button to navigate the prvious/next photo.
3.2. Press ENTER
3.3. Rotate: Press the ENTER button to rotate the photo in 90 degrees clockwise.
Page 7

3.4. Zoom: Press the ENTER button to zoom the photo.
3.5. Slide Show: Press the ENTER button to start the slide show automatically.
3.6. Delete: Press the ENTER button to delete the displayed photo from memory card.
Page 8

3.7. Setup: Press the ENTER button to go to main setup screen.
Normal USB Card Reader
1. Directly plug the USB cable to the P-Vision photo frame. You will see the USB icon shown on
the right-bottom side that means the photo frame has switched to card reader mode (Mass storage
mode). The photo frame will not works as photo viewer in this USB mode when connected to USB.
Page 9

2. After unplugging the USB cable, you need to remove all the memory cards located in card slot.
After some seconds, the photo frame will restart automaically.
 Loading...