

Page 1
In order to communicate program change information, the MIDI Moose and the receiving MIDI
unit(s) must be on the same channel.You need not change the MIDI Moose channel if your receiving unit is on OMNI. (OMNI mode receives MIDI program change information on any of the 16
selectable MIDI channels.)
The MIDI Moose is factory set at Channel 1. When you initially power up,“1c” will flash in
the numerical display for a few seconds. If you want to change the MIDI channel on certain occasions but not save the change, hit the UP or DOWN footswitch accordingly while the channel setting is flash-
ing.The MIDI Moose will then operate on the new channel until you disconnect and reboot.If the channel setting stops flashing before you have a chance to change it, disconnect the power source for at least 10 seconds.
Reconnect the power source and continue as above. NOTE: the MIDI Moose will revert back to the last saved
channel each time you power up.
To change and save a different MIDI channel setting:
1. Depress the UP and DOWN footswitches simultaneously.The current MIDI channel number will
flash (1c).
2. Use the UP or DOWN footswitch accordingly to get to the desired channel.
3. Depress the 1/6 footswitch to save the newly selected MIDI channel.When saved, the
numerical display will stop flashing. After a few seconds, the MIDI Moose will display the last
program number you were in.
If you have two or more MIDI controlled processors linked together, be sure they and the MIDI
Moose are all on the same channel. If you do not want a particular processor in the chain to
accept program change information from the MIDI Moose, be sure to change that unit’s channel.
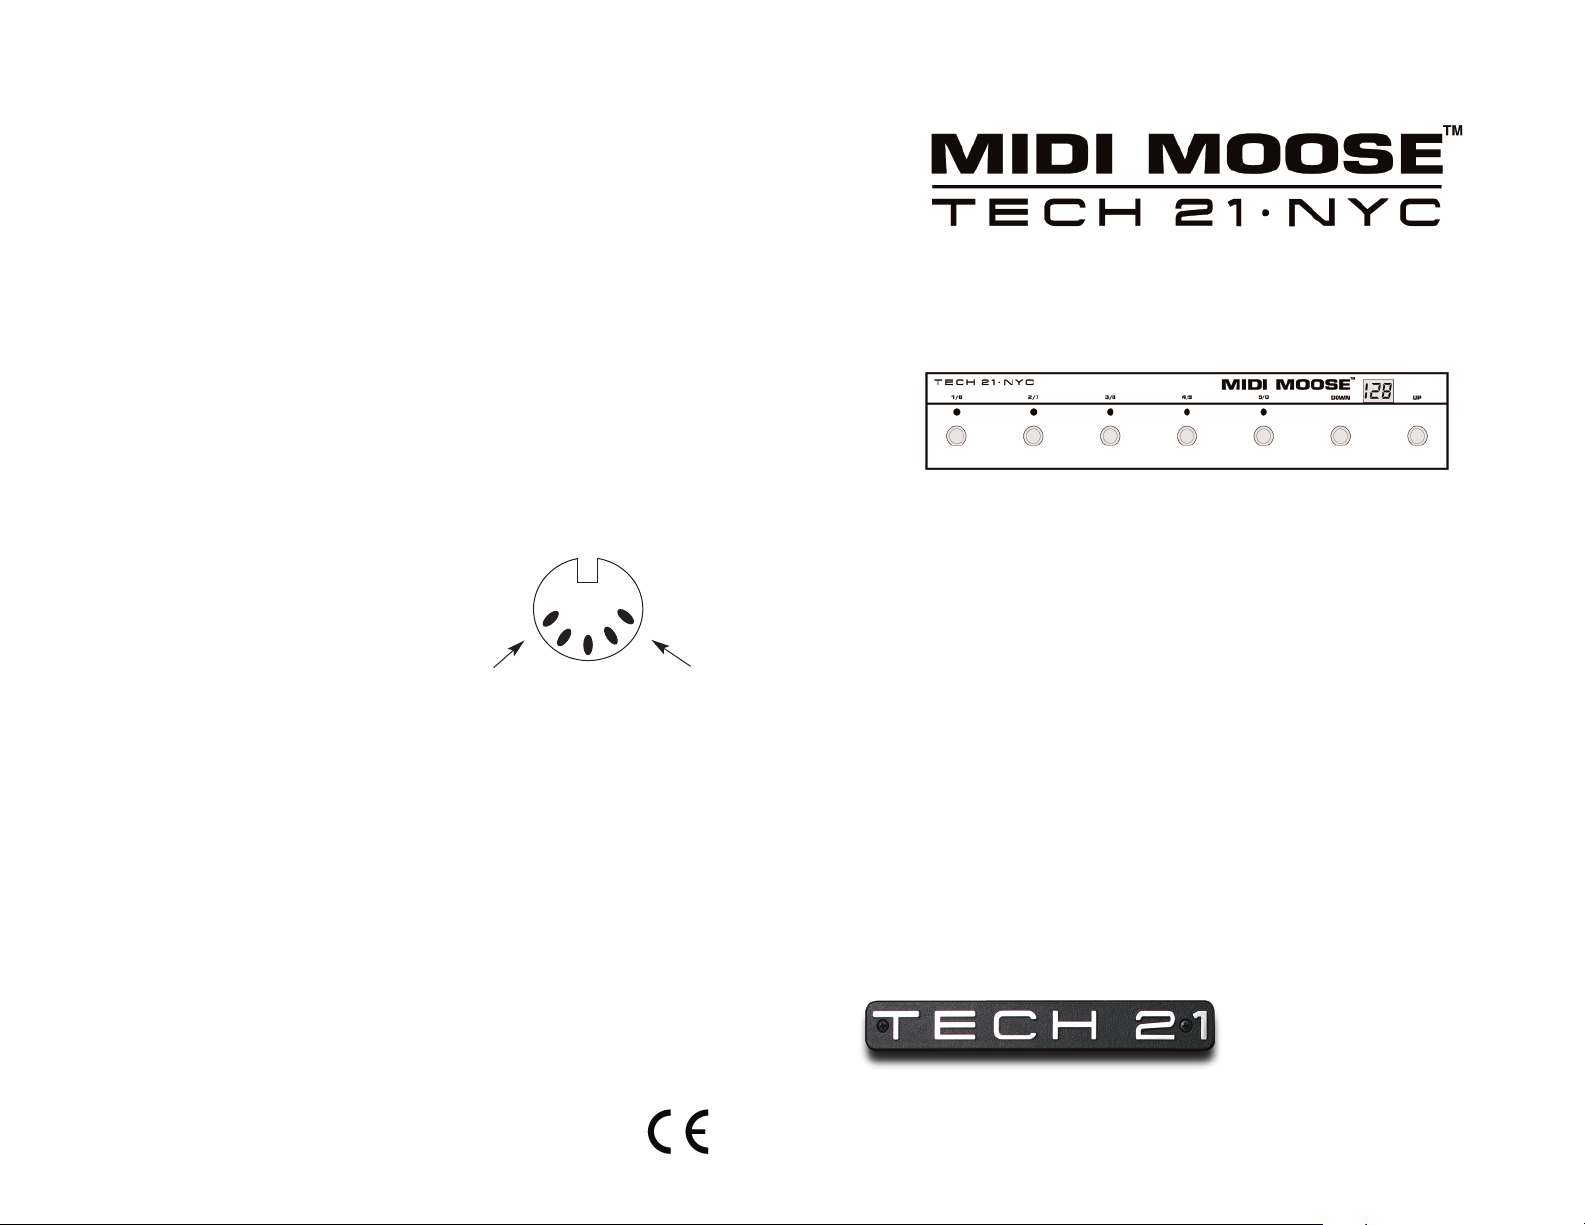
PHANTOM POWER OPERATION VIA MIDI CABLE
The MIDI Moose will accept power via a standard 5 conductor/
pin MIDI cable through Pins 1 and 3. Consult the owner’s manual
of your processor for its phantom power support capabilities
MIDI CHANNELS
and specifications.
NOTE:Power must be between 8 and 15V DC, any polarity.
3
1
Owner’s Manual
POWER REQUIREMENTS
• Phantom power operable via MIDI cable. (See above.)
• Utilizes standard 9V alkaline battery (not included).To install, simply remove door cover.
NOTE: When battery nears depletion, “Lo” will appear in the numerical display.
Power consumption of numerical display: approx. 15mA.
• USE DC VOLTAGE POWER SUPPLY ONLY! Failure to do so may damage the unit and
void warranty. DC Power Supply Specifications:
.
9V DC regulated or unregulated, 100mA minimum;
.
Optional factory power supply is available:Tech 21 Model #DC2.
2.1mm female plug, center negative (-).
WARNINGS:
• Attempting to repair unit is not recommended and may void warranty.
• Missing or altered serial numbers automatically void warranty.For your own protection, be sure
serial number labels on the unit’s back plate and exterior box are intact, and return your
warranty registration card.
ONE YEAR LIMITED WARRANTY. PROOF OF PURCHASE REQUIRED. Manufacturer
warrants unit to be free from defects in materials and workmanship for one (1) year from date of
purchase to the original purchaser and is not transferable.This warranty does not include damage
resulting from accident, misuse, abuse, alteration, or incorrect current or voltage. If unit becomes
defective within warranty period,Tech 21 will repair or replace it free of charge.After expiration,
Tech 21 will repair defective unit for a fee.
ALL REPAIRS for residents of U.S.and Canada: Call Tech 21 for Return Authorization
Number. Manufacturer will not accept packages without prior authorization, pre-paid freight
(UPS preferred) and proper insurance.
FOR PERSONAL ASSISTANCE & SERVICE:
Contact Tech 21 weekdays from 9:00 AM to 5:00 PM, EST.
MADE IN THE U.S.A.
Tel: 973-777-6996 / Fax: 973-777-9899
www.tech21nyc.com / info@tech21nyc.com
©2006 Tech 21 USA, Inc.
Page 2

PRODUCT OVERVIEW
The MIDI Moose™ offers the MIDI masterful and the MIDI-phobic a player-friendly alternative to easily access 128 patches on any of the 16 selectable MIDI channels.Tech 21’s intuitive
engineering eliminates the intimidation and frustration of trying to decipher an encyclopediasized owner’s manual just so you can change a program.After all, who wants to deal with a
huge, elaborate contraption that’s more complicated to program than the unit(s) you’re trying to control? You simply scroll up or down to your desired program groupings and get
direct access to five different program changes at a time.
so you need not have to switch from one grouping to another.
However, if you need to access a different grouping within the same song, you can set it up in
advance by following this example:
You’re playing in Program 19 and want to go to Program 21 for your solo. Program 21 is in
the next grouping (21-25). Depressing the UP footswitch (while you’re playing in Program 19),
puts the MIDI Moose into Search mode and jumps to the next grouping (21-25).The number
20 will then continuously flash.You’ll still be playing in Program 19 because you haven’t sent
any new information yet.When you’re ready for your solo, depress the 1/6 footswitch and it
will engage Program 21.
The MIDI Moose is housed in sturdy, extruded aluminum. It features 7 smooth, custom
footswitch actuators.The large, non-glare 3-digit LED numerical display can be read from any
angle, in daylight or darkness.
The MIDI Moose (and its little cousin, the MIDI Mouse
nates stage clutter
provides a minimum of 200 hours usage.The MIDI Moose can also be powered by most
standard adapters, including Tech 21’s Model
. Its sophisticated battery-saving feature and efficient power consumption
#
™) are battery operable, which elimi-
DC2, as well as being phantom power opera-
ble via the MIDI cable.
At Tech 21, it is our goal to offer useful, versatile, cost-effective products. It is our hope you
find the MIDI Moose a welcome addition to your set-up.
GUIDE TO OPERATION
INTRODUCTION
UP and DOWN footswitches select groupings of five preset programs from 1-128. Individual
footswitches,
1/6, 2/7,3/8, 4/9,5/0, provide direct access to 5 program changes at a time.
FOOTSWITCHES
UP puts the MIDI Moose into “search mode” to increase program groupings 5 at a time:
Numerical Display 0 = Programs 1-5;Numerical Display 5 = Programs 6-10;
Numerical Display 10 = Programs 11-15;Numerical Display 15 = Programs 16-20;
Numerical Display 20 = Programs 21-25;etc.
DOWN puts the MIDI Moose into “search mode” to decrease program groupings 5 at a time.
1/6 to 5/0 select individual program changes.
MODES OF OPERATION: SEARCH and ACTIVE
Search mode is accessed via the UP and DOWN footswitches.This allows you to scroll through
each of the program groupings.
•After you initially power up the MIDI Moose, the numerical display will show “1” however, none
of the footswitch LEDs will be lit. If you engage the 1/6 footswitch, the MIDI Moose becomes
“active” and sends the Program “1” change information. Engaging the 2/7 footswitch will activate
and display Program “2,” etc.
•Depress the UP footswitch and you will be in the second group.The numerical display will blink
while showing “5.” Engaging the 1/6 footswitch will display Program “6;” engaging the 2/7
footswitch will display Program “7,” etc.
•Depress the UP footswitch again, and you will be in the third group.The numerical display will
blink while showing “10.” Engaging the 1/6 footswitch will then display Program “11;” engaging
the 2/7 footswitch will display Program “12,” etc., etc.
NOTE: If you depress and hold either the UP or DOWN footswitch,the MIDI Moose will keep
scrolling through the groupings until you release the footswitch.
Setting Up Program Changes in Different Groupings in Advance:
The MIDI Moose is designed to have direct access to 5 program changes at a time.The design is
intended for you to have all the program changes you’ll need within each song set up sequentially,
OPERATION WITH 9V BATTERY
When utilizing a 9V battery, the numerical display will go dark after 5 seconds of inactivity. This
“sleep mode” feature conserves the life of the battery.
When the numerical display is dark, you can still make a program change directly within the same
grouping by depressing the footswitch of the next program number you want. If you forget the
specific program number where you were and need to know it before you make a change, you can
“wake up” the MIDI Moose by depressing the footswitch that corresponds to the LED that is lit (it
will remain on even in “sleep mode”).The numerical display will turn on and the program number
you are in will be displayed (for 5 more seconds and then go dark again).
If you hit the UP or DOWN footswitch directly while in “sleep mode,” the footswitch LED will go
out (but it will not disengage the program you were in).The MIDI Moose will then into “search
mode” and jump to the next grouping.Then you can either depress the footswitch of the program
you want within that next grouping or hit UP or DOWN again to get to the particular grouping
you want.You can still follow the same example above to set up program changes in different
groupings in advance, however be certain you’re in the right grouping because the numerical display will go dark after 5 seconds.
BATTERY NOTES:
•As the battery nears depletion,“Lo” will appear in the numerical display each time you depress
any of the footswitches.
•To conserve battery life, be sure to unplug the MIDI cable when not in use.
MIDI CHANNELS
In order to communicate program change information, the MIDI Moose and the receiving MIDI
unit(s) must be on the same channel.You need not change the MIDI Moose channel if your receiving unit is on OMNI. (OMNI mode receives MIDI program change information on any of the 16
selectable MIDI channels.)
The MIDI Moose is factory set at Channel 1. When you initially power up,“1c” will flash in
the numerical display for a few seconds. If you want to change the MIDI channel on certain occasions but not save the change, hit the UP or DOWN footswitch accordingly while the channel setting is flash-
ing.The MIDI Moose will then operate on the new channel until you disconnect and reboot.If the channel setting stops flashing before you have a chance to change it, disconnect the power source for at least 10 seconds.
Reconnect the power source and continue as above. NOTE: the MIDI Moose will revert back to the last saved
channel each time you power up.
To change and save a different MIDI channel setting:
1. Depress the UP and DOWN footswitches simultaneously.The current MIDI channel number will
flash (1c).
2. Use the UP or DOWN footswitch accordingly to get to the desired channel.
3. Depress the 1/6 footswitch to save the newly selected MIDI channel.When saved, the numeri-
cal display will stop flashing.After a few seconds, the MIDI Moose will display the last program
number you were in.
If you have two or more MIDI controlled processors linked together, be sure they and the MIDI
Moose are all on the same channel. If you do not want a particular processor in the chain to
accept program change information from the MIDI Moose, be sure to change that unit’s channel.
 Loading...