

Page 1
C12 QUICK START GUIDE
OVERVIEW: COMPLETELY READ THE C12 QUICK START GUIDE DOCUMENT
BEFORE COMMENCING OPERATION INSTALLATION
SPECIFICATIONS
Output capacity: Up to 11t/hr
Tractor HP: Minimum 160—200
Material output: 13-125mm
1
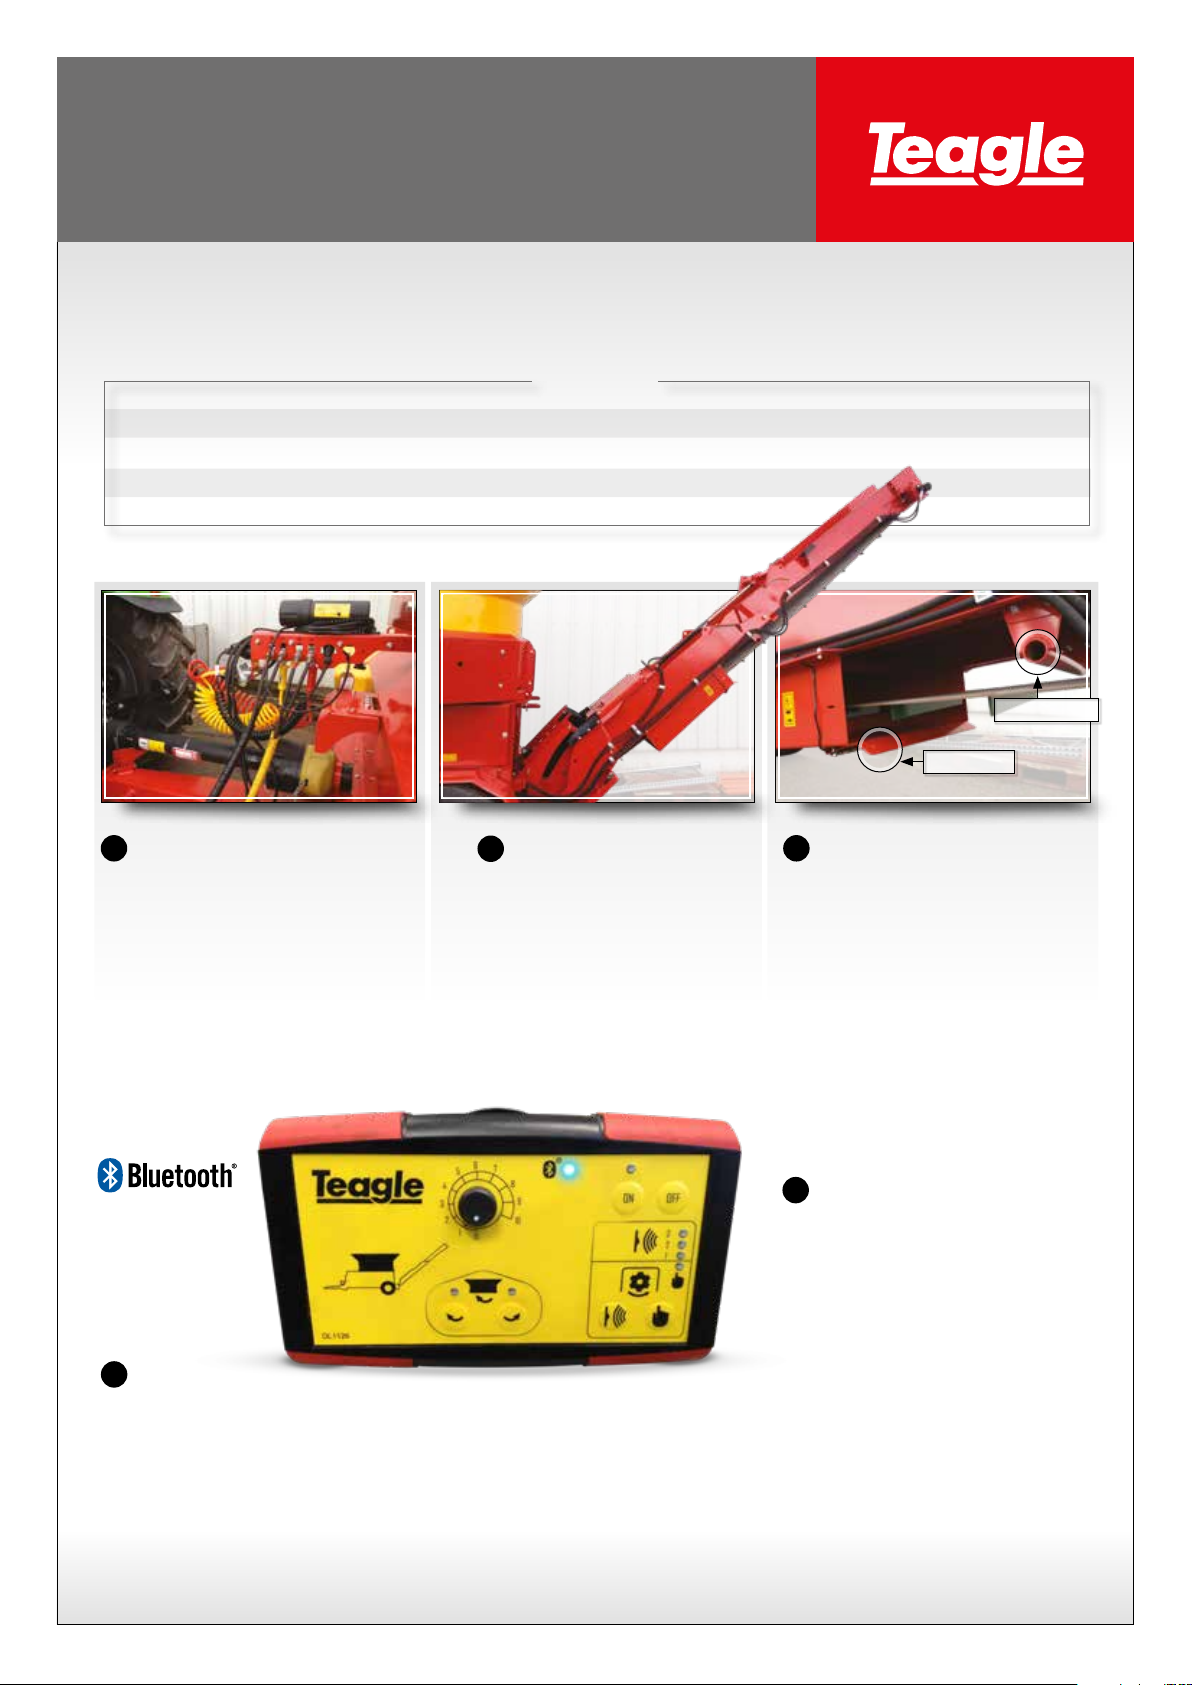
CONNECTING THE C12
ONTO THE TRACTOR
Connect all of the following ttings:
• Pick up hitch
• PTO
• Brakes
• Hydraulic hoses
• Electrics, both the junction box
and the light sockets
C12 Flow rate: 65 lpm with an automatic oil cooler
Electronic needed: 2 x 3 pin 12V sockets (1 x cable supplied)
Oil ttings needed: 2 x double acting valves
UNFOLDING
2
THE CONVEYOR
Do not run the PTO until the
conveyor belt is straight &
lowered.
The minimum discharge height
of the conveyor belt is 2.5metres
and the maximum is 4.2metres.
3
CONVEYOR BELT
CLEARANCE
When the conveyor is at the lowest
height (2.5m), the belt should just clear
the headguard. When the conveyor is
at the highest height (4.2m), the belt
should just clear the tubular beam.
Keep the belt as slack as possible. Do not
adjust unless it is absolutely necessary.
Belt tension can be adjusted at the top and
the base of the conveyor.
Images of belt tension (highest/lowest tension)
Tubular beam
Headguard
SEE THE MANUAL FOR
MORE INFORMATION
ON PAIRING THE
DEVICES.
FITTING
4
THE CONTROL BOX
A special 4.5mm core, 6 metre twin core cable with 15 amp blade
type fuse is supplied with the machine. The end with two eyelets
must be tted to the battery of the tractor with the cable routed
in a suitable position without causing damage to the lead during
operation. If the connector provided on the supply lead is not to
be used, it is essential that the 15 amp fuse is retained to prevent
damage resulting from current overload.
CONTROL BOX
5
CONNECTION
The control box is supplied with a suction
cup attachment. This should be tted
in the cab in a suitable position that is
convenient to the operator on a smooth,
clean dust free surface.
The control box requires a 12v supply
and is shipped with 3 pin plug as
standard. A cigarette lighter to 3 pin
socket cable is supplied and can be used
for just the control box.
Once the junction box is plugged in, plug
the control box in & wait for the blue
ashing light to became solid blue which
indicates bluetooth is paired.
C12 Quick Start Guide page 1
Page 2
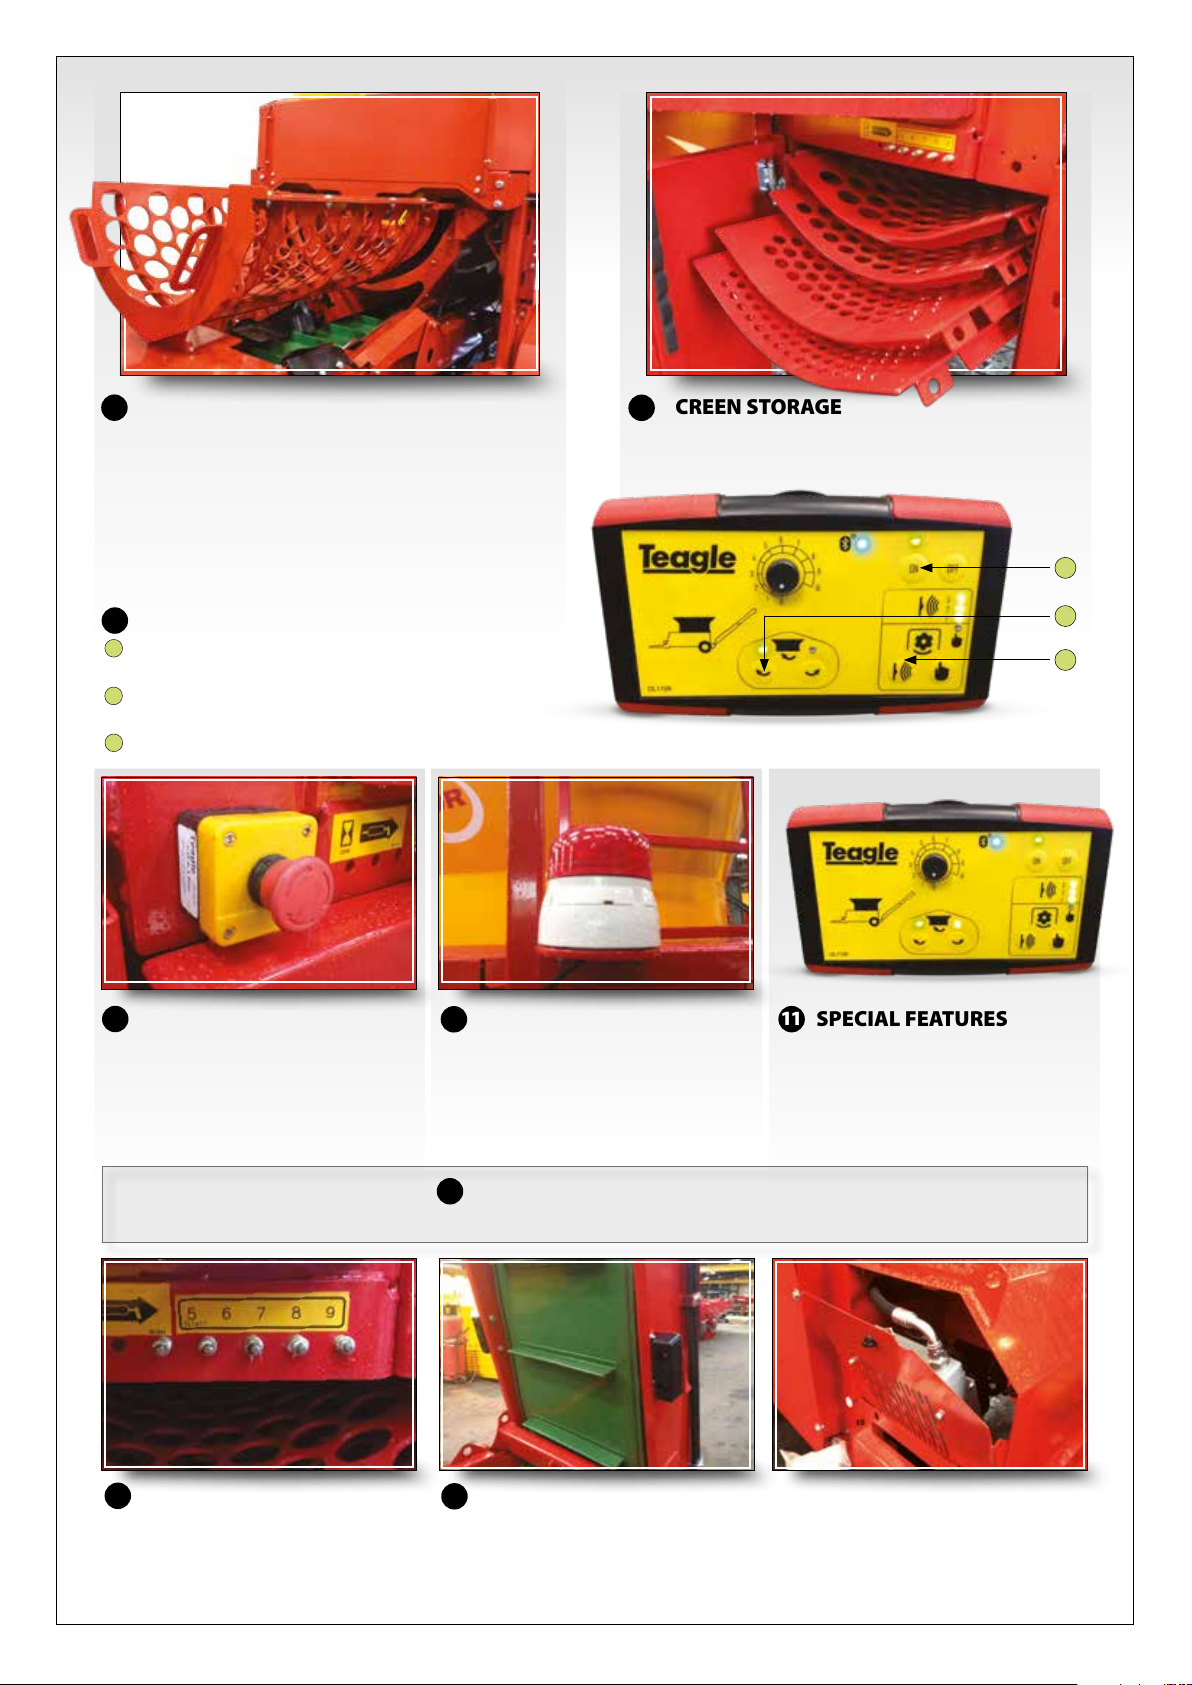
6
SCREEN REMOVAL
Lower the conveyor until it is horizontal. Remove the 2 x
M12 bolts holding the screens in place. Fit the required size
of screens into the machine by removing the 4 x M12 bolts
either side of the screen. Please note the screen with the
larger holes should be placed on the left hand side of the
machine (facing forward). Withdraw the screen frame with
caution, and do no pull them past the guide.
7
SCREEN STORAGE
The screens can be stored in the rack on the machine
which will hold 4 screens in total.
A
8
FIRST TIME RUNNING
With the Bluetooth light on, Turn the Control box ON.
A
When you turn the PTO on, it will run the conveyor.
B
The tub can be started by pressing the TUB FORWARD button
The Tub speed can be adjusted by the speed dial (0-10)
C
Select the automatic load sensing mode or the manual tub control mode
9
AUXILARY STOP SWITCH
If pressed this wills top the tub instantly
& stop the conveyor belt a few seconds later.
MAIN ROTOR BELT TENSION
If the main rotor drive belts start to squeal, wait for the bale to nish and the rotor to stop, then re-tension & re-start the PTO.
10
FLASHING BEACON
Flashing Beacon– indicates the rotor is under
load and slowing down while chopping
straw. It also ashes when the rotor is
running down, to inform people not to jump
into the tub when the rotor is spinning.
12
11
SPECIAL FEATURES
If the auxiliary stop switch is pressed, all
the lights on the control box will illuminate
and ash at the same time. Twist the head
of the switch to release and to return to
normal operating mode.
B
C
REGULAR MAINTENANCE
13
Consult the manual for the complete
maintenance instructions.
14
AFTER WORK
Fold up the conveyor by extending the
bottom rams, then top ram until the conveyor
rubbers sit on the, transport brackets.
Before road transport, blow o excess
straw dust from the machine to avoid the
dust impairing other road users vision.
Clean the oil cooler regularly with air.
C12 Quick Start Guide page 2
 Loading...