

Page 1
2488
his guide is designed to get you up-and-run-
T
ning with the 2488. If you have any questions
that aren’t answered in this short guide, consult
the Users Guide for detailed information on using
your new Digital Portastudio.
Play the Demo Song
he 2488 comes with a short demo song so that
T
you can start using it right away. When you
turn on the 2488 for the fi rst time, the demo song
should already be loaded. To listen to this song:
Quick Start Guide
5. To listen to one track by itself, press the SOLO
button to the right of the black STEREO fader,
then press the MUTE/SOLO buttons above the
track you want to hear.
02/29/04
Page 1 of 4
1. Press PLAY on the transport section.
2. Push up the faders.
3. Turn up the MONITOR LEVEL.
4. Press any of the tracks’ MUTE buttons to silence
a track.
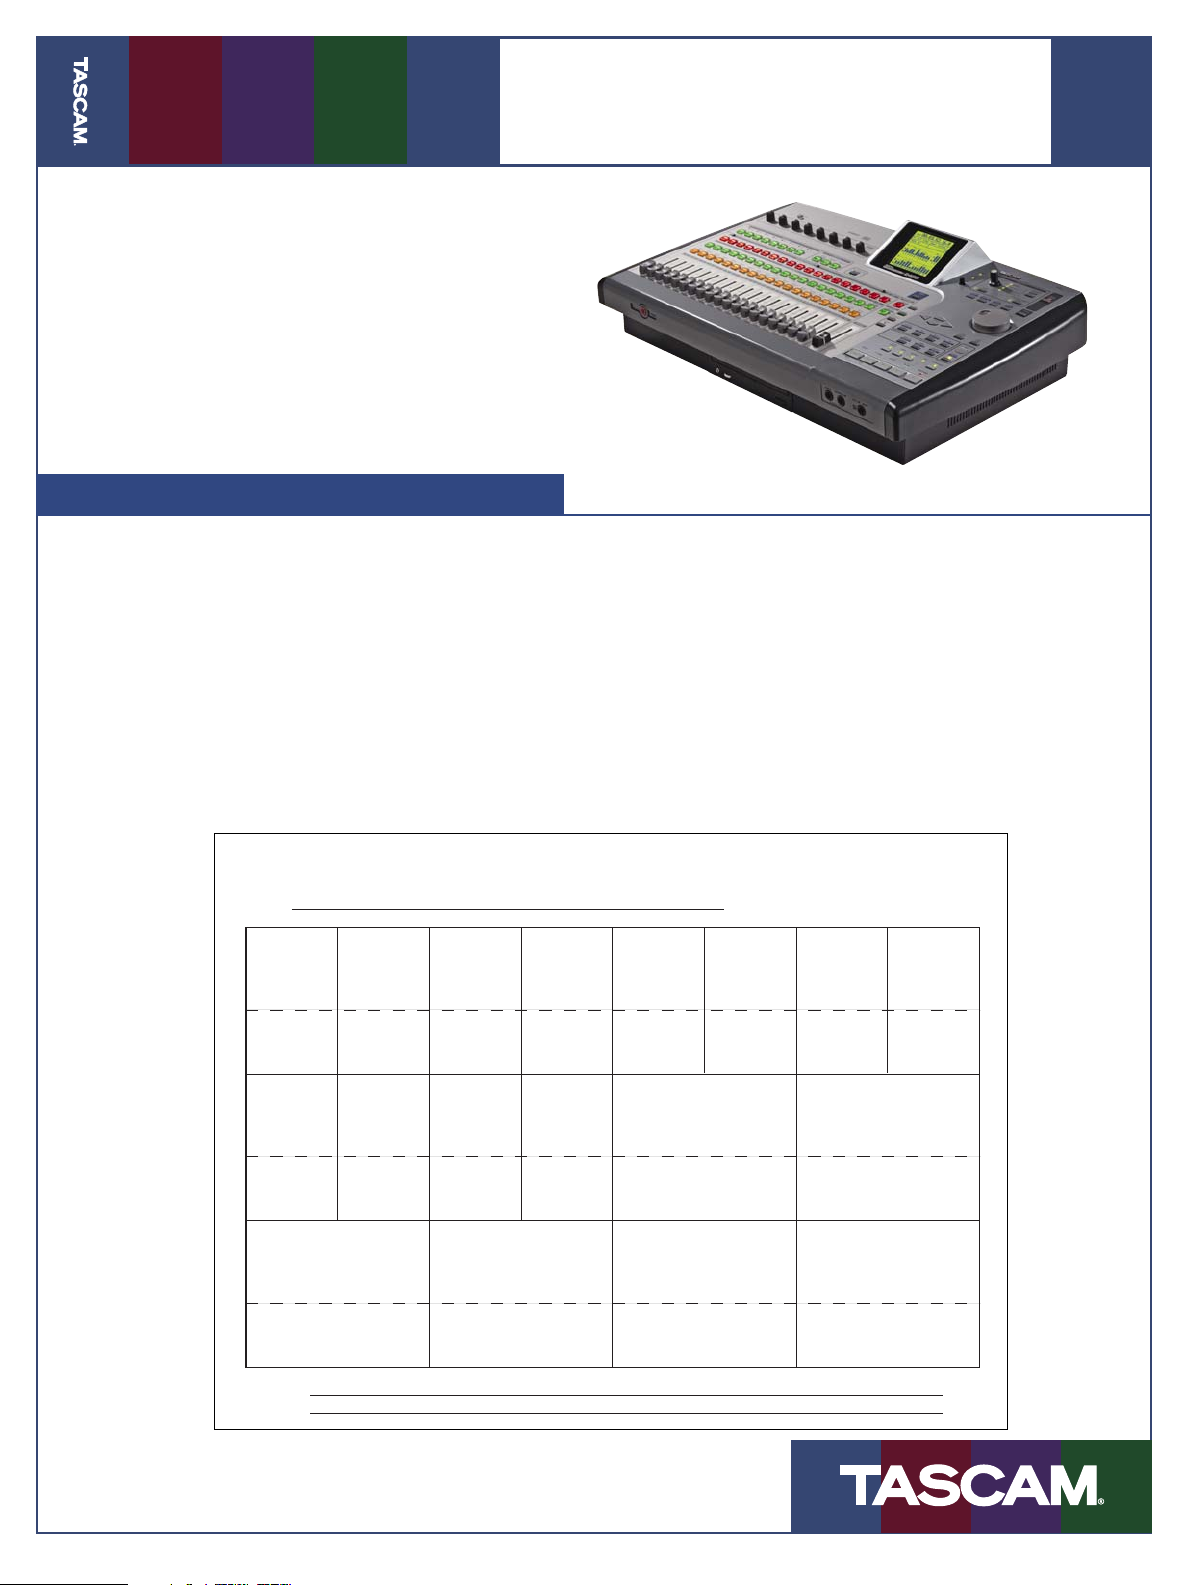
TASCAM 2488 Demo
Title
12345678
Kick Snare Drums L Drums R Bass Clean Gtr Lo Melody
V-Track / Notes V-Track / Notes V-Track / Notes V-Track / Notes V-Track / Notes V-Track / Notes V-Track / Notes V-Track / Notes
9 10 11 12 13/14 15/16
Acoustic
Gtr Solo
V-Track / Notes V-Track / Notes V-Track / Notes V-Track / Notes V-Track / Notes V-Track / Notes
Electric
Gtr Solo
17/18 19/20 21/22 23/24
Wonderful You
Sitar Male
Lead Voc
Female
Lead Voc
Harmony
Vocal
Strings
The following is a track sheet for the demo song
so you can see what instruments are mapped to
each track.
Gtr
Backing Vocals Acoustic Guitars
Percussion Power GuitarAcoustic Piano
Hi Melody
Gtr
V-Track / Notes V-Track / Notes V-Track / Notes V-Track / Notes
Notes
Lead vocals and Guitar Solos are both over the Verse.
Wonderful You: Copyright Royson Music, BMI
Page 2
2488
Create a New Song
efore you start recording your own music, you’ll
B
want to create a new song. To do this:
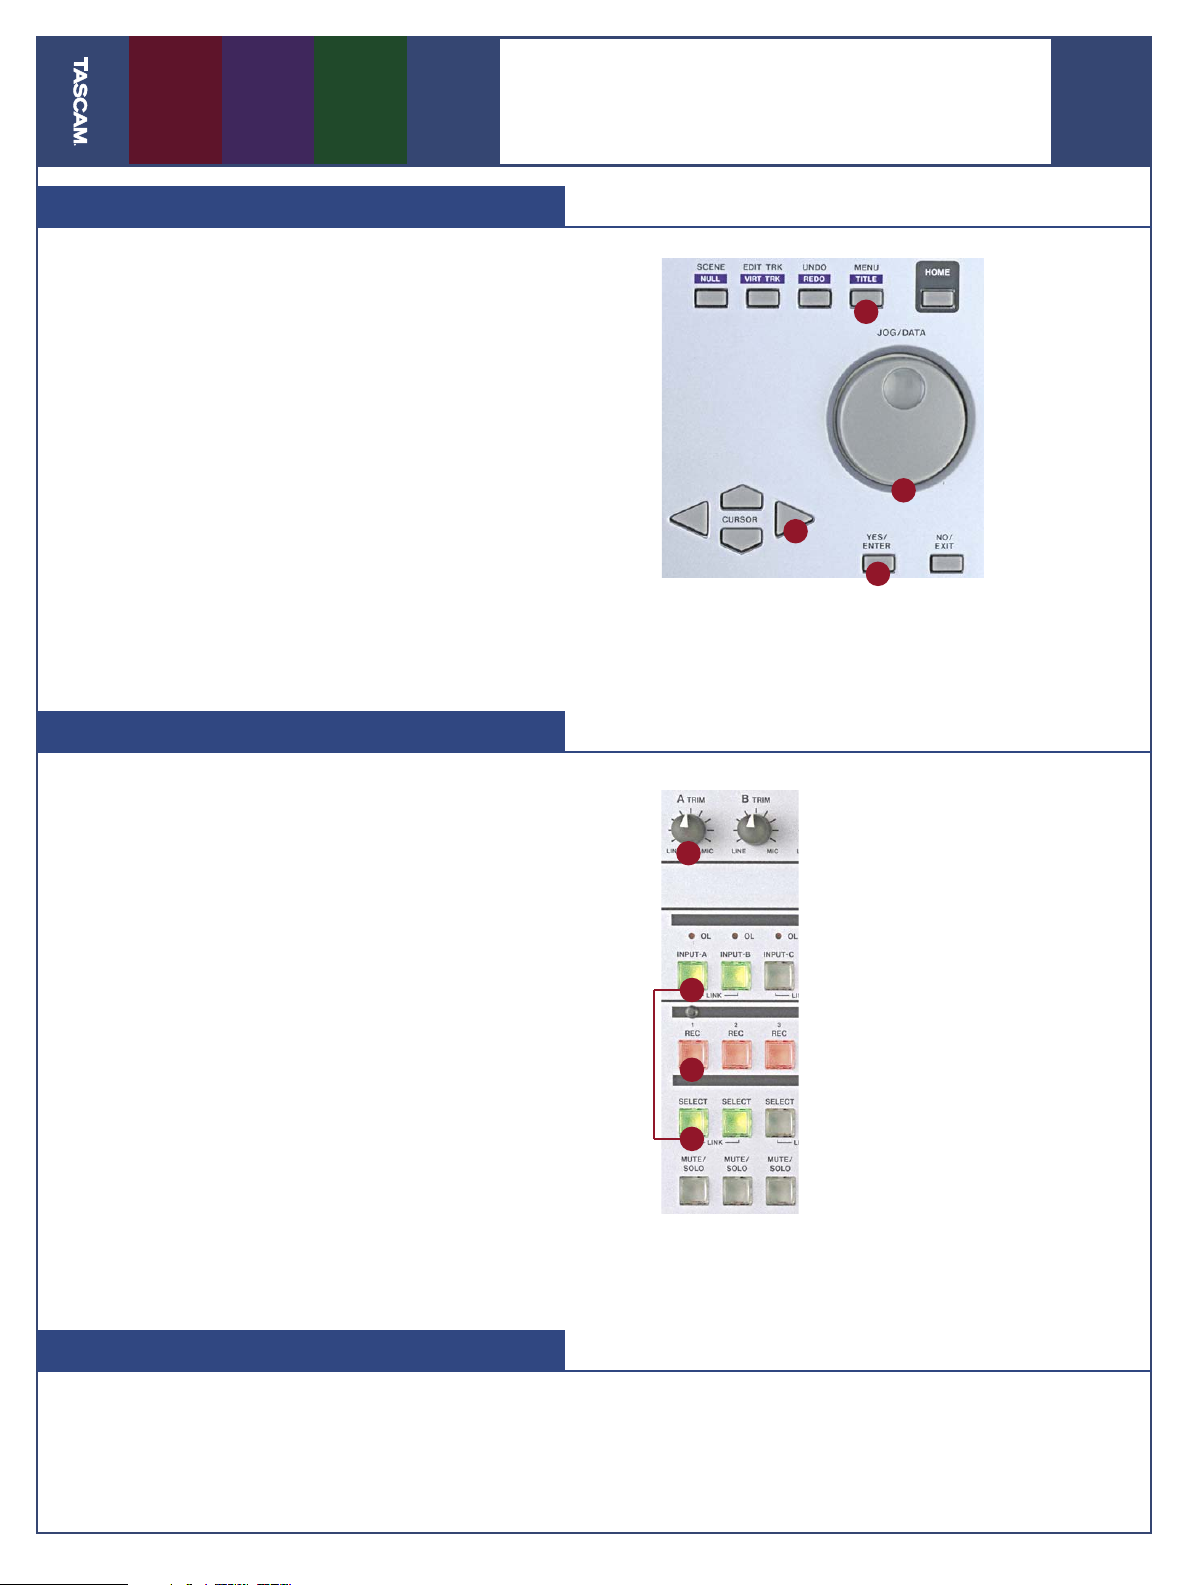
1. Press the MENU button.
2. Press the CURSOR buttons until you’ve selected
the Song menu, then press ENTER
3. Press the CURSOR buttons to select the Create
menu and press ENTER.
4. Select 16 or 24-bit resolution using the DATA
WHEEL. 24-bit resolution makes a better recording but takes up more hard drive space.
5. Optional: to name your song, hold the SHIFT button
and press TITLE (the MENU button when SHIFT is
not held down). Use the DATA wheel and cursor
buttons to select a name and press ENTER.
6. Press the ENTER button to create your song.
Quick Start Guide
1
5
2
3
02/29/04
Page 2 of 4
Recording a Track
nce you have created a new song, you’re ready
O
to record some of your own music.
1. Plug in a microphone (inputs A-D), line-level
source (inputs E-H) or guitar (input H).
2. Hold down the SOURCE button for the input you
plugged into, then press SELECT on the channel
you want to record on. For example, to record
a microphone in input A to track 2, hold down
SOURCE A and press SELECT 2.
3. Press the REC button for the track you selected.
4. Turn the INPUT TRIM knob while watching the
onscreen meters. (Press the HOME button if you
don’t see meters.) You should record at as high
a level as you can without reaching zero.
5. Press PLAY and RECORD
You can record up to eight tracks at a time on
the 2488.
4
2
3
2
Saving Your Song
fter you’ve recorded, you should save your
A
song to the hard drive.
1. Press the MENU button.
2. CURSOR to the Song Menu and press ENTER.
3. CURSOR to the Save Menu and press ENTER.
Page 3

2488
Adding an Effects Loop
he 2488 has a dedicated “loop effect” that’s
T
available to all tracks. It’s useful to set this
effect to a reverb and then send tracks to it – lots
of reverb for the drums, a little on the vocal, etc.
Here’s how you set that up.
1. Press SINGLE to pull up the effect window.
2. Press ENTER in this window to see a list of effect
programs you can choose from. Use the DATA
WHEEL to scroll through the programs and press
ENTER to choose one.
Adding Multieffects
lso available on the 2488 is a dedicated Multi-
A
effects processor. This processor works great
on guitar since it has distortion, fl anger, delay and
other effects all available at once. To assign the
Multieffect to your track:
1. Press and hold the MULTI button, then press
the SELECT button on the channel you want to
assign.
2. Press MULTI again to view the effect param-
eters. Press the ENTER button to choose an effect
Quick Start Guide
3. Press the SELECT button above one of your
tracks, then press SEND (to the right of the
STEREO fader.)
4. Use the CURSOR buttons to select the Loop
Level and turn the DATA WHEEL to increase
the amount of signal being sent to the effect.
You can also send the channel to Effect 1 and
Effect 2 if you have external effects processors you
can connect to these outputs.
program as you did in the example above.
The Multieffect can be assigned
to any one channel, even the stereo
channels or the inputs. Try recording
your signal with effects already on
it so they’ll be available later when
you’re ready to mix.
02/29/04
Page 3 of 4
Premaster Your Mix
hen you’re fi nished recording and mixing
W
burning it to a CD. The Premaster command creates a Master recording that you can then burn
to a CD.
1. The start point of the premaster is always 00:
2. Pres MENU, CURSOR over to the Audio CD Menu
3. CURSOR to the Premaster Menu and press
your song, you need to Premaster it before
00:00:00, but you have to tell the 2488 where
the song ends. Fast-forward to the end of the
song and hit PLAY. When everything has faded
out, hold down SHIFT and press SET OUT.
and press ENTER.
ENTER.
4. You should be back in your song, and “PREMASTER” should be written at the top of the
screen. Press PLAY and RECORD to record your
mix to the hard drive. You can move the faders,
adjust the pan, and do anything else you want
while the 2488 is recording your mix. You might
even want to fade the song down at the end
using the STEREO fader.
5. When the 2488 gets to the end of your song and
stops, press the NO/EXIT.
You can trim the beginning and end of your
master recording before burning it to a CD, see
the User’s Guide for more information.
Page 4

2488
Burning Your Song to CD
Once you create a Master Recording, as described in the previous section, you’re ready to
burn it to an audio CD. This section tells you
how to burn a single song to a CD. For information on creating a playlist with multiple
songs, consult the User’s Guide.
1. Put a blank CD-R in the CD drive.
2. Press the MENU button. CURSOR to the
Audio CD Menu and press ENTER.
Transfer a Track to CD
You might want to export some of the
2488’s tracks to a CD for processing in your
computer. The Wave In/Out Menu makes this
an easy process:
1. Put a blank CD-R in the CD drive.
2. Press the MENU button. CURSOR to the
Wave In/Out Menu and press ENTER.
3. CURSOR to the CD Export Menu and press
ENTER.
Quick Start Guide
3. CURSOR to the CD Writer Menu and press
ENTER.
4. Choose your Master recording using the DATA
WHEEL and press ENTER.
5. Set Finalize to YES using the DATA WHEEL and
press ENTER.
6. The display should read “Burn to CD: Are You Sure?”
Press YES/ENTER again.
4. To select tracks for export, move the DATA WHEEL
to select a track and press INSERT/MOVE.
5. When you’ve picked all the tracks you want to
burn to CD, press ENTER.
6. Select either 16-bit or 24-bit using the DATA WHEEL
and press ENTER.
6. The display should read “Burn to CD: Are You Sure?”
Press YES/ENTER again.
02/29/04
Page 4 of 4
Backup Your Disk
You should backup your hard drive to archive
old projects and prevent data loss. (You should
also fl oss daily and wear a seat belt.) To back
up the drive to a CD:
1. Put a blank CD-R in the CD drive.
2. Press the MENU button. CURSOR to the Data
Backup Menu and press ENTER.
3. CURSOR to the CD Backup Menu and press
ENTER.
7733 Telegraph Rd • Montebello, CA • 90640 • phone 323.726.0303 • www.tascam.com
™
© 2004 TEAC Corporation All trademarks are the property of their respective holders. All rights reserved. Design and specifi cations
subject to change without notice.
4. Use the DATA WHEEL to select a song for backup
and press ENTER.
6. The display will tell you how many CDs you’ll need
to store the backup. When you’re ready to start,
press ENTER.
 Loading...