

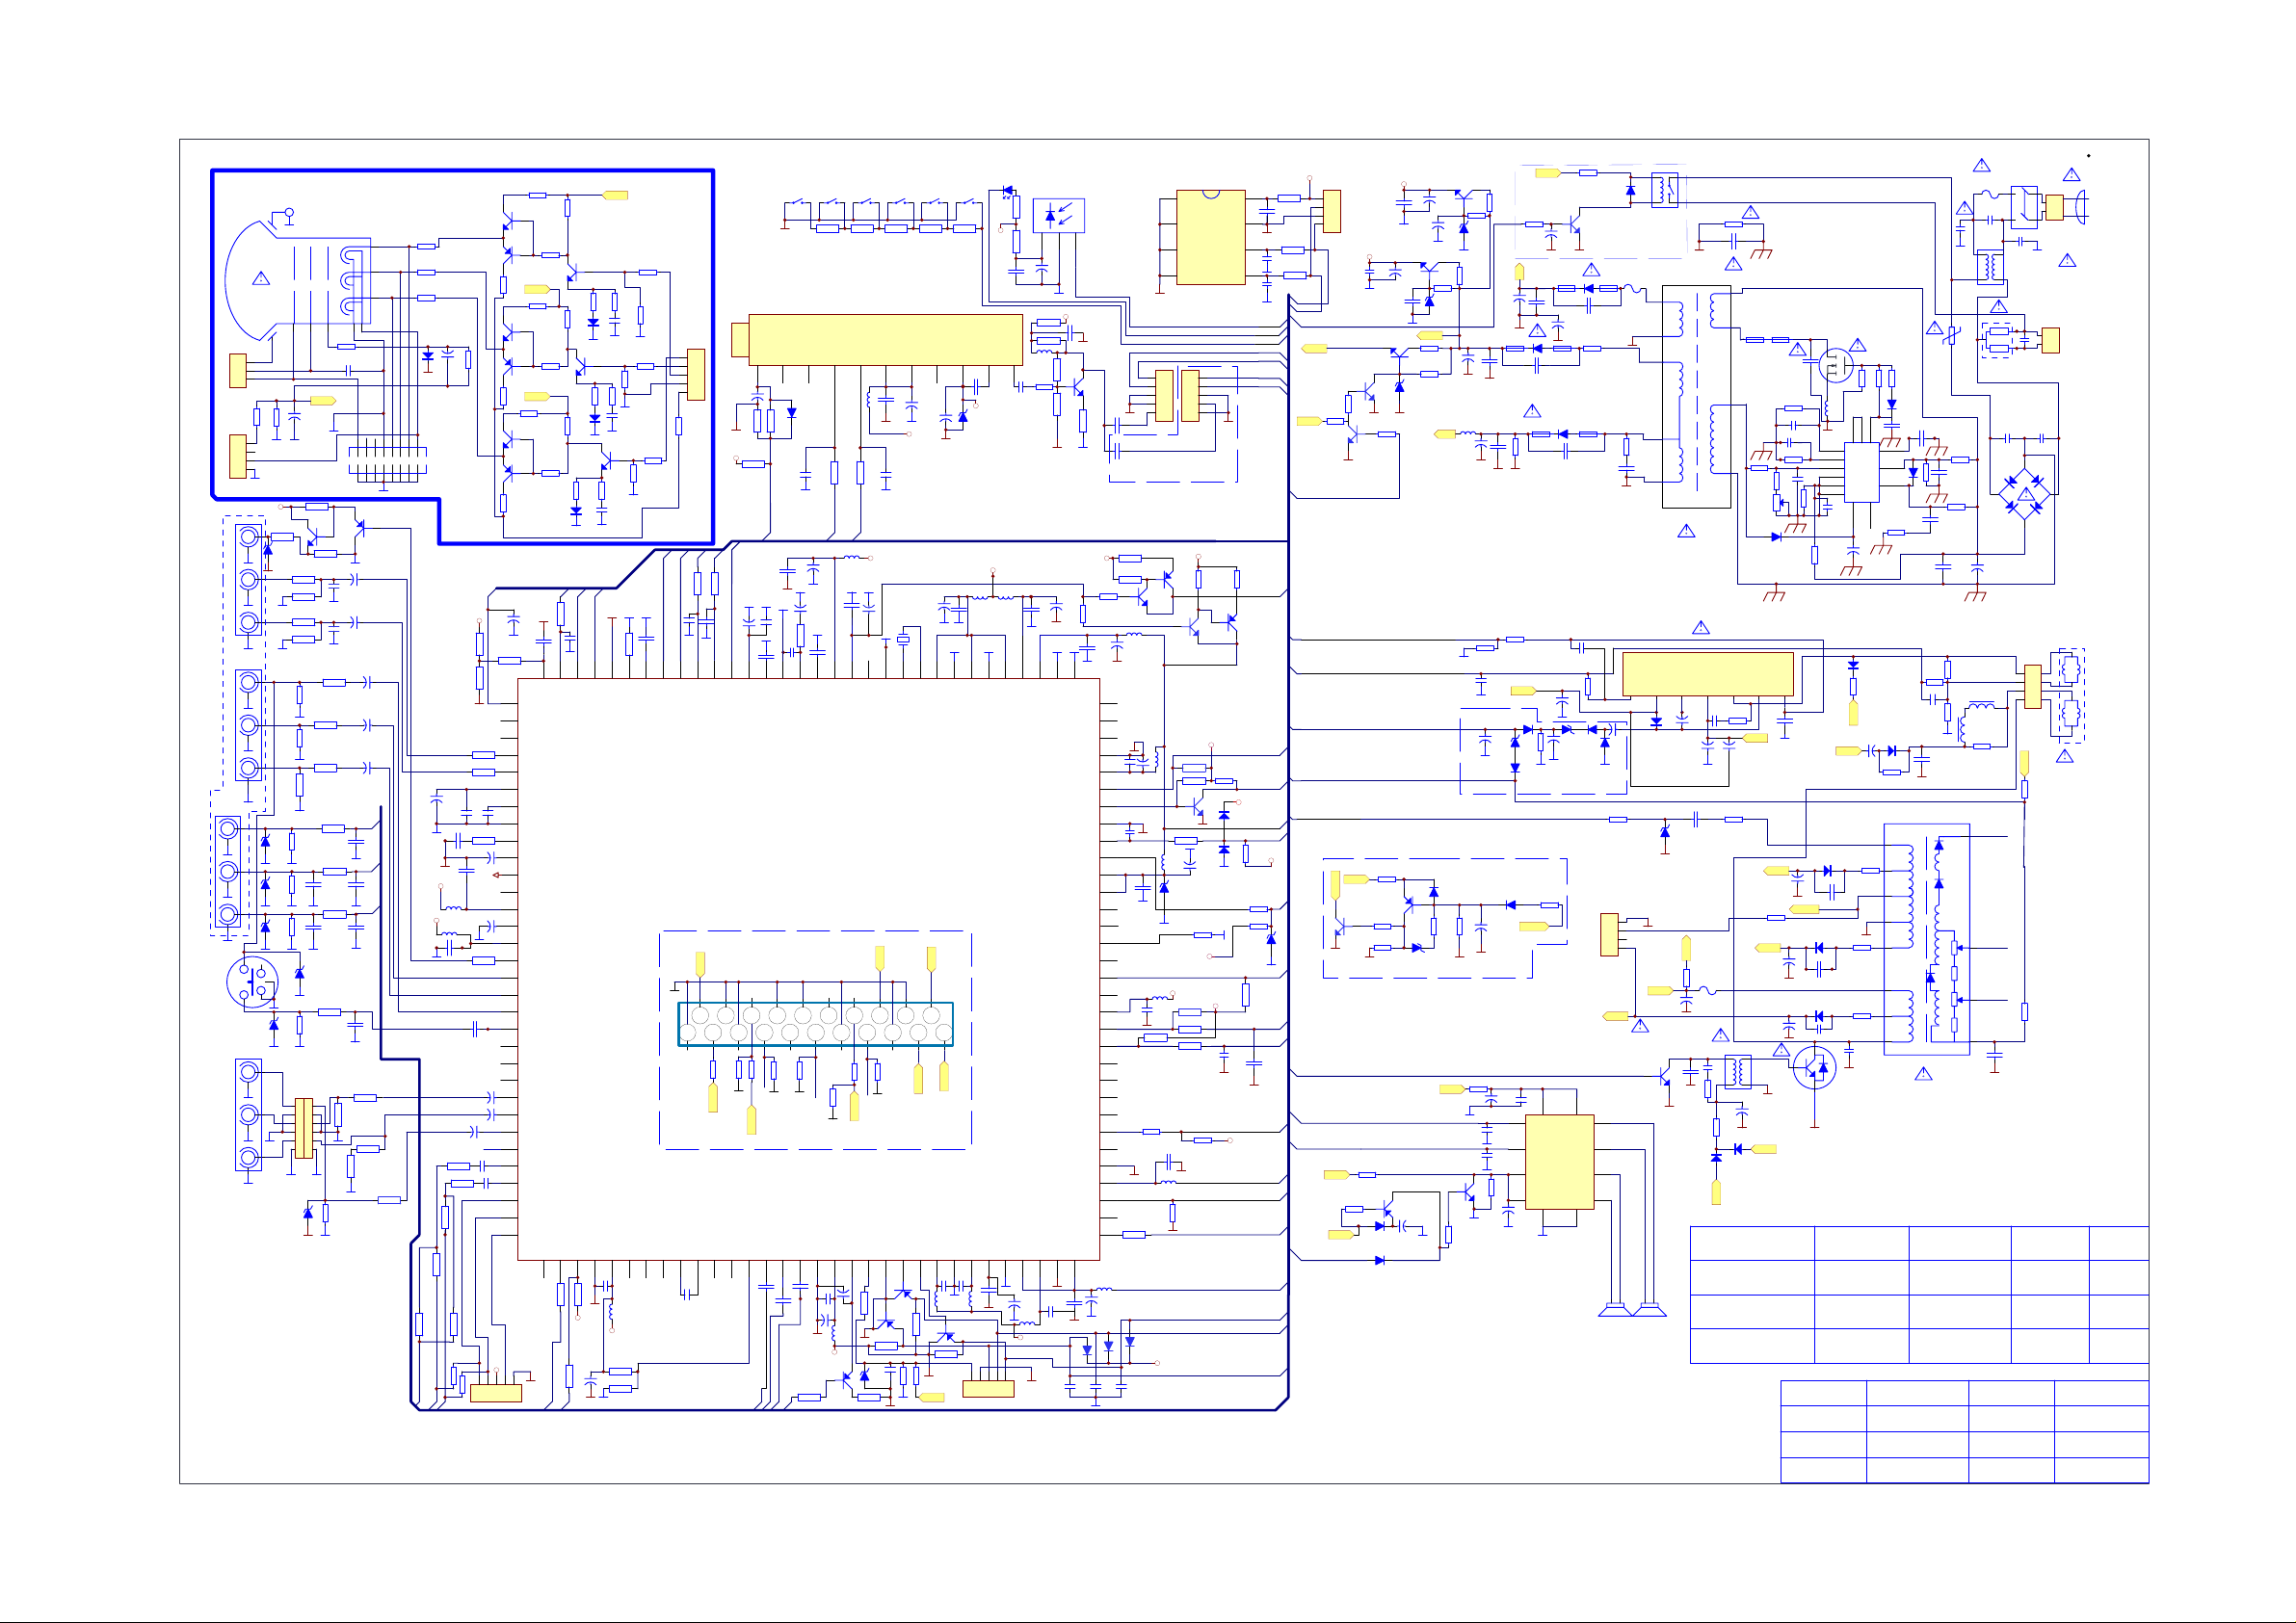
Page 1
PCB CRT BD
P501
3
2
1
R505
33 1W
P502
4
3
2
1
REAR AV OUT
SVO
A.OUTSL
A.OUTSR
REAR INPUT
CVBS4/Y4
P901
A.IN4L
A.IN4R
REAR YUV INPUT
Cb
Cr
Y
P902
Y
S
S-VHS
C
P960
SIDE RUDIO INPUT
V
L
R
M66 (FS TUNER) PAL SECAM BG/DK/I AV-NTSC NICAM/TEXT
R516
+5V
C202
3n3
Test1
C236
2.2uF
C237
2.2uF
470 1/4W
Q512
BC422
R517
Q513
BC423
R518
470 1/4W
+200V
R526
470 1/4W
15K 2W
Q522
BC422
R527
Q523
BC423
R528
470 1/4W
+200V
R536 470 1/4W
15K 2W
Q532
BC422
R537
Q533
BC423
R538
470 1/4W
AGC
5
R205
+
C203
2.2uF
C204
2.2nF
R204
32
1K
33
AVL
34
A.IN5L
35
A.IN5R
36
A.OUTSL
1K
37
A.OUTSR
38
DECSDEM
39
AUDEEM
40
GND2
41
PLLIF
C234
1uF
42
+
SIFAGC
43
IFVEDIO OUT
44
DVB/FM OUT
45
VCC8V
46
+
AGC2SIF
47
VP2
48
SVO
49
A.IN4L
50
A.IN4R
51
CVBS4/Y4
52
C4
53
A.IN2L
54
A.IN2R
55
CVBS2/Y2
56
+
A.IN3L
57
+
A.IN3R
58
+
CVBS3/Y3
59
C2/C3
C239
60
A.OUTL
0.047uF
61
A.OUTR
0.047uF
C238
62
A.OUTHL
63
A.OUTHR
64
CVBSO
65
P501
GND
CRT
GNDSCREENFOCUS
150k 1/2W
R900
47K
R901
47K
82
82
82
R918
P961
D906
6V2
+
C503
4u7 250V
R904
330
R902
100K
R905
330
R903
100K
R921
82
C922
10pF
C923
10pF
R906
D900
P200
82
6V2
R908A
+200V
1K
Q900
BC847A
R908
R907
4.7K
1K
R909
100
R911
4.7K
100
R920
1
6
1.5k 1/2W
R927
100
C926
100pF
R928
100
R926
100
C927
100pF
R924
82
R540
C902
100pF
C903
100pF
C920 100P
R960
47K
C505
1000P 2KV
8
8
+
+
C908
2.2uF
C928
100pF
R962
R961
47K
ETH
R506
5V
R910
75
D901
6V2
D903
6V2
R922
D904
6V2
R923
D905
6V2
D902
6V2
1
6
1K
R963
Q901
BC857A
C904
10uF
C905
10uF
1K
R519
KR
1k 1/2W
R529
KG
1k 1/2W
R539
KB
1k 1/2W
C533
10u 250V
D533
+
IN4001
R541
1M1W
1234567
S501
1234567
R200
68K
C911
+
1uF
C909
+
2.2uF
+
Cb
Cr
Y
R929
100
47K 1/10W
+
C200
10uF
C229
+5V(8V)
L204
10uH
+5V
L205
0.1uF/50V
JP2
0
JP1
JP30JP4
C201
220nF
100nF
C230
4.7nF
10uH
C235
100nF
C231
R216
3.3K
R217
3.3K
0
0
R201
R203 1K
R202
R214 390
C234A 2.2u/50v
R215 1K
C233
22nF
5V
JP5
JP6
WOOFER
AOUTL
AOUTR
12345
P203
560
R525
560
R535
560
D531
1N4148
680
31
EHT
AGCOUT
FBISO66SVM
10K
R221
R222
100
SANDCAST
H OUT
R515
15K 2W
D511
1N4148
R523
D521
1N4148
67
5V
C241
10uF
Q511
BF422
Q521
BF422
270
R533
270
1
C205
22nF
29
SIF230SIF1
R223
1K
+
R513
270
R524
10
GNDIF
+200V
BF422
R534
10
C531
270P/50V
2
5V
R225
4.7K
Q531
28
GNDIF
+5V comb69GND comb68HOUT
C242
0.1uF
L206
10uH
2.2K
R224
R514
10
C511
270P/50V
C521
270P/50V
39K
R521
R522
10K
R532
10K
R206
27
IREF
BIN70GIN
R511
47
R512
10K
C206
R531
47
26
VSC
71
47
150nF
VIFIN225VIFIN1
GND
RIN
72
P503
R501
1K 1/4W
34
1nF
C207
24
73
GND
TU100
5
4
3
2
1
VDRA
100
R207
23
VDRA
UV1336
AGC1VT2Hi/n.c.3Mi/BS1(SCL)4Lo/BS2(SDA)5V+6i.c.(V+)7i.c.8i.c.(+33V)9IFGND10IF
+
C100
10uF
R100
R103
68K
39K
+5V
R101
10K
AGC
E-W
VDRB
100
R208
C208
C209
10uF
1nF
+
C210
22nF
C211
220nF
21
20
18
19
22
E-W
VDRB
DECBG
SECPLL
SCART
V1in
R943
VOUT
UOUT75YOUT74YSYNC
R9**
R945
100
75
75
GND
GND GND
R
UOC77
VOUT
INSSW3
78
76
77
C246
220n
C248
100nF
YCb
Cr
R942
75
C247A
0.1uF
C101
100P
100nF
C214
6n8
GND1
ABL
CIRCUIT CONSTANTS AND CIRCUIT ITSELF ARE SUBJECT TO CHANGE WITHOUT NOTICE
C004
R213A
1
Q202
BC327
+3.3VSTB
R033
+3.3VSTB
2K2
R031
10K
R030
10K
D010
R032
5.6K
8
7
6
5
MUTE
RELAY
IR IN
LED
KEY
KEY
X-RAY
C027
100P
TV STB
IR IN
+5VSTB
P003
100
R010
1
2
3
10nF
4
CON4/254
22 1/6W
R009
C003
56P
22 1/6W
R011
C005
56P
SCL
SDA
RELAY
5V
4
3
2
1
R829
5V-ST
10K
STANDBY
+5VSTB
R827
10K
Q804
1815
2SD882
C008
10n
Q806
c1815
R836A
10K
Q805
+3.3V-STB
+
C010
100uF
C009
10n
D832
5V6
C011
10n
C012
470u 16V
Q001
2SD667A
8V
R825
10 2W
R826
680 1/6W
+
C013
470uF 16V
+
1/6W
680
R012
D002
5.6V
107v
D003
3.9V
470u 25v
100u 160V
Q002
2SC1815Y
R013
10
C842
L802
100uH
C827
R015
33
+
C848
10n
+
A
VDRA
R350
VDRB
X-RAY
SYS
ABL
SANDCASE
B
R286
+14V
330
X-ray
Q281
c1815
SDA
SCL
H-OUT
L
LED
R
B
+12V
R603
10K
+8V
MUTE
Q280
A1015
R282
0
D280
R283
220
24V
R602
47K
Q600
A1015
C605
100uF/25V
D600
+
4148
D604
4148
2K2
C300
100u/16V
GND
X-RAY Protect Circuit
D281
1N4148
R285
R284
+
470
100K
R601
+12V
0.22/2W
GND
Q602
C1815
R605
10K
A
B
G
R
D001B
LED
R007
VOL-
R025A
390
MENU
TV/AV
R024A
K008K007
R023A
300
5VSTB
220
C002
10nF
K006
R027A
680
VOL+
P-
K004
K005
R026A
470
P+
K003
Iom
L101
C102
10uH
10n
D100
IN4148
R104
100
SCL SDA
+
C217
C212
10uF
C215
+
2.2uF
R210
12K
10nF
C216
15
17
VP1
PH2LF16PH1LF
P909
C103
100uF/10V
R109
C101A
100
100P
L200
+5V
10uH
+
Z200
10uF
C219
C218
24.576MHz
100nF
14
12
13
11
D.GND
VG/LED
DECDIG
XTALOUT
L1in
C106
10nF
+
+
+33V
D102
C105
+5V
BYV79C33
47uF/50V
+3.3V-STB
100uF/10V
L201
+
1uH
C222
C223
100nF
6
8
9
10
7
XTALIN
vrefP_Sdac
VrefP_Sdac
VrefN_Sdac
VrefN_Sdac
R1in
123456789101112131415161718192021
R946
75
R948
R949
15K
75
R947
GND
416K
G
B
UOC104
GND
B/PbIN380G/YIN379R/PrIN3
81
C251
C249
100nF
0.1uF
C250
+
10uF
5V
2SA1015
Q204
33K
R227
+
C253
22uF/16V
L207
10uH
Q232
4.7K
R229
Q231
1K
R230
C270
2200P
D204
5.6V
R228
220
BC857A
33K
LOUT
ROUT
VREFAD
VREFAD_NEG89VREFAD_POS
+3.3V analog88BO87GO86RO85BLKIN84BCLIN83LPF82GND3
C256
C255
220nF
220nF
91
90
BC857A
L208
C258
10uH
L209
10uH
100nF
BC857A
R231
1K
Q233
1K
R232
R270
R271
12345
18K
+5V
P202
1K
R008
47
47u/16V
11
C107
10nF
1uH
L202
4
5
VrefP_Sdac
TDA12066H
TDA12061H
TDA12011H
TDA12010H
TDA12027H
GNDA
93
92
C258A
47uF/16V
+
+
C001
R115
150
R111
470
L102
1uH
R114
56
C224
100nF
3
1.8VC4
3.3VA3
ROTATION P2.2
VDDA2
VDDA1
94
L210
C260
220nF
10uH
3.3V-STB
IR001
CP1
123
+8v
C108
0.01uF
R116
680
R117
150
+5VSTB
C225
+
10uF
C226
100nF
2
GND1GND
GAME L P1.5
GAME R P1.4
GND
MUTE P2.4
GND
KEYB P3.3
X-RAY P3.2
DECV1V8
SCART1 P3.1
SCART2 P3.0
TUNING P2.0
SDA P1.7
SCL P1.6
SDA2 P1.3
SCL2 P0.0
IBO D/A P0.1
IBO STB P0.2
LED P0.3
VSSC2
VDDC2
TV STB P1.1
IRQ P1.0
IR P0.5
VDD96VSS
95
C261
220nF
D201
C254
100P
P1.2
1.8V
P2.5
1.8V
P2.3
P2.1
3.3V
P0.4
1N4148
Q101
C3779
R118
R211A
4K7
1
WP
Vdd
2
n.c.
PTC
IC001
24C16
3
A2
SCL
4
Vss
SDA
Nicam
Z101
5
5
4
4
3
3
2
2
1
1
K9453K2966M
+5VSTB
Q201
R213B
BC327
4K7
Q287
BC847A
Z100
C110
22
10nF
C109
10nF
R213
1/2W
1
R212
4K7
R211
Q200
4K7
BC847A
C227
+
L203
10uH
10uF
IC200
128
127
126
L001
+5VSTB
10uH
125
124
C017100nF
123
122
121
120
119
118
117
116
115
114
113
112
111
110
109
108
107
C018
0.01uF
R029
C022
220nF
27K
+
R017
R218
10K
C019
10uF
BC847A
R024
L003
10uH
BZX79C2V4
47K
R018
Q203
D006
4148
100
D005
C024
4148
47uF
+
D004
R039
10K
+5VSTB
+3.3V STB
L002
10uH
C023
+5VSTB
3.3K
R027
220nF
100
R025
3.3K
100
R026
C026
100P
106
105
104
R036 100
L211
+
TDA12067H
C262
47uF
D202
C257
100P
103
102
C028
1N4148
220nF
10uH
L004
R047
3.3K 1/10W
100
R034
D203
1N4148
5V
C259
100P
101
100
99
98
97
1uH
+5VSTB
R046
3K3
R014
1K 1/6W
C845
1000u 25v
A.GND
C826
10n
C350
1500P
+
D304
3V9
C431
50V/47uF
+
C623
1000uF/16V
C600
5600/63v
C606
5600/63v
R607
47K
C607 22uF/16V
C840
220P 500v
R824
R314
1K
+14V
D413
IN4001
12
+
8V
R851
33 1W
R850
10K
Q850
C1815
+
C851
100u 16V
12V
+
C844
10n
+
C828
4u7 16V
D830
R836
FR104
HF70HF70
0.22 1W
D824
RU3C
HF70HF70
C830
15K 2W
330P 2kv
C351
2200P
C308
+
220uF/25V
D300
4148
+
D306
3V9
R300
C307
1K2
47u/16v
D305
4148
Vertical Protect Circuit
R407
11/2W
Heater
C604
13
0.1u 50V
3
4
IC600
TDA7266
7
6
8
9
GND
D850
1N4148
K850
Standby Power<3W
R819a
1
2
3
4
+
C313
R834
5A
A.GND
50V/4.7uF
D309
1
IN4001
P601
SPEAKER(R)
16
15
12
9
11
50PIN
D404
2
5V6
+107V
100u 160v
Q401
2235
T402
R404
15K/2W
C411
1000P / 500V
D831
FR104
220P 500v
220P 2KV
R316
1K
D307
4148
D308
4148
1
2
BF60BF60
C843
120 2W
C839
J401
0
P402
200V
15
14
P600
SPEAKER(L)
R835
8.2M 1W
C835A
2n2 AC400V
3
1
8
6
IC300
STV9302
C325
3
4
5
C323
0.33
1W
R313
+
100uF/35V
1
+
+
C360
C324
100uF
100uF/25V
C422
R408
10K/1W
5600P/63V
+33V
R403
2A
+
C414
T401
3300PF/500V
C401
R413
220
R402
4.7 1W
D405
1N4004
D833A
1N4004
12V
M66 CRT
Conversion table
44-14OFLN-IR3A
44-21OFLN-SS1A
21’TF SAMSUNG
()
L801
BF60X2 0.6uH
R811
15K 1/4W
R810
7K5
VR801
5KB
6
-14V
25v 470u
+14v
C415
470u 25v
10U 250v
+
C405
47u 25v
+14V
R420
2.2 2W
D806
FR104
-14V
C408
560P/2KV
C811
C810
22P
VREFVPOUTGNDPOMP UP VCCINPUT
GND
C413
C819
R803
C812
1n 50V PP
R812 56K
4.7M 1/2W
7
C334
2n2
+
+
SK3115
Q801
82K
L803
10n 63V
5
1
3
6
10
12
C850
R841
12K 1/6W
0.1u 50V
R813
C816
47UF/25V
D403
FR104
+
C403
390P 500V
Heater
D402
FR104
C412
390P 500V
D401
FR104
C409 390P 500V
BSC25-0252R
BSC25-0252S
BSC25-0252T
Prepared by
Reviewd by
Issued on
R808B
1K 1/2W
107V
Q402
2SC5885
T402
91487
IC801
+
D320
4148
R351
10K
-14V
R409
1 1W FUS
R405
1 1W
R418
1 1W FUS
C406B
0.012uF 1.6KV
R808A
R808
47 1/4W
100 1/4W
D807
1N4148
C808A
13
560PF
4
10n 63V
11
D810
IN4148
2
TDA16848
C815
0.001U 63V
R804
1.8K
C337
10u 100v
C420
D400
+
1n4002
R410
10K 1w
T402
BSC25-0252S
6
3
10
7
4
2
9
1
EC04028(M66)
Jiao jianpeng
Zhou songming
2005.01.26
C802A
102 400V
R801
3.3 /5W
C817
R805
4M7 1/2W
C814
R806
220n 63V
56K 1/6W
R807
1M 1/2W
C806
C808
150uF/400v
10n/500v
R324
220
2K2
1W
R315
L412
50uH
1000P
R321
1.8
2W
L411
0uH
GND
R411
C421
390n 250v
EHT
HV
C406B
0.011uF/1.6KV
0.012uF/1.6KV
0.012uF/1.6KV
F801
T2A
C801
220n/AC275V
RT801
PTC 20M
RL255 X4
+
1K2 1W
FOCUS
SCREEN
8
Serial No.Chassis Name
File No.
Version
Updated on
S801
C802B
102 400V
T801
36-LIF010-A X0
C803
100n/400V
C804
C805
4n7/250V
4n7/250v
D801-D804
P400
1
2
3
4
+14V
R414
7.5K
R415
1K
C410
0.033u 100V
C421
0.33uF/250V
0.39uF/250V
0.33uF/250V
P802
1
2
P801
1
2
1.5OHM 2W
2.2OHM 2W
1 OHM2W
01-000M66-MA1
0.1
2005.04.05
R420
Page 2

Alignment Procedure
1. GENERAL
1.1 Common Information
1.1.1 Use isolating transformer with low internal resistance.
1.1.2 Mains voltage is 90-260
1.1.3 All voltages and waveforms mentioned are with respect to Ground. Do not use
heat-sink as Ground.
1.2 How to enter factory Mode (Service menu, service mode)
1.2.1 Certain alignment procedures need to enter Factory Mode (Service Menu). There
are two ways to access factory mode:
One is :
A. Press and hold the VOLUME DOWN key tightly on the unit until minimum level
B. Don’t release the VOLUME DOWN key on the unit
C. Then press the CAPS key in 3 times on the RC
The other is:
Press “D-mode
shortcut key if “bit-0” of “mode 1” is at “0”.)
1.2.2 All system data in Factory Mode of “Key 8 & Key 9”
otherwise, the set will work abnormally.
1.2.3 It is suggested to disable the D-Mode key before the set leave the factory.
Navigation:
- Press “Pro+” “Pro -”
- Press “Vol+ ” “Vol-”
- Press “0” “1” “2” “3” “4” “5” “6” “7” “8” “9”
to access factory menu.; All change in factory data will be saved in EEPROM
automatically
- Press “BUS OPEN”
other ICs. This is only valid during automatic adjustment of white balance.
“ Key on the factory RC. (Please noted the “D-mode” key is the invalid
V AC, unless otherwise stated.
are not adjustable when servicing,
key to select option;
key to adjust or select option.
on the RC as the shortcut key
key on factory RC to cut off the I2C control from the CPU to
1.3 A few special modes:
1.3.1 Aging Mode is used before set alignment. It would operate in factory mode;
1.3.2 Vertical Stop mode
factory mode and repress “ mute” key to exit.
1.3.3 White balance alignment mode
1.3.4 Factory Mode (Initialization)
In factory mode, press RECALL button to initialize the FACTORY-OUT status.
is used to confirm the accelerating voltage. Press “Mute” key in
Volume: 30, PG password:0000, Favorite channel: ch1/ch2/ch3,
channel lock: disable, Picture mode: normal,
Color temp: normal, calendar:01-08-2004
2. Alignment procedure:
2.1 B+ voltage adjustment
2.1.1 Apply 110-240V AC (+5V) to mains power input, and Philips standard testing pattern
to RF input.
2.1.2 Adjust VR801 in STANDARD mode until voltage at TP2(B+) is 107V+
0.5V.
Page 3

Alignment Procedure
2.2 RF AGC adjustment
2.2.1 Input 58dB grey scale signal.
2.2.2 Press key “4” to enter RF AGC adjustment.
2.2.3 Press “OK” key to auto adjust RF AGC, also can adjust “RF AGC” key until the
letter change from “INACTIVE” to ”ACTIVE”.
* The others use default value.
2.3 Crystal oscillator frequency adjustment
2.3.1 Crystal oscillator frequency adjustment with NICAM
a. Input audio signal with NICAM.
b. Enter factory mode, press “game” key , then press “V+” key to adjust “DCXO
Auto”, until it displays “OKEY”.
2.3.2 Crystal oscillator frequency adjustment without NICAM
a. Input PAL color bar signal.
b. On factory mode, press “0” to adjust “DCXO Auto” until it steady at 128.
2.4 Screen & Focus voltage adjustment
2.4.1 Screen voltage adjustment
a. Input any signal.
b. Press “MUTE” key on the remote control and the screen will become a
horizontal line, here horizon stop vibration. Then adjust the “screen” VR on
the flyback until the horizontal line can just be seen (minimum visible
intensity).
2.4.2 Focus voltage adjustment
a. Input cross hatch pattern signal.
b. Adjust the “focus” VR on the flyback until the screen becomes clear.
2.5 White balance adjustment (NORMAL)
2.5.1 Choose Black and White pattern signal (PAL).
2.5.2 On factory mode, press “1” key enter white balance adjustment.
2.5.3 Measure the dark side of the picture with a color analyzer adjust RED and GRN
until the data on the analyzer become x=274+
2.5.4 Measure the bright side of the picture. Then adjust WPR, WPG and WPB until
the data on the analyzer become x=274+
2.5.5 Repeat step 1 and 2 until you get right color on both dark and bright side of the
screen.
Remark :
1. When adjusting, RED、GRN are used to adjust black balance and WPR、
WPB、WPG are used to adjust white balance .
2. On product line, the item which can be auto adjusted by auto test
equipment , its data according to auto adjust value.
3. White balance address please meet the fourth part in page 12.
8, y=280+8.
8, y=280+8.
2.6 Adjustment of Sub-brightness
2.6.1 Input grey scale + color bar signal.
2.6.2 Press key “6” enter sub-brightness adjustment.
2.6.3 At standard state, adjust “BRTC” parameter , until the secondary grey just be
seen.
* Do not change value “BRTS”.
Page 4

Alignment Procedure
2.7Picture geometric adjustment
2.7.1 Vertical geometric adjustment
a. Input a PAL cross hatch pattern signal .
b. Press key “2” enter Vertical geometric adjustment .
c. Use remote control to adjust one by one , watch the figure, until the center or the
corner grid has the same size .
d. When adjust vertical position , make the center of vertical intermediately.
e. In “5VSL”, the second half may blanking , adjust the first half at display range.
Remark: :
1 5VSC , 31 is fixed, don’t adjust .
2 5VPOS for vertical position.
3 5VAM for vertical amplitude.
4 5VSL for vertical slope.
5 5VL for vertical linearity.
6 5SCL for vertical S-correction.
7 5WBR for vertical start of blanking time on 4:3 mode (16:9 tube).
8 5WBF for vertical end of blanking time on 4:3 mode (16:9 tube).
9 5BSWBR for right side black width of blue screen .
10 5BSWBF for left side black width of blue screen.
* 5WBF/5WBR only use on matching 16:9 tube, at 4:3 picture mode, adjust
blanking time of R and F. First press “ZOOM” key switch to 4:3 mode, then adjust
5WBF and 5WBR respective to make the overscan meet the requirements.
*Adjustment is disabled when match 4:3 tube.
* 5BSWBR and 5BSWBF needn’t adjustment.
2.7.2 Horizontal geometry adjustment
a. Input a PAL cross hatch pattern with black and white background signal.
b. Press key “3” enter Horizontal geometric adjustment.
c. Use remote control to adjust one by one , watch the figure, until the center and the
vertical line at left and right side of the picture become straight.
Remark :
1. Adjust 5HSH for horizontal position, data should make H center mediacy .
2. 5PAR for parallelogram adjustment.
3. 5BOW for bow adjustment.
4. Adjust 5EWW for horizontal width.
5. 5EWP for pincushion correction.
6. 5UCR for upper corner correction.
7. 5LCR for low corner correction.
8. 5EWT for trapezia correction.
2.8 EHT/HEW ratio test:(test with PC program)
Equipment requirements : High Voltage Meter (Range: 0 - 40kV)、High voltage test
stick (1000:1)、Adjustable DC power supply、Dummy deflexion coil(as same
inductance as CRT which use to product).
Test method :
a. Mount the EHT cap on to the fixture and connect the EHT meter. Plug in the
dummy deflection coil. Connect the DC meter across C431.
b. Switch on the chassis and measure the ratio of EHT/HEW at I
= 0 ( brightness、
b
Page 5

Alignment Procedure
d. Apply PC program, V/V1 need satisfy request below :
2127P3 44-210FLN-SZ1A
contrast are minimum).
Here, the HEW is the DC voltage across C431.
EHT voltage V, HEW voltage V1.
EHT/HEW (V/V1)
A51KQK99X01
2.9 X rays over voltage protecting circuit test
Test method :
When TV ON with color bar signal, add more than 27V DV to C431, machine could
enter into protection mode, otherwise please inspect X rays over voltage protecting
circuit .
2.10 PS line polarities test
This test only the machines which will sell to NAFTA should be done.
Test method :
Connect as drawing below :
DC Power Supply
9V
- +
Sound clew equipment
DX 2.2k
Power Supply jack M
TO F801
Plug the card power connector plugs to Power Supply jack M, and use multimeter pen
touch F801 random pin, then LED DX should luminescence and clew with sound,
otherwise it is unqualified.
2.11 PS power test
Equipment requirements : Wattmeter
Test method :
a. Input more than 60dB color bar signal, audio 1K Hz, 100% modulation.
b. Brightness and contrast are maximum, adjust the volume to make the audio output
power at 0.5W.
c. Connect the wattmeter to test power consumption of Power Supply.
d. Switch the set to standby mode, and then measure the power consumption of
Power Supply again.
It should satisfy request below :
Type Power Standby power
Page 6

Alignment Procedure
2127P3
21”
14”
61W
5.3W
2.12 High voltage and Ib value limit test( random test )
Equipment requirements :Brandenburg High Voltage Meter (Range: 0 - 40kV)
Beam Current Meter
Input signal type : A 60dB white pattern signal.
Test method :
a. Connect the EHT-meter across the anode and aquadag of the CRT.
b. Connect a beam current meter between t he anode of picture tube and EHT-cable
of LOT.
c. Measure the EHT-voltage at zero beam current (I
d. Subsequently, measure the EHT-voltage at respective I
It should satisfy request below :
Beam current
Ib = 50µA
21” 14”
EHT-voltage (KV)
beam
= 0µA).
beam(s) .
Ib=50µA&1200µA
2.13 Heater voltage test ( random test )
Equipment requirements : True RMS Voltmeter
Input signal type : Philips test card ( from 1 mV rms(60dBuV)to 50 mV rms )
Test method :
a. Connect the true RMS voltmeter between the heater .
b. Adjust the brightness and contrast to maximum .
c. Then, test the heater voltage . It may be Vrms
2.14 Main function test (eg, NICAM, BTSC, TELTEXT and etc.)
NICAM test standard please reference
BTSC test standard please reference
TELTEXT test standard please reference Q/WP1259-2003.
CCD、V-CHIP test standard please reference EIA-744-A
3. EEPROM Data and Address.
Items marked with * are adjustable, the others are not. Take Model 2127 for reference only.
Model
No.
2127P3 32 26 35 23 33 35 35 33 33 31
RED* GRN* WPR* WPB* WPG* 5VPOS* 5VAM* 5VSL* 5VL* 5VSL
KEY1 KEY2
Page 7

Alignment Procedure
Model
No.
2127
P3
5SCL* 5WBF
25 5 4 5 5 28 29 41 36 28 48
Model
No.
2127
P3
5LCR* 5EWT*
44 25 20 32 3.5M 3.1M 4.0M 32 32 64
Model
No.
KEY2 KEY3
5BS
*
CPEK
PAL
5BSW
BR*
5WBR*
*
KEY3 KEY4
AGC*
WBF
RF
CFPEK
PAL
5HSH
*
CFPEK
5PAR
NTS
5BOW
*
CFPEK
YUV
5EWW* 5WEP* 5UCR
*
IFPL BBTC
PG
R/G/B
KEY4 KEY5
VG2BRI
* HDOL CNTX CNTN BRTX BRTN COLX COLN TNTX TNTN
*
2127P3 20 4 53 2 11 5 63 0 20 12
Model
No.
CNTC BRTC
* COLC TNTC COLP COLS BRTS SHPTV4 SHPX SHPN
KEY6 KEY7
2127P3 25 32 28 30 0 28 0 31 31 31
Page 8

Alignment Procedure
Model
No.
OSD
BRI
5CCDH 5CCDV 5OSDH 5OSDV 5MENUV MENUH OPT1
KEY 7 KEY 8
* OPT2*
2127P3 15 8 35 15 42 18 7 0A 80
Model
No.
* OPT4* OPT5* OPT6* OPT7* OPT8* OPT9* OPT10* MODE1* MODE2*
OPT3
KEY8 KEY9
2127P3 33 0 27 0B 58 0 4 0 26 97
Model
No.
MODE3
* MODE4* MODE5* MODE6* MODE7* MODE8* MODE9* MODE10*
KEY9
2127P3 50 AD 1F 8E 10 22 C2 10
Model
No.
VOL
01
VOL
25
VOL
50
VOL
100
YDFE
PAL
DEC
LVL
KEY0
MONO
LVL
NIC
LVL
ADC
LVL
DCXO
CAPV
*
NICLP
INV*
PSCALE
2127P3 27 121 135 148 15 0 0 0 0 54 Not 0.375
Page 9

Alignment Procedure
inverted
Mode
l No.
2127
P3
PLIM PCENTER
96 212 6 86 30 40 85 30 70 11 4 5
KEY0 KEY NOTEBOOK
* LOUNDESS
BASS TREBLE 300Hz
M S T M S T M S T
KEY NOTEBOOK KEY FAVORITE
Mode
l No.
500Hz 1K Hz 5K Hz 8K Hz Warm* Cool*
M S T M S T M S T M S T R G B R G B
2127
P3
9 7 6 6 6 7 9 7 9 11 4 11 4 0 6 6 0 4
Model
No.
SET
*
P1
SET
P2*
DATA
VL*
DATA
VH*
KEY SLEEP
DATA
UF*
SPE
POSI
SPE
DATA
SENSI
ON
2127P3 147M 423M 1 2 8 0 0 0 0
SENSI
OFF
Page 10

Alignment Procedure
4. White balance address
R G B R AMP G AMP B AMP R CUT G CUT B CUT Remark
Offset DATA 142 143 150 146 161 ***** Factual setup
IC write(LsB)
Sub Add 32 33 34 23 24 *****
Start Bit 6 6 6 6 6 *****
St0p Bit 0 0 0 0 0 *****
E2PROM
Sub Add(LsB) 122 123 124 119 120 *****
Reference
Slave Address(write)
16 Bit EEPROM
IC 138
Page Addr
E2PROM 160
5. CDRH Document ( If available)
6. REMARK
TV standard color TEM
B
BJ SanAi(SWB-301)
The items marked in Grey are invalid for this chassis.
 Loading...