

Page 1

1
Table of Contents
1. Overview............................... ... .................................. ... ................................... .. .... 2
1.1 Included in the Box................ ......................................................................2
1.2 Features........................................................................................................ 2
1.3 Specifications................................................................................................ 3
1.4 Battery....................................................................................... ... .................3
1.5 File Transfer..................................................................................................4
1.6 Button Basics............................................ ... ................................... .............. 5
1.7 The Standard Operation Menu......................................................................5
2. Main Menu ................... ......................................................................................... 6
2.1 Button Functions.......................................................... ... ..............................7
3. Music..................................................................................................... ... .............. 7
3.1 Icons on the Music Playback menu ............................ .................................8
3.2 Button Functions.......................................................... ... ..............................9
3.3 Submenus of the Music Playback menu.......................................................9
3.4 Special Functions........................................................................................10
4. Recorder ............................... ..... ...... .. ...... ..... ... ..... ..... ... ..... ...... .. ...... .. ...... ..... ... ....12
4.1 Icons on the Voice Recording menu..........................................................13
4.2 Button Functions.......................................................... ... ............................13
4.3 Submenu of the Recorder Menu..................................................... ..... ... ....14
4.4 File Formats available................................................................................. 14
5. Voice (Playback) .......................... ..... ... ..... ... ..... ...... .. ...... .. ...... ..... ... ..... ..... ... ..... ..14
5.1 Icons in the Voice (Playback) Menu................................. ..........................15
5.2 Button Functions.......................................................... ... ............................15
5.3 Submenus of the Voice (Playback) menu................. ...... .. ...... ..... ... ..... ..... ..16
6. JPEG................................................................ .. ...... ..... ... ..... ... ..... ..... ... ..... ... ..... ..17
6.1 JPEG Menu Interface..................................................................................17
6.2 Button Functions.......................................................... ... ............................18
6.3 Submenus of the JPEG Menu................................................. ....................18
7. Settings............... ... ................................... .. ................................... ... ....................19
7.1 Button Functions.......................................................... ... ............................19
7.2 Setting Details............................................................................................. 19
8. Firmware Update.............. ... ................................... .. ................................... ... .... 20
Page 2

2
1. Overview
With stylish design and sm all dimensions, the Tatung M100 is not onl y a MP3 player but
also a fashionable accessory for your apparel. Moreover, the bright color OLED display
and video playback function give you an innovating entertainme nt ex p erience on the go.
This Manual was specifically designed for customer convenience. It is organized in a
manner of Menus to make it as straightf o rwa rd as possible. For example, if you ha ve a
question that involves the Music (Playback) menu, go to the Music (Playback) menu
section. You can find the Table of Contents with section numbers as wel l as pa g e
numbers.
1.1 Included in the Box
z Installation CD
z USB to computer cable
z Tatung M100 player
z User Guide
z Earphones
1.2 Features
y Supports MP3 and WMA music file formats
y Synchro-lyric capabilities-- listen to your music as the lyrics fly across the
screen in perfect synchrony-- easy to learn the lyrics!
y Built in Microphone with easy and high-quality recording
y Supports MTV video file format-- file transformation tool included!
y USB 2.0 interface with maximum transfer speeds of up to 1000 KB per second
y Language learning function with conve nie nt A to B sectiona l playback
y High quality earphones with auto-scan FM radio (Europe Only)
y Supports Windows 98/ME/2000/XP, Mac OS 10.X, and Linux Kernel (version
2.4.2 and above) operating systems
y Built-in rechargeable Lithium-Ion battery
Page 3
3
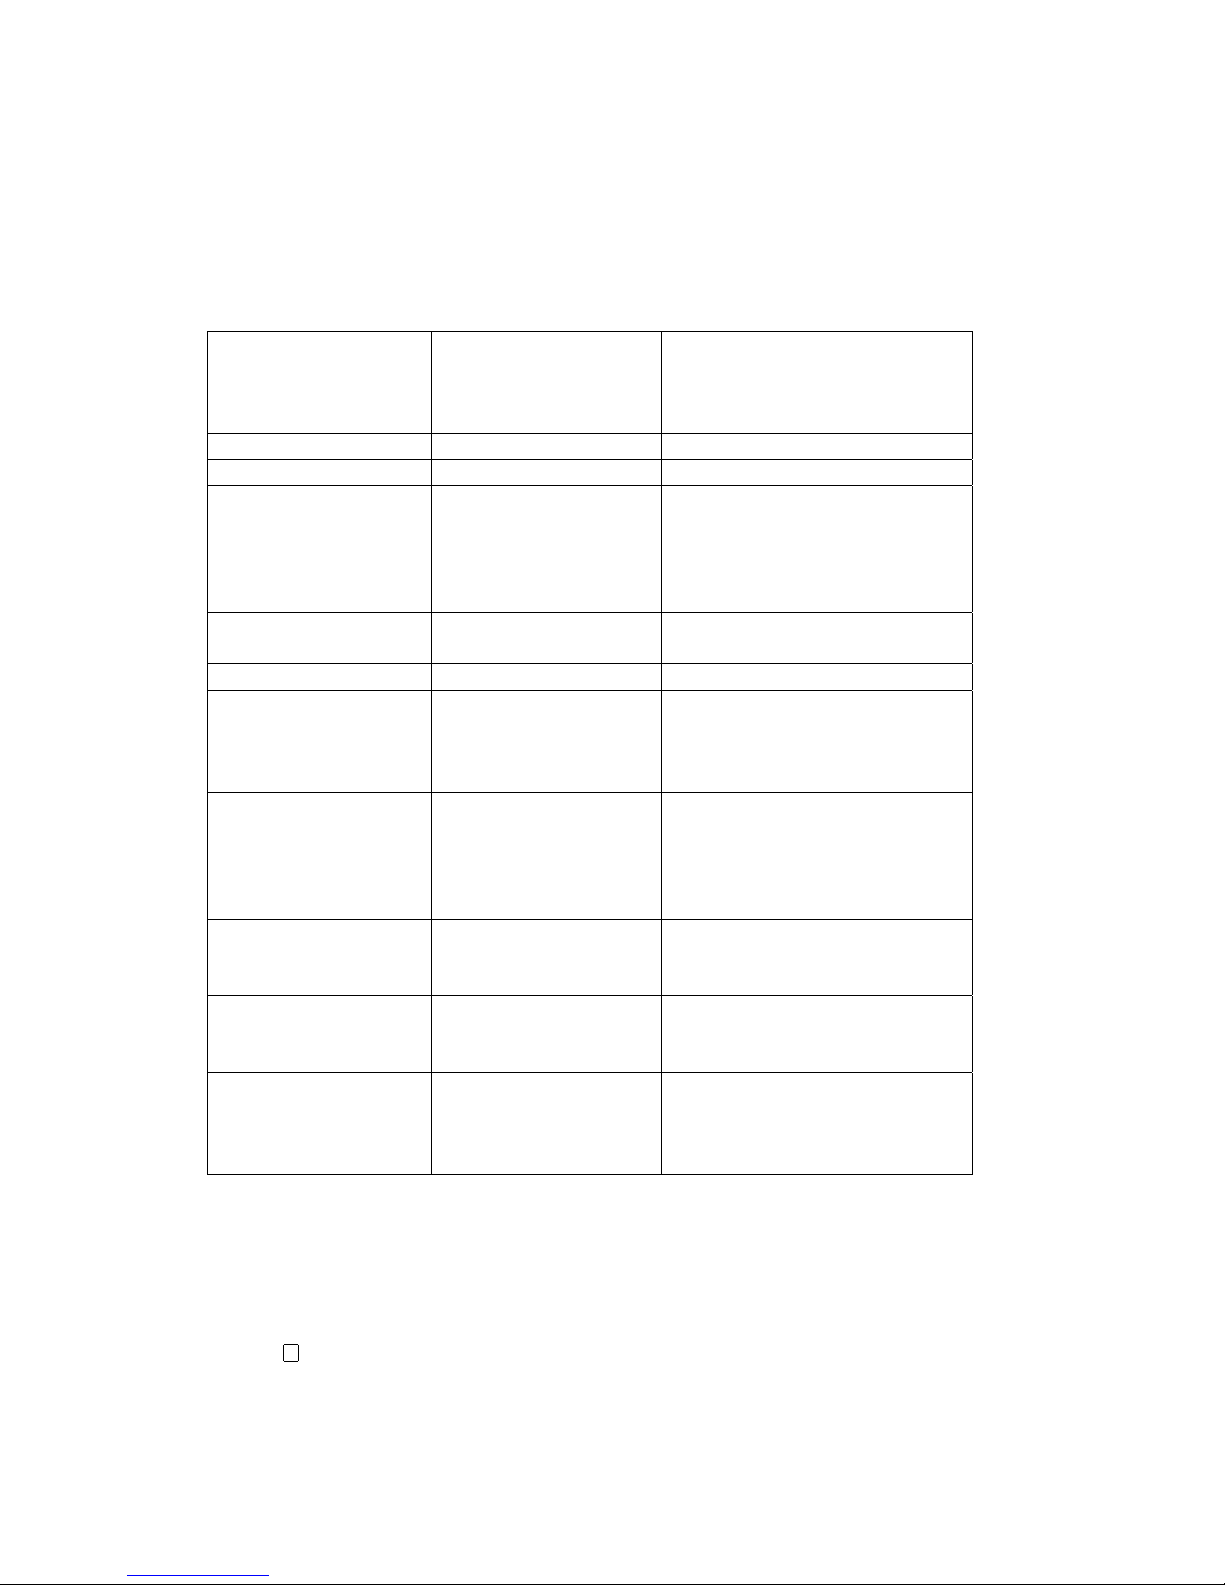
1.3 Specifications
1.4 Battery
• There are nine different levels of ba ttery charge
•
Stands for empty battery
Audio No. of Channels
Frequency Range
Rated Power Output
S/N Ratio
Stereo
20Hz – 20KHz
250-460mV
85db
Display OLED 96x64 (65,000 colors)
Storage Flash Memory 512MB/1GB
Music File Formats File Type
Bit Rate (MP3)
Bit Rate (WMA)
ID3 Information
Lyric
MP3, WMA
8k-320kHz
5k-384kHz
Support
Sync Lyric (Double line display)
Image/Video File
Format
Image File
Video File
JPEG
MTV
Recording File Format ADPCM
Sound Effects Speed
Equalizer
16 levels
7 preset channels (Natural,
Rock, Pop, Classic, Soft, Jazz,
and DBB)
Power Built-in Battery
Playback time: full
battery
USB Charging time
Rechargeable Lithium-ion
(550mA)
8 hours (backlight on), 14 hours
(backlight off)
3 hours
System Requirements MS Windows
MAC OS
Linux
98 SE/ME/2000/XP
10.X
Kernel 2.4.2 or above
General Dimension
Weight
USB
62 x 34 x 20 mm
38g
2.0 (Up to 1000K Byte/Sec)
Other Functions Language English, German, French,
Spanish, Italian, Dutch,
Portuguese, Trad. Chinese and
Simp. Chinese
Page 4

4
• Stands for full battery
To start charging the battery, simply connect your Tatung M100 to your computer via the
USB cable. It requires 3 hours to fully recharge your Tatung M100’s battery.
1.5 File Transfer
You can transfer files to and from your Tatung M100. To do this, first connect your
player to your computer via the USB cable.
• Your player will then display the rea dy status screen shown below:
Ready Status Screen
Note, in this screen, you can go back to the Main Menu by pressing the MODE button.
• To begin transferring files to your player, open your computer’s File Manager.
Your Tatung M100 should be shown as a Removable Disk under My Computer.
Note that if you are using a MAC, it should automatically appear on the desktop.
Then, you can now select files and copy them over onto your player. While
transferring files, your Tatu ng M100 will display the Download Screen (sh ow n
below):
Download Screen
• You can also upload a file from your Tatung M100 to your computer, simply by
opening the Removable Disk Icon (as described above) and copying the files onto
your computer. While uploading files, your player will display the Upload Screen
(shown below):
Upload Screen
Page 5
5
Note, your Tatung M100 will not respond to any button operations while
Downloading / Uploading files.
1.6 Button Basics
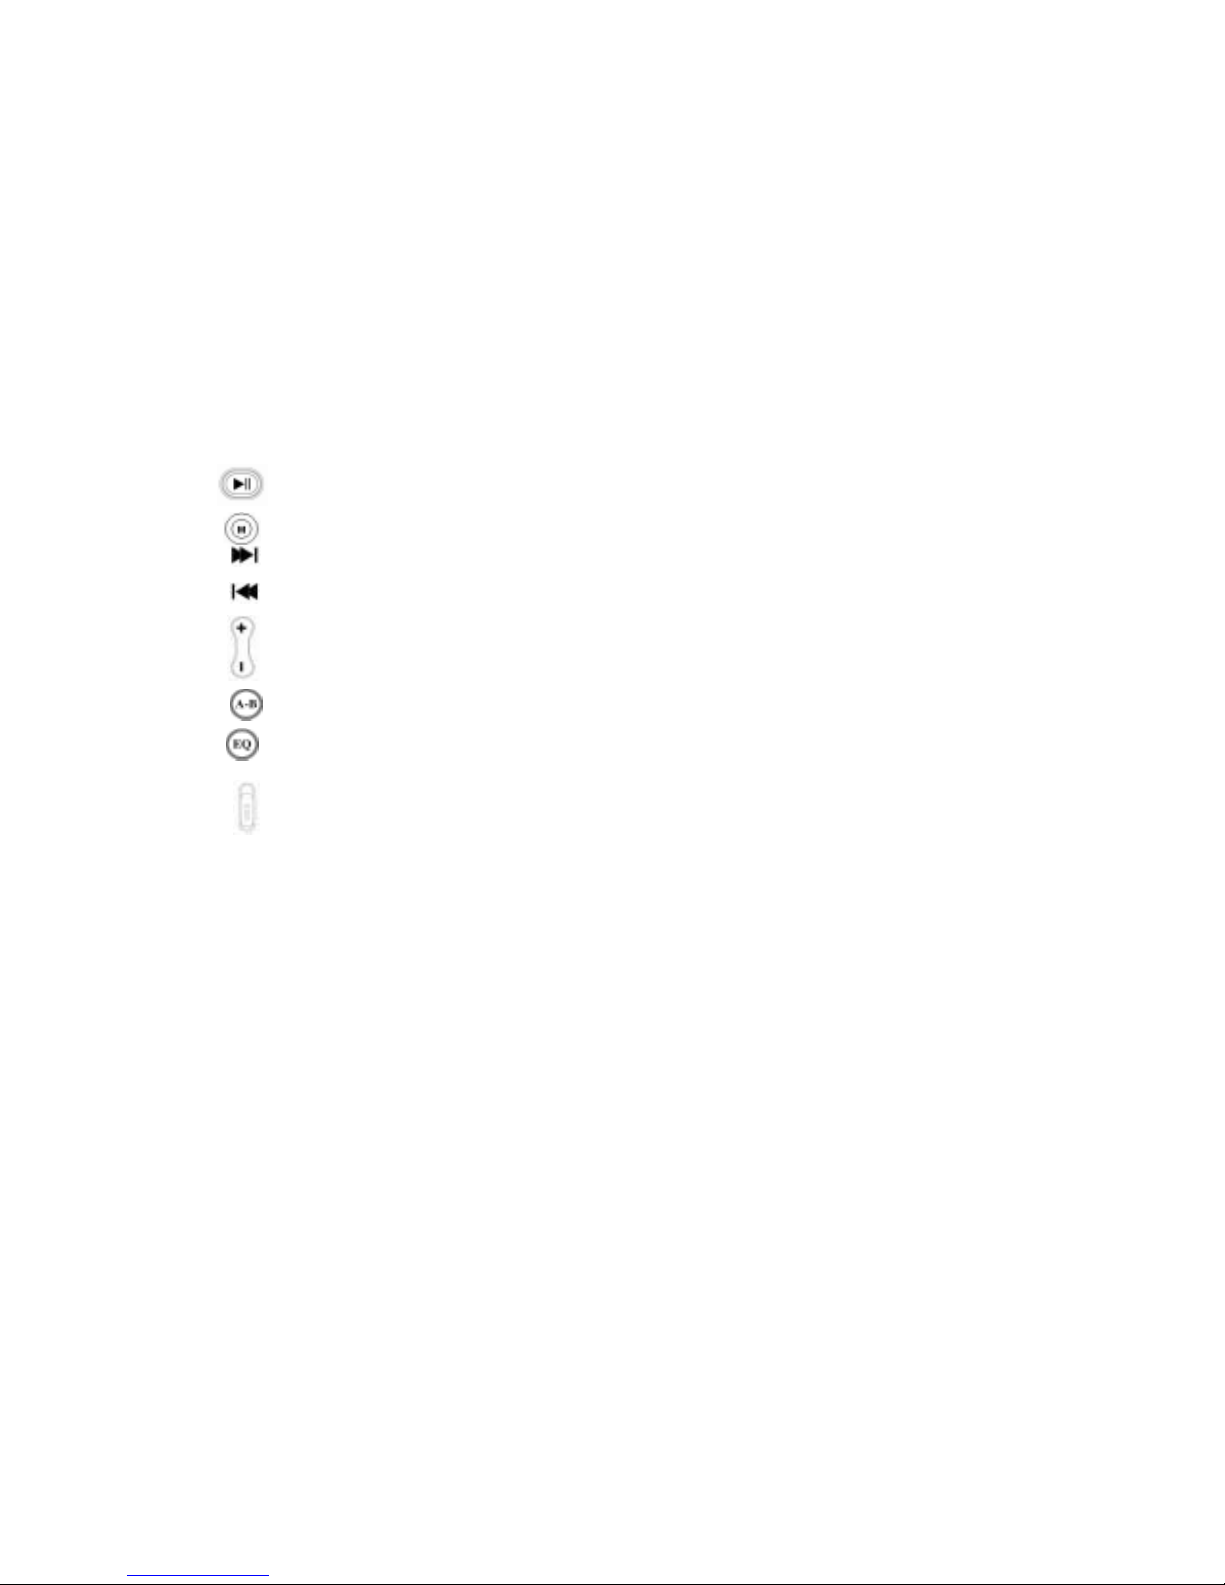
The Tatung M100 has nine buttons in total:
PLAY: Turn On, Turn Off, Play, Pause, and Stop.
MODE: Menu Options, Enter Menu
NEXT: Next, Scroll to the right
LAST: Previous, Scroll to the left
VOL+: Increase Volume, Last Item
VOL-: Decrease Volume, Next Item
A-B/REC: Special A-B Recording Hot Button
EQ: When playing MP3 music files, use this button to directly change their sound
effects without entering the option menus. Press and hold the button to
lock/unlock the button.
POWER ON: Turn the power on/off
A-B Hot Recording Button – Hot recording is referencing the ability to immediately enter
the Recording Menu and start recording from almost anywhere.
1.7 The Standard Operation Menu
The Tatung M100 interface is Menu base d, w ith each menu having its own particular
function. In the user guide, two types of menus are referenced. They are the normal
menus and submenus.
• Normal menus – Normal menus are the main interface menus. These are the
menus that have specific functions. They include the Main Menu, Music Menu,
Recorder Menu, Voice Menu, JPEG Menu an d Settings Menu. All of these Menus
can be entered off of the Main Menu, simply by pressing the MODE button.
Page 6

6
• Submenus – Submenus are Menus that you can access off of one of the Normal
Interface Menus. These menus act to compliment the functions of the Normal
Interface Menus, such as options or additional settings. These menus can be
entered by pressing the MODE button whenever you are in a Normal Interface
Menu.
Note, When you are in a Submenu, if the player goes idle for over 5 sec o n ds , it will auto
quit that submenu.
2. Main Menu
Off of the main menu, you can choose between 5 major functions by entering their
subsections: Music, Recorder, Voice, JPEG and Settings.
Main Menu Screen
• Press the PREVIOUS/NEXT buttons to scroll through the function menus.
• Press the MODE button to enter highlighted function menu.
• A-B button acts as a hot recording button. You may press it from any
menu to enter the recording function menu and immediately start
recording.
• Long-Press the PLAY/PAUSE button to turn off the player from any
menu.
Page 7
7
2.1 Button Functions
3. Music
Off of the Music Function Menu, you can play MP3, WAV and WMA formatted files.
You can also use the A-B repeat func tion to play particular parts of a m usic f ile, in which
you choose the beginning and end point of a section to replay over and over.
• To play a sound file, enter the Music In terface Menu and select the folder
the file is stored in by pressing the MODE button, selecting “Local
Buttons Operation
Long Press
Lock/unlock player buttons EQ
Press No function
Long Press Enter the recording function and start recordingA-B
Press Enter the recording function and start recording
Long Press Turn the player on/off Play/Pause
Press No Function
Long Press No Function Mode(joystick)
Press Enter Selected Menu
Long Press +/Press
No Function
Long press Previous/Next
Press
Scroll Left/Right
Page 8

8
Folder,” and then selecting the folder the sound file is stored in. Next,
press the play button to start playing the sound file.
• Press the PREVIOUS/NEXT buttons to skip from song to song.
For more music operation inform ation, please refer to the button function section (3.2).
3.1 Icons on the Music Playback menu
Music Playback screen
indicates the bit rate the current music file is playing at.
indicates the current repeat mode (shown is repeat one).
indicates the position of the song in the album. In the song currently shown,
it is the first song out of fifteen total.
indicates the current EQ setting.
shows the current position in the song, over the total playing time of the song.
indicates that the current song has lyrics available (refer to Section 3.4).
“My Heart Will Go On” is the name of the song. If the song doe s n o t have a Tag, then its
file name will be displayed here.
“Celine Dion” is the name of the singer.
Page 9

9
3.2 Button Functions
3.3 Submenus of the Music Playback menu
There are two different submenus in which you can enter from the Music Function Menu:
• File management submenu
• Music Options submenu
File Management Submenu
From the Music Playback menu, you can enter the submenu by pressing the MODE
button. Note this submenu can only be entered when music is NOT currently being played.
From the submenu, you can choose whic h folder to play music from, as well as delete
files.
• To select a folder to play music from, press the MODE button to enter the
“local folder” menu, highlight the folder you wish to read from, and select
it by pressing the MODE button.
• To delete a music file, simply enter the delete menu by pressing the
MODE button, select the music file you wish to delete and then select the
“delete” function. You can also delete all the music files stored in the
current folder by selecting the “delete all” function.
Buttons Operations
Long Press Lock/Unlock the player EQ
Press Change the EQ setting
Long Press
No Function A-B
Press Select point A/B
Long Press Turn the player on/off Play/Pause
Press Play/Pause
Long Press Exit to Main Menu. When playing music, a
long press will enter the lyrics display.
Mode(joystick)
Press Enter submenu
Long Press +/-
Press
Increase/Decrease volume
Long press Rewind/Fast-forward Previous/Next
Press Skip to previous/next song
Page 10

10
Music Options Submenu
While music is playing, you can enter the Music Options submenu by pressing the
MODE button.
Music Options Submenu
From the Music Options submenu, there a r e six o ption settings in which you can change:
• Repeat: You can select between normal, repeat one, folder (play the music in the
folder once and the player stops), repeat folder, repeat all (play music in every
folder over and over), random and intro.
• Equalizer: Choose between seven EQ presets: Natural, Rock, Pop, Classic, Soft,
Jazz and Dynamic Bass Boost (DBB).
• Tempo Rate: Change the tempo that songs are played at. The te mpo starts at
zero (normal speed) and can be increased or decreased up to 8 steps.
• Replay: enter the A-B section playback function. (Refer to Section 3.4 for further
instructions on A-B playback)
• Replay Times: Select how many times to replay a selected A-B section.
• Replay Gap: Select the idle time in between replaying a n A-B section.
3.4 Special Functions
A-B Sectional Playback
The A-B sectional playback can be used on any sound file. It allows you to choose a
beginning and ending point wit h in a song and repeatedly replay the so un d be tween those
two points. You can also choose between features such as how many times you want to
replay the section and also the idle time between replaying the section.
Manual A-B playback
First, select and play the music file that yo u wish to choose a section from.
• While playing the song, select the “A” point by pressing the A-B button at the
point in the music file you wish to use as the begi nning of the section. The icon is
changed to
.
• Press the A-B button again at the point in the music file to set as the “B” point—
the ending point of the section.
After you select the “B” point, your pl a yer will automatically replay the section.
Depending on your Replay Times mode, your player will replay the sec t ion anywhere
Page 11

11
from 1 to 10 times. After the section has been played the predetermined amount of times,
the sound file will continue playing and you will be prompted to select another “A” point.
You can also record your own voice when the player automatically replays a section of a
sound file by pressing A-B button. The recording time is limited to no more than the
amount of time recorded from the music file of that A-B section. To do this:
• Press A-B button while the previously chosen A-B section is playing. The icon is
changed to
.
• Press A-B button again to stop recording within the amount of time of the
previously recorded A-B secti o n. (Ex: If you choose a 5 second section of a s on g,
you can only record UP TO 5 seconds of your own voice. If you do not stop the
recording of your own voice within 5 sec o n ds, the recording won’t register and
the player will wait for you to record your voice for less than 5 seconds).
• After you are done recording your own voiceover, the player will automatically
begin playing the A-B section (
) followed by your voiceove r ( ).
• You must then again press the A-B button to stop playing the section.
Note: The replay times and idle time between playing the section over and over again is
dependent on the settings on the Music Options Menu. Pl ease refer back to section 3.3
for instructions on how to change these settings.
Note: You can press the Mode button to return to the normal playing screen any time
during the A-B playback setting.
Lyrics Display
The Tatung M100 supports “*.LRC” lyric files (user can download from
http://www.51lrc.com
) and lyrics may be synchronous displayed while playing music.
• To use the lyric files:
Save the lyric file with the same name as that of the co rresponding music file.
Ex: Music file name: GiGi-Sky.mp3
Lyric file name: GiGi-Sky.lrc.
• You will know lyrics exist for a song when:
If the current song has matching lyric files, the icon will appear on the bottom left
side of the Music Playback Screen.
• To switch into the lyrics display from the Music Playback screen, Long-Press
the MODE button.
Page 12

12
• To quit the lyrics display, press the MODE button again.
• To manually scroll through the lyrics, press the “+/-“ buttons.
MTV File Playback
To play MTV file videos, you must first install the conversion software provided on the
installation CD. Please refer to the MZ Quick Start Guide (found on your installation CD)
for detailed instructions.
• First, use the MTV convert tool to convert your video files.
• Transfer the converted (.mtv) file onto your M100.
You can play the .mtv music file directl y from the music playback menu, simply by
selecting the file in the same manner as you would a music file.
4. Recorder
From the Recorder menu, you can record voice, as well as radio music played on your
M100, into WAV and ACT formatted files.
How to Record
There are two ways to start recording on your Tatung M10 0 player. The first is hot button
recording. You can press the A-B button from any menu to immediately enter the
recording menu and start recording. The only exception to this rule is if you are currently
playing a sound file, the A-B button will beg i n A-B playback.
The second method is to manually enter the Record menu from the main menu. When in
the Record menu, you can start recording by pressing the A-B button or the PLAY/
PAUSE button. When finished recording the segment, press one of these two buttons
again to stop the recording. The total recorded time of that segment will now be blinking.
To add onto the segment, simply press one of the two buttons again. To save the recor de d
file in the previously designated folder, Long-press either the A-B button or the
PLAY/Pause button.
Page 13

13
4.1 Icons on the Voice Recording menu
The general recording screen
• 00:00:03 indicates the progress of the recording.
• 05:05:17 indicates the total space availa ble f or re c or d ing s ound.
•
indicates the coding format of the current recorded file.
• 16-15: The “16” represents the number coinciding with the next recorded file.
The “15” represents the number of previously recorded files.
• REC16 is the filename of the currently recording file. 2004/10/29 08:56 is the
date and time the file was recorded.
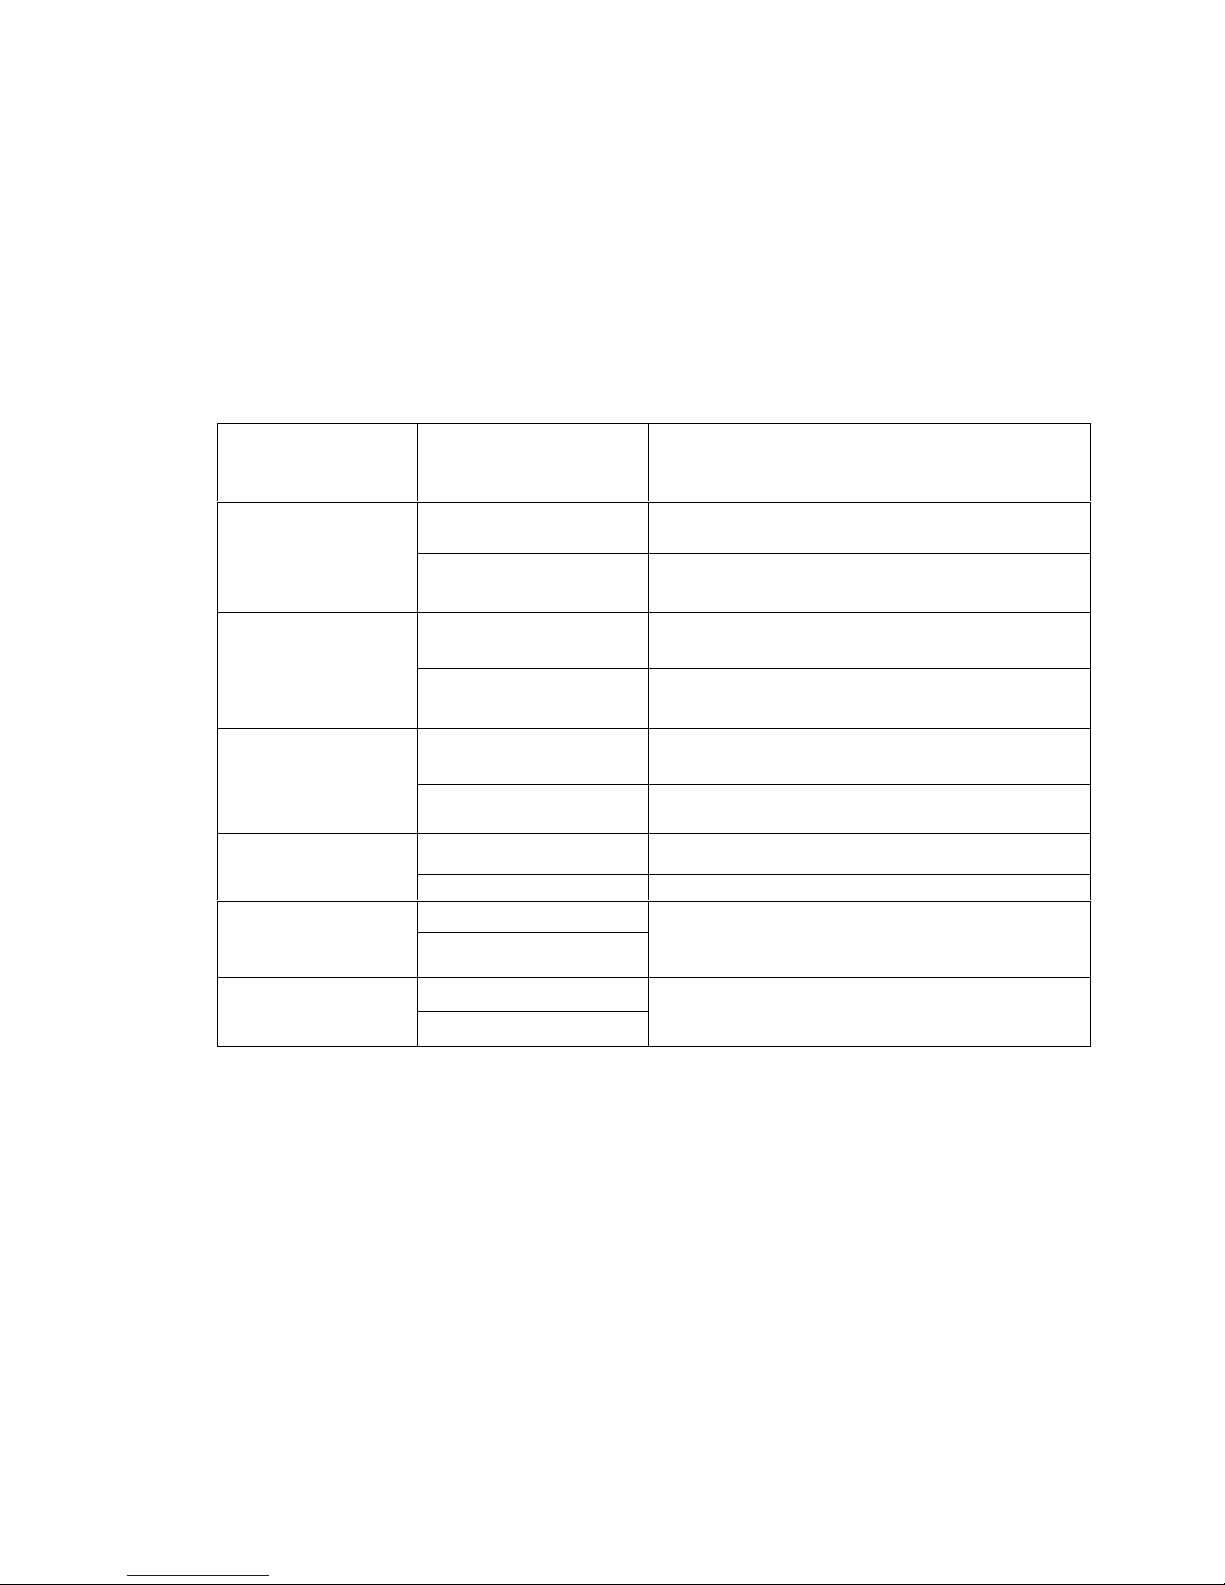
4.2 Button Functions
Buttons Operations
Long Press Lock/Unlock the player EQ
Press No Function
Long Press
After finished recording, press to save recorded
file
A-B
Press Start/Stop recording
Long Press If there is not a recording to save, press to turn
player off. If a recorded file is waiting to be
saved, press to save file.
Play/Pause
Press Start/Stop recording
Mode(joystick) Long Press Skip to previous/next song
Press Enter submenu
Long Press +/-
Press
No Function
Long press Previous/Next
Press
No Function
Page 14

14
4.3 Submenu of the Recorder Menu
From the Recorder menu, you ca n e nte r t he su bmenu by pressing the MODE button.
Note that you can only enter the submenu when you are not recording. In the submenu,
you can select the folder you wish to save your recorded files to, as well as choose the
recording file format.
• To select the folder you wish to save your recorded files to, press the
MODE button to enter the “local folder” menu, highlight the folder that
you wish to save your recorded f i les to and select it by pressing the
MODE button.
• To select the recorded file format you wish to use, press the MODE button
to enter the “REC type” menu, highlight the forma t you want and select it
by pressing the MODE button.
4.4 File Formats available
The Tatung M100 can record sound in four different formats:
• Fine REC – 32k bit rate .WAV file
• Long REC – 8k bit rate .ACT file
• Fine VOR – 32k bit rate .VOR file
• Long VOR – 8k bit rate .VOR file
Note that when using the .VOR file format, the player will ONLY record when it detects
sound. Once you start recording, the player will not start until it detects sound. The
recorder will also stop the recording segment automatically when it stops detecting
sound. The recorder will then wait for the user to either save the file, or until it starts
detecting sound again, thus start recording from the spot it left off at.
5. Voice (Playback)
The Voice (Playback) menu is for playing all of your recorded files.
• To play a recorded file, first select the folder the file is in by pressing the
MODE button, selecting “Local Folder” then select the folder the recorded
file is stored in. Next, press the play button to start playing the file.
Page 15

15
• Press the PREVIOUS/NEXT buttons to skip from file to file.
5.1 Icons in the Voice (Playback) Menu
Voice Menu Interface
• 00:00:03: the time display for playing the recorded sound.
• 01/15 represents the order of current recorded file and the total number of
recorded files in the current directory.
• REC01 is the filename and 2004/3/15 10:23 is the date and time when the file was
created.
5.2 Button Functions
Page 16

16
5.3 Submenus of the Voice (Playback) menu
There are two different submenus in which you can enter from the Voice menu:
• File management submenu
• Sound Options Menu
File Management Submenu
From the Voice menu, you can ente r the submenu by pressing the MODE but ton. Note
this submenu can only be entered when a sound file is NOT currently being played. From
the submenu, you can choose which folder to play a sound file from, as well as delete
files.
• To select a folder to play a sound file from, press the MODE butt on to
enter the “local folder” menu, highlight the folder you wish to read from
and select it by pressing the MODE button.
• To delete a sound file, simply enter the delete menu by pressing the
MODE button, select the file you wish to delete and then select the
“delete” function. You can also delete all the sound files stored in the
current folder by selecting the “delete all” function.
Sound Options Submenu
Buttons Operations
Long Press Lock/Unlock the player EQ
Press No Function
Long Press
A-B
Press
Enter the recording interface and start recording
Long Press If there is not a recording to save, press to turn
player off. If a recorded file is waiting to be
saved, press to save file.
Play/Pause
Press Play/Pause
Long Press Exit to Main Menu. Mode(joystick)
Press Enter submenu.
Long Press +/-
Press
Increase/Decrease volume
Long press Rewind/Fast-forward Previous/Next
Press Skip to previous/next song
Page 17

17
While music is playing, you can enter the Sound Options submenu by pressing the
MODE button.
From the Music Options submenu, there are three option settings in which you can
change:
• Repeat: You can select between normal, repeat one, folder (play the music in the
folder once and the player stops), repeat folder, repeat all (repeat folder over and
over), random and intro.
• Tempo Rate: Change the tempo that songs are played at. The te mpo starts at
zero (normal speed) and can be increased or decreased up to 8 steps.
• Replay: Enter the A-B section playback function. (Refer to Section 3.4 for
further instructions on A-B playback).
6. JPEG
In the JPEG menu, you can store and view your favorite photos. To play a slideshow,
simply highlight which photo you wish to begin on a nd p ress the PLAY/PAUSE button.
Refer to section 7.3 for further information on slideshow options.
6.1 JPEG Menu Interface
JPEG Menu Interface-“Photo” folder
Page 18

18
6.2 Button Functions
6.3 Submenus of the JPEG Menu
There is one submenu of the JPEG menu. To enter the submenu, press the MODE button.
Here, you can select which folder to get photos from, to change the slideshow settings
and delete files.
• Local Folder – Here you can select which fol de r to view your JPEG pictures
from. To select a folder, press the MODE button to enter the Submenu. Next,
highlight the folder and press the MODE button.
• Play Set – Here you can select between two o p tions for your JPEG slideshow.
They are Manual Play and Auto Play. Manual play allows you to control the
speed of the slideshow by pressing the NEXT/PREVIOUS button to move from
photo to photo. By selecting Auto Play, your Tatung M100 will move from photo
to photo for you. You will be prompted to select the duration for each photo to be
displayed (from 1-10 seconds).
• Delete – Here you can delete a photo file. First, enter the Submenu and select the
“Delete” function. You will then be prompted to select which file you wish to
delete. Highlight the file and press th e MODE button again. You will then have
the option to delete the selected file or all the files in the folder.
Buttons Operations
Long Press Lock/Unlock the player EQ
Press No Function
Long Press
A-B
Press
Enter the recording interface and start recording
Long Press Turn the player on/off Play/Pause
Press Begin slideshow of current JPEG file folder
Long Press Exit to Main Menu. Mode(joystick)
Press Enter submenu.
Long Press Scroll up +/-
Press Scroll down
Long Press Previous/Next
Press
No Function
Page 19

19
7. Settings
Here you can change the genera l settings for your Tatung M100. Included in these
settings are: Clock, LCD set, Language, Power Off, Battery Charge, Replay Mode,
Battery Charge, Firmware Version and Firmware Update.
Settings Menu Screen
7.1 Button Functions
7.2 Setting Details
• Clock – Here you can set the time and date so your recorded files will be stamped
accurately.
Buttons Operations
Long Press Lock/Unlock the player EQ
Press No Function
Long Press
A-B
Press
Enter the recording interface and start recording
Long Press Turn the player on/off Play/Pause
Press Exit to the main menu
Long Press Exit to the main menu Mode(joystick)
Press Enter submenu.
Long Press
Scroll up +/-
Press Scroll down
Long Press Previous/Next
Press
No Function
Page 20

20
o In the Clock interface, press the PREVIOUS/NEXT button to change the
numbers for the setting.
o Press the +/- button to move from slot to slot.
o Once you have finished the changes, press the MODE button to return to
the Settings Menu.
• LCD Set – Here, you can set the brightness, darkle and black settings for your
M100.
• Language – Here you can choose between various languages.
• Power Off – Here you can change the Off T ime and sleep settings of your player.
o By setting the Off Time, your player will turn off automatically if it has
been idle for a certain amount of time. You can choose between 0 and 60
seconds.
o By setting the Sleep Time, your player will automatically turn off after the
specified amount of time while it is still being operated. You can choose
between 0 and 120 minutes.
• Replay Mode – Select the replay mode for the A-B playback function. Choose
between automatic and manual. Refer to section 3.4 for further instructions.
• Memory Info – View the available storage space in your Tatung M100. The top
number refers to the storage space left (in MB). The bottom number refers to the
percent of the space taken up.
• Firmware Version – View the information of the current firmware version on
your Tatung M100.
8. Firmware Update
Follow these instructions to update your firmware version. Note, make sure you have
already installed the installation CD onto your computer.
• Connect your Tatung M100 to your comput er via the USB cable.
• Go to the MP3 player update tool on your computer and open the
application.
• Click on “Select new firmware file” to open the browse for the new
firmware file, and open it.
• After you have selected the new versio n, click on “Begin upgrading” to
start the firmware update.
Page 21

21
• A dialogue will then pop up to tell y ou that you have successfully
upgraded.
• Safely remove your Tatung M100 from the computer.
 Loading...