

Targus CHILL HUB XC, AWE01US, AWE20US User Giude
User Guide
410-1824-001C /
AWE01US AWE20US
N2953
1 YEAR LIMITED WARRANTY: We pride ourselves on the quality of
our products. For complete warranty details and a list of our worldwide
ofces, please visit www.targus.com. Features and specications are
subject to change without notice. Microsoft, Windows and Windows Vista
are registered trademarks or trademarks of Microsoft Corporation in the
United States and/or other countries. Mac is a trademark of Apple Inc.,
registered in the U.S. and other countries. All trademarks and registered
trademarks are the property of their respective owners. ©2010 Targus
Group International, Inc. All rights reserved.
NOTEBOOK COOLING
CHILL HUB XC
Targus Notetbook Cooling Chill Hub XC
2
Targus Notetbook Cooling Chill Hub XC
3
Congratulations on your purchase of the Targus Notebook Cooling Chill
Hub XC. This cooling device dissipates thermal heat, reducing your
computer’s overall temperature, resulting in maximum performance. It
also allows you to connect through a single USB connection up to 4 USB
devices. Its thin yet durable design is both portable and sturdy.
System Requirements
• USB 1.1/2.0 compliant port
To use the Chill Hub
1. Remove the USB cable from the bottom of the Chill Hub.
2. Decide on where you want to place the Chill Mat, either on a work
surface, such as a table or desktop, or your lap. If you choose to use
the Chill Mat on a work surface, you can extend the feet to the required
angle.
3. Place the Chill Mat on the work surface or your lap.
4. Position your laptop computer on top of the Chill Hub.
Introduction
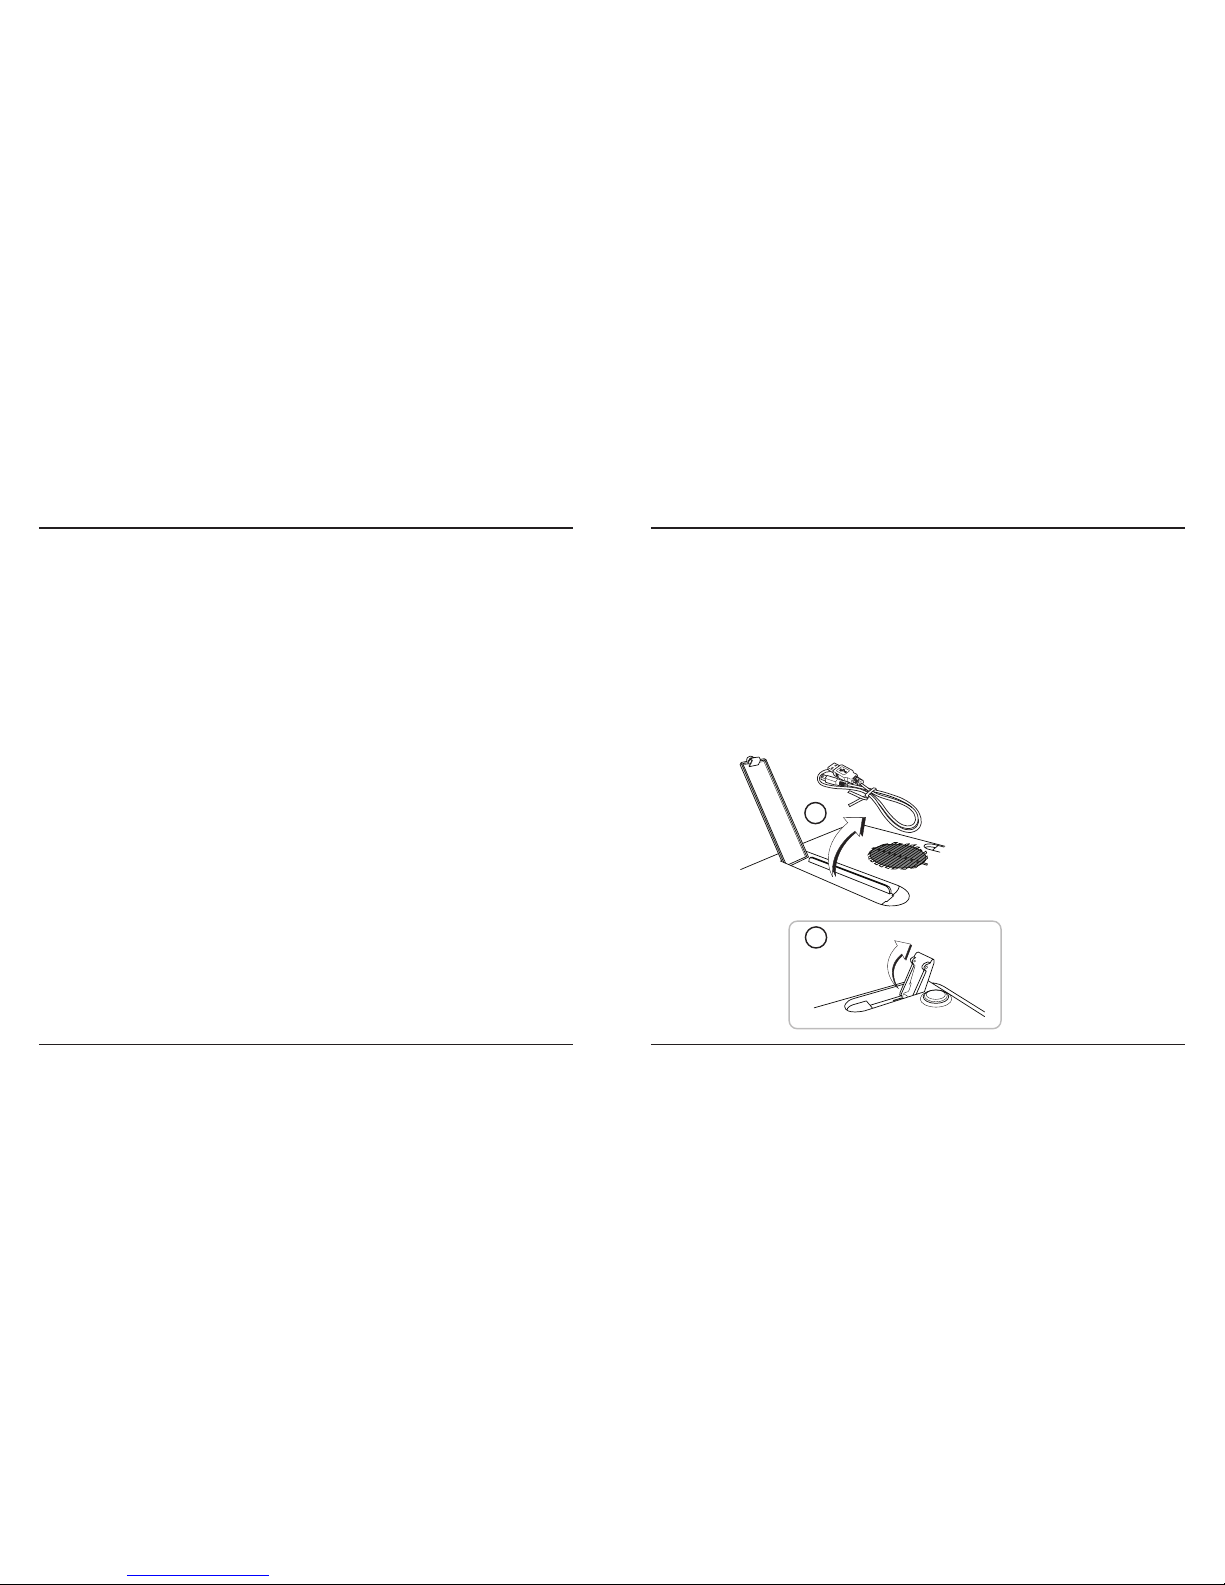
5. If you have purchased the optional AC power adapter, connect one end
into the Chill Hub’s DC port and the other end into the power outlet.
6. Connect one end of the USB cable into the mini-B USB port located at
the rear of the Chill Hub.
7. Connect the other end of the USB cable into an available USB port on
your laptop computer.
8. Turn the fan on by sliding the Power switch to “I” for low speed fan and
“II” for high speed fan.
9. To connect a USB device to the Chill Hub, plug the USB cable from the
device into an available port on the Chill Hub.
1
2
 Loading...