

Targus AMW14US User Manual

USER GUIDE
8-button
wireless
laser mouse

CAUTION
LASER RADIATION. DO NOT STARE INTO
THE BEAM OR VIEW DIRECTLY WITH
OPTICAL INSTRUMENTS. CLASS I LASER
PRODUCT.
NEVER POINT A LASER BEAM INTO A
PERSON’S EYES OR VIEW A LASER BEAM
DIRECTLY, AS PROLONGED EXPOSURE CAN
BE HAZARDOUS TO THE EYES.
MOMENTARY EXPOSURE FROM A LASER
POINTER, SUCH AS AN INADVERTENT
SWEEP OF THE LIGHT ACROSS A PERSON'S
EYES, MAY CAUSE TEMPORARY FLASH
BLINDNESS SIMILAR TO THE EFFECT OF A
CAMERA FLASH BULB. ALTHOUGH THIS
CONDITION IS TEMPORARY, IT CAN
BECOME MORE DANGEROUS IF THE
EXPOSED PERSON IS ENGAGED IN A
VISION-CRITICAL ACTIVITY SUCH AS
DRIVING.
2

TARGUS 8-BUTTON
LASER WIRELESS
MOUSE
Introduction
Congratulations on your purchase of the Targus 8-Button
Laser Wireless Mouse for the desktop. This
ergonomically-designed mouse offers the latest in laser
tracking technology as well as the most up-to-date
wireless features. It allows for improved tracking
accuracy on most types of surfaces, even some mirror
and glass. With 6 channels and 256 IDs per channel, the
mouse's digital signal processor offers a new level of
accuracy and precision in wireless data transmission.
Productivity is enhanced by a practical 8-button design
that includes such short cuts as Internet back and
forward, applications switch and scroll up and down
functions.
N
OTE: WHILE THE MOUSE IS FUNCTIONING, NO LASER LIGHT IS VISIBLE TO THE
NAKED EYE. BE CAREFUL NOT TO LOOK DIRECTLY INTO THE EMITTER HOLE
WHILE THE MOUSE IS ACTIVE.
Package Contents
• Wireless Laser Mouse
• USB Receiver
• USB Charge Cable
• USB Extension Seat
3

Targus 8-Button Laser Wireless Mouse
• 2 x AA Rechargeable Batteries
• User Guide
System Requirements
Hardware
• USB interface
Operating System
• Windows® 2000/XP
For Desktop PCs
For instances where the PC is positioned under a desk or
other places that might impede wireless connectivity, use
of the extension seat is recommended.
1 Connect the extension seat to an available USB port
on your PC.
2 Plug the USB wireless receiver into the port labeled
'receiver' located at the top of the seat.
3 Connect the USB end of the charge cable to the USB
port labeled 'charger' on the extension seat.
• Windows Vista™
4
Targus 8-Button Laser Wireless Mouse
For Notebook PCs
1 Connect the extension seat to an available USB port
on your PC.
2 Plug the USB wireless receiver into the port labeled
'receiver' located at the top of the seat.
3 Connect the charge cable's USB end to the USB port
labeled 'charger' on the extension seat.
Alternatively, if more than one USB port is available you
may opt not to use the extension seat by plugging the
receiver and charging cable directly into the notebook
PC's open USB ports.
Installing the Batteries
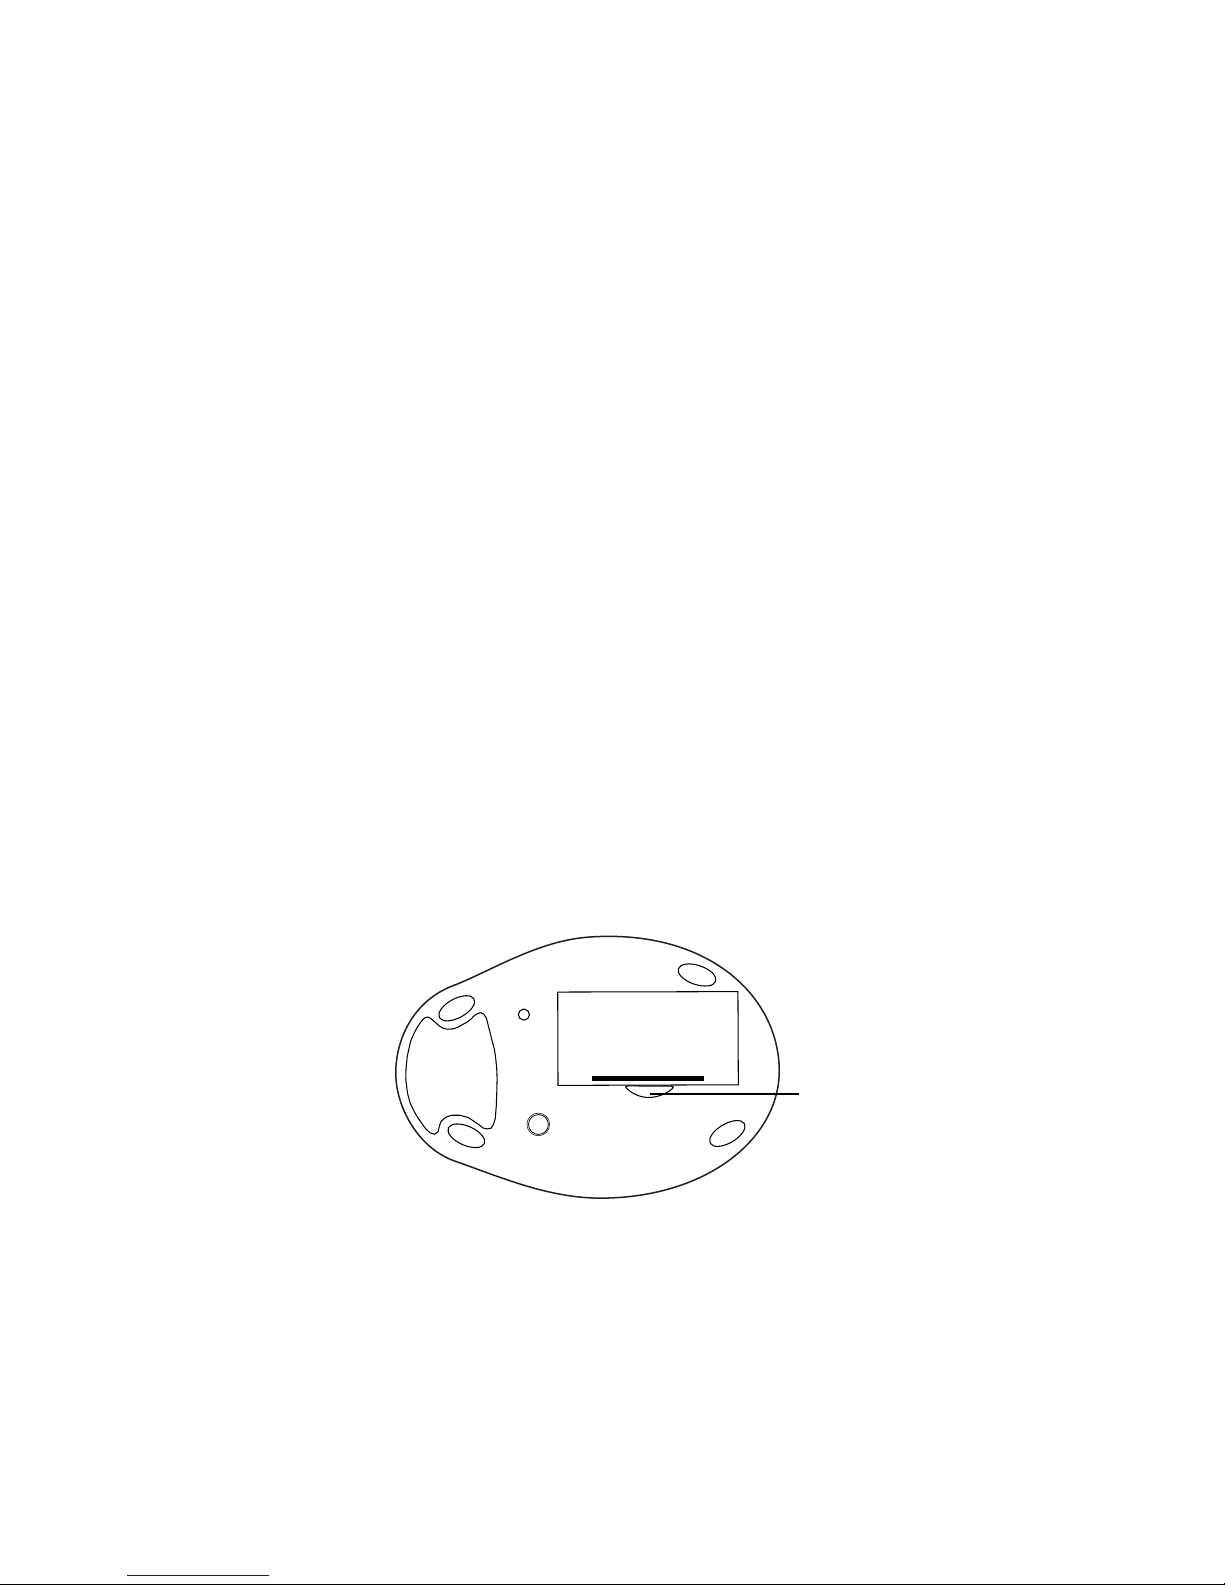
1 Remove the battery cover from the bottom of the
mouse by pressing the tab located on the bottom and
lifting it off.
Bottom of mouse
2 2 AA NiMH rechargeable batteries are included. Insert
the supplied batteries, making sure that the positive
(+) and negative (-) ends of each battery match the
polarity indicators inside the battery housing.
Battery cover
tab
5
 Loading...