

Targus AMW05US User Manual

USER GUIDE
Rechargeable
Wireless
Notebook Mouse

Introduction
In addition to this user’s guide this package contains:
System Requirements
Hardware
• PC
• USB interface
Operating System
• Windows® 2000/Me/XP
Mouse
USB receiver
2 AAA rechargeable
batteries
USB extension cable
USB charge cable
Carrying pouch
TARGUS
RECHARGEABLE
WIRELESS
NOTEBOOK MOUSE
Congratulations on your purchase of the Targus
Rechargeable Wireless Notebook Mouse. This
ergonomically designed mouse uses a radio frequency
(RF) link that enables you to use the mouse anywhere
within 1 m of its receiver. No line-of-sight between the
mouse and its receiver is required.
• Windows Vista™
2

Rechargeable Wireless Notebook Mouse
NOTE: THE THIRD BUTTON AND THE SCROLLING WHEEL ONLY WORK WITH THE
OPERATING SYSTEMS LISTED ABOVE. IF YOU USE THE MOUSE WITH A
DIFFERENT OPERATING SYSTEM, IT WILL LOSE ITS ENHANCED FEATURES AND
FUNCTION
AS A STANDARD, TWO-BUTTON MOUSE.
Connecting the Mouse
Receiver
To connect the mouse receiver:
1 Plug the USB receiver into an available USB port on
your computer.
2 Your computer’s operating system identifies the
receiver and begins installing the default driver.
Follow any on-screen procedures to complete the
default driver installation.
Using the Mouse
Installing the Batteries
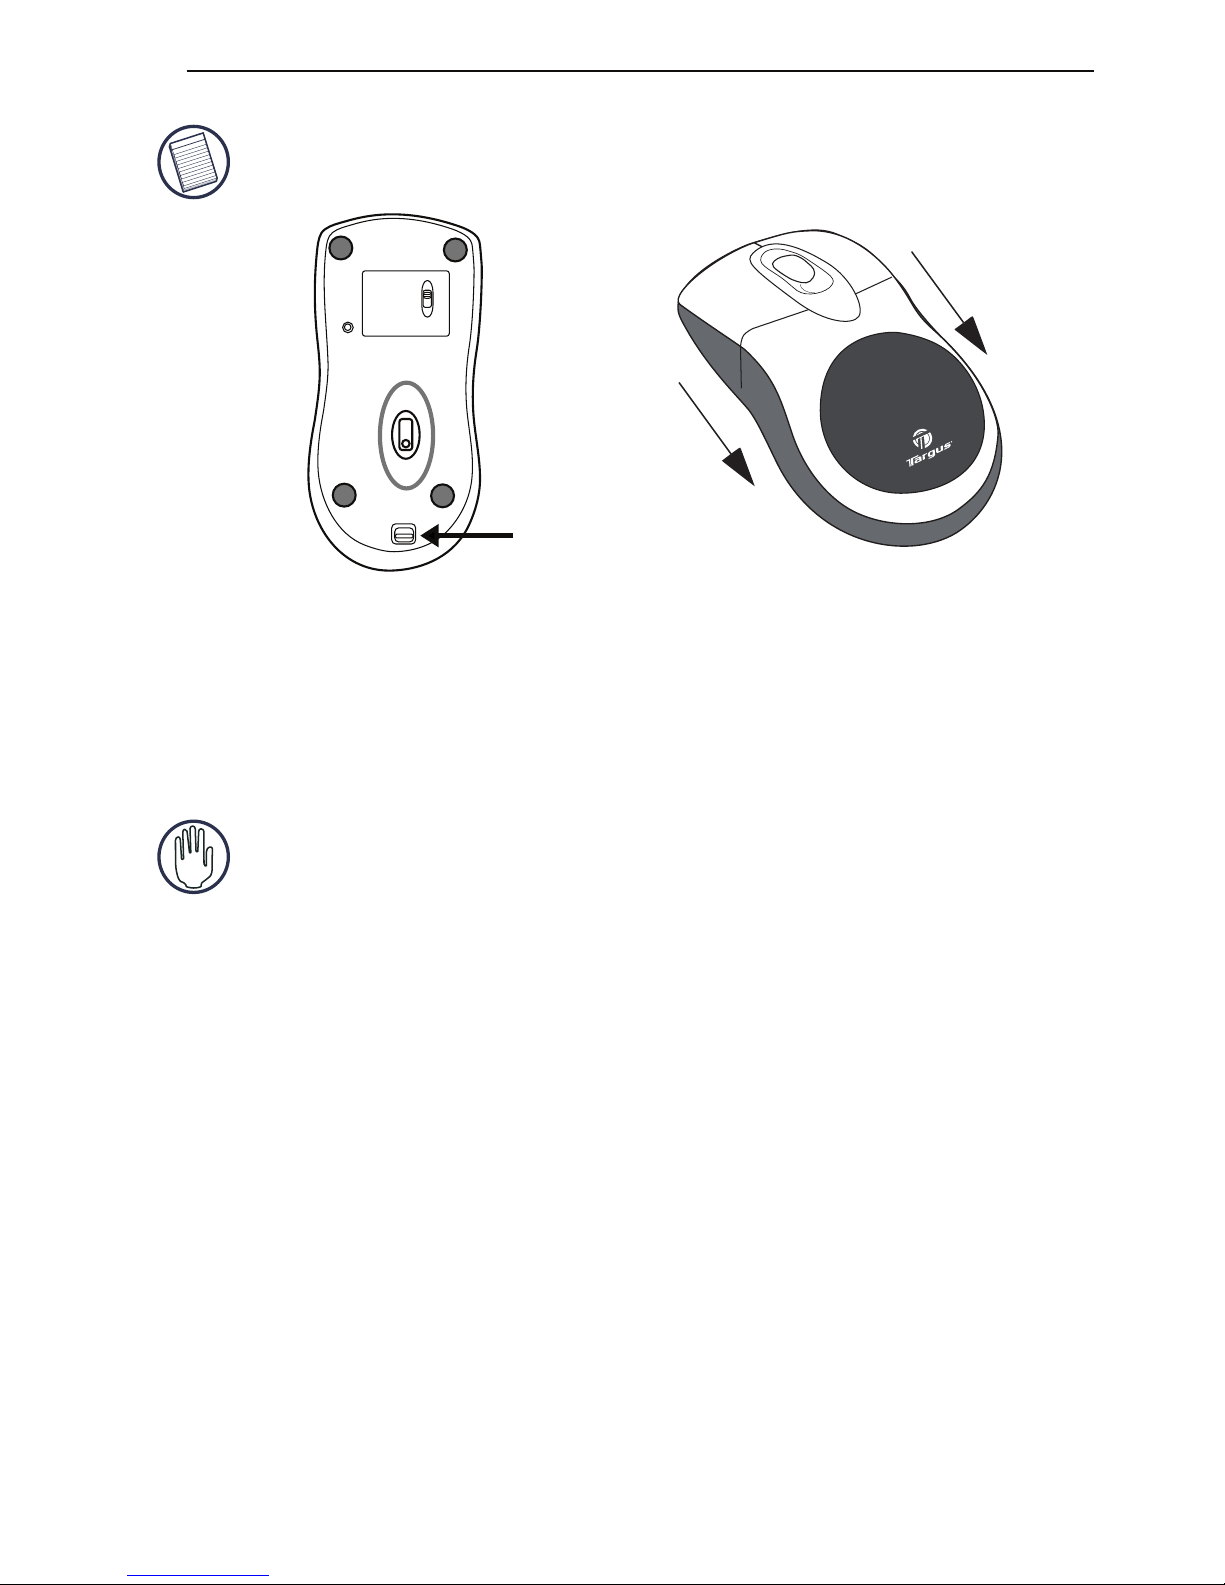
1 If the mouse is on, slide the on/off switch on the
bottom of the mouse to the “off” position.
2 Remove the battery cover from the top of the mouse
by pressing the battery cover hinge located on the
bottom of the mouse and sliding it off.
3
Rechargeable Wireless Notebook Mouse
NOTE: THE BATTERY COVER IS ALSO THE TOP COVER OF THE MOUSE.
3 Insert the supplied batteries, making sure that the
positive (+) and negative (-) ends of each battery
match the polarity indicators inside the battery
housing.
WARNING: WHEN REPLACING THE BATTERIES, USE ONLY HEAVY-DUTY NIMH
BATTERIES. RECHARGING ALKALINE BATTERIES MAY DAMAGE THE MOUSE.
AVOID MIXING NEW AND USED BATTERIES IN A DEVICE.
4 Slide the battery cover back into position until it
“clicks” firmly into place.
5 Turn on the mouse by sliding the on/off switch on the
bottom of the mouse to the “on” position.
The optical sensor, located on the bottom of the
mouse, illuminates.
OPEN
ID
on
off
Battery cover
release button
4
 Loading...