

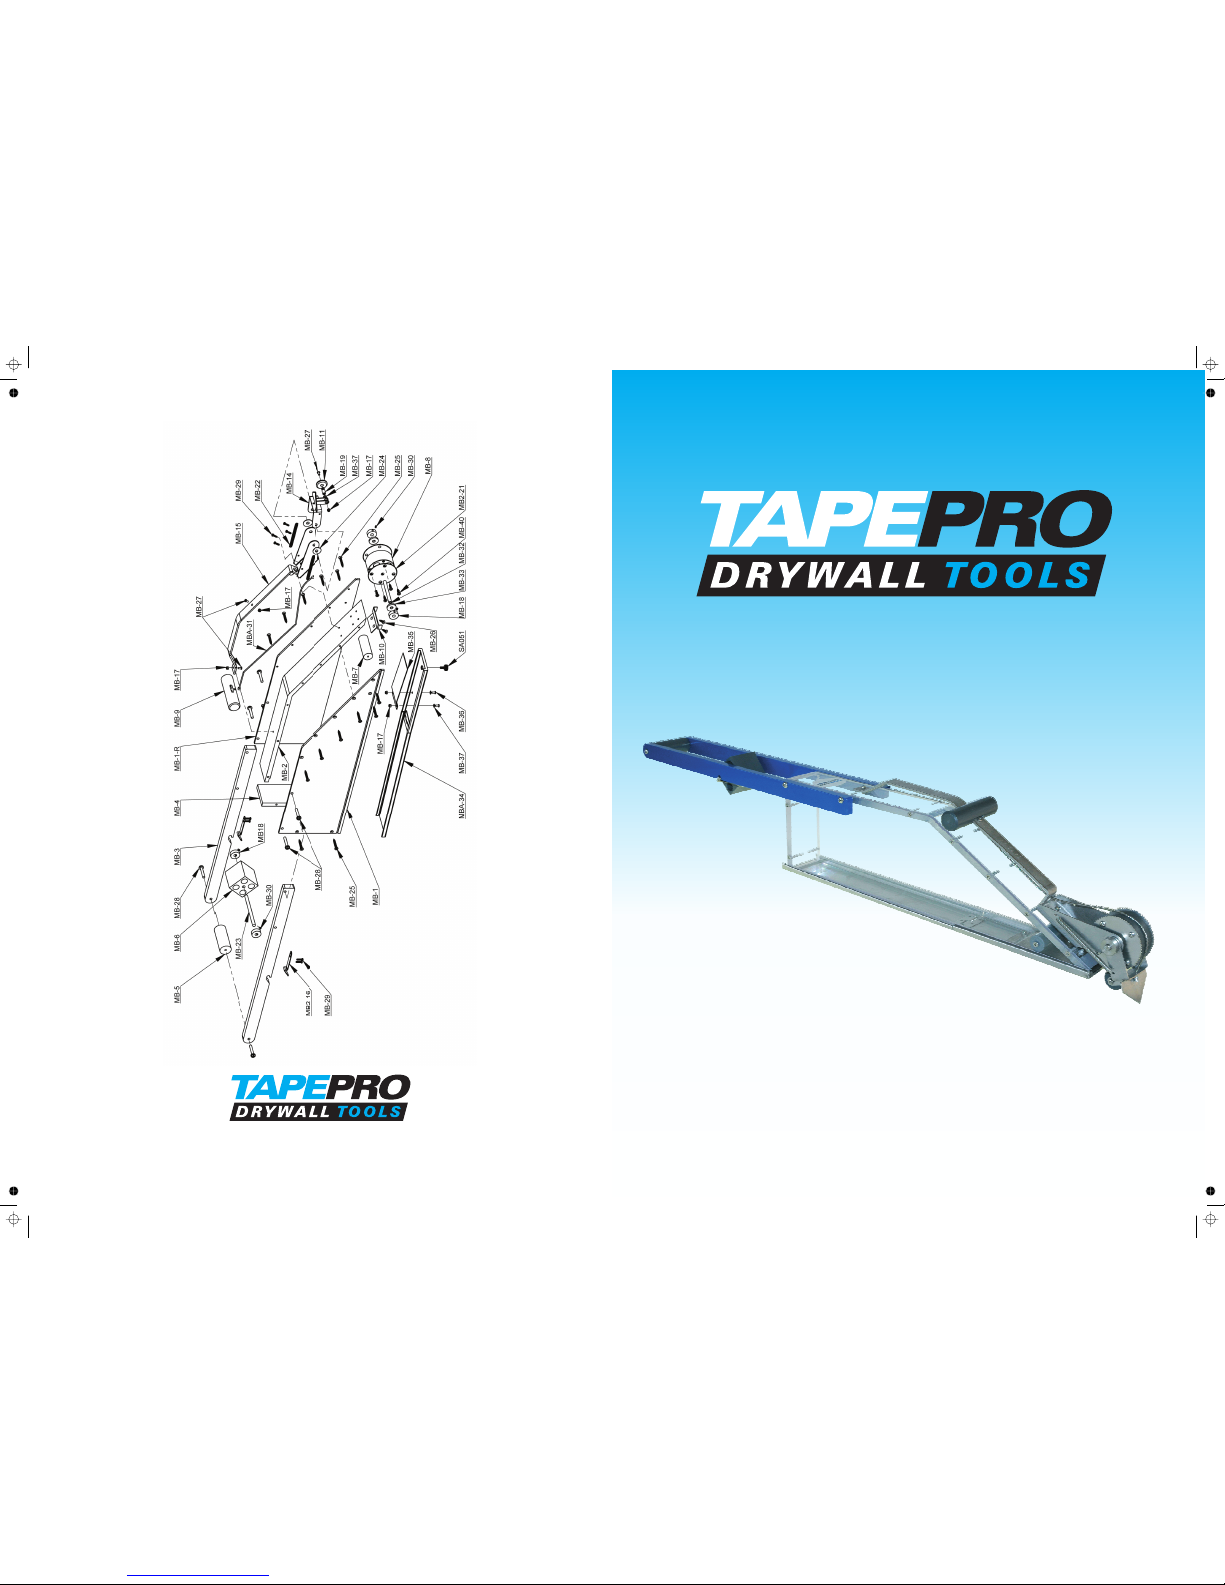
TAPEPRO MUDBOX
For further information contact:
Website: www.tapepro.com
Tapepro Drywall Tools Pty Limited | 2/44 Dover Drive, Burleigh Heads QLD 4220 Australia
Phone: +61 7 5520 6022 Fax: +61 7 5520 5973 Email: info@tapepro.com

TAPEPRO MUDBOX
The Tapepro Mudbox applies your first coat of joint compound and paper joint tape
simultaneously on all flat and internal joints. The Tapepro Mudbox is designed for use
with all plaster bases and all purpose compounds.
The Tapepro Mudbox features include:
Tape:
(M-1)
(M-2)
Compound:
(M-3)
(M-4)
> A lightweight body constructed from durable lexan plastic coupled with
stainless steel and aluminium components for easier handling.
> A 900mm length allows the user to reach 2.4m ceilings.
> A 2 litre capacity allowing for the easy distribution of approximately 12m
of paper tape.
> A functional design which allows for easy cleaning and maintenance.
1. Remove the stainless steel lid from the Tapepro Mudbox by sliding the lid
toward the tape and creaser wheels.
2. Lift the clips and slide the tape roll holder out.
3. Fit the joint tape to the tape roll holder, then clip the tape roll holder back in
to position.
4. Feed the tape into the Tapepro Mudbox and under the mud retainer.
5. Extend the paper tape over the tape wheels.
6. Put the lid back on.
1. Fold back the stainless steel lid.
2. Distribute the joint compound evenly by hand or alternatively using a
loading pump.
3. Replace the stainless steel lid.
4. Adjust the black thumb screw at the base of the lid to regulate the amount
of compound applied to the paper tape.
LOADING
Tip: 150m rolls of paper tape reduce paper changes during a job.
1. Start a tail by pulling the paper tape through the outlet until the tape is wet
with mud, then cut off any dry tape.
2. Pull the lever back and press the paper tape rollers against the point where
you would like to begin taping.
3. Start rolling and release the lever. For best results when taping vertical
joints, start at the bottom of the joint.
4. Continue to roll the Mudbox along the joint, keeping the head of
the box in front of you at all times, this will prevent tape dragging along
the joint.
5. To cut the tape, lift the Mudbox off the wall and allow the cutter
blade to swing around and rest against the tape. Re-apply pressure to the
wall and roll the Mudboxforward, cutting the tape.
6. Remove the excess compound and bed in the tape using a joint knife.
It is important to clean your Tapepro Mudbox after every use, doing this will
maximise lifespan. Do not allow the compound to set in the box or on the rollers.
To thoroughly clean the tool, use a stiff brush and hose to remove all loose joint
compounds. If a build up of dry joint compound does occur,the Mudbox
can be dismantled by removing the screws on the side plates. When replacing
the screws, do not over tighten.
All manufacturing faults are covered under the warranty. All non wear parts are
covered under a 3 year warranty.
(M-5)
(M-6)
(M-7)
(M-8)
(M-9)
(M-10 & M-11)
Tapepro
Tapepro
Tapepro
Tapepro
TAPING FLAT AND INTERNAL JOINTS
CLEANING
MAINTENANCE
WARRANTY
Tip: Run the Tapepro Mudbox on one wheel when taping a ceiling, to reduce
the amount of joint compound being squeezed out from under the tape.
All replacement parts are available from your local plasterboard distributor or
Tapepro Drywall Tools. For your nearest distributor please visit our website:
www.tapepro.com or call TapeproDrywall Tools on +61 7 5520 6022.
M-1
M-2
M-3
M-4
M-5
M-6
M-7
M-8
M-9
M-11
M-10
 Loading...