

Tamron A020 Owner's Manual
R
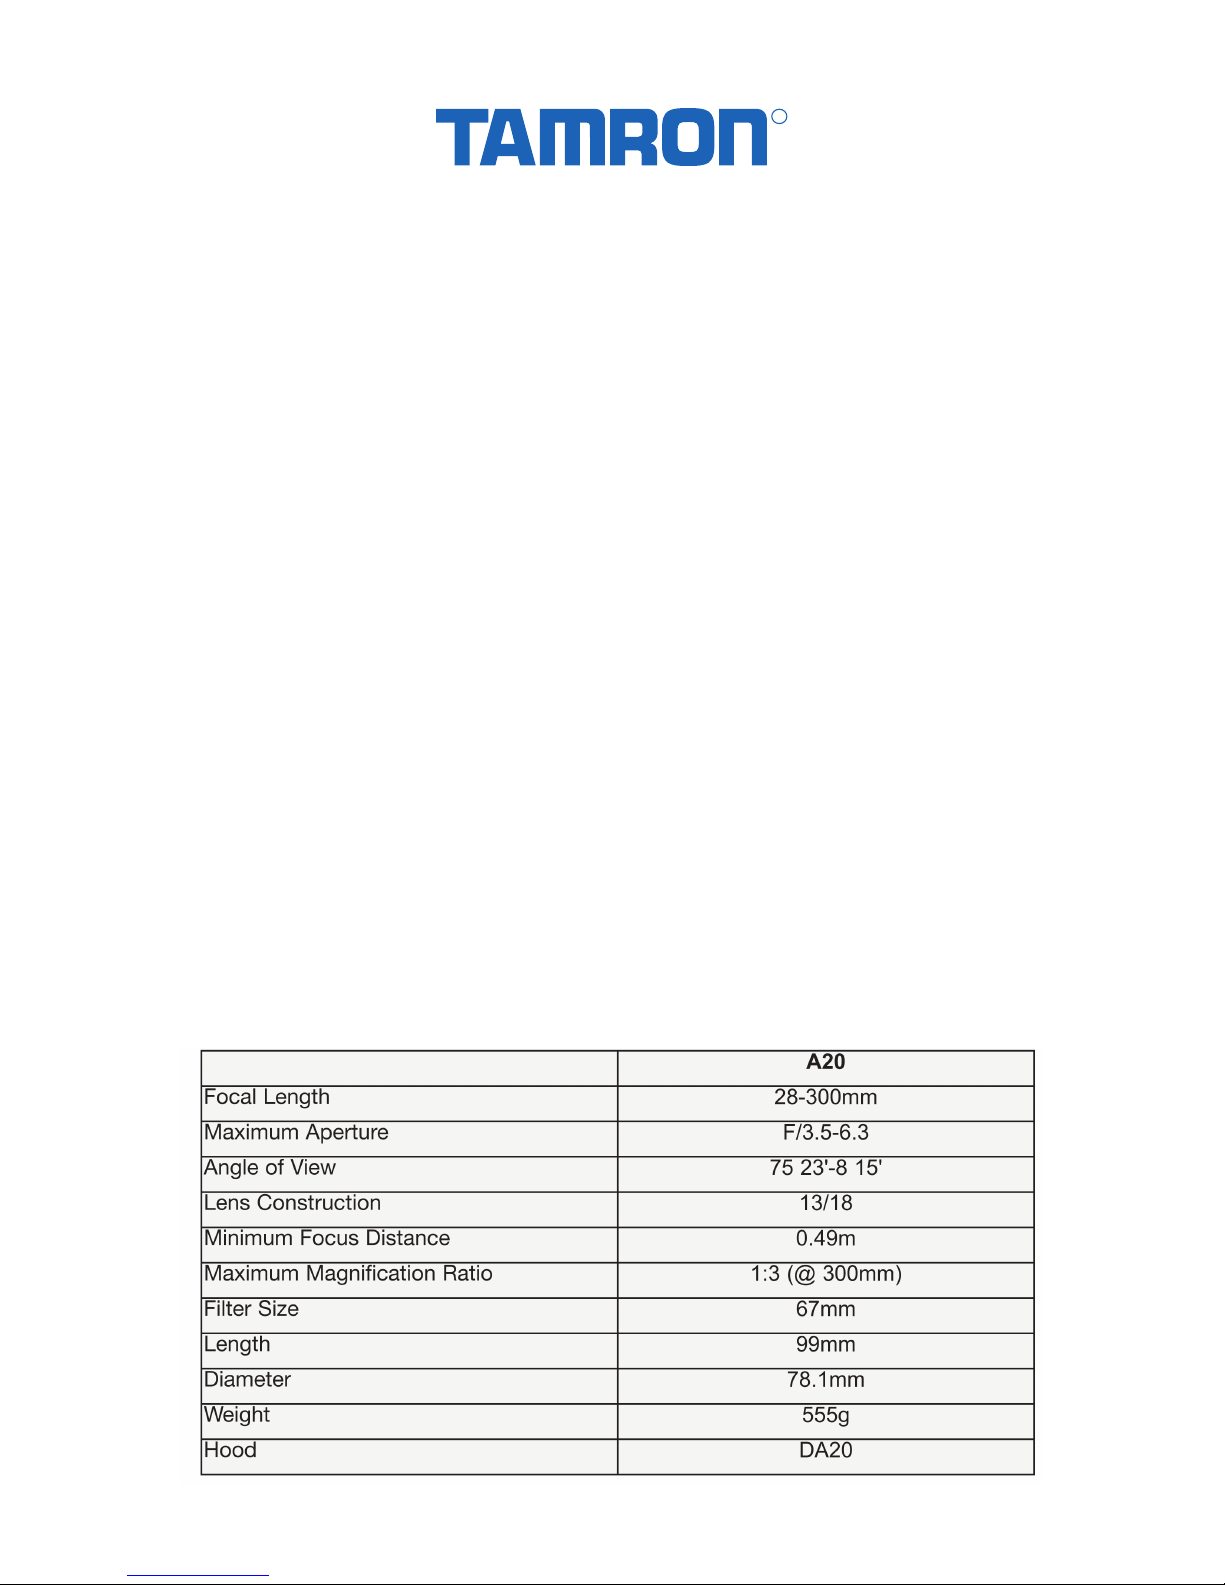
28-300mm F/3.5-6.3
XR Di VC LD Aspherical [IF] Macro (Model A020)
Thank you for purchasing the Tamron lens as the latest addition to your photographic
equipment. Before using your new lens, please read the contents of this Owner’s Manual
thoroughly to familiarize yourself with your lens and the proper photographing
techniques for creating the highest quality images possible. With proper handling and
care, your Tamron lens will give you many years of photographing beautiful and exciting
pictures.
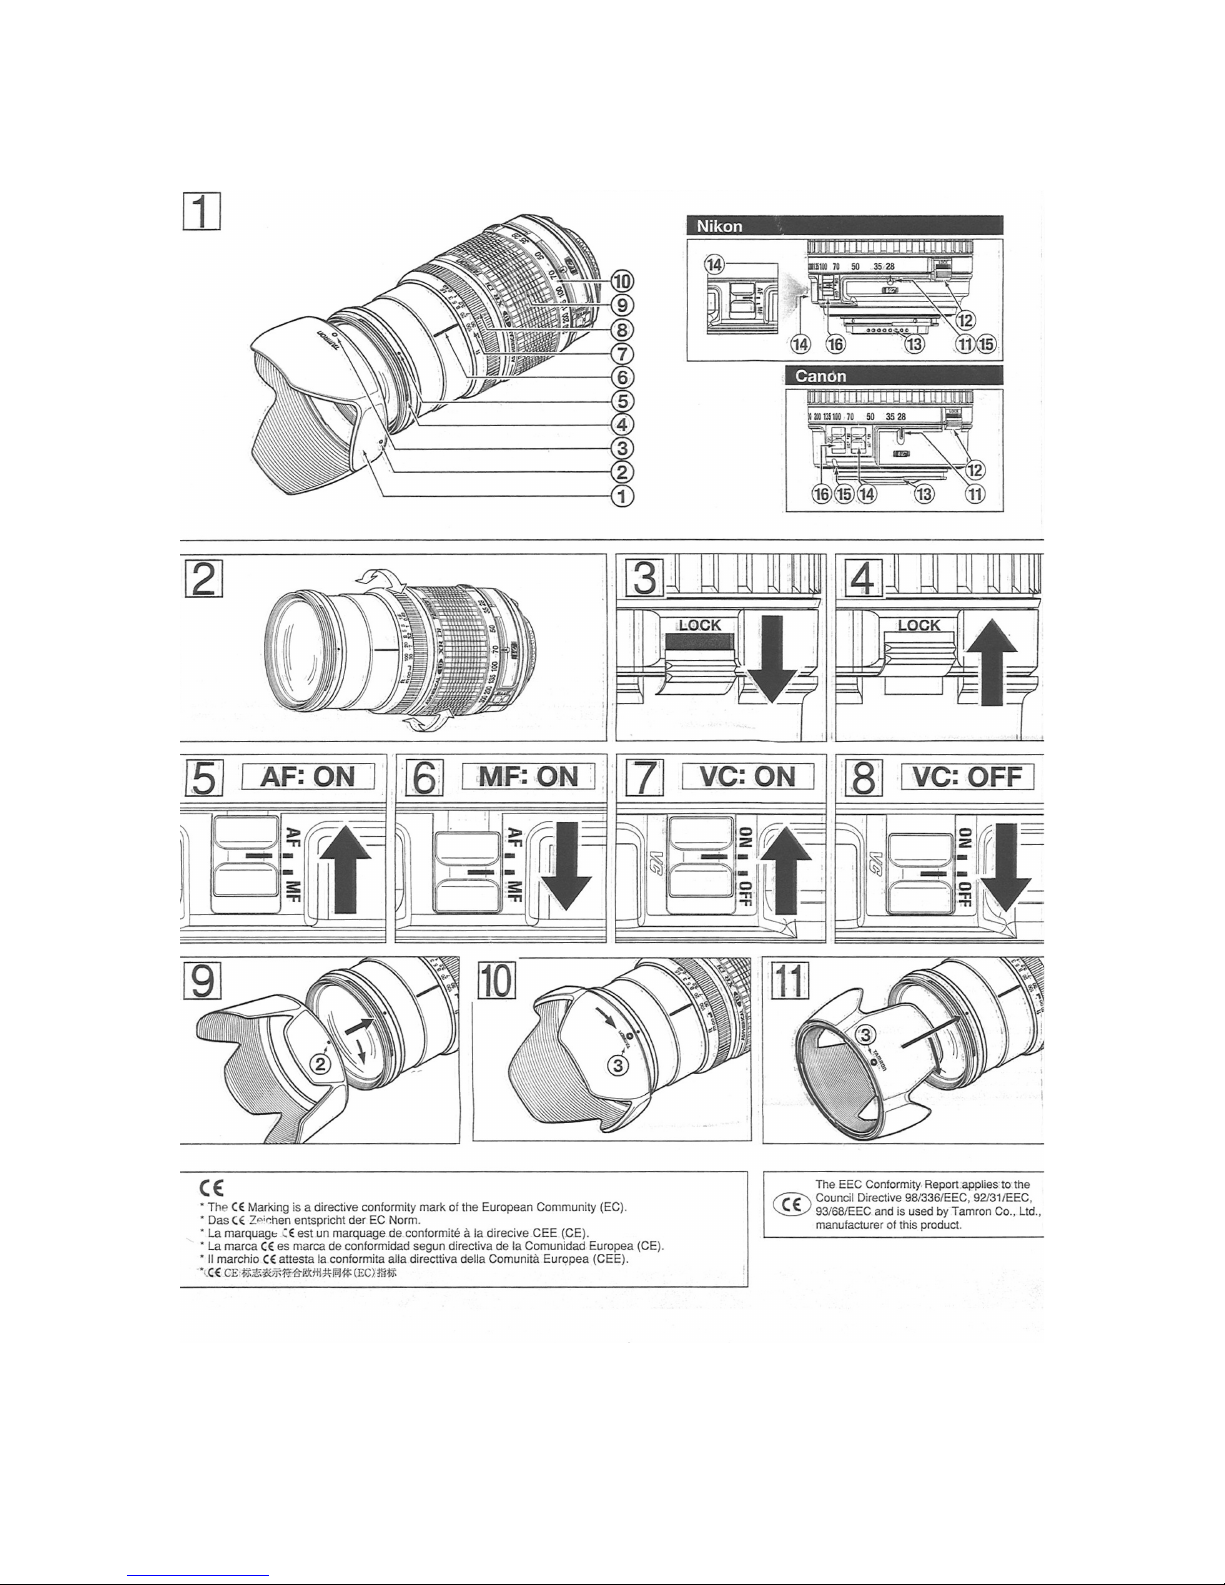
NOMENCLATURE
1. Lens hood
2. Hood attaching alignment mark
3. Hood attached indicator
4. Filter ring
5. Hood attaching bayonet ring
6. Distance index
7. Distance scale
8. Focusing Ring
9. Zooming ring
10. Focal length scale
11. Zoom index mark
12. Zoom lock switch (Fig. 3 & 4)
13. Lens mount/Lens mount contacts
14. AF/MF switch (Fig. 5 & 6)
15. Lens attachment mark
16. VC (Vibration Compensation) switch

ATTACHING AND REMOVING THE LENS
* How to mount the lens
Remove the rear cap of the lens. Align the Lens attachment mark (15) on the lens barrel
with its counterpart on the camera mount and insert the lens.
In case of Nikon mount, rotate the lens counter-clockwise until it clicks into the locking
position. In case of Canon mount, rotate the lens clockwise until it clicks into the locking
position.
* How to detach the lens
Press the lens release button on the camera down.
In case of Nikon mount, rotate the lens clockwise until it unlocks from the camera.
In case of Canon mount, rotate the lens counter-clockwise until is unlocks from the
camera.
*For further details, please read the instruction manual of your camera.
FOCUSING (AUTOFOCUS)
Switch the AF/MF switch (14) on the lens to AF. (Fig 5). In case of Nikon camera with
the focus mode selector dial, set the focus mode to “S” or “C”, and then set the AF/MF
switch on the lens side (14) to “AF”. Press the shutter button lightly while viewing
through the camera’s viewfinder. Then lens focuses automatically. An in-focus mark will
light when the lens focuses on the main subject sharply. Press the shutter button further to
photograph.
* When set on AF mode, interfering with the focusing ring may cause serious damage to
the lens mechanism.
* The distance scale (7) is marked for guidance purposes. The actual focal point may
slightly differ from the distance marked on the focal length index.
*For further details, please read the instruction manual of your camera.
FOCUSING (MANUAL FOCUS)
Switch the AF/MF switch (14) on the lens to MF (Fig. 6). In case of Nikon camera with
the focus mode selector dial, set the focus mode to “M”, and then set the AF/MF switch
on the lens side (14) to “MF”. Focus manually by rotating the focusing ring (8) while
viewing through the camera’s viewfinder. The main subject in the viewfinder will be
sharp when the lens id focused correctly.
* Even when in MF mode, turning the focusing ring while pressing the shutter button
halfway, the focus aid function lamp lights up when the picture is in focus.
* At infinity, make sure the image in the viewfinder appears sharp. The infinity position
is made with certain allowances to insure proper focus under a variety of conditions.
* For further details, please read the instruction manual of your camera.
VC Mechanism
VC (Vibration Compensation) is a mechanism, which reduces the image blur caused by
hand-held shooting. When using the VC, pictures can be taken at shutter speeds up to a
maximum of 4 stops slower than the speed when the VC is not used.
 Loading...