

Page 1
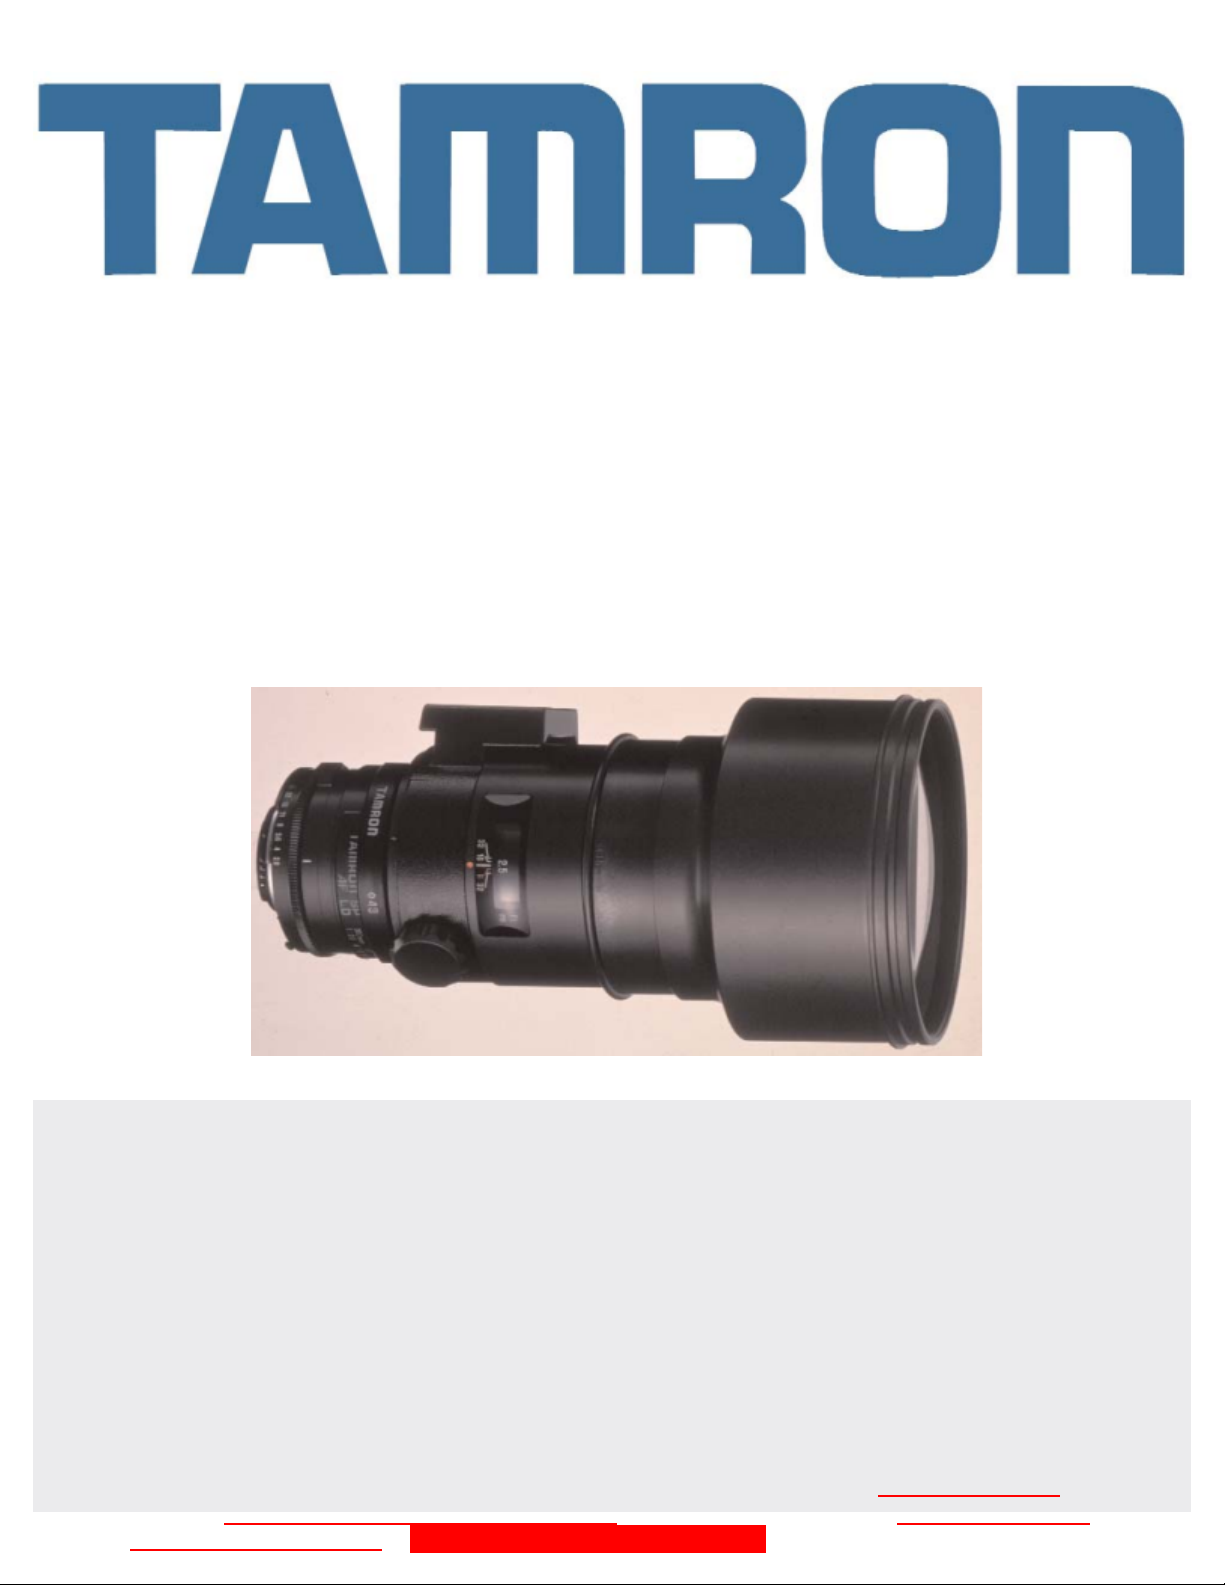
SP AF 300mm
ATTENTION: these documentations are published only for purpose of study and search,
they are not published for purpose of profit, all the rights and relative copyrights are of
the respective owners. Free documentation not to sell.
F/2.8 LD (IF)
(Model 360EM: Minolta)
(Model 360EN: Nikon)
Thank you very much for buying this Tamron lens.The Tamron SP AF 300mm
F/2.8 LD (IF) (Model 60E for Minolta,Model 360E for Nikon) lens is a large
aperture telephoto lens developed for Minolta and Nikon AF single lens
reflex cameras.Please read this instruction manual carefully before using
your lens.Proper care and maintenance of this lens will result in years of
enjoyable use.
Page 2

Page 3

NAMES OF PARTS
1. ocuFsing ring
2. ocuFsing ring cover
3. ocuFs range selector ring
4. ocuFs range selector ring fixing screw
5. ocuFs distance scale window
6. ocuFs distance index
7. eptDh-of-field scale
8. aIrnefdr socket
9. ripoTd socket
10. ripTod socket fixing screw
11. ilteFr frame
12. Aptuerre index
13. Aptuerre ring
14. Aptuerre scale
15. AE (minimum aptuerre) lock
* 12-15 for Nikon only
* 3-4 are only for Model 60E (for Minolta)
SPECIFICATIONS
360EN,360EM
Focal Length 300mm
F/number F/2.8
Optical Construction 7 groups,10 elements
Angle of View 8°
Minimum Focus Distance 2.5m
Filter Diameter rear 43mm (front 112mm)
Overall Length 217mm (8.6")
Maximum Diameter 120mm (4.7")
Weight 2250g (79.2oz)
* Overall length,maximum diameter and weight values are on Nikon basis.
Page 4

INSTALLATION ON CAMERA
Installation
After removing the rear lens cap from the lens,align the mount positioning point on the lens with
that on the camera,and rotate the lens clockwise (counterclockwise when using Nikon model)
until you hear a click,which indicates the lens being securely locked in place.
There is no mount-positioning index marking on the lens to fit Nikon.Please align the
aperture/zoom index line on the lens with the mount-positioning index point on the camera
(same as AF Nikkor lenses) accordingly.
Detaching
While pressing the lens release button on the camera,turn the lens counterclockwise (clockwise
when using Nikon model.)
* Be careful not to touch the signal terminals of the lens during installation or removal.A stained
or damaged terminal may cause poor contact and malfunction.
FOCUSING [1]
Automatic Focusing
When the camera is used in the auto focus mode,the lens focuses automatically.During the AF
(Auto Focus) operation,the focusing ring will rotate and its movement should not be hindered.For
this reason,we recommend using the focusing ring cover.To use,pull it out to its fullest extent.
Manual Focusing
Switch the camera to the manual focus mode and turn the focusing ring to focus while looking
through the viewfinder.The correct focus position is determined when the picture in the viewfinder becomes sharp.If the focusing ring is rotated while pressing the shutter release button halfway
down,the focus indicator in the viewfinder will light up when the subject comes in focus.In manu-
al photography,focusing should always be checked through the viewfinder even when shooting
at infinity.
How to use the AF Range Selector (Model 60E for Minolta) [2]
When the Selector ring is turned clockwise (viewing from the mount side),the AF operation range
is set from 2.5m to the selected distance,while it is set from the selected position to infinity when
turned counter-clockwise.
Rotate the focusing ring to align the distance scale to the focus distance index line where you
would like to set a limit in AF operation range.Loosen the AF Range Selector ring fixing screw and
turn the Selector ring until it comes to a mechanical stop (please be sure to hold the focusing ring,
avoiding its simultaneous movement with the Selector ring.)
Tighten the AF Range Selector ring fixing screw after the above procedures are completed.For
your information,the AF Range Selector is set to the infinity range when shipped from our factory.
Page 5

APERTURE SETTING
With Minolta AF
The aperture is set on the camera side in accordance with the exposure mode.
With Nikon AF
When shooting on programmed AE or shutter-priority AE mode,rotate the aperture to minimum
position.For aperture-priority or manual mode,turn the aperture ring to the desired setting.In
case of F401 series models the camera side,in accordance with the given instructions,sets the
aperture.
AE (Minimum Aperture) Lock [3]
For Nikon,it is possible to fix the aperture ring to the minimum aperture when using the program
AE mode or shutter-priority AE mode.If the aperture ring is set to the minimum aperture, and the
AE lock lever is depressed,the aperture ring is fixed at the minimum aperture position.
TRIPOD MOUNT [4]
If the tripod mount fixing screw is loosened,the lens can be turned 120° right and left from the
center position and can be fixed at any position in between.If the circular mark of the tripod
mount ring is adjusted to the circular mark on the side of the lens,it will be 90° from the center.
FILTER
The filter is the rear insertion type.The filter frame can be inserted in the cutout just behind the tri-
pod mount and at the time of shipment from the factory,a 43mm normal filter is placed in the filter frame.With a rear filter inserted,the flange back dimensions (standard dimension from the
abutting joint surface of the mount to the film surface) is set,so a rear filter must always be in
place when photographing.To protect the front lens,it is recommended to always install the
112mm normal filter (sold separately.)
Filter Fitting Method [5]
To install the rear filter,pull out the filter frame from the main body,change the filter (remove the
normal filter and install the desired filter),and then insert it so that the TAMRON logo of the filter
frame will be at the correct position.Please note if the filter is inserted upside down,the aperture
blades will fail.
CHECKING DEPTH-OF-FIELD [6]
The lens has a depth-of-field scale when the aperture is F32 and F16,and an approximate depth of
field can be known.For depth of field at each aperture and photographing range,you can check it
out on our website.http://www.tamron.com
Page 6

LENS HOOD
ATTENTION: these documentations are published only for purpose of study and search,
they are not published for purpose of profit, all the rights and relative copyrights are of
the respective owners. Free documentation not to sell.
A slip-on type lens hood comes with the lens.Since the lens hood is effective for eliminating harm-
ful rays,we recommend using it when photographing.When storing,the lens hood should be put
over the lens in reverse.
The lens hood is provided with two opposing lock screws.When using the hood,loosen the screw,
attach the lens body to the hood,and then tighten the lock screws.
INFRARED INDEX
When black & white infrared film is used,a red filter should also be used.The nature of red filters
requires focus correction.The red scale R mark in the range scale is the infrared index.Focus in a
normal way,and then read the range scale and shift to the infrared index.Then install the red filter
and photograph.To make any focusing corrections,switch the focus mode to manual and turn the
focusing ring.
CAUTION
To the customers who use a camera with an incorporated strobe:
For flash photographs,please use an externally installed strobe.If the built-in strobe is used for
flash photography,the lens will interrupt the light path of the strobe and semicircular shading will
appear at the bottom of the picture. Also,see the "Built-in Strobe" section in the instruction manual of your camera.
TO ENSURE LONG-TERM SATISFACTION
1. Avoid touching the lens surface.Use a photographic brush or blower to remove dust from the
lens surface.When not using the lens,put a cap on for protection.
2. Use a lens cleaning tissue or lint cloth with a drop of cleaning solution to clean fingerprints or
dirt on the lens surface with a rotary motion from the center to edge.Use a silicon cloth to clean
your lens barrel.
3. Fungus is an enemy of your lens.Clean the lens after shooting at seaside or in a humid place.
Store your lens in a clean,cool and dry place.If you find fungus on your lens,please consult a
repair shop or nearby photographic store.
4. Do not touch the lens' camera-interface contact since dust,dirt,and/or stains may cause a contact failure between the lens and camera.
5. When using your equipment [camera(s) and/or lens(es)] in an environment where the tempera-
ture changes from one extreme to another,make sure to put your equipment temporarily in a case
or a plastic bag for some duration in order for them to go through a gradual temperature shift.This
will reduce potential trouble of your equipment.
 Loading...