


Tamerica V2000-PRO
Hot Knife Velobind
Style Binding Machine
Instruction Manual
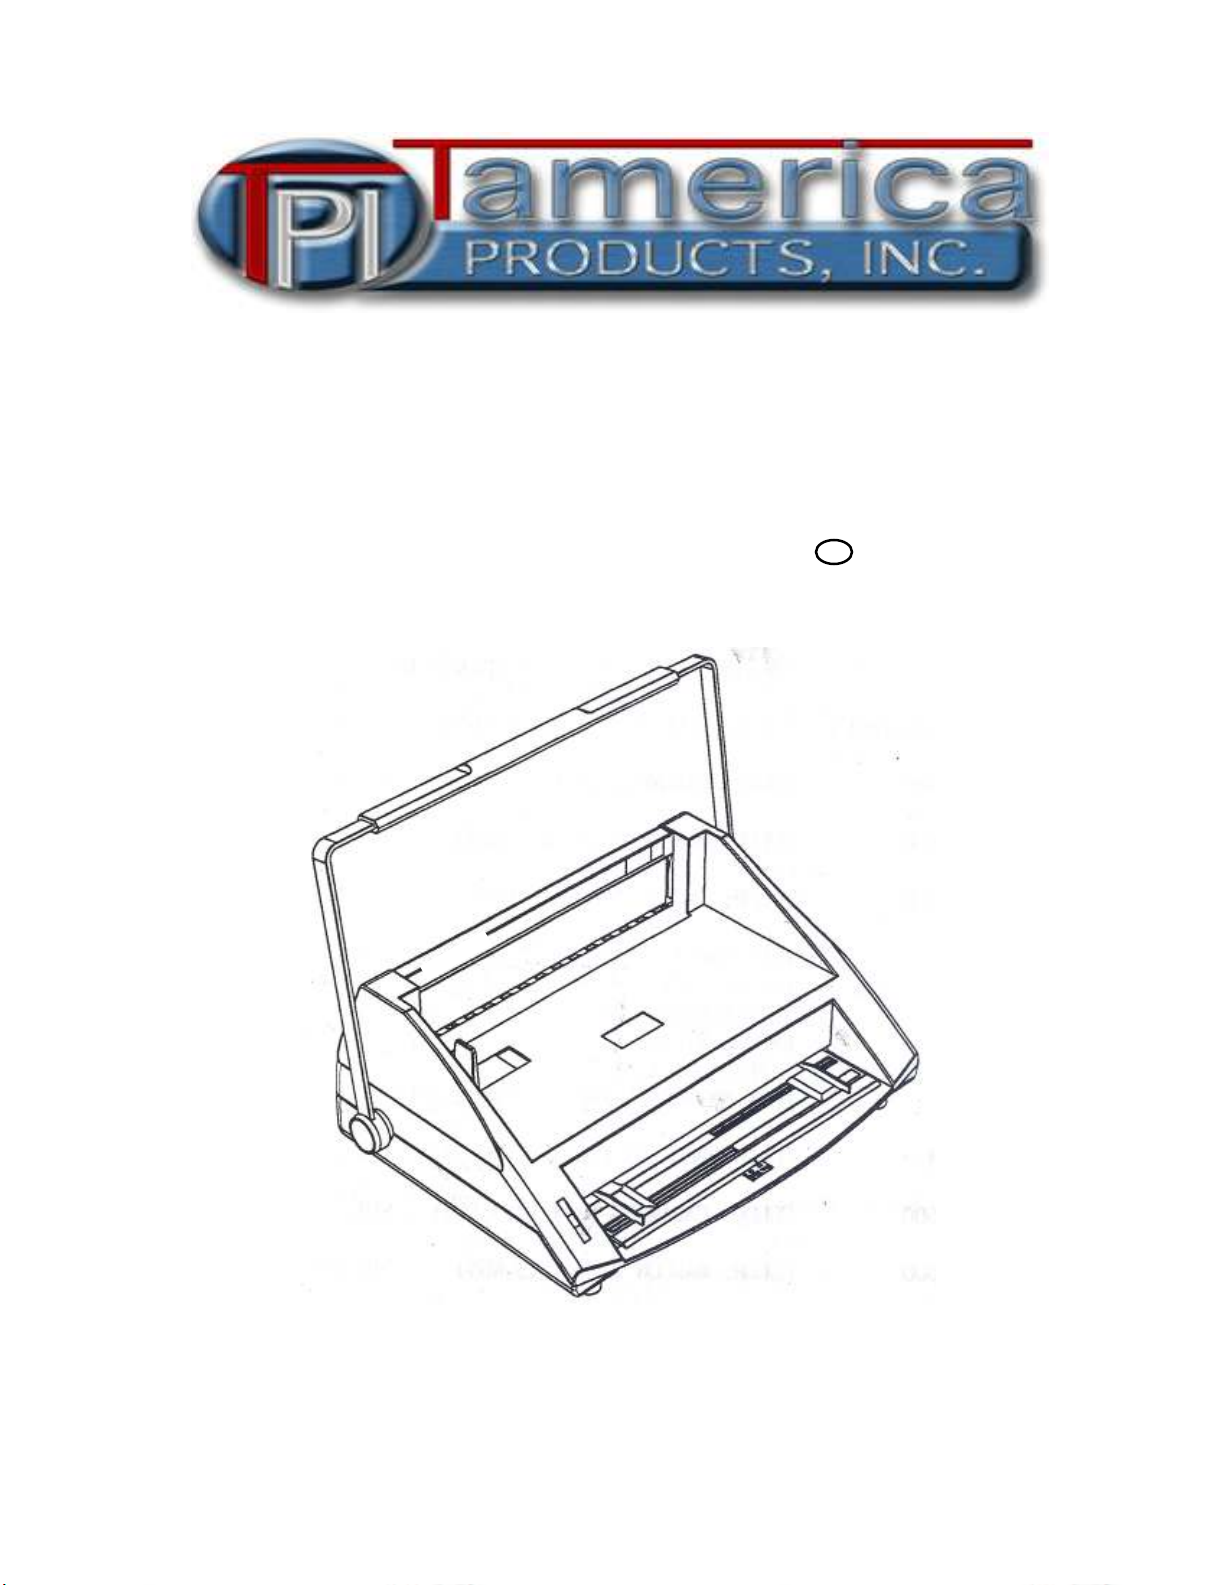
V2000-PRO
TM
SecureBind
Operating Manual

Strip recess
handle
L
e
t
t
e
r
L
e
g
a
l
Feed tray
Waste bin
1

Punching
2. After adjusting the punch edge guide
accordingly, insert the sheets to be
punched.
Note: When punching thicker and rigid materials
such as vinyl, composition, pvc and
polypropylene covers, punch only (1) sheet
at a time.
1. Raise the handle to starting position
Slide the punch edge guide using the red
arrow to set it on “Letter” or “Legal”.
3. Pull the handle to punch the sheets.
4. Raise the handle to remove the sheets.
5. Please make sure to discard punched
debris in the waste bin regularly.
Punching with a full waste bin will
damage the machine.
2

Document Assembly
Top strip
Bottom strip (face down)
Cover (face up)
Document (Face up)
End sheet
3

Feed Tray Adjustment
Feed tray
Maximum Punching Capacity: 20 sheets of 20 lb paper (75 gsm)
Maximum Punching/ Binding Length: 14” (360 mm)
When punching letter size documents, make sure that the center
line using the red arrow on the feed tray is on “Letter”. When
punching legal size documents slide the red arrow to “Legal”. The
punched holes will not be aligned if this is not followed.
4
Letter Legal

Binding
2. Place the bottom strip (textured side faced down) on the
strip recess. Make sure that the locator hole is attached to
the locating pin. Lay the sheets to be bound on top of the
bottom strip. (Please refer to top photo for correct
document assembly) The correct size of top strip is
determined by using the scale on the backstop to
determine the thickness of the document to be bound.
1. Check if the binding edge guide is aligned
– Insert an assembled top and bottom
strip with a sheet of aligned & punched
paper. Adjust the binding edge guide by
sliding the guide to the edge of the paper.
4. Place the pressure bar firmly on the document. The ready
light will turn on indicating that the machine is ready for
binding.
3. Insert the correct top strip firmly on
to the document to be bound.
5. Pull down the handle firmly on the document. After holding
down the handle for at least 8 seconds, the light will turn off
indicating that the binding cycle is complete. You may hear
cutting of the pins during the binding cycle. Raise the handle
and then pressure bar. Slide the bound document towards
yourself to cut off pins that may still be slightly attached to the
strip.
5

Specifications
22” (555mm
15-5/8” (397mm)
)
16” (408mm
Punching Capacity: 14” (360mm) long X 1/8” (3mm) thick
Binding Capacity: 14” (360mm) long X 2” (50mm) thick
Power Supply: 110V (60Hz) Fuse: 10 amp / 220V (50Hz) Fuse: 5amp
8-3/4” (220mm)
Machine Dimensions:
Width: 22” (555mm)
Depth: 15-5/8” (397mm)
Height: 8-3/4” (220mm) handle down
16” (408mm) handle up
Shipping Dimensions:
Width: 23” (580mm)
Depth: 17-5/8” (440mm)
Height: 9-5/8” (245mm)
Weight: 35.2 lbs (16kg)
6

TM
SecureBind
WARRANTY
SecureBind™ equipment is guaranteed against defects in materials and
workmanship for a period of one year from the date of the original purchase
from an authorized dealer.
This guarantee covers all defects incurred in the normal use of the equipment,
except in the following cases:
1. Loss or damage to the equipment due to improper operation, abuse,
mishandling, or failure to follow the operating instructions
2. Removal or alteration of the serial number.
3. The machine being serviced or modified by anyone other than a certified
technician.
When returning the equipment, simply send it to your dealer, providing the
serial number, and the date of purchase. Your dealer will handle all of the
details.
This warranty expresses the entire obligation of Tamerica Products, Inc.
Unless prohibited by law, neither this warranty nor any other warranty
expressed or implied, including implied warranties of merchantability, shall
extend upon this warranty period. No responsibility is assured for incidental or
consequential damages.
This warranty is valid only within the United States, or its provinces and
territories.
 Loading...