


RV Mount
Series
Installation
Manual
UNI-RV40-MAN 2017 Edition
v1.0
For model: UNI-RV40

RV Mount
Series
1
Table of Contents
Introduction
....................................................................................................................................................... 1
Customer Support
............................................................................................................................................. 1
Tools Required
............................................................................................................................................................ 1
Step 1: Pre Assembly
........................................................................................................................................... 3
Step 2: Final Assembly Attaching clamps to the panel
...................................................................................... 3
Step 3: Torque Bolts.
............................................................................................................................................ 3
Step 4: Preparation to mount to a surface.
........................................................................................................ 4
Step 5: Attach Panel Supports to any surface
................................................................................................... 4
Installer Responsibility
............................................................................................................................................... 6
Warranty Information ................................................................................................................................................ 6
Introduction
The Universal RV Mount is an extremely sturdy mounting solution for installing on top of recreational
vehicles, sheds or flat surface. It can also be used as a portable device to place in the sun when your
unit is in the shade. With its user adjustable angle settings of 0° to 40° the Universal RV Mount can
provide better efficiencies than a permanent flat roof install.
Customer Support
Tamarack Solar makes every effort to ensure your
m
ounting kit is easy to install. If you need
assistance at any point in your installation or have suggestions on how we can improve your
experience, call customer support at 1-800-819-7236 or email us
Tools Required
Tools that support the following size Hex head: Torque values are “dry”, add 15% if using anti-seize lubricant
on Stainless hardware (Recommended).
1/4” = 84\7 In\Ft Lbs
Installation Manual
RV Mount
Series
info@tamaracksolar.com
|
(800) 819-7236
2
2018 v1.0
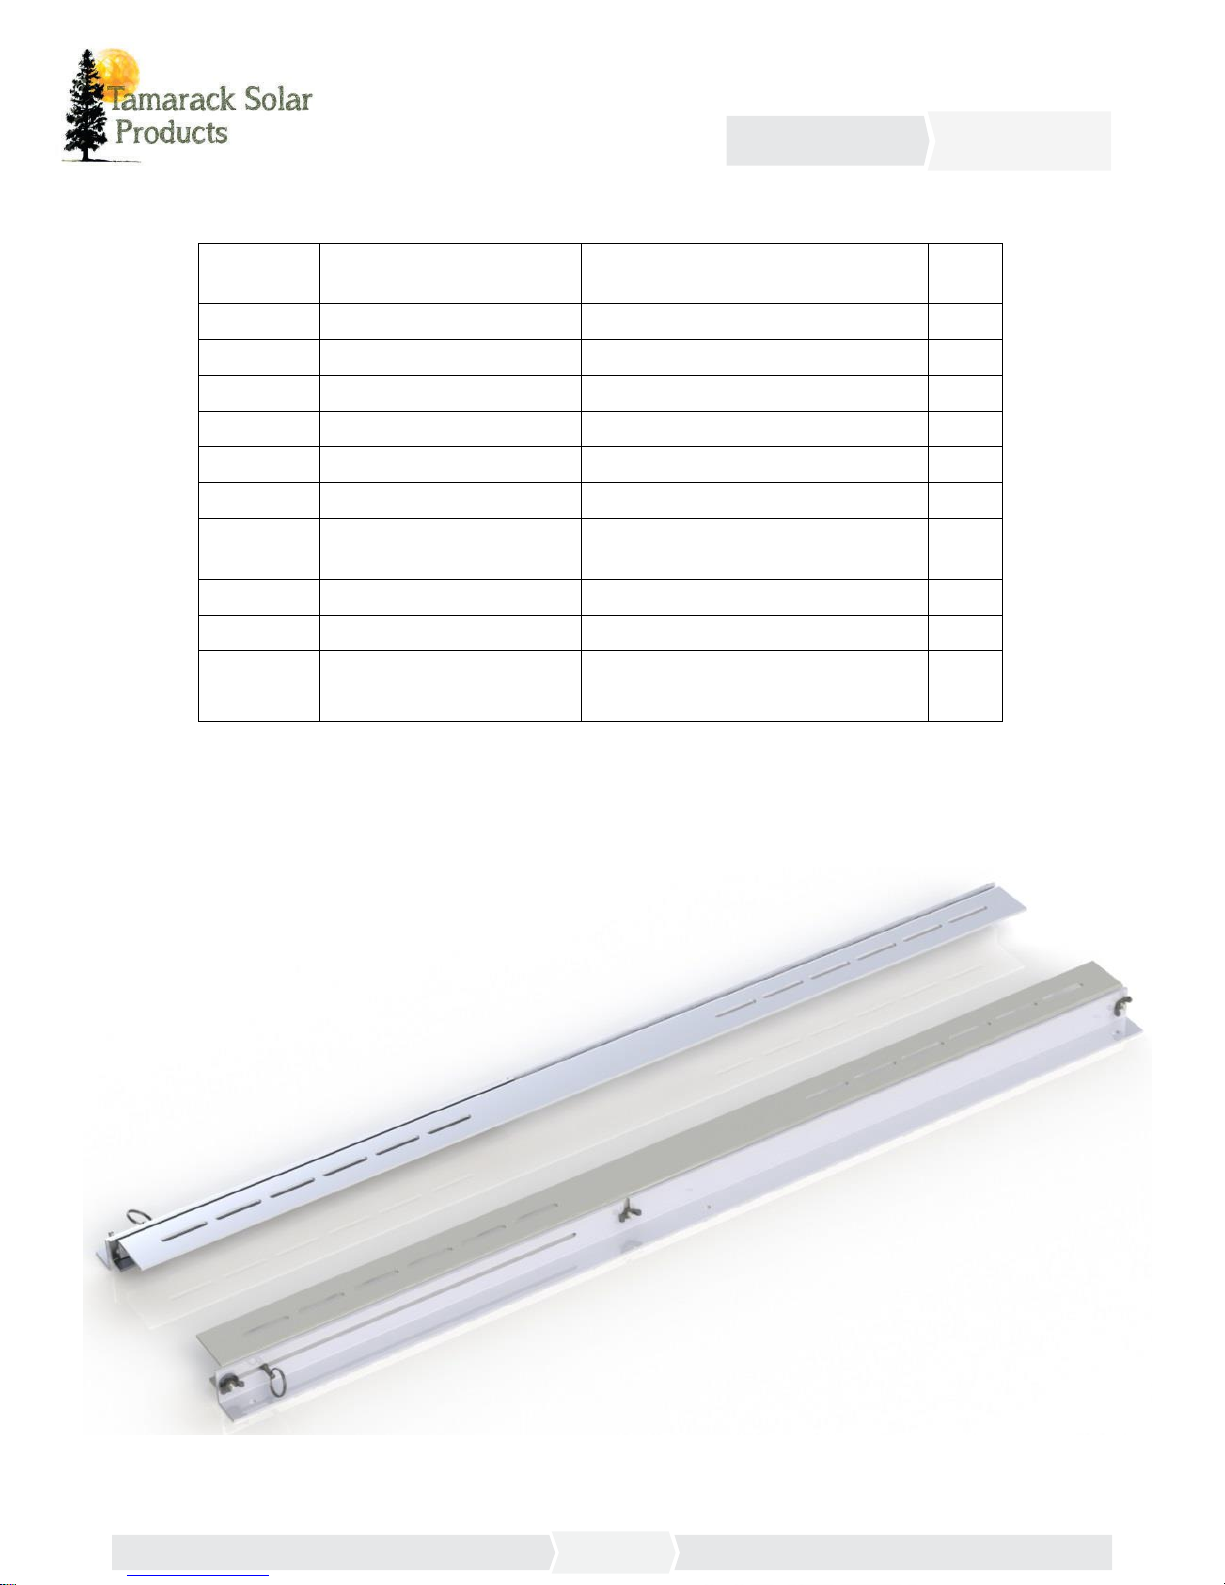
Components List
The following parts are for the UNI-RV40 mount model:
ITEM
NO.
PART NUMBER
DESCRIPTION
QTY.
1
51-04PS-40R REV A
Panel Support Right
1 2 51-04MB-40R REV A
Mount Base Right
1 3 51-04BR-40R REV A
Brace Right
1 4 51-04PS-40L REV A
Panel Support Left
1 5 51-04MB-40L REV A
Mount Base Left
1 6 51-04BR-40L REV A
Brace Left
1
7
51-0400-017 REV A
Spacer, 3/4 OD for RV
mount.
4
8
24-2520-444
Nut, Wing 10-32 Zn
6 9 29-7000-000
SA Clamp Kit
4
10
27-1962-PIN
Shoulder-Style Ring-Grip
Quick-Release Pin
2
The left and right panel mounting rails come pre-assembled, the panel mounting clamps come in a
bagged kit.

Installation Manual
RV Mount
Series
info@tamaracksolar.com
|
(800) 819-7236
3
2018 v1.0
Step 1:
Pre Assembly
A.
Lay the panel down with the frame side up.
B.
Lay the pre-assembled panel supports on each end, across the width of the panel with the slotted face on
the panel frame, and centered facing the inside.
C.
Make note which slots you see the panel frame edge inside of.
Step 2
:
Final Assembly
Attaching clamps to the panel
A. With the bent ends facing away from the outer ends of the panel supports, loosely assemble the panel clamps in
the slots you have noted, at both ends. Slide the panel clamps up under the panel frame so the
bolt makes contact with the edge of the frame.
B. Slide the assembly towards the end of the panel so the clamp edge is next to the panel frame
Step 3: Torque Bolts.
A. Tighten bolts to 7Ft lbs making sure the bolts remain up against the panel frame edge.

Installation Manual
RV Mount
Series
info@tamaracksolar.com
|
(800) 819-7236
4
2018 v1.0
Step 4: Preparation to mount to a surface.
A. Now that the panel support assemblies are attached to the panel, take a measurement between the
mounting holes from one side to the other.
Step 5: Attach Panel Supports to any surface
A. Attach to surface using 1/4” Ø hardware.
B. You can disassemble the middle support and lay the panel over (see illustration next page) to use a ratchet or
power tool to tighten the bolt near the pivot point if needed.
C. On curved or irregular surfaces, use a standoff at minimal heights to clear irregularities or curvature.
Step 6: Safety Pin
Install safety pin when in the flat position for traveling as shown. (See illustration next page)

Installation Manual
RV Mount
Series
info@tamaracksolar.com
|
(800) 819-7236
5
2018 v1.0

Installation Manual
RV Mount
Series
info@tamaracksolar.com
|
(800) 819-7236
6
2018 v1.0
Installer Responsibility
The installer is solely responsible for:
i. Complying with all applicable local or national building codes, including any that may supersede this manual;
ii. Ensuring that Tamarack Solar and other products are appropriate for the particular installation and the
installation environment;
iii. Using only Tamarack Solar parts and installer-supplied parts as specified by Tamarack Solar. Substitution
parts may void the warranty;
iv. Ensuring safe installation of all electrical aspects of the PV array; and
v. Ensuring correct and appropriate design parameters are used in determining the design loading used for the
specific installation. Parameters, such as snow loading, wind speed, exposure and topographic factor should
be confirmed with the local building official or a licensed professional engineer.
Warranty Information
Tamarack Solar warrants each Mounting Structure to be free from defects in materials and workmanship for ten (10)
years from the date of first purchase (“Warranty Period”), when installed properly and used for the purpose for which it is
designed, except for the finish, which shall be free from visible peeling, or cracking or chalking under normal atmospheric
conditions for a period of three (3) years, from the earlier of 1) the date the installation of the Product is completed, or 2)
30 days after the purchase of the Product by the original Purchaser (“Finish Warranty”). The Finish Warranty does not
apply to any foreign residue deposited on the finish.
Galvanized coated sheet steel components will show rust on cut edges and is normal and will not affect the structure
and function of the mount.
All installations in corrosive atmospheric conditions are excluded. The Finish Warranty is VOID if the practices specified
by AAMA 609 & 610-02 – “Cleaning and Maintenance for Architecturally Finished Aluminum” (www.aamanet.org) are not
followed by Purchaser for Tamarack Solar’s aluminum based products.
The warranty covers the replacement cost of parts to repair the product to proper working condition. Transportation and
incidental costs associated with warranty items are not reimbursable. The warranty does not cover normal wear, or
damage resulting from misuse, abuse, improper installation, negligence, or accident, or typographical errors in instruction
manuals. The Warranty does not cover any defect that has not been reported in writing to Tamarack Solar within ten (10)
days after discovery of such defect. Furthermore, it does not cover units that have been altered, modified or repaired
without written authorization from the manufacturer or its authorized representative, or units used in a manner or for a
purpose other than that specified by the manufacturer. Tamarack Solar’s entire liability and Purchaser exclusive remedy,
whether in contract, tort or otherwise, for any claim related to or arising out of breach of the warranty covering the
Mounting Structures shall be correction of defects by repair, replacement, or credit, at Tamarack Solar’s discretion.
Refurbished Mounting Structures may be used to repair or replace the Mounting Structures
Tamarack Solar shall have no liability for any injuries or damages to persons or property resulting from any cause,
whatsoever, or any claims or demands brought against Tamarack Solar by Purchaser, any employee of Purchaser, client of
Purchaser, end-user of the Product or other party, even if Tamarack Solar has been advised of the possibility of such claims
or demands (collectively, “Third Party Claims”). This limitation applies to all materials provided by Tamarack Solar during
and after the Warranty Period.
 Loading...