

Page 1
Material Included
(1) Infinity 2200 (with 6’ line cord)
(1) 4 wire patch cable (attached)
(1) Hanger/Install Kit Containing:
(2) Mounting Bracket 5"L
(4) Screw, Wood 12 x 1-1/2
(4) Screw 10-32 x 1” PH
(4) Nut 10-32 w/Nylon Insert
(8) Washer 1/4" Flat
(4) Washer #10 Flat
Tools and Supplied Needed (not provided)
Screw Gun with Phillips Head Bit
Measuring Tape
Utility Knife
Jig Saw (to create holes for external hoods)
Drywall Hand Saw
4 Lengths of 10" Diameter Duct (Flexible or Rigid) Measure to
determine length requirements for the installation
Duct Aluminum Tape or 10" Strap Band/Clamp (to affix duct)
Siding Materials (shingles, flashing etc.)
(2) External 10" Vents/Hoods (sold separately)
20 Patterson Brook Rd / West Wareham, MA 02576
774-678-4433 / 800-222-5932 / Fax 774-678-4436
Infinity 2200 Inf22PG-3
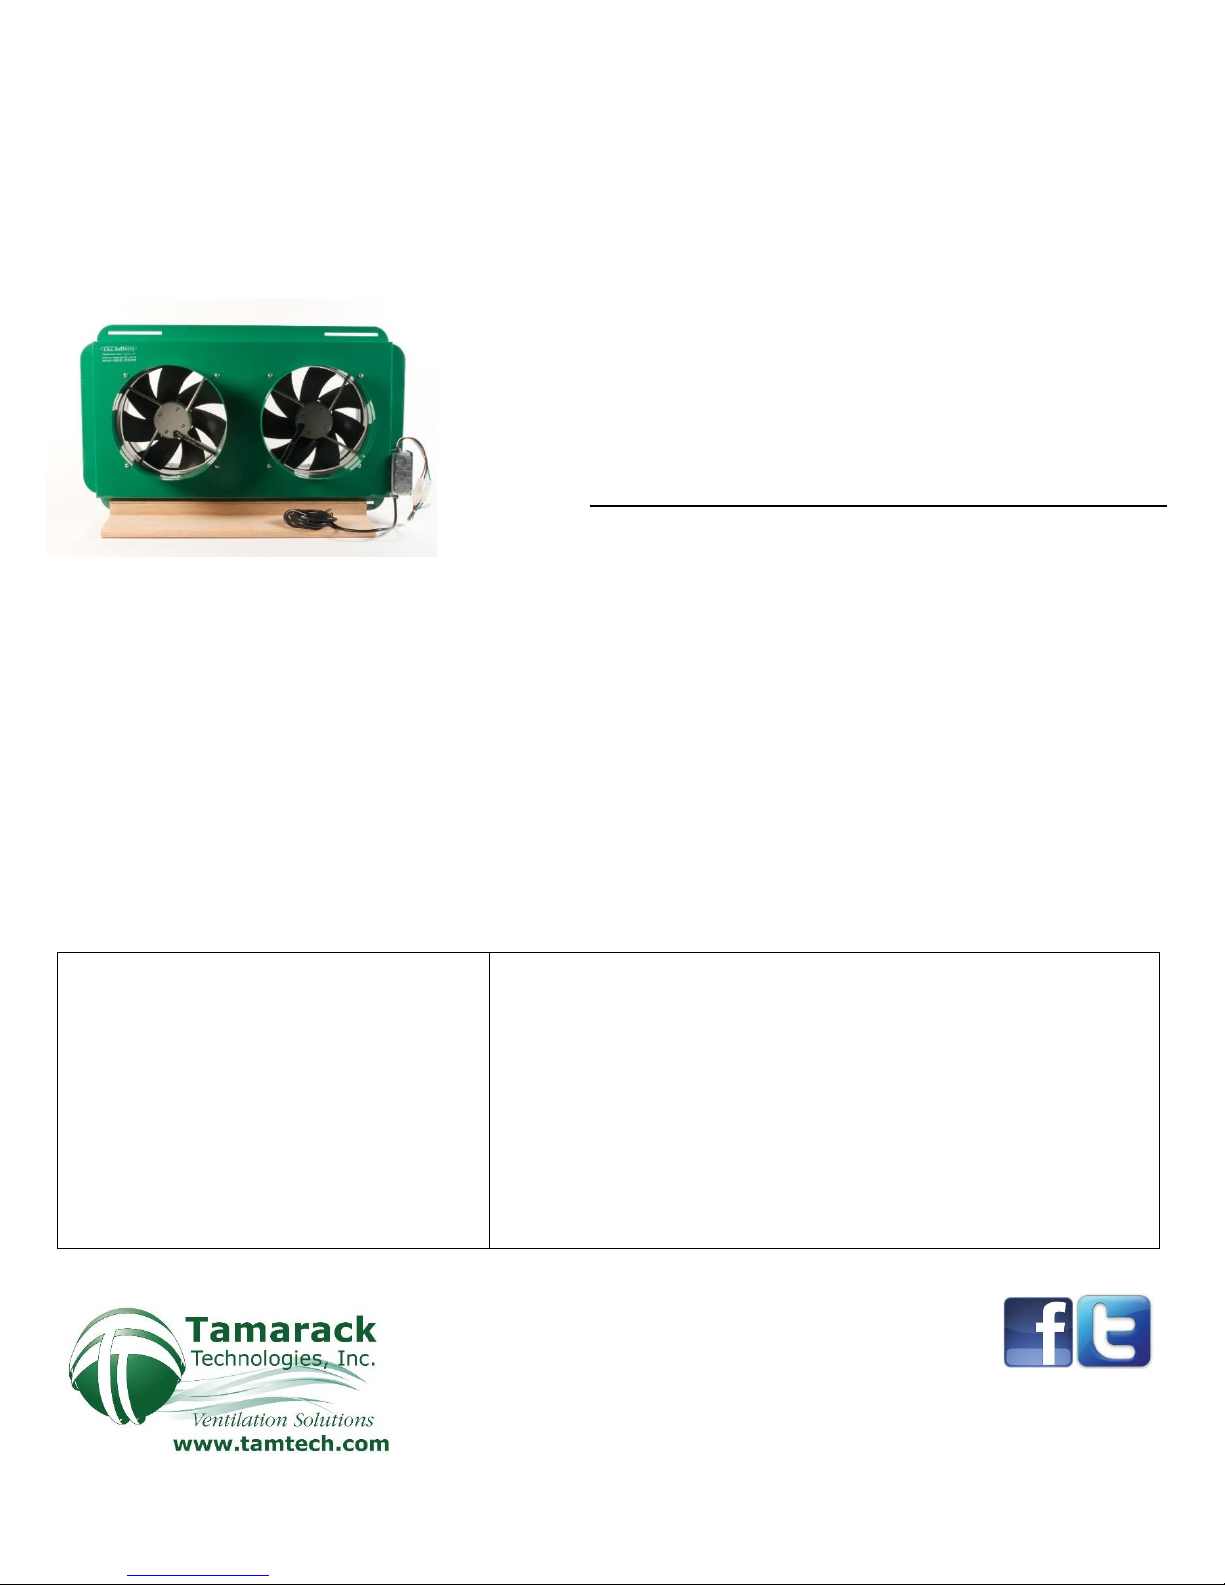
Infinity 2200 Ducted Whole House Fan
PRODUCT MANUAL & INSTALLATION GUIDE
SERIAL NUMBER_____________
DATE OF PURCHASE_____________
POINT OF PURCHASE_____________
READ AND SAVE THESE INSTRUCTIONS
WARNING: TO REDUCE THE RISK OF FIRE, ELECTRIC SHOCK, OR INJURY TO PERSONS, OBSERVE THE
FOLLOWING:
●Use this unit in the manner intended by the manufacturer. If you have any questions contact the manufacturer.
●Before servicing or cleaning unit, switch power off at service panel and lock service panel to prevent power from being
switched on accidentally. When the service disconnect cannot be locked, securely fasten a prominent warning device, such
as a tag, to the service panel.
●When cutting or drilling into wall or ceiling, do not damage electrical wiring or other hidden utilities.
●Never place a switch where it can be reached from a tub or shower.
●Do not use this fan over a tub or shower.
●Do not use this fan over cooking appliances.
CAUTION: For General Ventilation Use Only. Do Not Use to Exhaust Hazardous or Explosive Materials and Vapors.
CAUTION: This unit has an unguarded impeller. Do Not Use in Locations Readily Accessible to People or Animals.
Page 2
Determine the Best Location for the Infinity 2200
The ideal location to install the Infinity 2200 is in the attic. Keep in mind the outlet location providing power as the fan has
a six foot line cord. Plan the layout of the ducts moving air in and out of the home to prevent kinks or air flow restrictions.
The brackets and hardware (provided) will allow you to hang the fan from the roof framework or install on a custom frame
made using 2X4’s. Mounting the fan as far as possible from the interior air intake and exhaust points will minimize fan
operating noise from being transmitted back through the duct work. Allow sufficient access for service.
Install the Infinity 2200
1. Attach the mounting brackets to the fan with the nuts and screws provided.
2. Attach the mounting brackets to the rafters or frame with the wood screws and washers provided.
3. Plug the line cord into the electrical outlet.
Interior Grilles and Diffusers (sold separately)
Interior grilles and diffusers (mounted in drywall ceiling) can be installed above hallways or rooms in desired locations. It is
recommended that the supply and exhaust registers in the drywall ceiling be no less than six feet apart for proper air
exchange.
External vents should be installed on opposite sides of the home to prevent recirculation of exhausted air. The intake and
exhaust hoods are intended to be installed in the vertical walls of the attic and may require flashing to be weather tight.
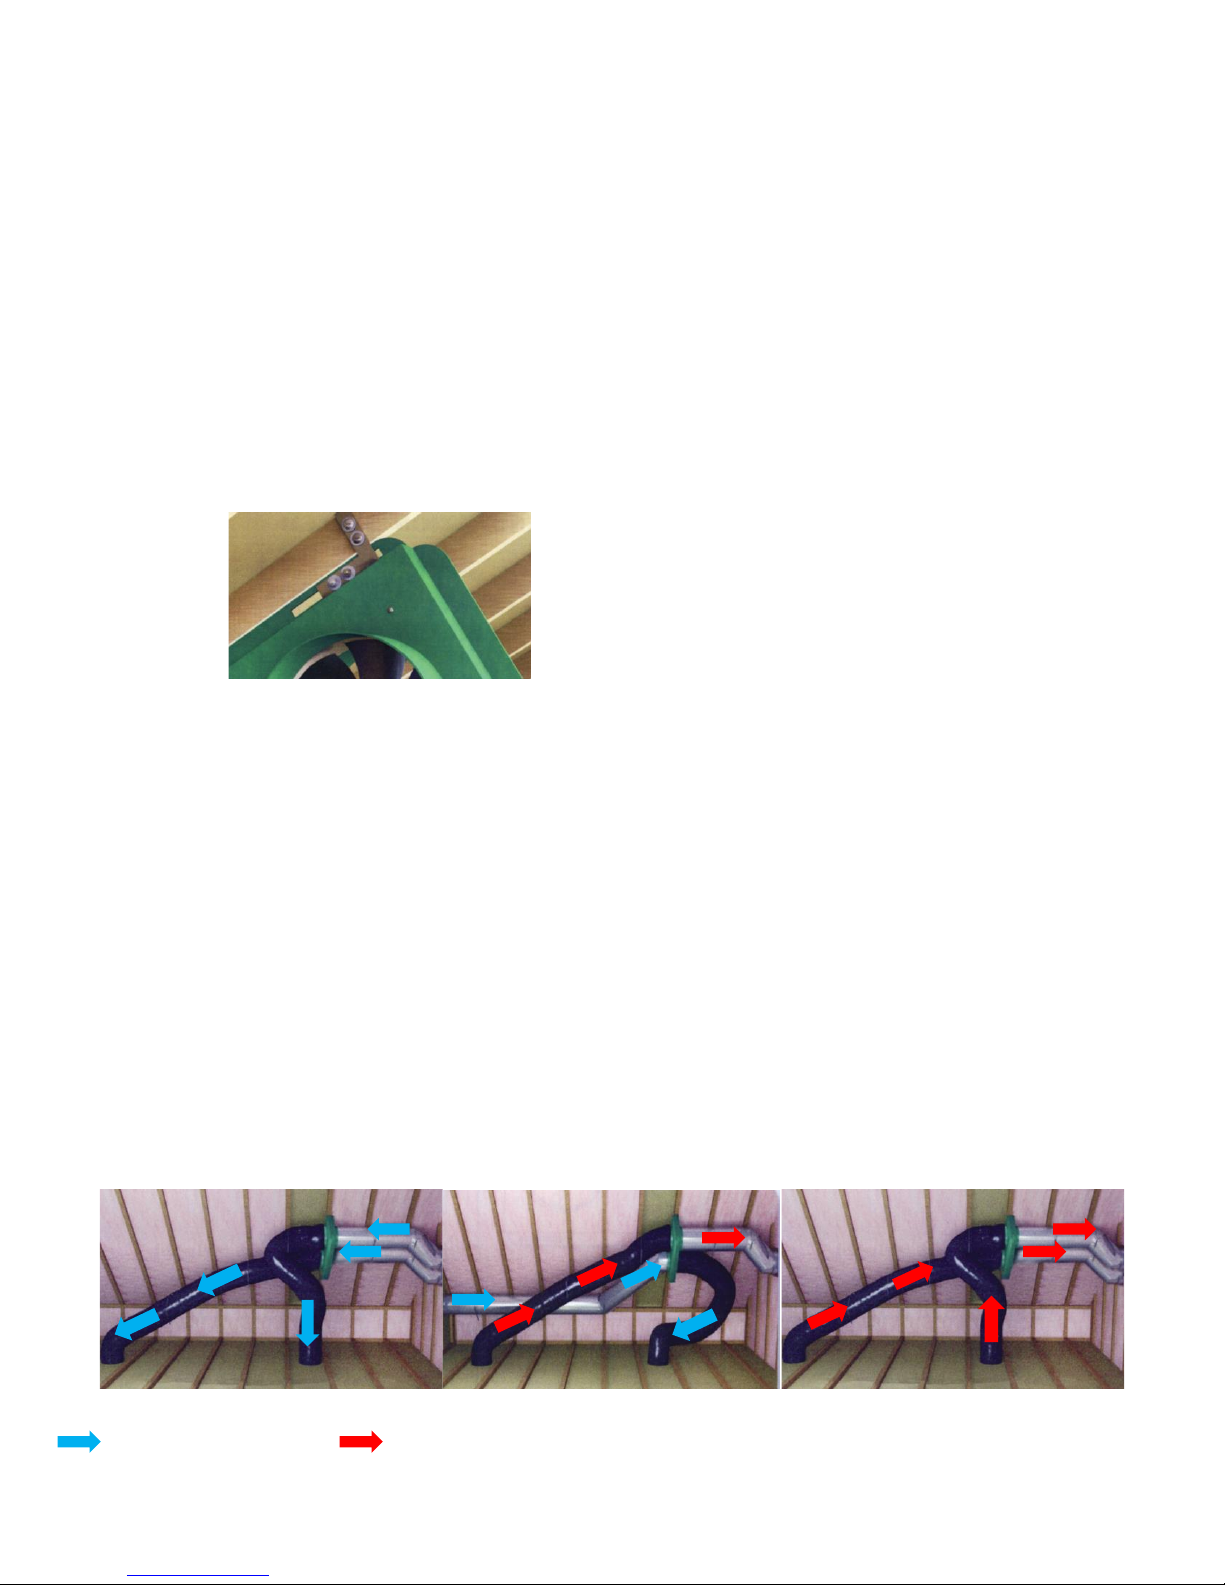
Duct (not provided) Connections
Connect the fresh air supply 10" diameter duct to the supply hood and the other end to the intake fan flange (NOTE: fan
motor air flow direction tag). The output side of this fan is then connected to the register intended to supply fresh air to the
living space with a length of 10” diameter duct.
Connect the exhaust 10" diameter duct to the exhaust hood and the other end to the output side flange of second motor
(NOTE: fan air flow direction tag). The intake side of this fan is then connected to the register intended to exhaust the old
air out of the living space.
Positive Air Supply Configuration Balanced Air Configuration (recommended) Negative Air Exhaust Configuration
Cool/outside air flow Warm/inside air flow
Page 3

SPECIFICATIONS
Overall Dimensions: ……………….. 30-1/4 x 17-1/4 x 9-1/4" D
Mounting Flange Dimensions: ….27-1/4 x 1-1/2"
Duct Size (4): ……………….…………..10"
Duct Collar Length: ………….…….…3" with Bead
Electrical Requirements: ……….….115V, 60 Hz, 3A (Total)
Power: ………………………………………336 Watts
Air Flow Each motor: …………….….1070 cfm @ .1” Wg
Unit Weight: …………………….….…..27 lbs.
Shipping Carton:………………………. 31 x 19 x 11"
Shipping Weight:……………………….33lbs
Page 4

20 Patterson Brook Rd / West Wareham, MA 02576
774-678-4433 / 800-222-5932 / Fax 774-678-4436
FAN CONTROL OPTION
Convert your Infinity 2200 into an iFan with our Wi-Fi Hub.
Consider our Wi-Fi Hub Upgrade for your Infinity 2200. It’s as easy as removing the 4
wire patch cable from your fan and then replacing it with the iFan hub with matching the 4
wire plug. Get the upgrade and you can access your whole house fan from anywhere in
the home, making it more convenient compared to a standard wall switch install. Our
upgrade also comes with a FREE app that you can download on your smartphone,
compatible with iOS or Android. No need to worry anymore about being within reaching
distance of the wall switch.
Order Part number: 970-11000X20
LIMITED WARRANTY If, within the period of three years from the date of purchase, the Infinity
2200 (the Product) is defective or malfunctions in normal home use, Tamarack Technologies, Inc. will repair
or replace the Product, at its discretion. Customer is responsible for shipping charges.
CONDITIONS, EXCLUSIONS, AND LIMITATIONS
This Warranty is subject to the following conditions, exclusions and limitations:
THIS WARRANTY DOES NOT COVER PROBLEMS RESULTING FROM INSTALLATION, OPERATION OR
MAINTENANCE THAT HAS BEEN UNDERTAKEN OTHER THAN IN ACCORDANCE WITH THE INSTRUCTIONS.
THIS WARRANTY DOES NOT COVER PROBLEMS RESULTING FROM DEFECTS IN OR CAUSED BY ASSOCIATED
EQUIPMENT (FURNACES, SOLARIA, ETC.); FROM REPAIRS OR MODIFICATIONS ATTEMPTED BY PERSONS
OTHER THAN TAMARACK TECHNOLOGIES, INC.; FROM ABUSE, ACCIDENTAL OR SHIPPING DAMAGE OR
ACTS OF GOD. THIS WARRANTY DOES NOT APPLY TO THE PRODUCT USED OUTSIDE THE UNITED STATES,
ITS TERRITORIAL POSSESSIONS, AND CANADA. EXCEPT AS SET FORTH ABOVE, NO EXPRESS OR IMPLIED
WARRANTY IS GIVEN OR AUTHORIZED BY TAMARACK TECHNOLOGIES, INC. AND ALL OTHER SUCH
WARRANTIES ARE EXPRESSLY DISCLAIMED. ANY WARRANTY OR MERCHANTABILITY OF FITNESS FOR ANY
PARTICULAR PURPOSE SHALL BE LIMITED TO THE WARRANTY HEREUNDER. MOREOVER, ANY LIABILITY OF
TAMARACK TECHNOLOGIES, INC. FOR THE PRODUCT SHALL BE LIMITED TO THE REPLACEMENT VALUE OF
THE PRODUCT. IN NO EVENT SHALL TAMARACK TECHNOLOGIES, INC. BE LIABLE FOR ANY INCIDENTAL
DAMAGES OR FOR ANY CONSEQUENTIAL PROPERTY OR COMMERCIAL DAMAGES, IRRESPECTIVE OF THE
CAUSE THEREOF, OCCURRING EITHER DURING OR AFTER THE WARRANTY PERIOD, INCLUDING WITHOUT
LIMITATION ANY DAMAGES TO ANY PART OF A BUILDING OR ITS CONTENTS. NOTE: SOME STATES DO NOT
ALLOW THE EXCLUSION OR LIMITATION OF INCIDENTAL OR CONSEQUENTIAL DAMAGES AND SOME STATES
DO NOT ALLOW LIMITATIONS ON HOW LONG AN IMPLIED WARRANTY LASTS, SO THE ABOVE LIMITATIONS
OR EXCLUSIONS MAY NOT APPLY TO YOU. THIS WARRANTY GIVES YOU SPECIFIC LEGAL RIGHTS AND YOU
MAY ALSO HAVE OTHER RIGHTS THAT VARY FROM STATE TO STATE. PROOF OF PURCHASE REQUIRED.
 Loading...