

Page 1
1
GENERAL SAFETY RULES
GB
MODEL NO. ATA006
USER MANUAL
Hedge Trimmer Attachment
9096-A006xx
WARNING • PLEASE READ
For your own safety please read this manual before attempting to operate your new unit. Failure to follow instructions
can result in serious personal injury. Spend a few moments to familiarize yourself with your hedge trimmer before
each use.
WARNING! When using tools, basic safety precautions, including the following, should always be followed to reduce
the risk of serious personal injury and/or damage to the unit.
Read all these instructions before operating this product and save these instructions.
Meaning of symbols marked on the product
Read the user manual before using the machine
Whenever the machine is in use, safety goggles must be worn
to safeguard against flying object, as must ear protectors,
such as a soundproof helmet, in order to protect the operator’s
hearing. If the operator is working in an area where there is a
risk of falling objects, a safety helmet must also be worn.
Wear safety boots to protect against electric shock
Do not operate unit without proper attachments and
guards in place.
Keep hands away from blade
Keep people or animals at least 15m away from
the machine during operation
Wear gloves to protect your hands
READ YOUR USER MANUAL AND ALL SUPPLEMENTS (IF ANY ENCLOSED) THOROUGHLY BEFORE
OPERATING YOUR UNIT.
1. Wear close fitting, tough work clothing that will
provide protection, such as long slacks or trousers,
safety work shoes, heavy duty work gloves, hard hat,
a safety face shield, or safety glasses for eye protection and a good grade of ear plugs or other sound
barriers for hearing protection.
2. Turn unit off before setting it down.
3. Always hold unit firmly with both hands, the
thumb and fingers encircling the handles.
4. Keep all screws and fasteners tight. Never operate
your equipment when it is improperly adjusted or not
completely and securely assembled.
5. Keep handles dry, clean and free of fuel mixture.
6. Check area you will be trimming for debris that
may be struck or thrown during operation.
7. Keep all parts of your body and clothing away
from blade when starting or running engine. Before
starting engine, make sure blade will not come in
contact with any obstacle.
8. Stop engine before examining blade.
9. Store equipment away from possible flammable
materials, such as gas-powered water heaters,
clothes dryers, or oil-fired furnaces, portable heaters,
etc.
10. Always keep the blade and engine free of debris
build-up.
11. Operation of equipment should always be restricted
to mature and properly instructed individuals.
12. Inspect the area before starting the unit. Remove all
debris and hard ad sharp objects such as rocks,
glass, wire, etc. that can cause damage during operation.
13. Operate this unit in a well-ventilated area outdoors.
Carbon monoxide exhaust fumes can be lethal in a
confined area.
14. This unit is for household use only.
15. Look behind and use care when backing up.
16. Never operate without good visibility and light.
17. Exercise caution to avoid slipping or falling.
18. Maintain hedge trimmer with care. Keep blades sharp
at all times, and clean for best and safest performance. Follow maintenance instructions. Always use a
clean cloth when cleaning. Never use brake fluid,
gasoline, petroleum-based products, or any strong
solvents to clean your unit.
Refer to trimmer instructions for full starting and maintenance instructions.
1.
WARNING:
Gasoline is highly flammable, and its
vapours can explode if ignited. Take the following
precautions.
2. Store fuel only in containers specifically designed
and approved for the storage of such materials.
3. Always stop the engine and allow it to cool before filling the fuel tank. Never remove the cap of the fuel
tank, or ad fuel, when the engine is hot. Never operate the unit without the fuel cap securely in place.
Loosen the fuel tank cap slowly to relieve any pressure in the tank.
4. Mix and add fuel in a clean, well-ventilated area outdoors where there are no sparks or flames. Slowly
remove the fuel cap only after stopping the engine.
Do not smoke while fuelling or mixing fuel. Wipe up
any spilt fuel from the unit immediately.
5. Avoid creating a source of ignition for spilled fuel. Do
not start the engine until the fuel vapours dissipate.
6. Move the unit at least 10 feet (3m) from the fuelling
source area side before starting the engine. Do not
smoke, keep sparks and open flames from the area
when adding fuel or operating the unit.
7. Never start or run the unit inside a closed room or
building. Breathing exhaust fumes can kill. Operate
this unit only in a well ventilated area outdoors.
WARNING: Keep children, bystanders, and
animals 50 feet (15 meters) away. If
approached stop unit immediately.
SAFETY WARNING FOR PETROL POWERED HEAD
Page 2
2
GB GB
3
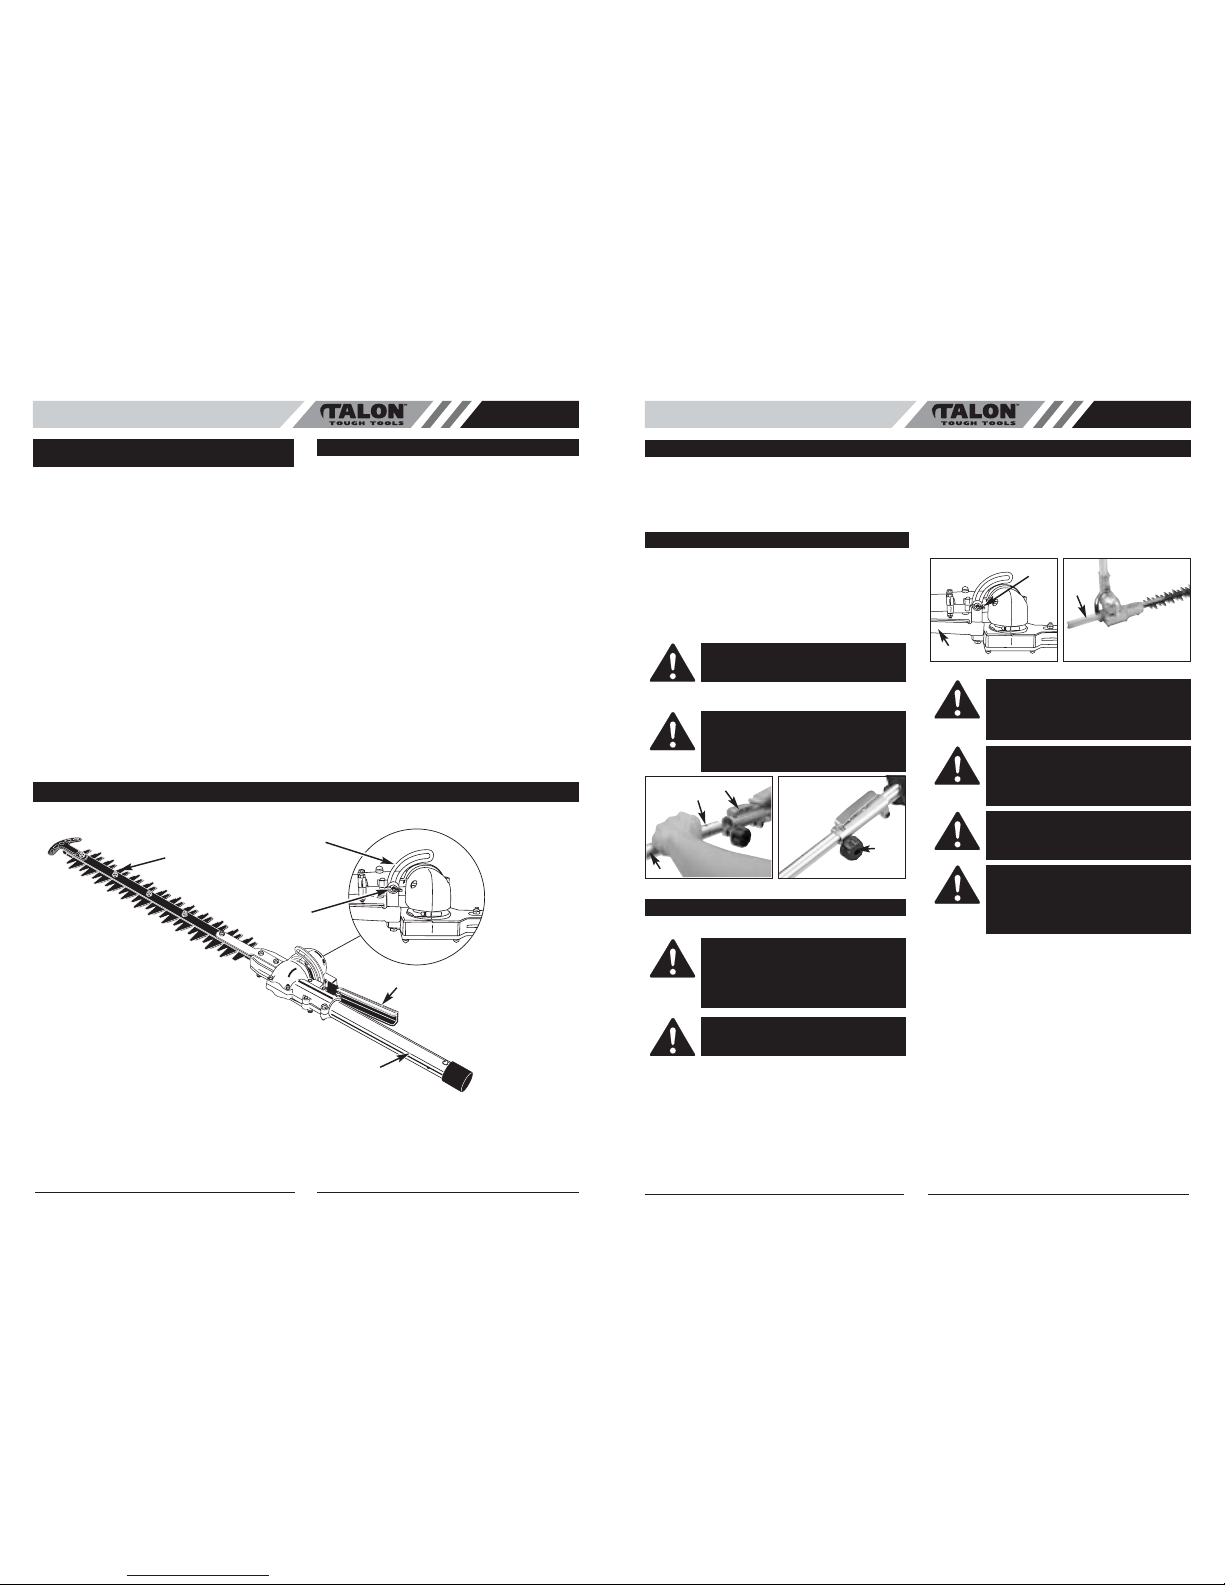
1. Blade
2. Angle Adjustment Holder
3. Locking Screw
4. Angle Adjustment Track
5. Drive Shaft
GENERAL IDENTIFICATION
1
5
2
SPECIFICATIONS
Blade Length . . . . . . . . . . . . . . . . . . . . . . . . . . . . . . . . . . . . . . . . . . . . . . . . . . . . . . . . . . . . . . . . . . . . . . .16” (406mm)
Max. Cutting Diameter . . . . . . . . . . . . . . . . . . . . . . . . . . . . . . . . . . . . . . . . . . . . . . . . . . . . . . . . . . . . . . . .3/8” (10mm)
Shaft Diameter . . . . . . . . . . . . . . . . . . . . . . . . . . . . . . . . . . . . . . . . . . . . . . . . . . . . . . . . . . . . . . . . . . . . . . . . . . . . .7/8”
Weight . . . . . . . . . . . . . . . . . . . . . . . . . . . . . . . . . . . . . . . . . . . . . . . . . . . . . . . . . . . . . . . . . . . . . . . . . . . . . . . . .1.5 kg
• DRIVE SHAFT
Installing the lower shaft
1. Remove the cover from the drive shaft (A). Press the
release lever (B) while pushing the lower shaft into the
tool-link couping. (Fig. 1A)
2. Locate and lock the release lever into the primary hole
(C) in the shaft. (Fig. 1A)
3. Tighten the knob (D) securely clockwise before using
the unit. (Fig. 1B)
• BEFORE OPERATING
Adjust the angle of the trimmer to suit the area you are
trimming; adjust the blade angle based on the situation.
Adjust the blade as follows:
1. Use one hand to grasp the angle adjustment holder
(A). (Fig. 2A & 2B)
2. Loosen the locking screw (B) by turning it counter
clockwise. (Fig. 2A)
3. When the blade is in the desired position, turn the
locking screw clockwise and tighten it securely to
ensure that the blade is fixed.
NOTE: The hedge trimmer can only be adjusted up
to maximum of 90 degrees. (Fig. 2B)
• OPERATING TIPS
•To trim new growth, use a wide sweeping motion, feeding the blade teeth through the hedge or twigs. The
most effective cutting is achieved with a slight downward tilt of the blade.
•Wear gloves when trimming thorny or prickly growth.
When trimming new growth, use a wide sweeping
action, so that the stems are fed directly into the cutting blade. Older growth will have thicker stems and
will be trimmed easiest by using a sawing movement.
• Do not try to cut stems that are larger than 3/8 inches
(10 mm) thick. Use a non-powered hand saw or pruning saw to trim large stems.
•If desired, you can use a string to help cut your hedge
level. Decide how high you want the hedge. Then,
stretch a piece of string along the hedge at this height.
Trim the hedge just above this guide line of string. Trim
the side of a hedge so that it will be slightly narrower at
the top. More of the hedge will be exposed when
shaped this way, and be more uniform.
ASSEMBLYINSTRUCTIONS
B
A
Fig. 1A Fig. 1B
C
D
CAUTION:
Make sure the release lever is
locked in the primary hole and knob is
securely tightened before operating this unit.
CAUTION: All attachments are designed to
be used in the primary hole unless otherwise
indicated in the specific attachment’s operator’s manual. If the incorrect hole is used, it
could result in injury, or damage to the unit.
OPERATING INSTRUCTIONS
3
4
WARNING: Dress properly to reduce the risk
of injury when operating this unit. Do not
wear loose clothing or jewelry. Wear eye and
ear/hearing protection. Wear heavy long
pants, boots and gloves.
Use a full face shield
when needed
.
WARNING: Make sure the unit is powered off
before adjusting the trimming angle.
B
A
Fig. 2A Fig. 2B
A
Hedge trimmer at 90˚
angle
WARNING: If operating the unit on a slope,
stand below the cutting attachment. DO NOT
operate on a slope or hilly incline if there is
the slightest chance of slipping or losing your
footing.
WARNING: Keep hands and fingers away
from moving parts. Any part of body coming
in contact with moving parts could result in
serious injury.
WARNING: If any parts are missing, damaged, or broken, do not operate your hedge
trimmer until they have been replaced.
Failure to do so could result in possible serious personal injury.
DANGER: If the blade jams on any electrical
cord or line, DO NOT TOUCH THE BLADE. It
can become ELECTRICALLY LIVE and
VERY DANGEROUS. Release the unit in
the safest manner possible, and turn off the
power source.
Refer to trimmer instructions for full starting and maintenance instructions.
1. WARNING : To reduce the risk of electrical shock,
use only extension cords approved for outdoor use.
2. CORD SETS : Make sure your cord set is in good
condition. When using a cord set, be sure to use a
cord that is heavy enough to carry the current that
your unit will draw. An undersized cord set will cause
a drop in line voltage resulting in a loss of power and
overheating. See the operator’s manual for the unit
that will power this attachment for the recommended
cord size.
3. Inspect all extension cords and the unit power conection periodically. Look closely for deterioration, cuts or
cracks in the insulation. Also inspect the connections
for damage. Replace the cords if any defects or damage appears.
4. Do not use the unit in the rain.
5. Do not handle the plug or unit with wet hands or
standing on any wet surfaces.
6. Do not leave the unit plugged in when not in use,
changing attachments or add-ons, or ehile being
serviced.
1. Only qualified authorized personnel should perform
repairs or maintenance procedures that are not
described in this manual.
2. When not in use, store unit indoors in a dry place where it is not accessible to children.
3. DO NOT ATTEMPT TO REPAIRHEDGETRIMMERfor service or repair, take the hedge trimmer to your
nearest authorized dealer.
4. SAVE THESEINSTRUCTIONS. Refer to them frequently and use them to instruct third party users. If
you loan someone this tool, loan them these instructions also.
SAFETY WARNING FOR ELECTRIC
HEAD
AFTER OPERATING
Page 3
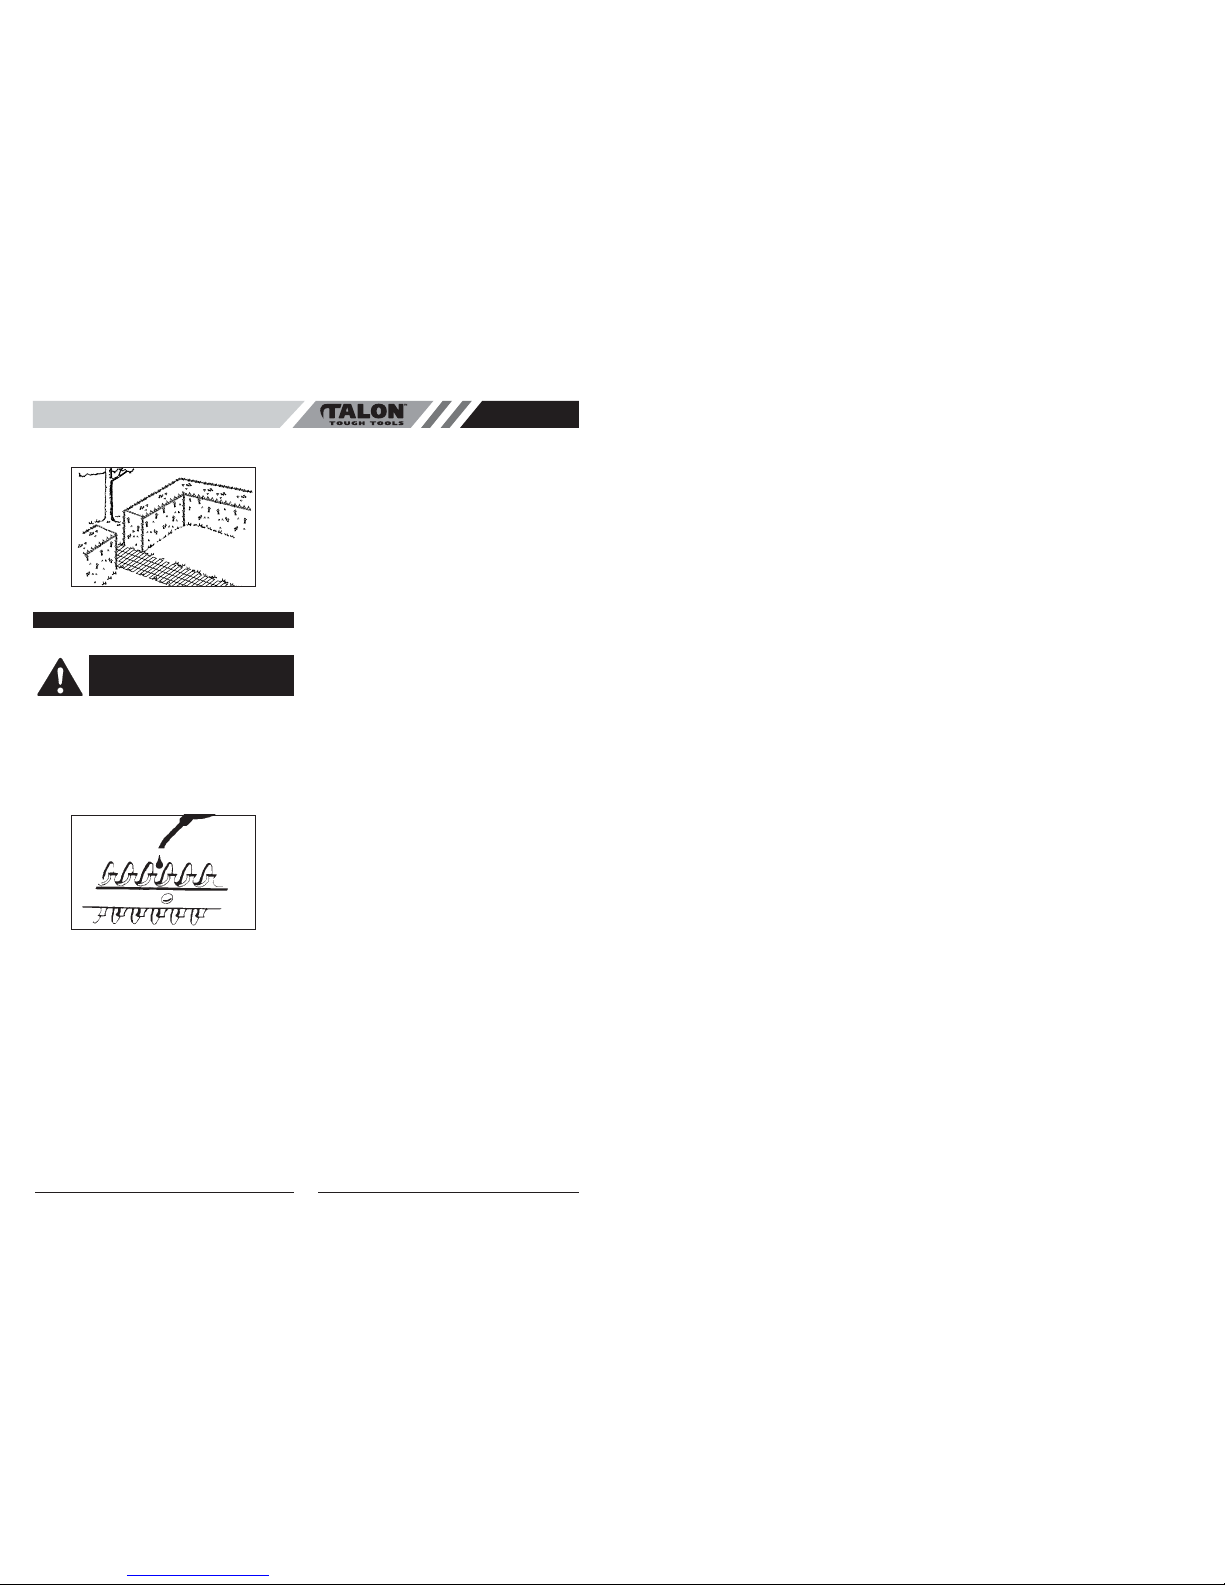
•To trim the sides of hedges, hold the hedge trimmer at
the bottom and sweep upwards. (Fig. 3)
• BLADE LUBRICATION
1. For easier operation and longer blade life, lubricate
the hedge trimmer attachment blade before and after
each use. Before lubricating, be sure the power
source is turned OFF. Apply light machine oil along
the edge of the top blade strap (Fig. 4).
2. Occasionally, you should oil your hedge trimmer
attachment during use. Before oiling, stop hedge
trimmer, then oil. You then can resume trimming. Do
not oil while hedge trimmer attachment is running.
• OTHER MAINTENANCE
1. The cutting blades are made from high quality,
hardened steel and with normal usage, they will not
require resharpening. However, if you accidentally
hit a wire fence, stones, glass or other hard objects,
you may put a nick in the blade. There is no need to
remove this nick as long as it does not interfere with
the movement of the blade. If it does interfere, turn
the power source off and use a fine toothed file or
sharpening stone to remove the nick.
2. If you drop the trimmer, carefully inspect it for
damage. If the blade is bent, housing cracked, or
handles broken or if you see any other condition that
may affect the trimmer’s operation contact a
professional service center for repairs before putting
it back into use.
3. Fertilizers and other garden chemicals contain
agents which greatly accelerate the corrosion of
metals. Do not store the tool on or adjacent to
fertilizers or chemicals.
4. With the unit powered off, use only mild soap and a
damp cloth to clean the tool. Never let any liquid get
inside the tool; never immerse any part of the tool
into a liquid.
NOTE: To assure product SAFETY and RELIABILITY,
repairs, maintenance and adjustments should be performed by an professional service center using identical
replacement parts.
GB
4
MAINTENANCE AND REPAIR INSTRUCTIONS
Fig. 3
WARNING: Before lubricating, be sure your
unit is switched off and blades have come to a
complete stop.
Fig. 4
 Loading...