

TAG MCLAREN AUDIO 60iRv sl Owner's Manual
ground
aux tuner cd
left
right
left
right
1 outin 2
left
right
serial
number
220-240V
~
50-60Hz
Fuse: T2.5A L250V
12 21
made in United Kingdom
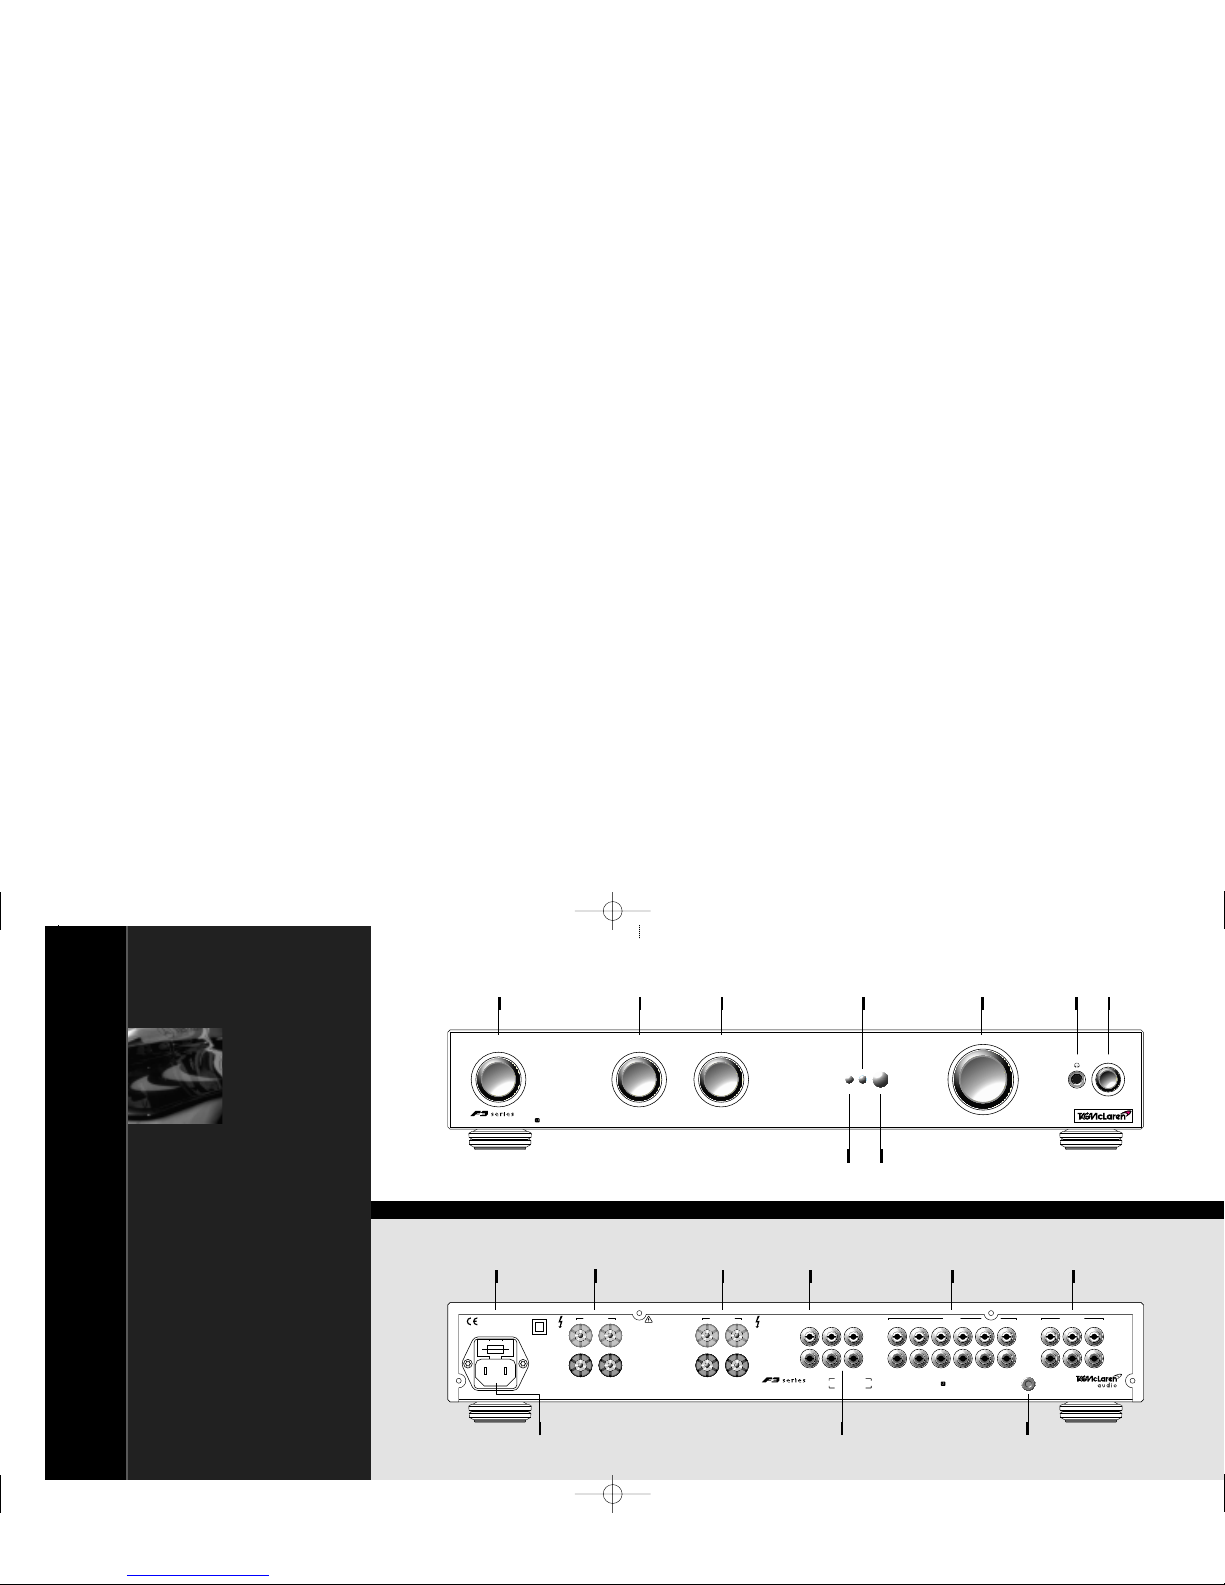
integrated amplifier 60iRv
right channel left channel
OUTPUT
OUTPUT
POWER
AMP
PRE
AMP
left
right
out 3 in out 2 in out 1 in
TAPE
SOURCE
fuse
carrier
tape in/out
sockets
power amplifier
input sockets
ground
terminal
preamplifier
output sockets
input
sockets
loudspeaker
terminals (left)
loudspeaker
terminals (right)
ac supply
socket
60R 1234567
cd
tuner
RECORD
aux
tape 1
tape 2
tape 3
aux
tuner
INPUT
cd
tape 1
tape 2
tape 3
pre
mute
MODE VOLUME
integrated
pre-power
pre-power av
integrated amplifier 60iRv
record
selector knob
mode
selector knob
headphone
socket
power
LED
input
selector knob
volume
knob
power
button
mute
LED
remote control
window
contents
02 welcome
08 key features
10 getting started
14 selecting an input
16 operating modes
21 volume control
22 muting
23 headphones
24 grounding
25 connecting loudspeakers
33 running in and warming up
34 care and maintenance
36 technical data
40 international standards
Specification shown may vary for different countries
GRA00046.1-[CA]60iRv 12/03/01 15:19 Page 1

03
Now,this blend of talent and
expertise has been combined
with the award-winning
experience of Audiolab to create
a company with a technical
advantage and access to
resources second-to-none in the
high end audio industry TAG McLaren Audio.
TAG McLaren Audio has been created with
one aim in mind:to produce the best highfidelity audio and audio-visual systems
available.Now the first fruits of that
alliance are ready – a unique new range of
audio products.
Throughout the F3 Series development
process,quality,performance and
reliability have been paramount,resulting
in unparalleled performance,operational
excellence and sheer listening pleasure.
celebrating a TAG McLaren victory
All TAG companiesperpetually strive
for,and achieve,excellence and highperformance in every area of their
business.
These qualities are demonstrated in the
fastidious standards that make TAG Heuer
watches some of the world’s most
admired;in the teamwork that makes TAG
McLaren’s motor racing team one of the
most successful in Formula One;and in the
advanced electronics technology that
makes TAG Electronic Systems the first
choice for many Formula One constructors
and high-performance car makers.
Derek Scotland (on the left) – Technical Director
Peter Stevens – Chief Industrial Designer
Dr. Zucker – Chief Executive
welcome to a new partnership
..in hi-performance, hi-fidelity
GRA00046.1-[CA]60iRv 12/03/01 15:19 Page 3
We are convinced it will give you many hours of
listening pleasure.
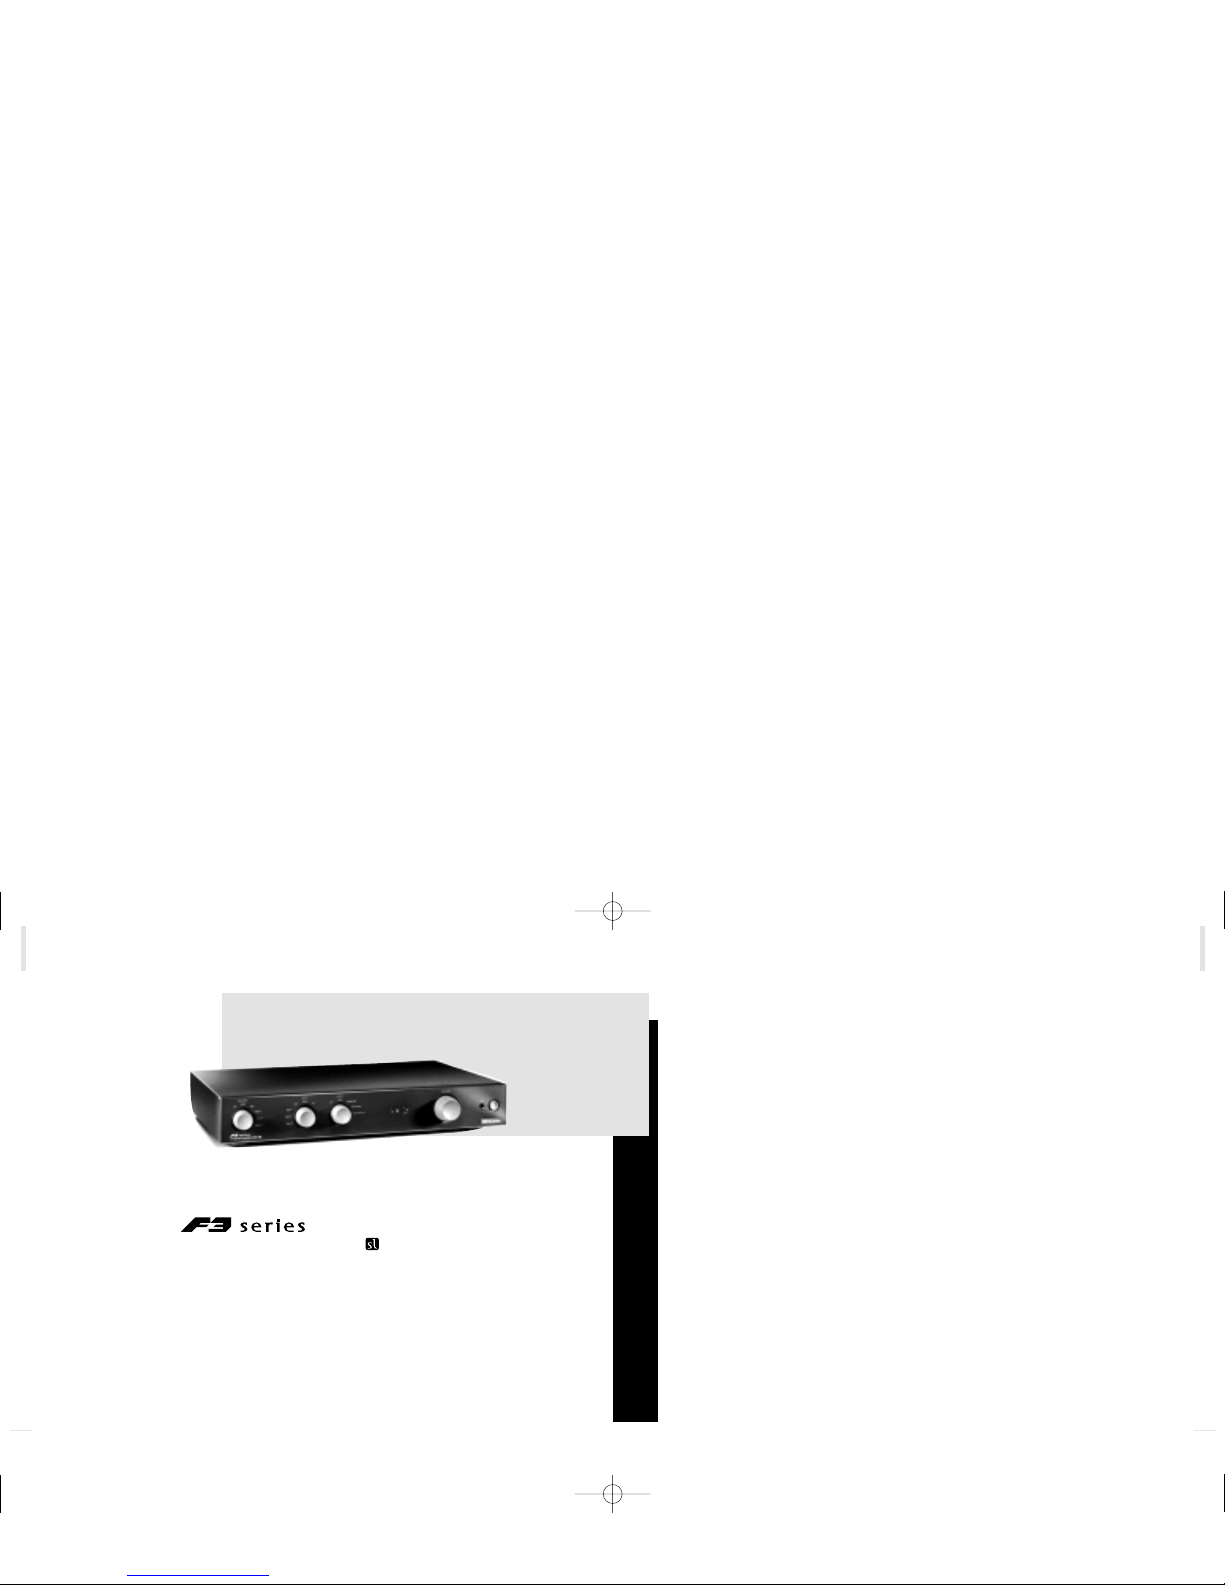
The 60iRv is a versatile,remote controlled,integrated amplifier
which acts as the command centre for your entire audio system.
It can easily be configured to work as a high-performance
preamplifier, power amplifier or integrated amplifier,thus
allowing you to upgrade your system in the future without
losing the investment you have placed in it today.
versatile input
and recording selection
The 60iRv has six selectable inputs and
three outputs for recording. For added
convenience you can select inputs,adjust
the volume or mute the output by remote
control.A separate signal path is provided
for recording,with its own independent
input selector,so you can record one piece
of music while listening to another.
low intermodulation distortion
The theoretically-ideal amplifier
reproduces sound perfectly over an infinite
range of frequencies – starting from well
below the audible range and extending far
above the capabilities of human hearing.
Although sound outside the human hearing
range of approximately 20 to 20,000 Hz
cannot be heard,it can significantly distor t
welcome
welcome
0504
Thank you for purchasing the TAG McLaren Audio integrated amplifier 60iRv.
the quality of music reproduction through
an effect that audio engineers call
‘intermodulation distortion’.This type
of distortion moves imperfections that
originate outside the hearing range back
into the audible frequencies.To minimise
this effect,TAG McLaren Audio amplifiers
have a frequency response which extends
both above and below the range of normal
human hearing.
exceptional low-frequency response
The 60iRv uses two different technologies
to achieve fidelity at low frequencies.
The preamplifier section uses capacitors
to block the unacceptable Direct Current
(DC) while allowing the desirable sound
signals to pass through unimpeded.
TAG McLaren Audio has expended many
years of design effor t on the special
integrated amplifier 60iRv
GRA00046.1-[CA]60iRv 12/03/01 15:19 Page 5

large power supply (which accounts for
the high weight of the 60iRv) and highlyspecified output circuitry.The output
terminals are duplicated for your
convenience in case you wish to bi-wire
your loudspeakers.
future-proof
The 60iRv is future-proof.It is the perfect
amplifier if you want to upgrade your audio
system at a later stage.The 60iRv circuitry
can easily be split into its separate
preamplifier and power amplifier sections,
allowing you to use higher-grade component
units,such as our preamplifier PA20R or our
stereo amplifier 100P. Even bi-amping, using
an amplifier such as our 60P or 100P,
becomes a straightforward upgrade.
circuitry which, without compromising
sound quality, accommodates the highquality, low-distortion capacitors that must
be used.
straight line technology
In the power amplifier section,a feedback
circuit eliminates DC offset voltage and
allows the signal path to be direct coupled
without any capacitors.This arrangement,
which we at TAG McLaren Audio call
‘Straight Line Technology’,is easy to
describe but not easy to realise.The design
has taken our expert engineers years to
perfect.
supersonic high-frequency response
In order to reproduce high frequencies,
the 60iRv is constructed using highlyrated,high-precision components.
The circuit has been painstakingly
designed to avoid any possibility of signals
picking up interference and to minimise
the effects of intermodulation.
sophisticated muting
The 60iRv has a sophisticated muting
system,whic h stops you hearing loud,
annoying switching noises and protects
the amplifier and loudspeakers.
substantial power
The 60iRv’s power rating of 60 watts is
very conservative,as the 60iRv can
typically provide 72 watts into 8
Ω, 115
watts into 4
Ω,and 150 watts into 2 Ω for a
short period. Performance of this calibre is
essential to drive even the least sensitive
loudspeakers without distortion, and has
been achieved through the use of a very
welcome
welcome
0706
The 60iRv combines the convenience of an
integrated amplifier with the versatility to
easily upgrade to separates at a later stage.
GRA00046.1-[CA]60iRv 12/03/01 15:19 Page 7

‘Straight Line Technology’ with direct coupled signal and
feedback paths
Versatile integrated amplifier, with relay-switched, independent
preamplifier and power amplifier sections, giving a future-proof
upgrade path to higher-grade separates
High-quality audio components
Rated 60 W, typically 72 W into 8 Ωcontinuous (rated 95 W,
typ. 115 W into 4 Ω and rated 130 W, typ. 150 W into 2 Ω for
short periods)
Mains supply interrupt monitor
Class A preamplifier stage
Direct input to power amplifier section
Six line level inputs for: CD, tuner, auxiliary, and three tape
recorders
Independent input selection for listening and tape recording
Four pairs of loudspeaker terminals (for bi-wiring or multi-room)
Two low-impedance stereo outputs from preamplifier to allow
long cable runs
Three stereo outputs for recording
Headphone output for a wide range of impedances with
automatic muting when headphones are plugged in
Volume control and input selector can be operated manually or
by remote control
Remote control also operates selected TAG McLaren Audio F3
Series CD players
Sorbothane
®
sonic isolation feet, specially designed by
TAG McLaren Audio
(1)
08 09
key features key features
•
•
•
•
•
•
•
•
•
•
•
•
•
•
•
•
1. For the very best performance we recommend that our units are placed on
individual shelves and are not stacked one on top of another
GRA00046.1-[CA]60iRv 12/03/01 15:19 Page 9

We know you are keen to get your 60iRv working. This section
will have you listening to your favourite music as quickly as
possible. If you fold out the front cover of this booklet you will
locate diagrams which will help you find your way around
your 60iRv
(1)
.
Make sure that all the components of your audio system are
disconnected from the AC supply whenever you change any
connections.
On the back of your 60iRv you will find four pairs of loudspeaker
terminals, each pair consisting of one red and one black.
The terminals on the back of the 60iRv use BFA
(2)
sockets.
The BFA plug pushes into the middle of the terminal.
Use high-quality loudspeaker cable terminated in BFA plugs
(3)
to
connect the red
(4)
terminal of your right loudspeaker to one of the
red terminals marked OUTPUT right channel on the back of the
60iRv
(5)
. Then connect the black terminal of your right loudspeaker
to one of the black terminals marked OUTPUT right channel on
the back of the 60iRv.
Connect the left loudspeaker to a pair of left channel terminals
in the same way.
before
you start
loudspeaker
terminals
loudspeaker
connection
10
11
getting started getting started
1. Throughout this instruction manual (except in titles), bold print indicates the
lettering that you will find on the panels of your 60iRv
2. In models for countries where the AC supply is115 V, the terminals accept 4 mm
‘banana’ plugs instead of BFA plugs. 4 mm plugs are not permitted in Europe.
Please see page 25 for more details of the terminals
3. If you prefer to use a cable which does not have BFA plugs, please see page 26
4. If your loudspeaker terminals are not colour coded – red corresponds to positive
(+) or signal and black corresponds to negative (-)
5. Each pair of terminals is marked 1 and 2. You can use either 1 or 2; they are
connected together internally
6. The diagram is for illustrative purposes only; it is not to scale and does not show
all connections. Please see page 25 for more details on connecting loudspeakers
12
right channel
OUTPUT
left speaker
right speaker
outin
The diagram shows a
standard loudspeaker
arrangement
(6)
GRA00046.1-[CA]60iRv 12/03/01 15:19 Page 11

Turn the VOLUME right down (all the way anticlockwise).
Set the INPUT selector to the input to which you connected your
sound source.
Set the MODE selector to the integrated position
(3)
.
Press the power button in. The blue power LED will come on.
Wait for about 20 seconds until the mute LED on the front panel
goes out
(4)
.
Start playing your sound source.
Turn up the VOLUME, sit back and enjoy the music.
setting controls
switch on
You will need a source of audio signals (such as our CD player
CD20R or our tuner T20) to feed into your 60iRv. Use a goodquality, screened phono-phono audio cable to connect the phono
output sockets of your sound source to the appropriate pair of
left and right sockets marked SOURCE aux, tuner, cd or TAPE in
1, in 2 or in 3 on the back of your 60iRv
(1)
.
Check that the power button is out so that power is off when you
plug in
(2)
. Using the cable supplied, connect the socket on the
back of your 60iRv to an AC supply outlet. For the best sound
quality, we recommend that you do not use multi-plug adaptors.
sound source
connection
power
connection
12
13
getting started getting started
1. The inputs for cd, tuner, aux, TAPE 1, TAPE 2 and TAPE 3 are all the same
electrically. They are named for your convenience
2. The power button is a latching switch. One press will hold it in, the next will
release it
3. The operating modes are explained on page 16
4. The output is muted when the power is switched on to allow all the voltages to
stabilize. This protects your 60iRv and your loudspeakers and prevents
unpleasant switching noises from upsetting your listening experience
aux
tuner
INPUT
cd
tape 1
tape 2
tape 3
pre
mute
MODE
integrated
pre-power
pre-power av
VOLUME
GRA00046.1-[CA]60iRv 12/03/01 15:19 Page 13
 Loading...