

1
07/11/2016
A Ground Breaking Company Since 1923
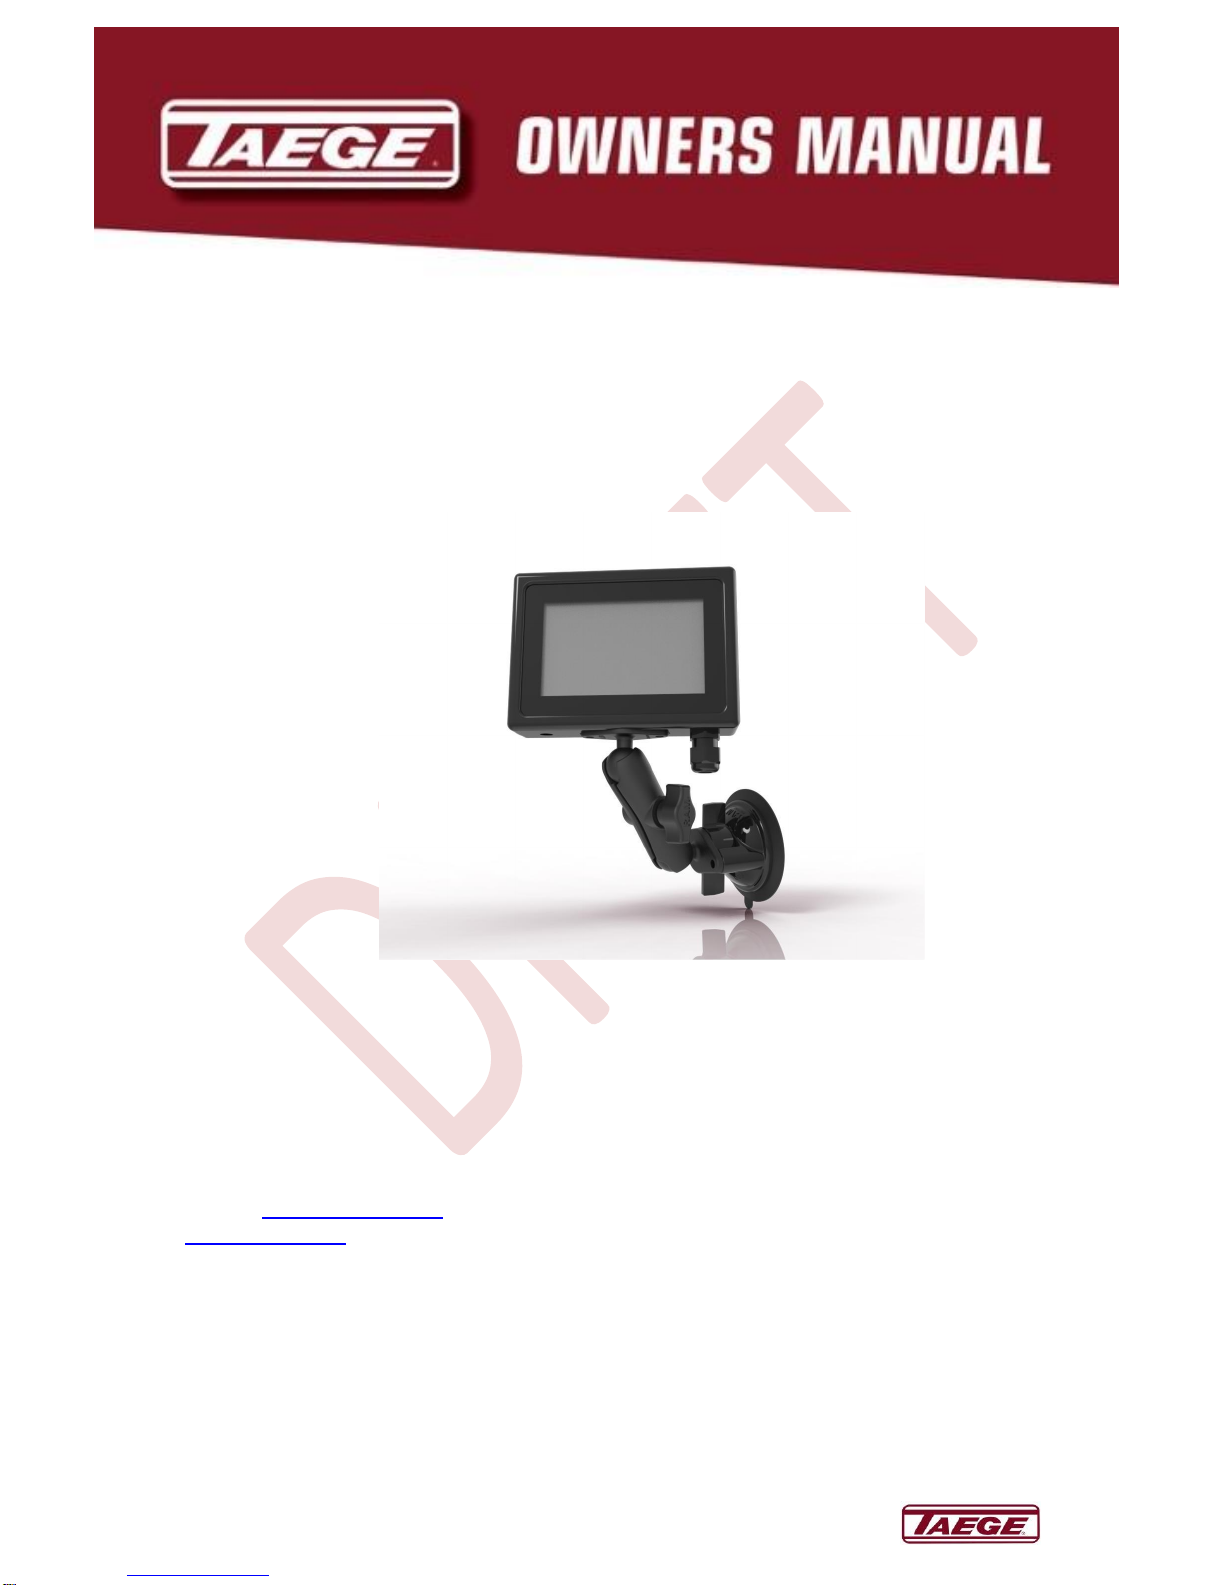
RC350 Controller
Rev 01.05
Manufactured by: Dealer / Local Agent
:
Taege Engineering Ltd
Main West Road,
Sheffield 7500
New Zealand
Ph: 64 3 318 3824
Fax: 64 3 318 3646
E-mail: sales@taege.com
www.taege.com
2
07/11/2016
A Ground Breaking Company Since 1923
Contents
Page
Introduction 3
Starting the Controller 4
Quick Calibration 5
Calibration Check 6
Operating the Controller 7
Additional Tasks 8
Controller Configuration 9
Glossary 10
Warning Screens 11
Disclaimer 11
Warning 11

3
07/11/2016
A Ground Breaking Company Since 1923
Introduction
Congratulations on purchasing a Taege RC350 Controller rev 00.95 Taege Engineering, a
market leading agricultural company, who pride themselves on developing market leading
solutions demanded by New Zealand farmers and contractors.
Taege Engineering want you to be satisfied with your product, which has been designed and
manufactured to provide years of dependable use.
By following our owner’s manual (using, service, maintenance etc) the life span and the
second-hand value of the machine can be extended. If you ever lend or sell this machine,
make sure that the borrower or buyer gets the operator′s manual, so they will also know how
to properly maintain and use it. You can download additional copies of your owner’s manual
from www.dealer.taege.com.
Please quote your controller version when seeking advice or ordering parts.
E.g. RC350 rev 00.99
Thank you for purchasing a Taege Controller. Taege Engineering has a policy of continuous
product development and therefore reserves the right to modify the design and appearance
of products without prior notice.

4
07/11/2016
A Ground Breaking Company Since 1923
Starting the Controller
Always connect all the cables to the machine.
When the RC 350 Controller is powered up it always starts in the “Stopped” mode.
At the top of the screen you will see "Front", a "clock" and “>" & "," buttons. If you touch the
">" button the settings the "Back" hopper will show and if the “<” button the "Area Information"
screen will show. If you press the">" button several times the "Controls" screen will show. On
this screen you will be able to adjust the "Brightness" in percent and the "Run fall-back" time
in (*sec) or press the "<" button to go back to a "Hopper" screen.
At the bottom of the screen you will see the “Menu”, “Prime”, “Calibrate” and “GO” buttons.
In the centre of the screen the "kg/ha", "Select Crop" and “+” and “-” buttons are shown.
When you press the “kg/ha” button the "Weight Entry" screen shows and you enter the
kilograms per hectare (target weight). If a wrong entry is made press the “Cancel” button but
if it is correct press "OK".
The last weight entry is always shown above the "OK" button. (Was xxx.x kg/ha)
Selecting the Crop
When you press the “Select Crop” button, a crop list shows for that hopper. ((1) Front) Select
the crop and if you wish press "Edit", and name the crop, and enter the target weight. At any
stage, you can "Cancel" and stay with the original name and setting or “Save” the new
settings. The controller will always ask you to "Select" even if no change is made. Repeat if a
second or third hopper are fitted to the machine.
The “+” and “-” buttons increase or decrease the “kg/ha in both "GO" and "Stopped" mode.
The “Menu”, “Prime” and “Calibrate” buttons at the lower part of the screen are more
functions.
“Prime” primes the selected hopper.
Calibrating
“Calibrate” takes you to the calibrate screen for the selected hopper.
On this screen you can select the “RPM” and the run time in “Seconds” for the hopper/s.
Please follow the on screen instructions (See "Calibration" 1, 2, 3 & 4. Or "Cancel").
When the calibrated weight has been entered, the controller will revert to the “Hopper”
screen in the "Stopped" mode.
 Loading...