

Page 1

User Manual
Professional AC Line Splitter
Model:
MLS01
Page 2

Shenzhen Take Tools Co., Ltd.
Web: www.tacklifetools.com
Facebook: www.facebook.com/Tacklife.US/
E-mail: support@tacklife.net
ADD:No.B714, Niulanqian Building, Minzhi Road,
Longhua District, Shenzhen, Guangdong, China 518000
Made in China
Page 3

Contents
English
Deutsch
Français
Español
Italiano
01~06
07~10
11~14
15~18
19~22
Page 4

1. Safety Precautions
To prevent damage to the instrument and ensure your safety, you
must read this safety precaution before using!
1. Please check the product casing and insulation to make sure
it’s intact.
2. In order to prevent electric shock and other hazards, the load
must not exceed AC 250V 15A.
3. In order to prevent damage to the insulation, do not open the
product casing.
4. After finishing testing, turn off the power first, then remove
the test leads and load plugs.
2. Compliance
This product is an integrated part of the clamp meter which
makes current measuring simple and convenient, it will not
damage the equipment’s power cord insulation. It is exquisitely
designed, easy to operate and compliant with the IEC61010
standard which is essential for electrical engineering testing.
3. Description
1. Safety Standards: IEC61010
2. Maximum Load: AC 250V 15A
3. Use Environment: Temperature: 0-40 ℃; Humidity: ≤ 90%
4. Storage Environment: Temperature: 10-50 ℃; Humidity ≤ 90%
- 01 - - 02 - - 03 - - 04 - - 05 - - 06 -
Page 5

4. Warning Symbols
Symbol
L
N
5. Display Description
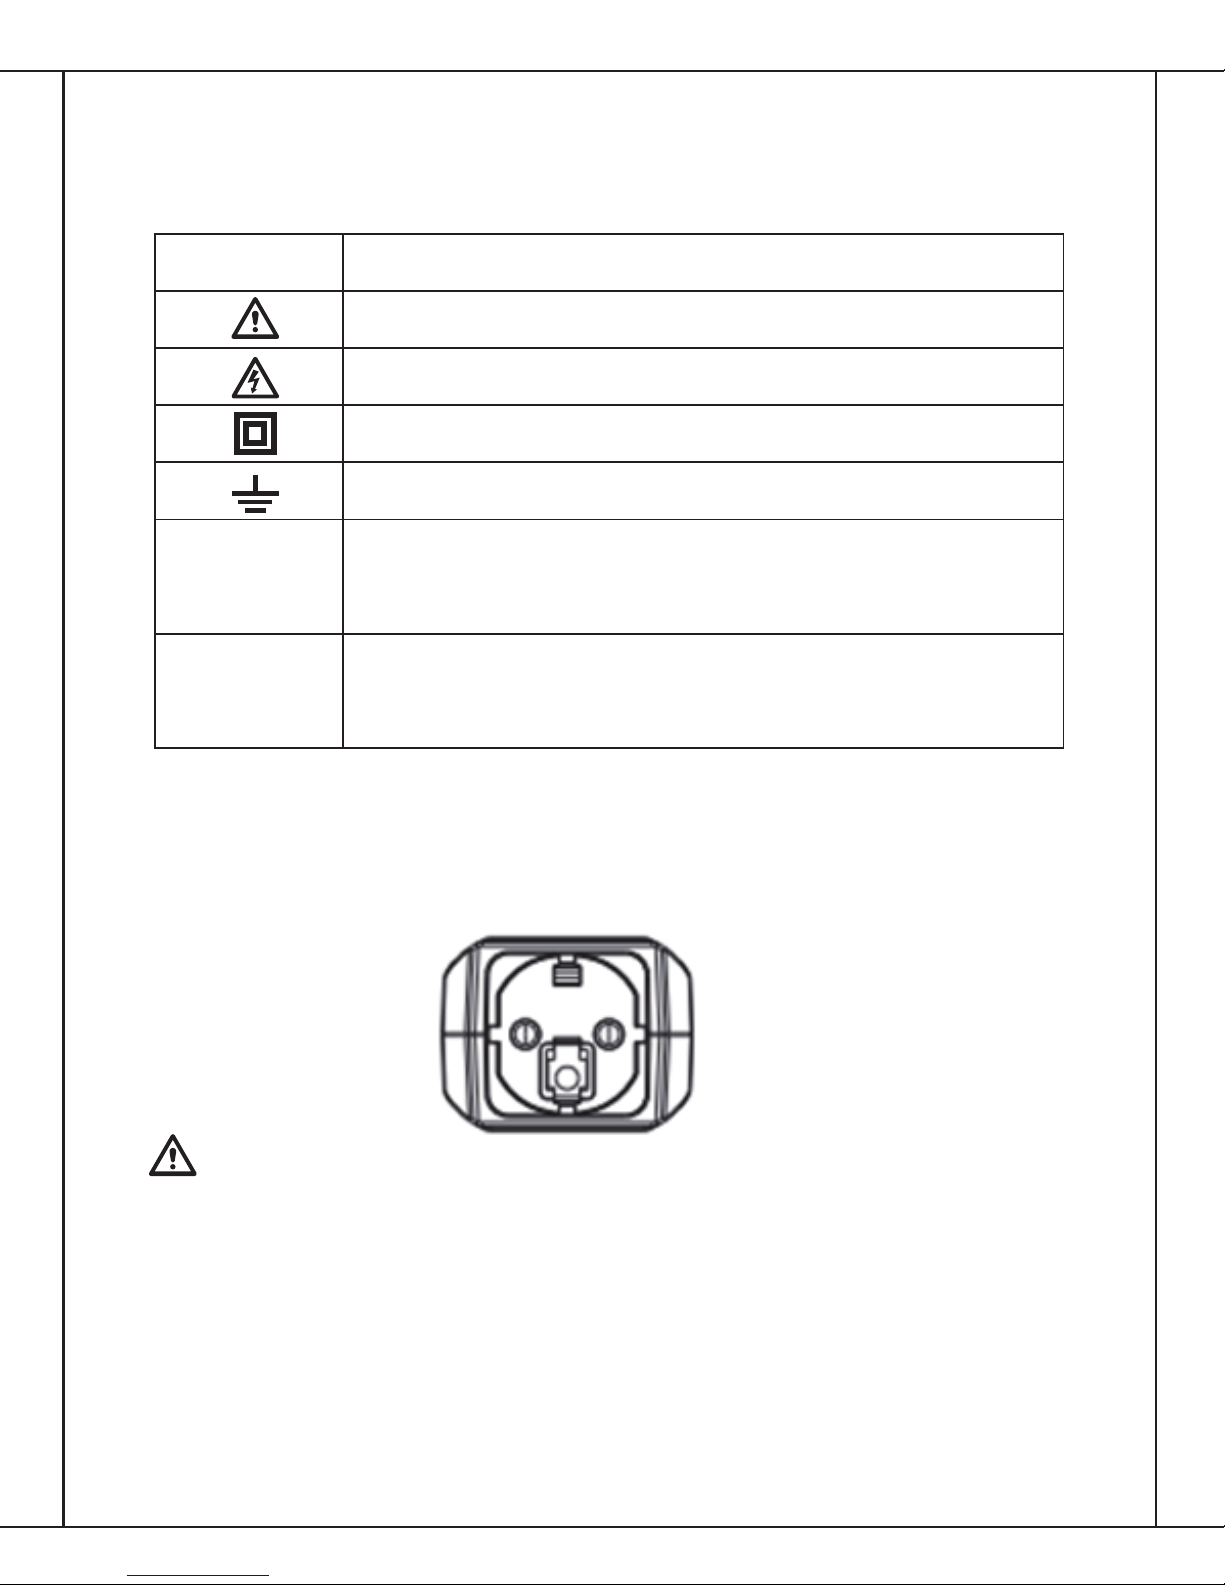
US Regulation:
1. Power plug
Function
Important safety information
Dangerous voltage may be present
Double insulation
Ground
Live wire connected to the internal power supply
Neutral wire connected to the internal power supply
The standard power plugs are as follows:
The permissible maximum load: AC 250V 15A
2. "X1" current test end: measured out of the real working current.
3. "X10" current test end: measured to increase the current reading
by 10 times.
4. Voltage test socket: Test device operating voltage.
5. Load the socket
Page 6

The maximum load: AC 250V 15A
Suitable for the standard plug, the specific model is as follows:
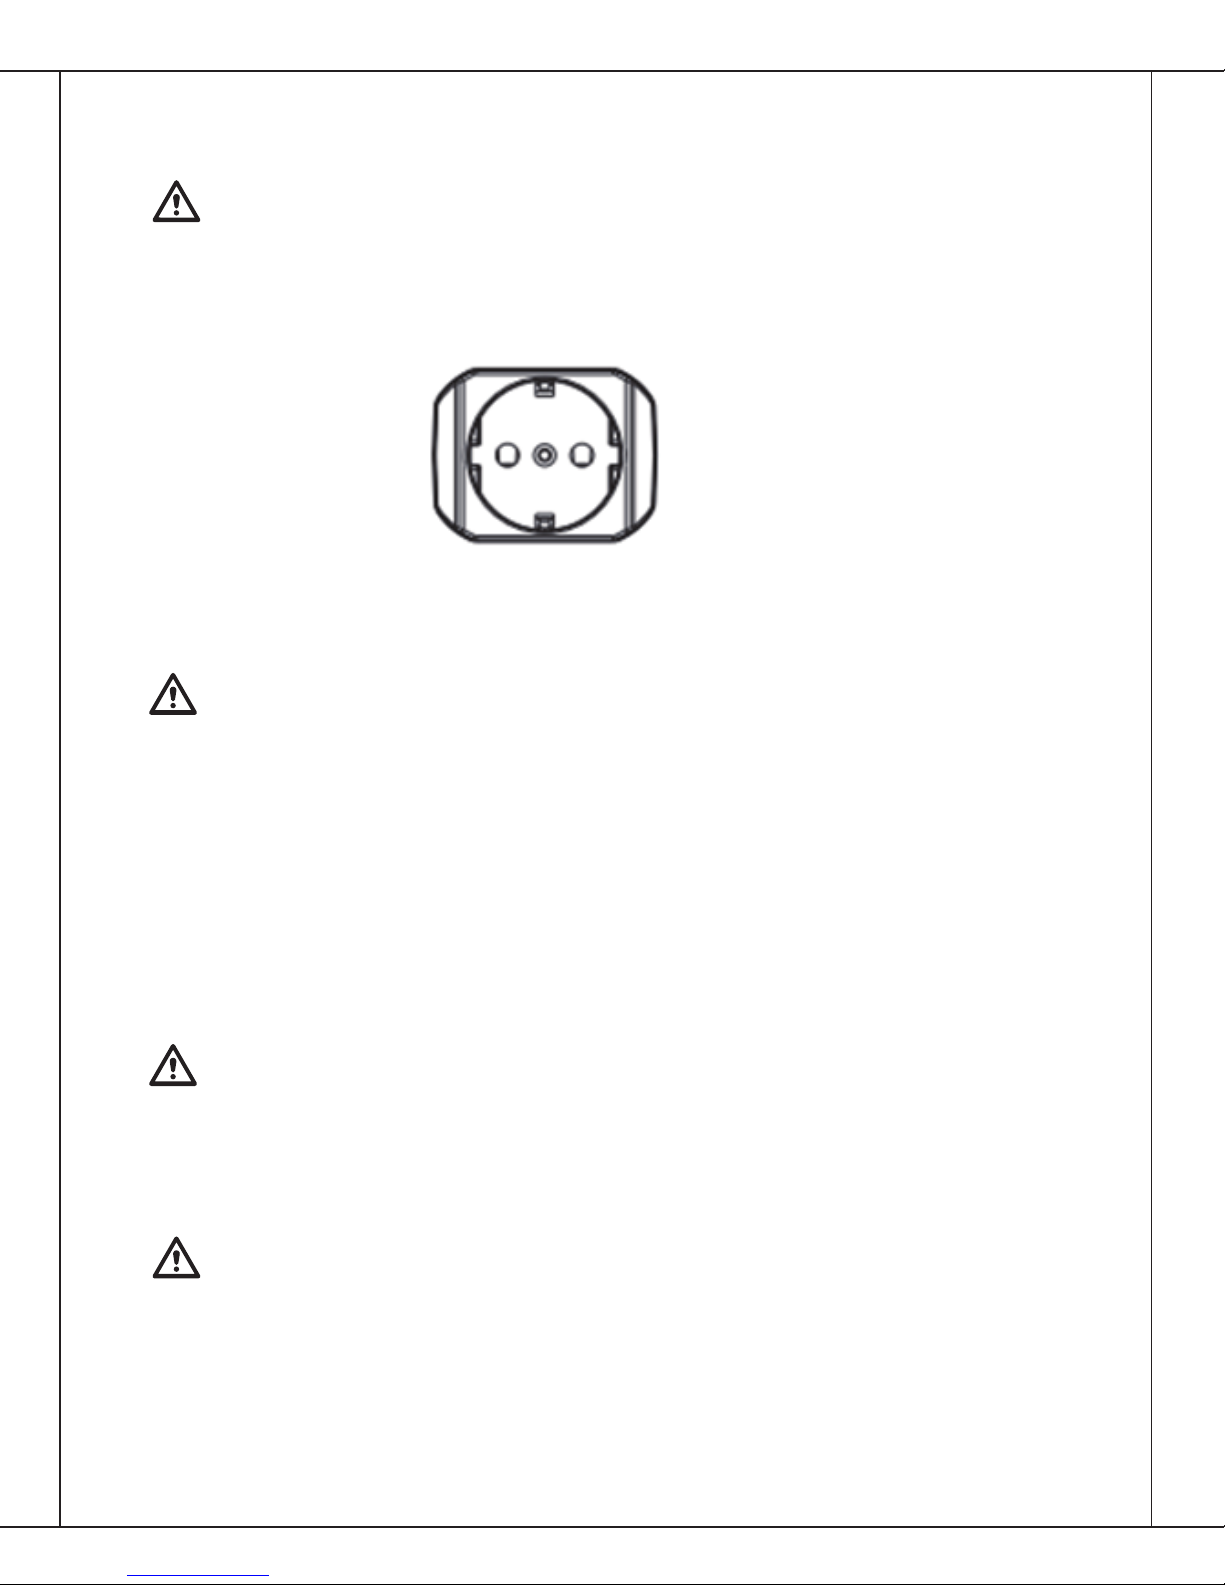
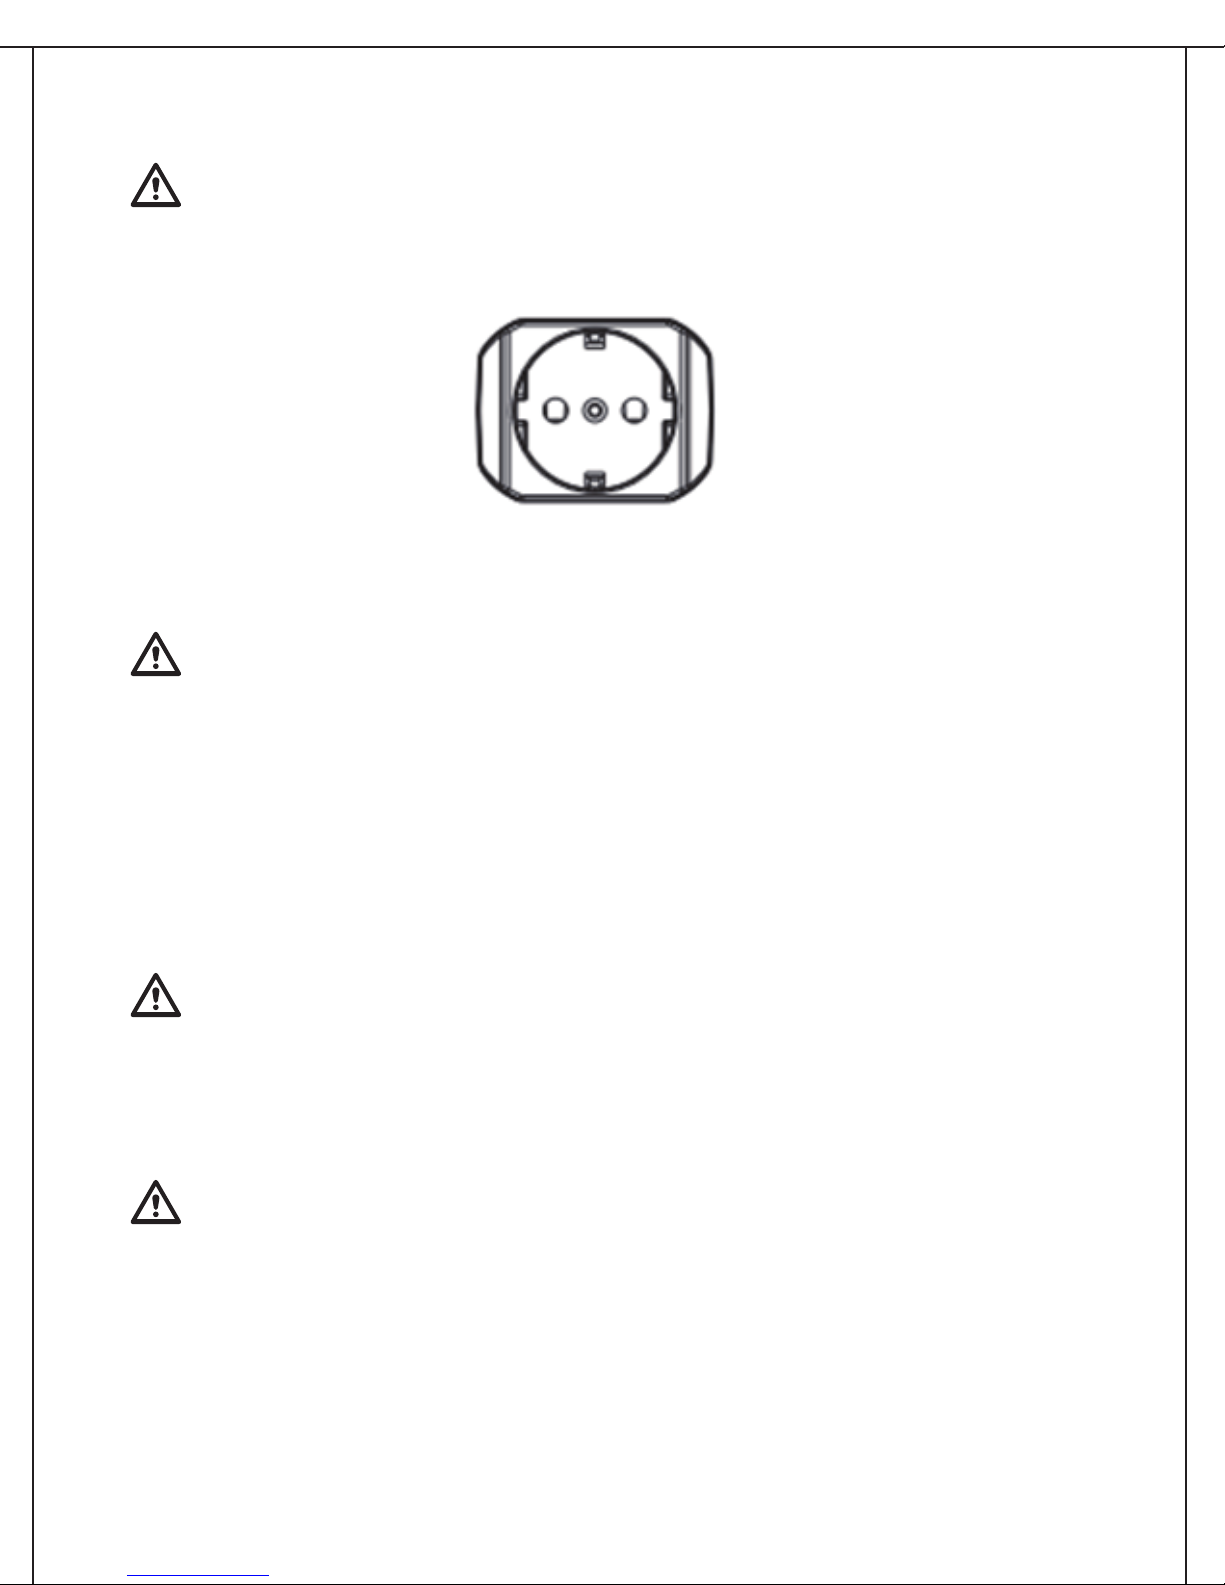
EU Regulation:
1. Power plug:
The standard power plugs are as follows:
The permissible maximum load: AC 250V 15A
2. "X1" current test end: measured out of the real working current.
3. "X10" current test end: measured to increase the current
reading by 10 times.
4. Load the socket
The maximum load: AC 250V 15A
Suitable for the standard plug, the specific model is as follows:
Page 7

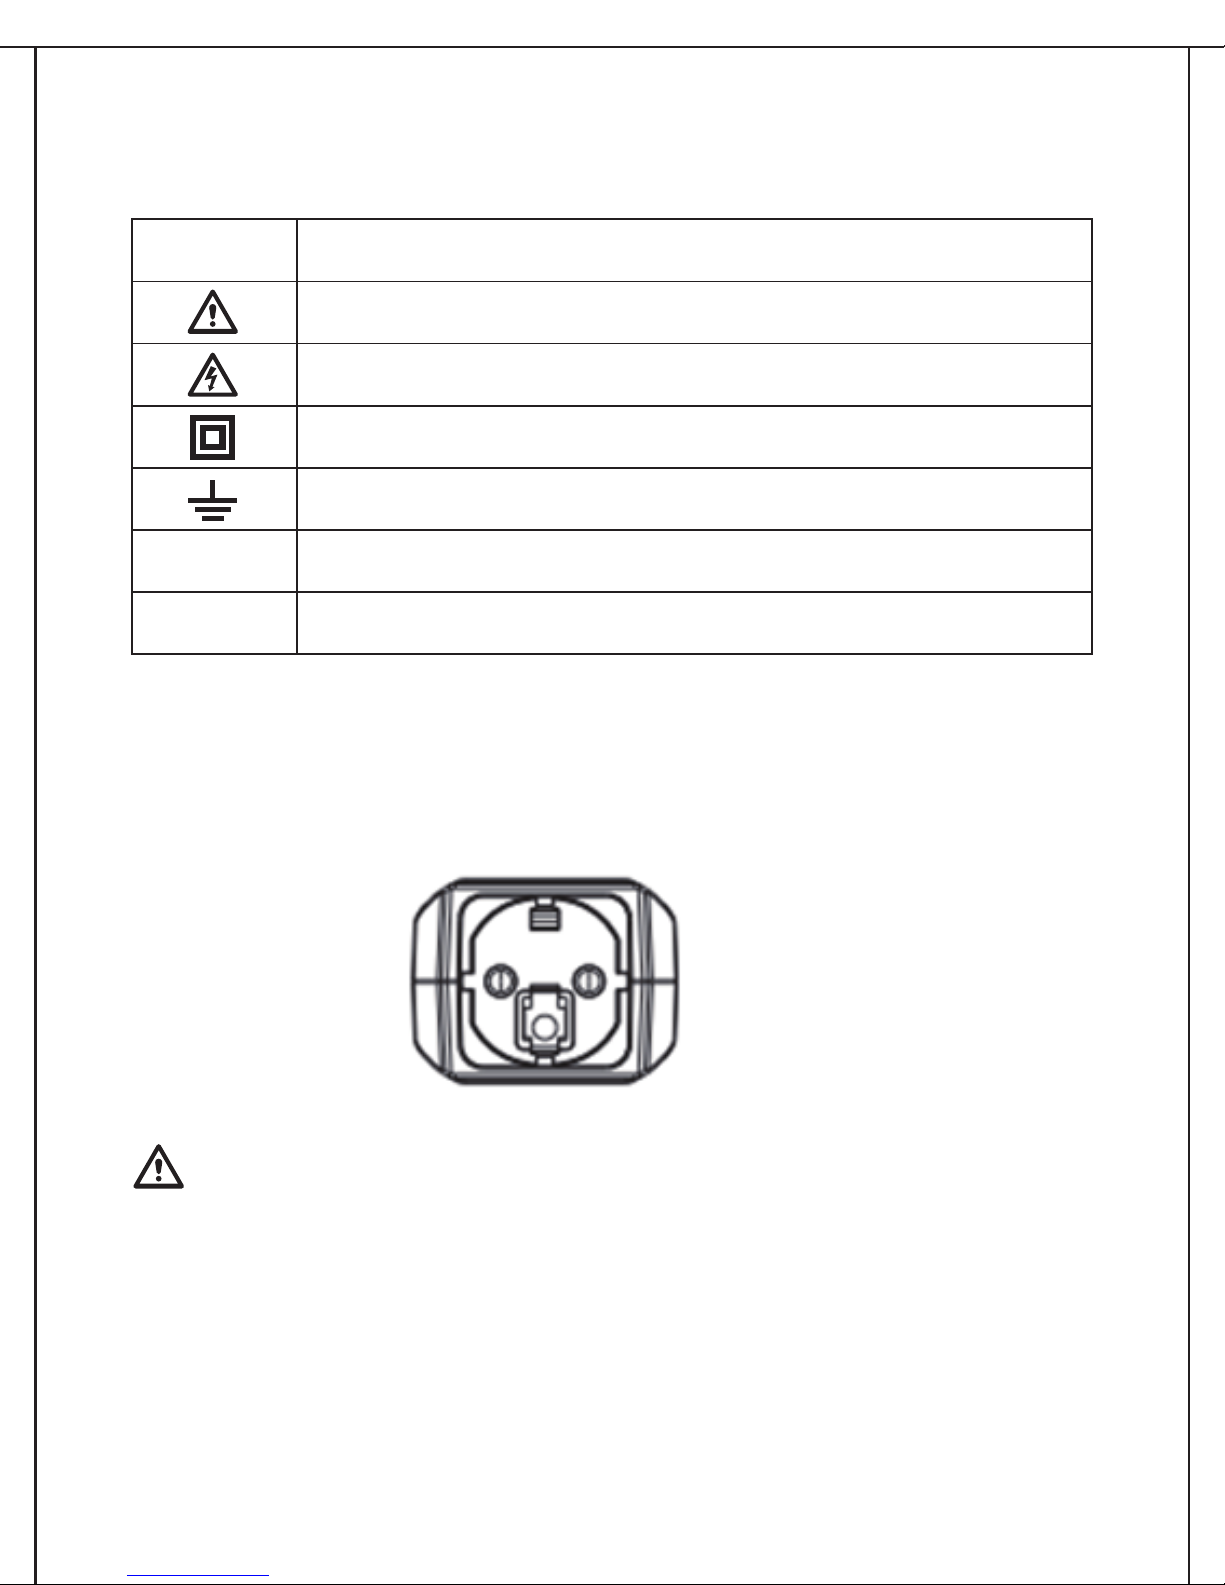
UK Regulation:
1. Power plug:
The standard power plugs are as follows:
The permissible maximum load: AC 250V 15A
2. "X1" current test end: measured out of the real working current.
3. "X10" current test end: measured to increase the current reading
by 10 times.
4. Load the socket
The maximum load: AC 250V 15A
Suitable for the standard plug, the specific model is as follows:
6. Operating Instructions
US Regulation:
6.1 Current Test
The maximum load: AC 250V 15A
1. Insert the load plug into the splitter socket and fully insert the
plug to ensure good contact.
2. Plug the splitter into the power outlet to ensure that it is in good
contact.
Page 8

3. Use the clamp meter to clamp the current test end of the splitter
to obtain the current reading.
Select different test terminals according to different current.
Select "X1" to get the normal load current; select "X10" to increase
the current readout by 10 times to increase the current
resolution.
The presence of the clamp meter itself will affect the accuracy
of the test, so please select the high precision clamp meter.
6.2 Voltage Test
1. Plug the load plug into the splitter socket.
2. Plug the splitter into the power outlet.
3. Make the function rotary of the multimeter to AC 600V, insert the
probe into the sockets of the live wire and neutral wire to read
the operating voltage of the load.
6.3 Power Test
1. Plug the load plug into the splitter socket.
2. Make the function rotary of the multimeter to AC 600V, insert the
probe into the sockets of the live wire and neutral wire.
3. Plug the splitter into the power outlet.
4. Select the appropriate current test on the splitter with a clamp.
5. Take the readings of the clamp meter and multimeter separately,
power can be calculated by the following formula: P = U * I.
Page 9
EU and UK Regulation
6.1 Current Test
The maximum load: AC 250V 15A
1. Insert the load plug into the splitter socket and fully insert the
plug to ensure good contact.
2. Plug the splitter into the power outlet to ensure that it is in good
contact.
3. Use the clamp meter to clamp the current test end of the splitter
to obtain the current reading.
Select different test terminals according to different current.
Select "X1" to get the normal load current; select "X10" to increase
the current readout by 10 times to increase the current resolution.
The presence of the clamp meter itself will affect the accuracy
of the test, so please select the high precision clamp meter.
6.2 Power Test
1. Plug the load plug into the splitter socket.
2. Make the function rotary of the multimeter to AC 600V, insert
the probe into the sockets of the live wire and neutral wire.
3. Plug the splitter into the power outlet.
4. Select the appropriate current test on the splitter with a clamp.
5. Take the readings of the clamp meter and multimeter separately,
power can be calculated by the following formula: P = U * I.
Page 10

1. Vorsichtsmaßnahmen
Für Ihre persönliche Sicherheit und um Schäden am Gerät zu
vermeiden, lesen Sie die Sicherheitsvorkehrungen vor Anwendung!
1. Überprüfen Sie bitte Produktsgehäuse und einen isolierenden
Abschnitt, die unbeschädigt sind.
2. Um Stromschlag und andere Gefahren zu verhindern, muss die
Last AC 250V 15A nicht überschreiten.
3. Um eine Beschädigung des isolierenden Teil zu verhindern,
dürfen Sie nicht Gehäuse öffnen.
4. Nach dem Test müssen wir zuerst das Gerät ausschalten und
dann die in Ordnung bringen.
2. Umfassende Beschreibung
Dieser Werkzeug ist zweckgebundenes Fitting der Stromzange
und es ist einfach zu testen, ohne Stromleitung Isolierung zu stören
und es ist schön aufgebaut, einfach zu bedienen.Dieser Werkzeug
entsprechen IEC61010-Standard und ist ein unverzichtbares
Werkzeug für die Elektrotechnik-Tests.
3.Beschreibung über Aussehen
1. Sicherheitsstandard: IEC61010.
2. Maximalbelastung : AC 250V 15A.
3. Verwendungsumwelt: Temperatur: 0-40 Grade ℃;
Luftfeuchtigkeit: ≤90%.
4. Lagerungsumgebung: Luftfeuchtigkeit: 10-50 ℃;
Luftfeuchtigkeit ≤90%.
- 07 - - 08 - - 09 - - 10 -
Page 11

4. Symbol der Sicherheitsidentifikation
Symbol
L
N
5.Umfassende Beschreibung
1. Stecker:
Standard Netzstecker sind wie folgt:
Funktion
Wichtige Information
Es gibt vielleicht gefährliche Spannungen
Doppelte Isolierung
Erder
Firing line
Null line
Zulässige Belastung: AC 250V 15A
2. "X1" Prüfklemme von Strom: um den eigentlichenStrom zu
messen.
3. “x10” Prüfklemme von Strom: um den Strom zu messenmit
10-facher Vergrößerung.
4. Laststeckdose.
Page 12

Maximale Belastung: AC 250V 15A.
Für Standard-Stecker sind wie folgt:
6. Anleitung
6.1 Stromtest
Die maximale Belastung ist AC 250V 15A.
1. Laden Sie den Stecker in die Steckdose von Line Splitter und
sollte den Stecker vollständig guten Kontakt eingefügt werden.
2. Laden Sie Line Splitter in eine Steckdose und sollte den Stecker
vollständig guten Kontakt eingefügt werden.
3. Kneifen Sie die StromzangeLine Splitter dann können Sie Messwert
des Stroms bekommen. Je nach dem verschiedenen Strom wählen
Sie verschiedenen Testanschlusses. „X1“ werden Sie der
normale Laststrom bekommen; „X10“ kann den Strom10-fachen
verstärkt werden und die aktuellen Auflösung erhöhrt werden.
Stromzange kann die Genauigkeit des Tests beeinflussen, so
verwenden Sie sich bitte hochpräzise Stromzange.
6.2 Leistungsprüfung
1. Laden Teiler in die Steckdose.
Page 13

2. Wählen Sie das Multimeter auf AC 600V, stecken Sie die
Sonde in die Steckdosen des lebenden Drahtes und des neutralen
Drahtes.
3. Stecken Sie den Splitter in die Steckdose.
4. Wählen Sie den entsprechenden Prüfstrom Eiler Ende mit einem
Spannbügel. Jeweils allein und
5. Clamp Multimeter Ablesungen Leistung durch die folgende
Gleichung berechnet werden: P = U * I.
Page 14

1. Précautions de sécurité
Pour votre sécurité personnelle et pour éviter d'endommager
l'instrument, vous devez lire cette précaution de sécurité avant
de l'utiliser!
1. Vérifiez le boîtier du produit et l'isolation, afin de vous assurer
qu'il est intact.
2. Afin de prévenir les chocs électriques et d'autres dangers, la
charge ne doit jamais dépasser AC 250V 15A.
3. Afin d'éviter d'endommager l'isolation, n'ouvrez pas le boîtier
du produit.
4. Une fois le test terminé, éteignez d'abord l'alimentation, puis
retirez les cordons d'essai et chargez les fiches.
2. Description complète
Ce produit est un accessoire spécial de la pince ampèremétrique
qui rend la mesure de courant simple et pratique, il ne nuira pas
à l'isolation du cordon d'alimentation de l'équipement .Il est
construit magnifiquement ,facile à utiliser et conforme à la norme
IEC61010 ,qui est l’outil essentiel pour les essais d'ingénierie
électrique.
3. Description d’apparence
1. Normes de sécurité: IEC61010
2. Charge maximale: AC 250V 15A
3. Environnement d'utilisation: température: 0-40 ℃;
Humidité: ≤ 90%
4. Environnement de stockage: température: 10-50 ℃;
Humidité ≤ 90%
- 11 - - 12 - - 13 - - 14 -
Page 15

4. Symboles d'avertissement
Symbole
L
N
5.Description complète
1. Prise électrique
Les normes des prises standards d'alimentation sont les suivantes:
Fonction
Informations importantes de sécurité
Tension dangereuse peut être présente
Double isolation
Mettre à la terre
Fil de phase connecté à l'alimentation interne
Fil neutre connecté à l'alimentation interne
La charge maximale autorisée: AC 250V 15A
2. "X1" extrémité de test de courant : courant réel mesuré de travail .
3. "X10" extrémité de test de courant :courant multiplié de 10 fois.
4. Prise de charge
Page 16

La charge maximale: AC 250V 15A
Convient à la prise standard, le modèle spécifique est le suivant:
6. Instructions d'opération
6.1 Test de courant
La charge maximale: AC 250V 15A
1. Insérez la fiche de charge dans la prise de distributeur ,et insérez
complètement la fiche pour assurer un bon contact.
2. Branchez le distributeur dans la prise de courant ,et vous assurer
qu'il est bien en contact.
3. Utilisez la pince ampèremétrique pour serrer l'extrémité de test
de courant de distributeur ,pour obtenir la lecture en cours.
Sélectionnez différents terminaux de test selon différents
courants. Sélectionnez "X1" pour obtenir le courant normal de
charge ; Sélectionnez "X10" pour multiplier la lecture actuelle de
10 fois pour augmenter la résolution actuelle.
La précision du compteur lui-même affectera la précision du
test, alors, sélectionnez le compteur de haute précision.
Page 17

6.2 Test de puissance
1. Branchez la fiche de charge dans la prise de distributeur .
2. Sélectionner la gamme de AC 600V du multimètre , insérez le
style de test dans les trous du fil de phase et du fil neutre .
3. Branchez le distributeur dans la prise de courant.
4. Sélectionnez l’extrémité appropriéede test de courant sur le
distributeur , et la serrer avec la pince.
5. Prenez les lectures du multimètre et de la pince ampèremétrique
séparément, la puissance peut être calculée selon la formule
suivante: P = U * I.
Page 18

1. Atención de Seguridad
Para su seguridad personal y para evitar daños en el instrumento, lea esto antes de usar el producto.
1. Comprueba la cáscara del producto y la parte aisladora para
asegurarlo intacto.
2. La carga no debe superar 250V 15A de CA para evitar descargas
eléctricas y otros peligros.
3. No abra la cáscara del producto para evitar daños a la parte
aislante.
4. Después de la prueba, primero hay que apagar la fuente de
alimentación, después los cables y el enchufe de carga.
2. Descripción General
Esta herramienta es el accesorio especial de tenaza, con ella
realizar la prueba de corriente es fácil, no destruye el equipo de
aislamiento de línea de fuente de alimentación. Ésta está
construido exquisitamente, es fácil de operar, en diseño corresponde
a la norma de IEC61010, es una herramienta indispensable para
la prueba de ingeniería eléctrica.
3. Descripción del Producto
1. Norma de Seguridad:IEC61010.
2. Carga Máxima:AC 250V 15A.
3. Ambiente de Uso:temperatura:0-40℃;humedad:≤90%。
4. Almacenamiento:temperatura:10-50℃; humedad: ≤90%。
- 15 - - 16 - - 17 - - 18 -
Page 19
4. Signo de Seguridad
Signo Función
Información de seguridad importante
Pueden producirse tensiones peligrosas
El doble aislamiento
Toma de tierra
La línea de fuego conectada con la fuente de
L
N
alimentación interna
La línea cero conectada con la fuente de
alimentación interna
5.Descripción General
1. Enchufe de poder
Tipos concreto del enchufe de poder normal son los siguientes:
Carga permitida:AC 250V 15A
2. Terminal de prueba voltaica "X1": la corriente eléctrica probada
es la del trabajo real.
3. Terminal de prueba voltaica "X10": la corriente eléctrica probada
es la de 10 veces amplificadas.
4. Enchufe de carga
Page 20
Cagra máxima:AC 250V 15A.
Tipos concretos del enchufe de poder normal son los siguientes:
6.Instrucción de Uso
6.1 Prueba de corriente eléctrica
Carga máxima: AC 250V 15A.
1. Inserta la clavija de carga en el enchufe de Splitter, y la clavija
debe ser insertado completamente en el enchufe para asegurar
un buen contacto.
2. Inserta el Splitter en el enchufe de poder y asegura un buen
contacto.
3. La pinza intercalando el terminal de prueba de corriente de
Splitter puede lograr los datos de corriente eléctrica.
Selecciona diferente terminal de prueba según diferente
corriente eléctrica, seleccionar "X1" puede lograr la corriente de
carga normal, seleccionar "X10" puede amplificar la corriente 10
veces y aumenta la resolución de imagen actual.
Error propia de pinza puede influir la exactitud de pruba, por
eso selecciona una abrazadera de alta precisión.
Page 21

6.2 Prueba de Potencia
1. Inserta la clavija de carga en el enchufe de Splitter
2. Seleccionando la marcha de multímetro a 600V de CA, inserta
el bolígrafo en el agujero de prueba de voltaje de línea de fuego
y línea cero
3. Inserta el Splitter en el enchufe de poder
4. Seleccionando Terminal de prueba voltaica conveniente del
Splitter, y lo intercala con la abrazadera.
5. Logra los datos de la abrazadera y el multímetro respectiva
mente, se puede calcular la potencia según la ecuación
siguiente: P=U*I.
Page 22

1. Precauzioni di sicurezza
Per la vostra sicurezza personale e per prevenire i danni allo
strumento, è necessario leggere questa precauzione di sicurezza
prima dell'uso!
1. Controllare l'involucro e l'isolamento del prodotto per assicurarsi
che sia intatto.
2. Per evitare scosse elettriche e altri pericoli, il carico non deve
superare mai AC 250V 15A.
3. Per evitare i danni all'isolamento, non aprire l'involucro del prodotto.
4. Una Volta completato il test, spegnere prima la corrente, poi
rimuovere i cavi di misurazione e caricare le spine.
2. Conformità
Questo prodotto è una parte integrata del misuratore di bloccaggio
che rende la prova corrente semplice e conveniente, non danneggia
l'isolamento del cavo di alimentazione dell'apparecchio. È squisito
progettato, facile da usare e conforme allo standard IEC61010 che
è essenziale per i test di ingegneria elettrica.
3. Descrizione
1. Norme di sicurezza: IEC61010
2. Carico massimo: AC 250V 15A
3. Uso Ambiente: Temperatura: 0-40 ℃; Umidità: ≤ 90%
4. Ambiente di immagazzinaggio: Temperatura: 10-50 ℃;
Umidità ≤ 90%
- 19 - - 20 - - 21 - - 22 -
Page 23
4. Warning Symbols
simbolo
L
N
5.Descrizione del display
1. Spina di alimentazione
Lo standard dei tappi di alimentazione sono i seguenti:
Funzione
Informazioni importanti sulla sicurezza
Può essere presente una tensione pericolosa
Doppio isolamento
Terra
Filo in diretta collegato all'alimentatore interno
Filo neutro collegato all'alimentazione interna
Il carico massimo ammissibile: AC 250V 15A
2. Estremità di prova "X1": misurata dalla corrente effettiva di
unzionamento.
3. Fine test "X10": misura per aumentare la lettura corrente di 10
volte.
4. Caricare la presa
Page 24
Il carico massimo: AC 250V 15A
Adatto per la spina standard, il modello specifico è il seguente:
6. Istruzioni d'uso
6.1 Test di corrente
Il carico massimo: AC 250V 15A
1. Inserire la spina di carico nella presa di separazione e inserire
completamente la spina per assicurare un buon contatto.
2. Inserire lo splitter nella presa di corrente per assicurarsi che
sia in ottimo contatto.
3. Utilizzare lo strumento di bloccaggio di bloccare l'estremità di
prova corrente dello splitter per ottenere la lettura corrente.
Selezionare diversi terminali di prova in base alla corrente
diversa. Selezionare "X1" per ottenere la corrente normale di
carico; Selezionare "X10"di aumentare la lettura corrente di 10
volte per aumentare la risoluzione corrente.
La presenza dello strumento di fissaggio stesso influenzerà
l'esattezza della prova, quindi si prega di selezionare il misuratore di
precisione ad alta precisione.
Page 25

6.2 Test di potenza
1. Inserire la spina di carico nella presa di separazione.
2. Comporre il multimetro a AC 600V, inserire la sonda nelle
prese del filo vivo e del filo neutro.
3. Inserire lo splitter nella presa di corrente.
4. Selezionare il test corrente appropriato sullo splitter, con un
morsetto.
5. Prendete separatamente le letture dello strumento e del
multimetro, la potenza può essere calcolata con la seguente
formula: P = U * I.
 Loading...