

SZ DJI TECHNOLOGY OAS11709 User Manual

DJI GOGGLES
Racing Edition
Quick Start
V1.0
Guide

DJI Goggles Racing Edition
Goggles Racing Edition (hereafter abbreviated as “DJI Goggles”)are equipped
DJI
with high-performance displays and an ultra-low latency video downlink for use
with DJI
TM
aircraft, giving you a real-time aerial First Person View (FPV) experience.
DJI Goggles can also be used to display HD videos, bringing you an immersive
high-definition viewing experience. DJI Goggles support head tracking, allowing
aircraft and gimbal to be controlled using head movements, introducing a new
style of flying.*
The DJI Goggles Racing Editionfeatures the advanced OCUSYNC
transmissio
n, supporting both theAnalog Video Downlink and 2.4 / 5.8GHz
TM
video
dual-band Digital Video Downlink, providing a high video downlink performance
with as low as 50ms latency and up to 2km transmission distance, a variety of
Antennas can be usedfor more application scenarios. For third-party racing aircraft,
DJI OcuSync Air Unit can be used directly with DJI Goggles to provide you with
acamera, video transmission, controls and displays integrated, high-quality racing
flight experience.

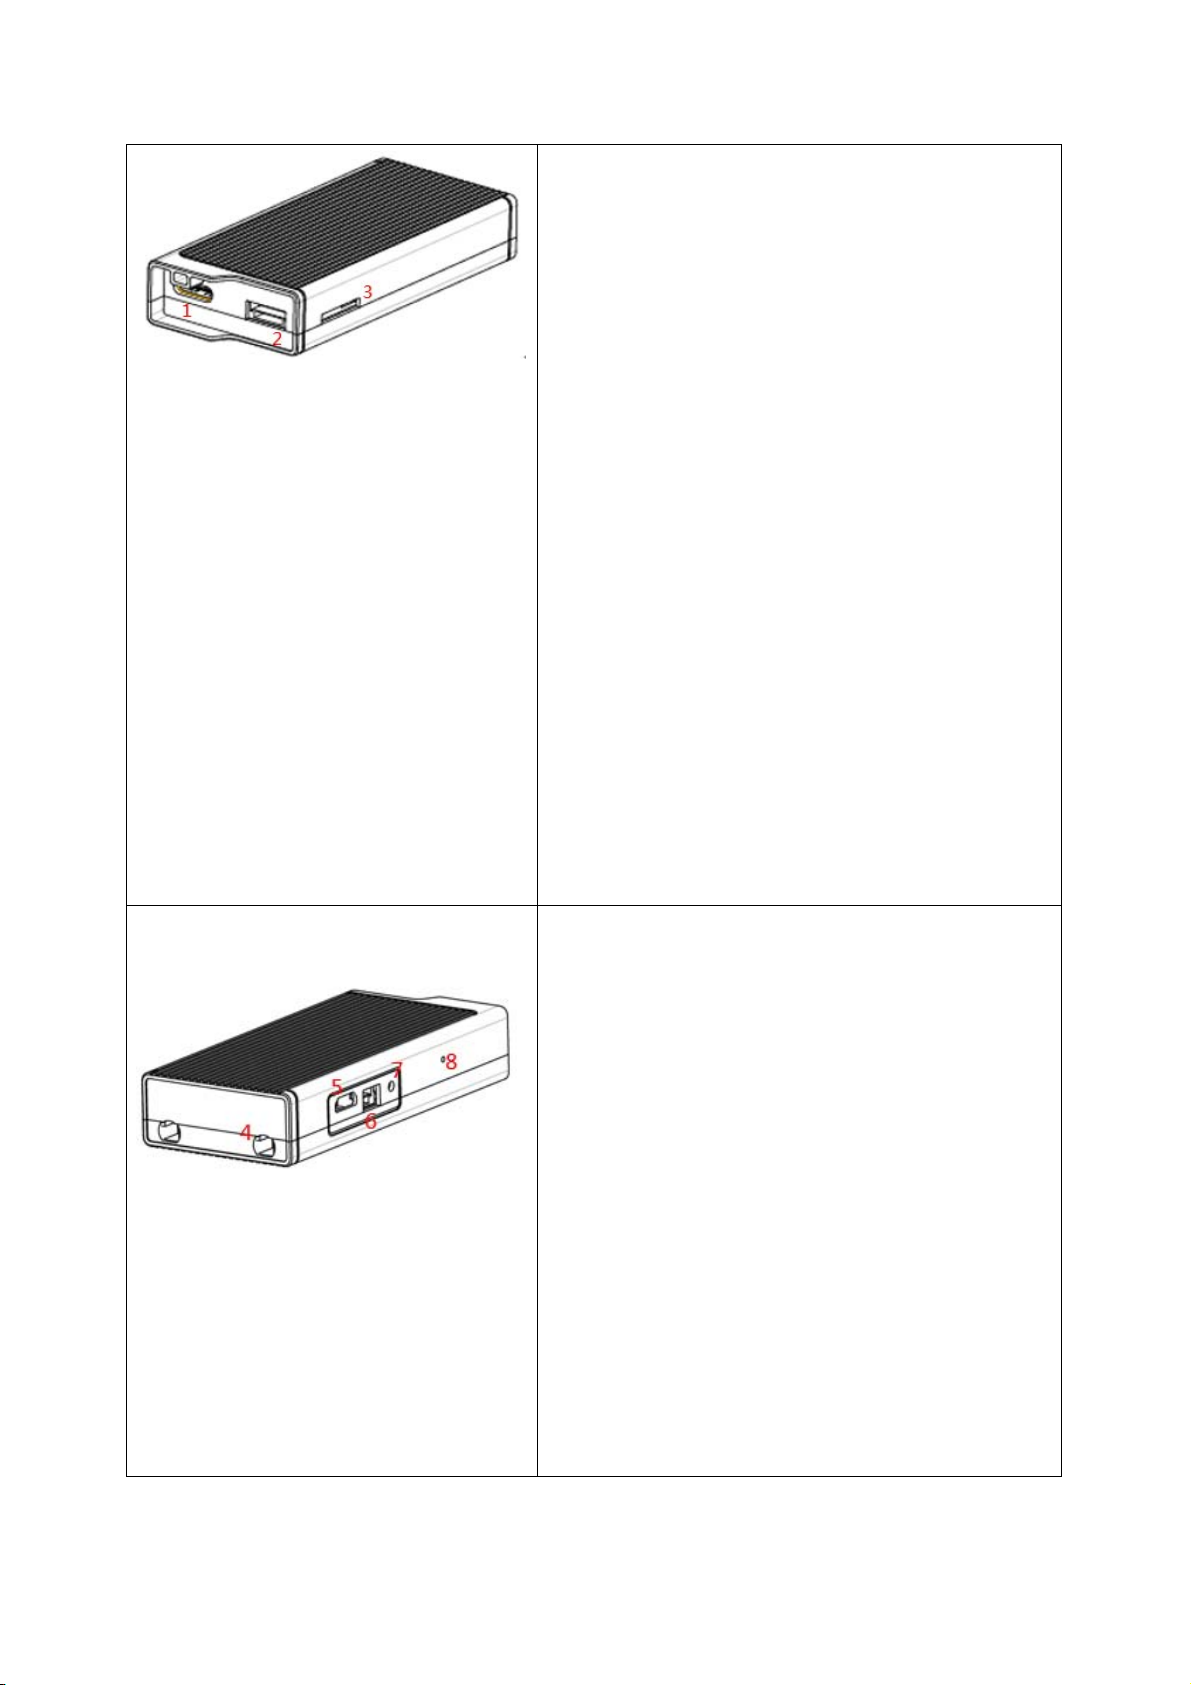
14. Lens
1. T
ouch Panel
2. Headband
3. Charging Status Indicator
4. Micro USB Port
5. Headband Knob
6. Speaker
7. Power Button
8. Battery Level Indicators
9. Back Button
10. Function Button
11. Link Button
12. Linking Status Indicator
13. IPD (Interpupillary
Distance) Knob
oximity Sensor
15. Pr
16. Headband Buckle
17. Heat Vent
18. Micro SD Card Slot
19. 3.5 mm Audio Port
20. HDMI Type-D Port
21. Speaker
22. SMAAntenna Port
1. Camera P
Connect with the DJI OcuSync Camera. Note
that both this port and the camera connector
plug are customize Type-C interface and they
are not compatible with third-party equipment.
2. SBUS Port
ort
Connect with the 3 in 1 Cable(power, S.Bus,
UART), and connect to power, flight controller
and the OSD port based on the sequence
below.
RED: Power
BLACK: Power GND
GRAY: UART RX(Connects toOSD)
WHITE: UART TX (Connects toOSD)
BROWN: GND
YELLOW: SBUS(Connects toFlight Controller
RX)
3. Micro SDCard Slot
Insert Micro SD Card to store the video
recorded.
4. Ant
enna Ports
Used to attach the Air Unit antennas.
5. Micro USB Port
Connects to your PC for firmware
upgradesthrough the DJI Assistant 2.
6. PPM Port
Connects to the aircraft’s gimbal with the
PPM Cable to control the aircraft or gimbal by
DJI Goggles. (supported later)
7. Link Button
Press this button to link the DJI OcuSync Air
Unit with the DJI Goggles.
8. Linking Status Indicator
Indicate the linking status of the DJI OcuSync
Air Unit and the DJI Goggles.
Module Connections
Analog Video Downlink
Install
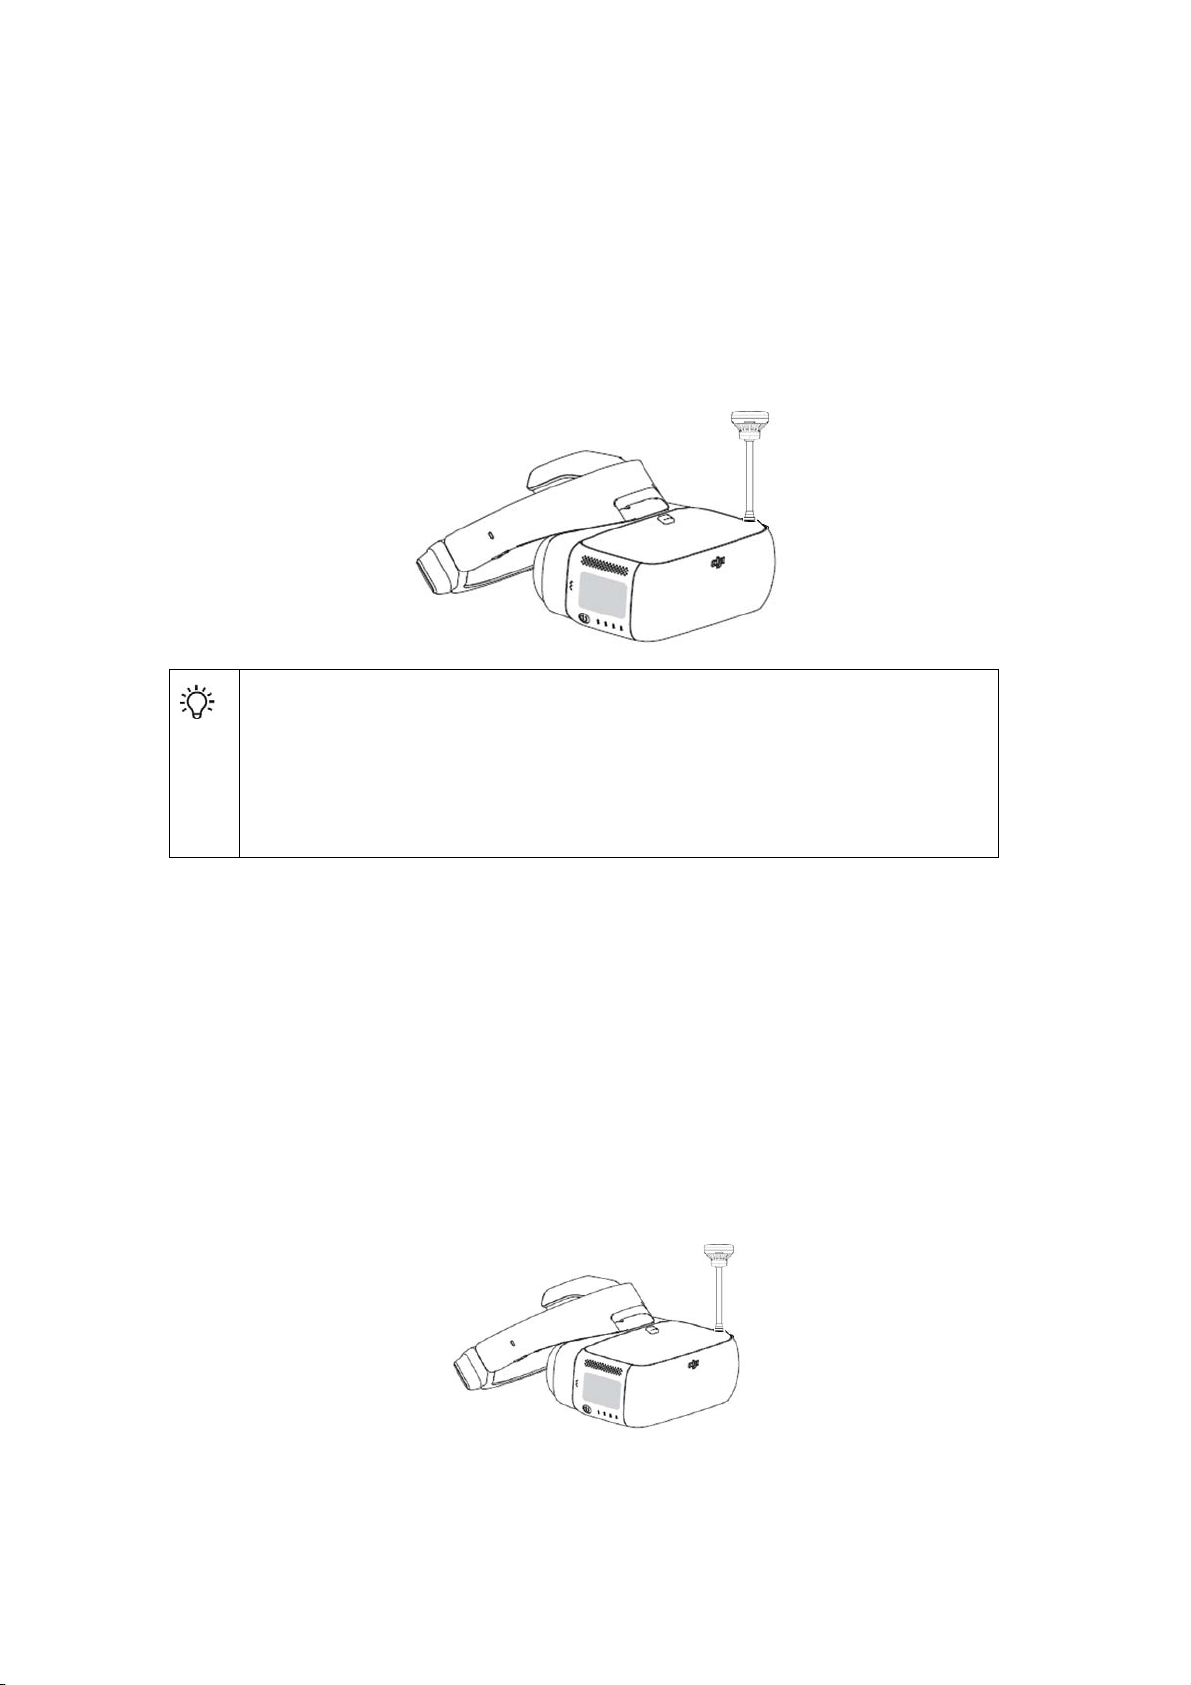
the pagoda antenna (SMA interface) to the SMA Port of DJI Goggles directly.
The provided pagoda antenna (SMA interface) also support two-way
digital transmission.A directional antenna with higher gain can be used
for better analogue transmission performance,.
Digital Video Downlink
When
(SMA interface) to the SMA Port of DJI Goggles, you will also need to install the DJI
OcuSync Air System on a third-party racing aircraft to work with DJI Goggles. Refer
to the below connection illustration and then mount the modules onto the aircraft.
using the Digital Video Downlink, In addition to install the pagoda antenna
 Loading...