

Page 1
Synology iUSB250
User’s Guide
(Document #: iUSB1.0-050729_enu)
Based on iUSB1.0 Ver.1.0020
Page 2

Copyright Notice
All titles, copyrights and other intellectual property rights related to the Software Product (including
but not limited to any relevant media, images, photographs, animation, video, audio, music, text, and
applets incorporated into the Software Product), accompanying manuals and other documents, and
on-line or electronic documents, if any, (collectively “Software Product”) are owned by Synology Inc.
Unless otherwise expressly licensed by Synology Inc. in writing, no provision of the Software Product
shall represent license to use any of the above rights.
Copyright © 2005 Synology Inc.; All rights reserved.
Trademark Notice
Synology and other names of Synology products are the trademarks or registered trademarks of
Synology Inc.
Microsoft, Windows, Windows 98 , Windows ME, Windows 2000, and Windows XP are trademarks of
Microsoft Corporation.
Mac, Mac OS, and Mac OS X are trademarks of Apple Computer, Inc., registered in the U.S. and other
countries.
Other products and company names mentioned herein are trademarks of their respective holders.
2
Page 3

Table of Contents
Copyright Notice............................................................................................................2
Trademark Notice ..........................................................................................................2
Table of Contents...........................................................................................................3
System Requirements.....................................................................................................4
Before Using Synology iUSB........................................................................................5
LED Indicators...............................................................................................................5
iUSB Device Setup........................................................................................................6
Using Synology iUSB..................................................................................................11
A. Backing up Data to the iUSB Device..................................................................12
a. Immediate Backup.......................................................................................12
b. Synchronization...........................................................................................13
c. Scheduling Backups.....................................................................................14
B. Restoring Data to your Computer....................................................................17
C. Option ..............................................................................................................18
D. Log...................................................................................................................19
Troubleshooting...........................................................................................................20
Appendix - Specifications............................................................................................21
3
Page 4

System Requirements
1. Pentium III equivalent processor or higher
2. Windows 98 / ME / 2000 / XP / Windows Server 2003
3. 128 MB RAM or more, as required by operating system
4. Internet connection (for system update)
5. Server Pack 4 for Windows 2000
US Patent Pending
Pub. No.: US 2004/0205778 A1
4
Page 5
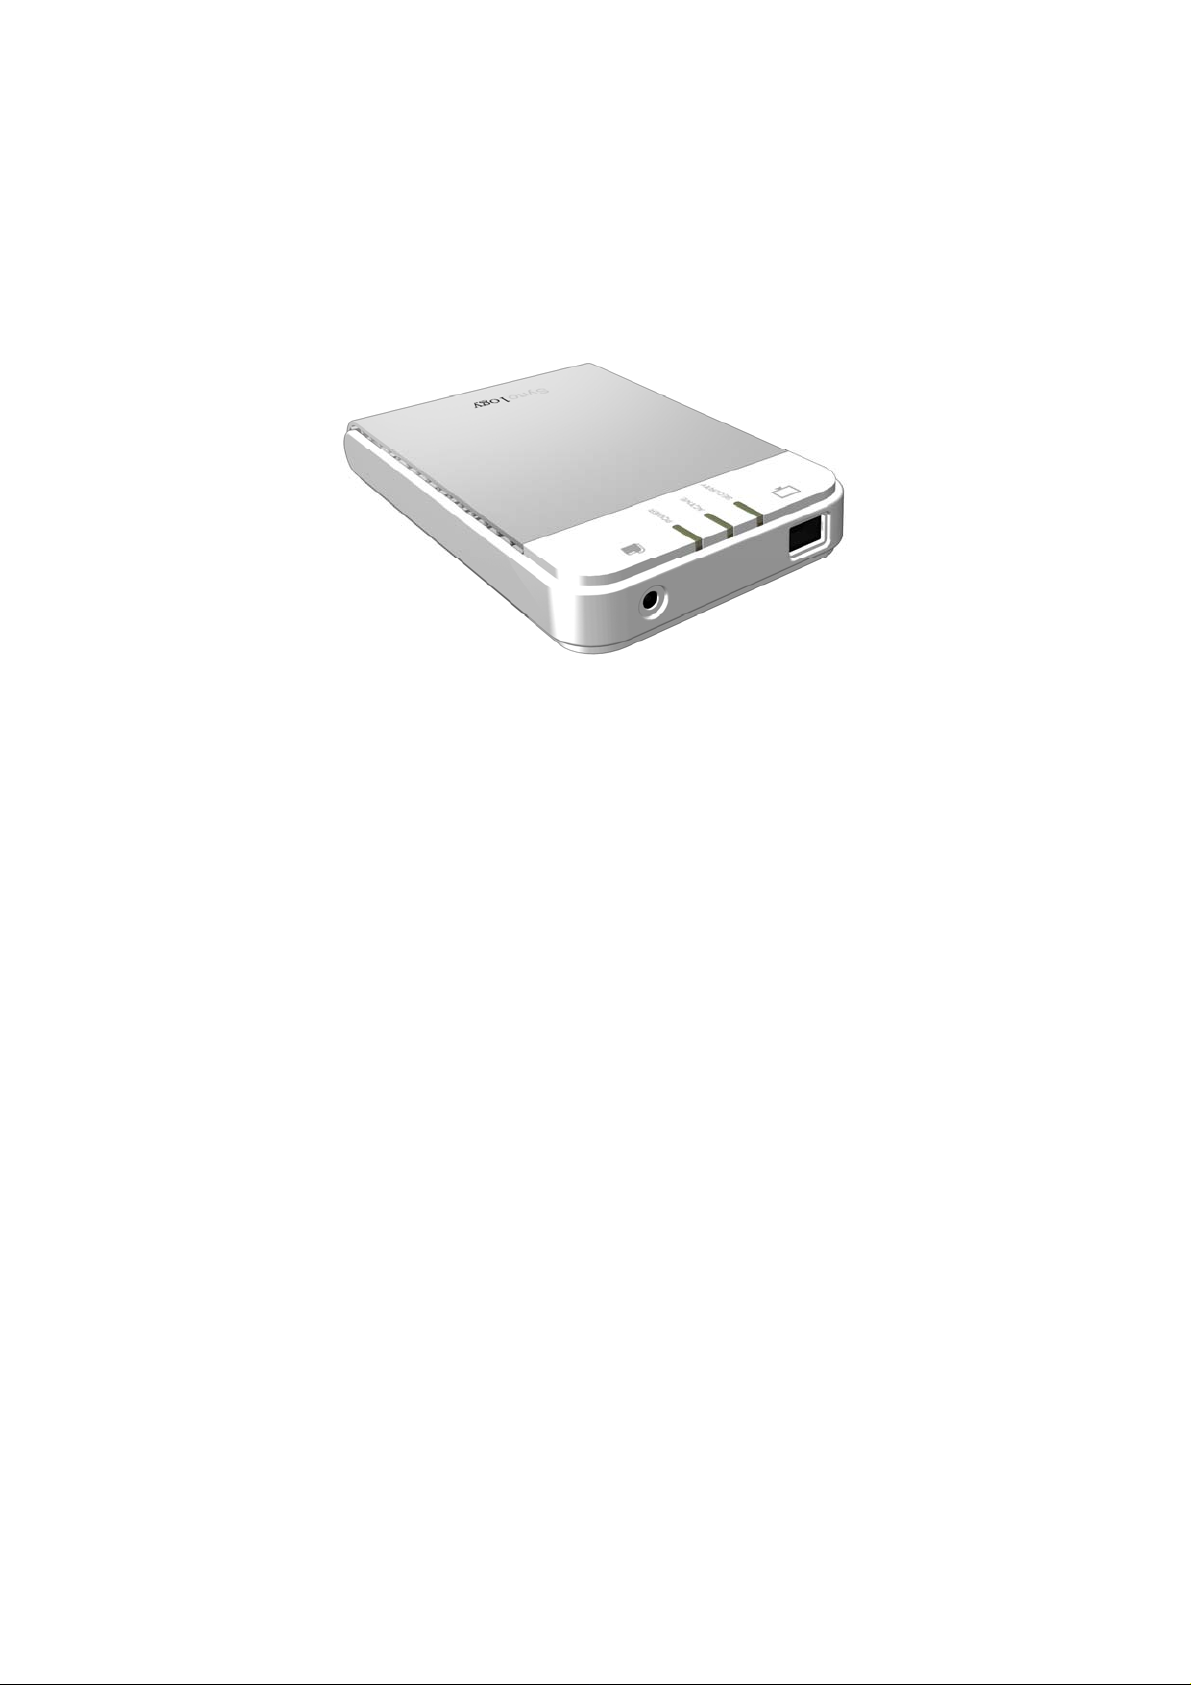
Before Using Synology iUSB
1. Please read and follow all warning notices and instructions.
2. Please keep Synology iUSB away from heat, direct sunlight, and water. D o not
bend, flex, or drop the device.
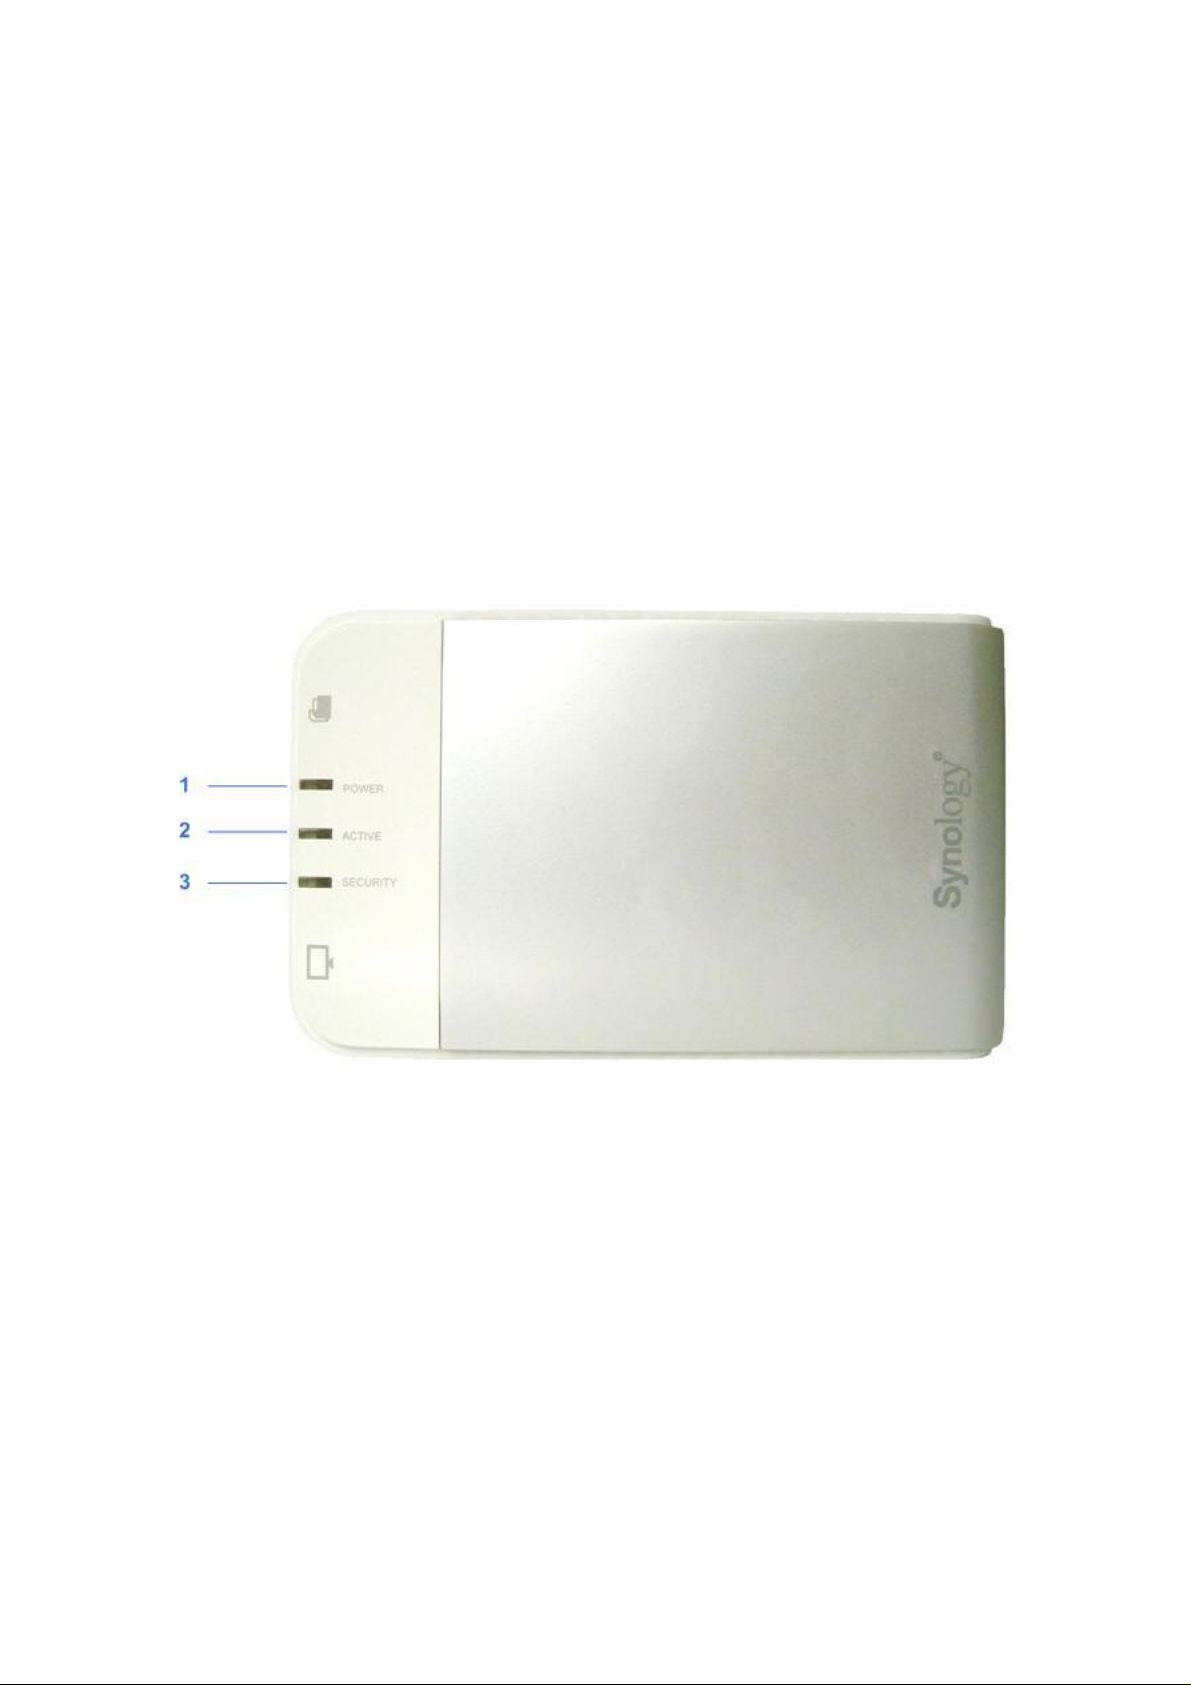
LED Indicators
1. POWER LED – Lights up when power is supplied to the system.
2. ACTIVE LED – Blinks when the internal hard disk is accessed.
3. SECURITY LED – Lights up after the user logs into the system.
5
Page 6

iUSB Device Setup
Before connecting the iUSB device, all Windows 2000 users should have Service
Pack 4 installed on their system.
1. Connect the iUSB device to your computer. The automatic setup wizard will pop
up after a few seconds.
2. Synology iUSB Setup Wizard will guide you step-by-step through the process for
setting up the iUSB device. Click Next to continue.
3. If you agree to the terms of the License Agreement, select I agree. Click Next to
continue.
6
Page 7
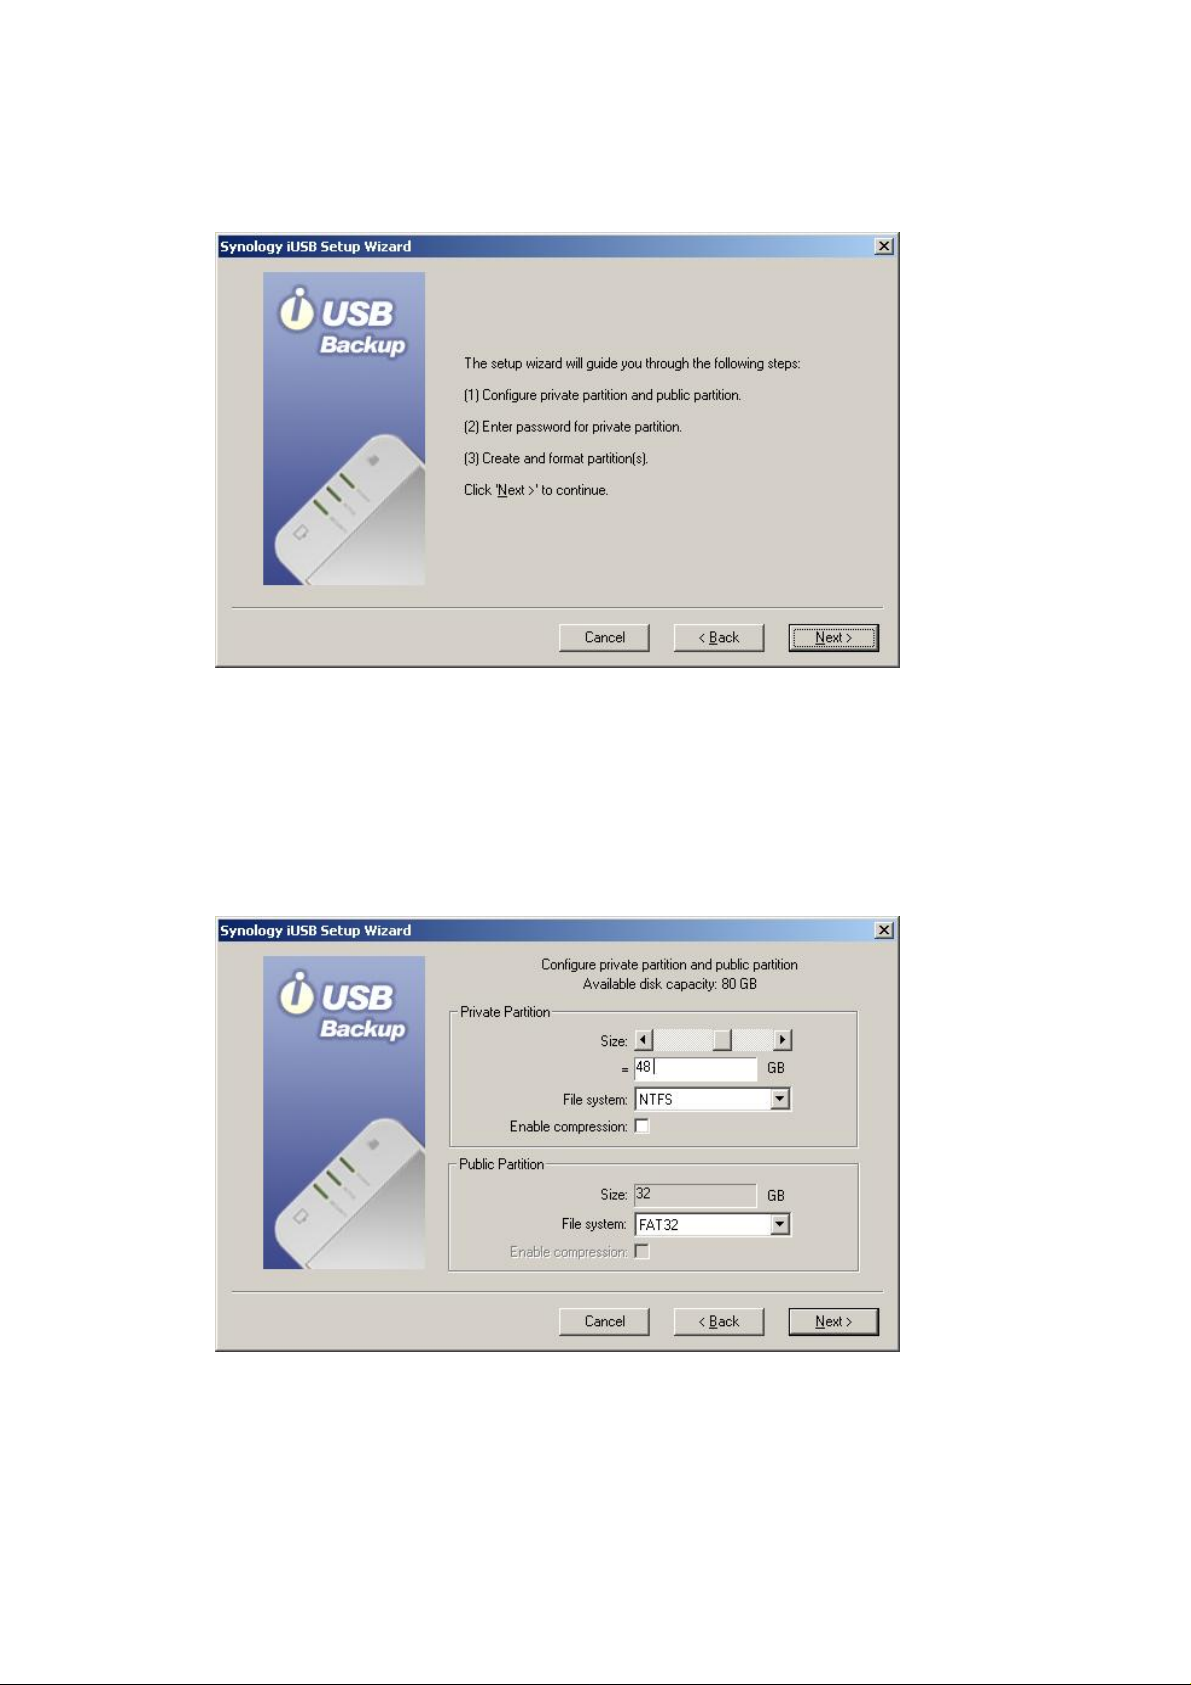
4. The setup wizard will guide you through the following steps. Click Next to
continue.
5. The iUSB disk can be configured to create two partitions: a public partition and a
private partition. Data saved to the private partition will be protected with a
user-defined password, while the public partition can work just like a regular USB
external disk. You can set the size of the partitions by scrolling the horizontal
scroll bar. Click Next to continue.
6. The private partition is designed to secure your backup data. Please enter a
password, then re-enter the password for confirmation. Click Next to continue.
7
Page 8

7. The setup wizard will now display the defined setup summary of the internal disk.
Click Next if the information is correct.
Warning: If you lose your password, you can only access the iUSB
device through Advance->Format on the login window. However, your
data will be deleted by formatting the hard disk. Please keep your
password in a secure place.
8. The system will then format the hard disk. Click OK to start formatting.
8
Page 9

W arning: All data will be deleted after the hard disk is formatted.
9. Please wait for the wizard to finish formatting the hard disk.
10. Click Finish when setup is complete.
9
Page 10

11. Now enter your password and click Login to start using the iUSB device. If the
Login window does not appear, go to Windows Explorer and run AutoUp.exe in
the drive labeled Synology iUSB.
10
Page 11

Using Synology iUSB
After entering Synology iUSB Backup UI, you will see the following window.
1. Backup: User can choose to back up selected files/folders
2. Restore: Users can restore data from the iUSB device to their PC.
3. Option: Users can filter out certain file types.
4. Log: All actions done on the iUSB device will be recorded in the log.
5. Immediate Backup: Files will be backed up to the iUSB device immediately.
6. Synchronization: Files will be backed up to the iUSB device if they are
modified.
7. Schedule Backup: Files will be backed up to the iUSB device at the specified
time.
8. File/Folder Selection Window : Users can choose specific folders/files to be
backed up to the iUSB device. Folders, “My Documents” and “Desktop”, are
selected as default by the system.
9. Help: Detailed instructions of how to use iUSB Backup.
10. About: The current version and copyright of the iUSB device.
11
Page 12

A. Backing up Data to the iUSB Device
Synology iUSB Backup provides three types of backup as follows:
Note: When using the backup function for the first time, we suggest
that you click Immediate Backup to back up all files and folders.
a. Immediate Backup
1. To immediately back up the folders/files selected, select the folders/files you
want to back up and click Immediate Backup on the right.
2. Users should choose All the selected files. Click OK to continue.
12
Page 13

3. The system will then start to back up selected file/folders to the iUSB device.
4. The system will display a message indicating successful backup when
uploading is finished. Click Done to finish.
b. Synchronization
1. Choose Synchronization after selecting the folders/files to be backed up, the
iUSB Backup program will be minimized to the system tray to perform
monitoring. Data in the selected folders/files will be backed up to the iUSB
device automatically whenever they are modified.
13
Page 14

2. To stop synchronizing, double click on the iUSB icon in the system tray. Click
Stop Synchronization on the right. Users may proceed to other settings
according to their needs.
c. Scheduling Backups
Users can also back up data in the selected folders/files according to the schedule
they define.
14
Page 15

Note: Schedule Backup function works only when the iUSB Backup is
logged in by the user.
1. Click Schedule Backup after selecting folders/files to backup.
2. Set a schedule and a backup time in the following window. Then click OK to
start the program.
You may choose Once, Daily, Weekly, or Monthly.
Note:
iUSB Backup supports the following Outlook Express versions:
Microsoft Outlook Express 5.0
Microsoft Outlook Express 5.01
Microsoft Outlook Express 5.01 Service Pack 1
15
Page 16

Microsoft Outlook Express 5.01 Service Pack 2
Microsoft Outlook Express 5.5
Microsoft Outlook Express 6.0
16
Page 17

B. Restoring Data to your Computer
1. Click the Restore button on the left.
2. Select the location for the files you will restore in the column under My
Computer. (The path of your own machine).
3. Select the files you want to restore in the column under Synology iUSB.
Synology iUSB Backup by default uploads Windows client files to the
directory on
name}\. The column under Synology iUSB displays all subdirectories/files in
each directory.
4. Drag folders/files to restore from Synology iUSB to My Computer.
Note: You can also restore files by dragging files from iUSB Private
(drive) in My Computer to the local drive.
iUSB private drive:\SYNOLOGY_BACKUP-{Your computer
17
Page 18

C. Option
You can choose not to back up certain file types with the Filter function by using the
following setting. Files with the specified prefix or extension will not be copied onto
the iUSB device.
Click the Filter button to add specific files to the ignore list, and click OK to finish.
18
Page 19

D. Log
All the actions and events executed on the iUSB device will be recorded here. This
way, you can always come back to check all previous actions if you missed any action
messages.
19
Page 20

Troubleshooting
1. The system cannot detect the iUSB device.
Check Solution
If you’ve
connected the
iUSB device
properly using
the USB cable.
If power is being
supplied to the
iUSB device.
If the iUSB is
connected to a
hub.
If the iUSB disk
is using the same
drive letter with
the ones for other
Please connect the device to the system using the USB cable.
Provide sufficient power supply.
1. First connect the iUSB device using the DC USB cable
and then the USB cable.
2. If solution 1 does solve this problem, try using a 5V power
adapter to ensure sufficient power supply.
If your iUSB device is connected to a hub, you might have a
power shortage problem.
Please refer to the solutions above.
Please follow the path as:
StartÆProgramsÆAccessoriesÆWindows Explorer. Click on
“My Computer” and right click “Manage”. Choose “Disk
Management” to check if the iUSB drive letter is repeated. If
network drives.
The system There may be some problems with the USB component on the
2. The system failed to eject the iUSB device.
Check Solution
If the system is
executing
programs in
Synology iUSB
or if the iUSB
device is being
used by other
programs.
so, please change the other network drive letters.
motherboard. Please connect the iUSB device to other systems
or verify if other USB devices can be detected on your system.
End all programs including Synology iUSB Backup, Synology
iUSB Setup Wizard, and Windows file Manager. Then try ejecting
the iUSB device again.
20
Page 21

Appendix - Specifications
Hardware Specifications
USB Interface
USB 2.0 and 1.1 compliant
Mini USB 2.0 port with hot-plug capability
Able to support data transfer rates up to 480 Mbps
Power Jack
DC 5V Power Jack
LED Status
POWER LED: Power status
ACTIVE LED: HDD active status
SECURITY LED: Security status
Environmental Specifications
Operating Temperature: 5 ~ 35℃(41 ~ 95℉)
Physical Specifications
Dimensions: 120 x 75 x 20 mm
Weight: 130g (without 2.5” HDD)
Software Features
Synology iUSB Backup Wizard
Plug&Play auto-up software
Step-by-step installation
Password for data protection
Synology iUSB Backup
Easy to use and powerful backup software
Complete backup function
Drag and drop restoration
Multi-Language Support
English, French, German, Japanese, Korean, Italian, Spanish, Portuguese, Russian,
Traditional Chinese, Simplified Chinese
21
 Loading...