

Page 1
SYNERGY MFG. 870 INDUSTRIAL WAY, SAN LUIS OBISPO, CA (805) 242-0397
PPM-8410 JK FRONT BUMPER INSTALL
INSTRUCTIONS
Version 1
GENERAL NOTES:
• These instructions are also available on our website; www.polyperformance.com.
Check the website before you begin for any updated instructions and additional
photos for your reference.
• The Polyperformance JK front bumper system is a bolt on installation but does
require minor trimming and cutting with a sawzall or cut off wheel.
• The winch mount requires the use of a hawse fairlead, a roller fairlead does not
fit in the bumper.
1. Remove the splash shield and disconnect the fog light connectors if equipped.
Remove the stock bumper, tow hooks and upper frame trim.
2. Loosely install the new Poly Performance front bumper using the carriage head
bolts. The lower outer hole of the front frame bumper mounting plate needs to be
trimmed with a sawzall or cut off wheel. Mark the frame plate along the weld on
the backside of the bumper and trim.
Page 2

SYNERGY MFG. 870 INDUSTRIAL WAY, SAN LUIS OBISPO, CA (805) 242-0397
Steps 3-9 only apply if you are installing the Poly Performance 5410-03 or 5410-03RUBI front skid plate, if you are not at this time, skip to step 10
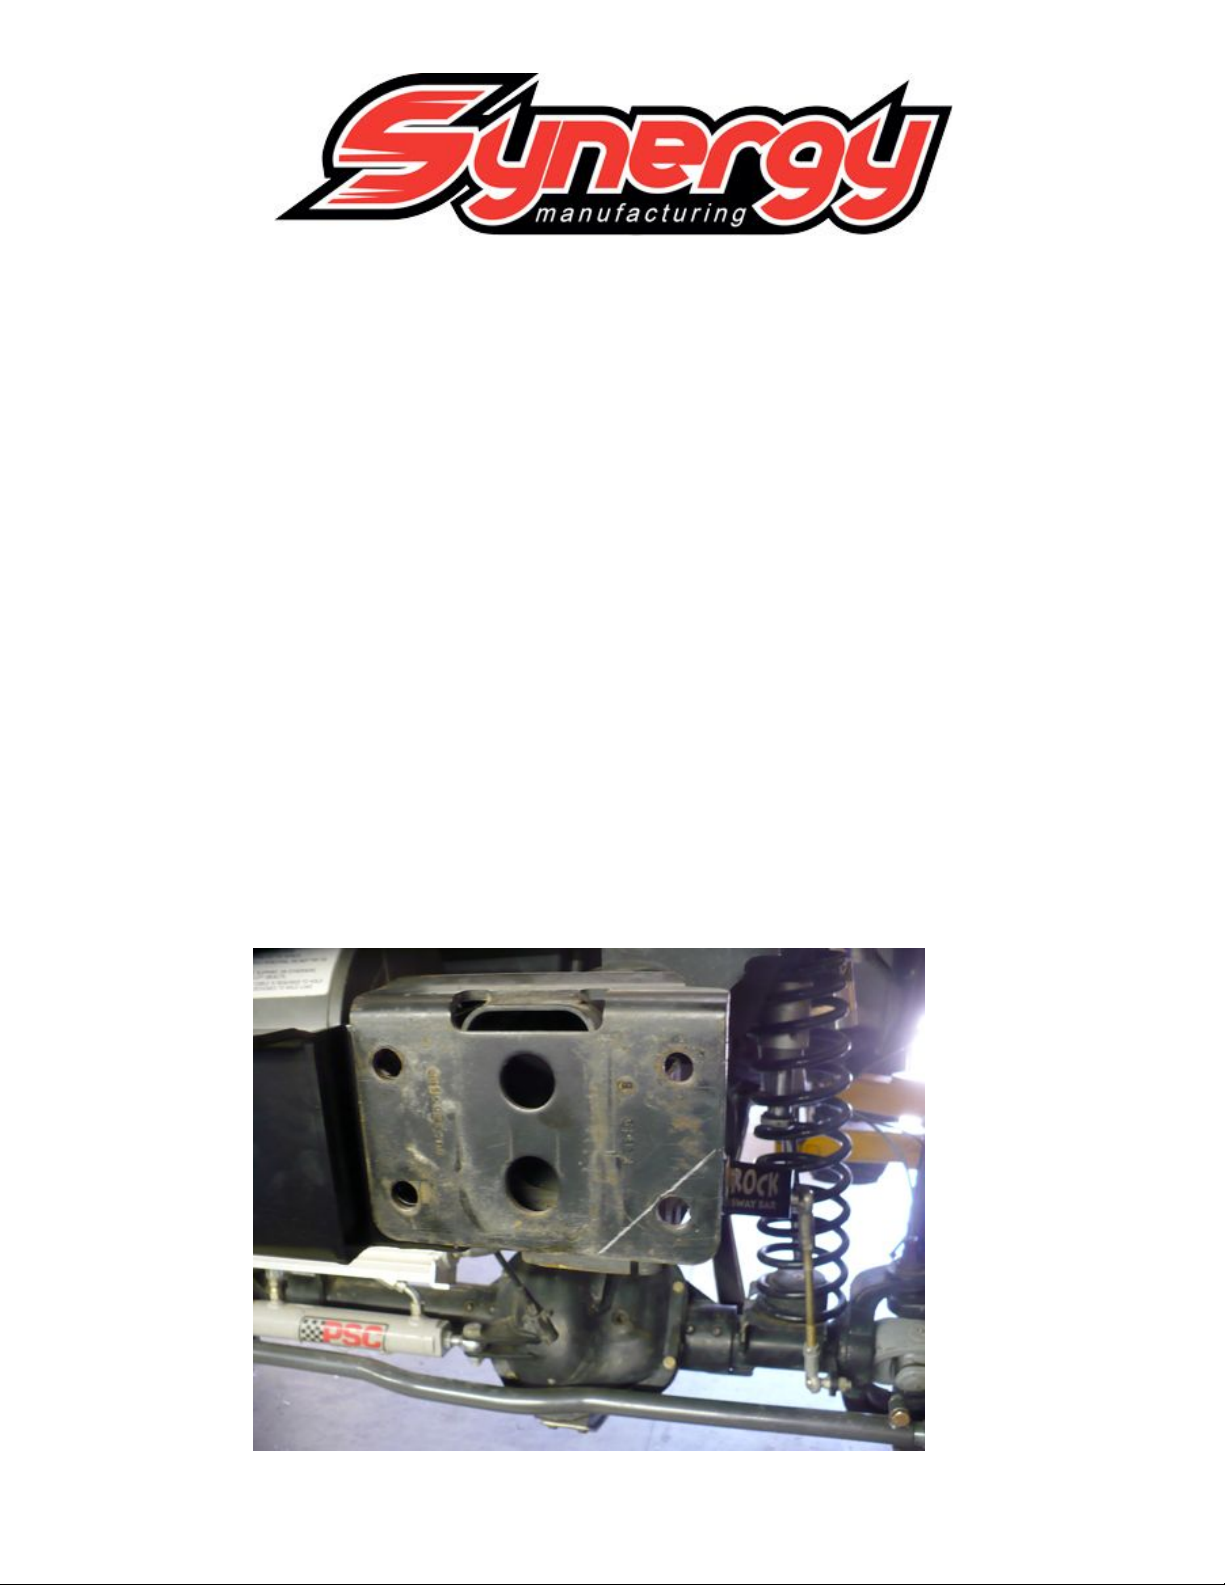
3. Cut off the bar that goes underneath the frame in front of the steering draglink.
Cut the front and back parts of the bracket flush with the sides. Deburr any sharp
edges and paint any bar metal with touch up paint.
4. Remove the rear sway bar mounting bushing bolt on both sides.
Page 3
SYNERGY MFG. 870 INDUSTRIAL WAY, SAN LUIS OBISPO, CA (805) 242-0397
Steps 5-9 Apply only to a Rubicon Model with a disconnecting stabilizer (anti-sway)
bar
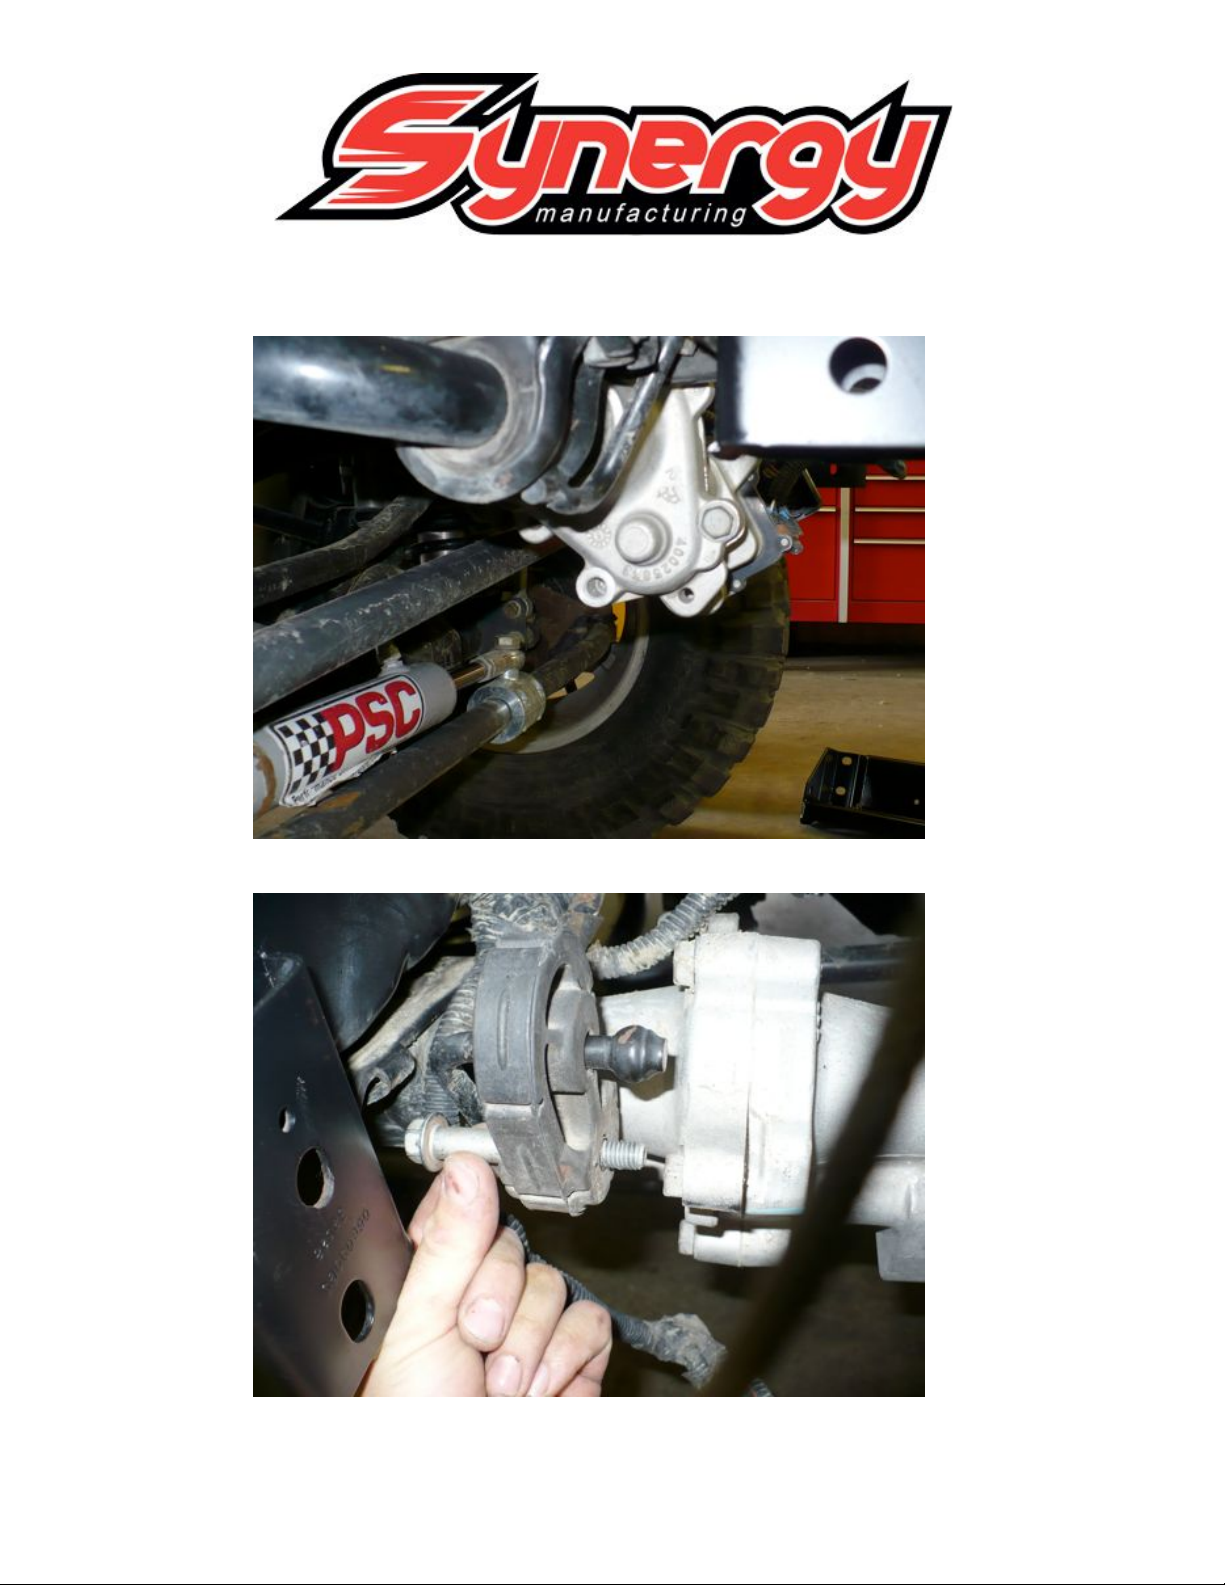
5. Remove the bottom rear bolt in the disconnecting stabilizer bar housing as shown
Page 4
SYNERGY MFG. 870 INDUSTRIAL WAY, SAN LUIS OBISPO, CA (805) 242-0397
6. Remove the disconnecting stabilizer bar tension link bolt.
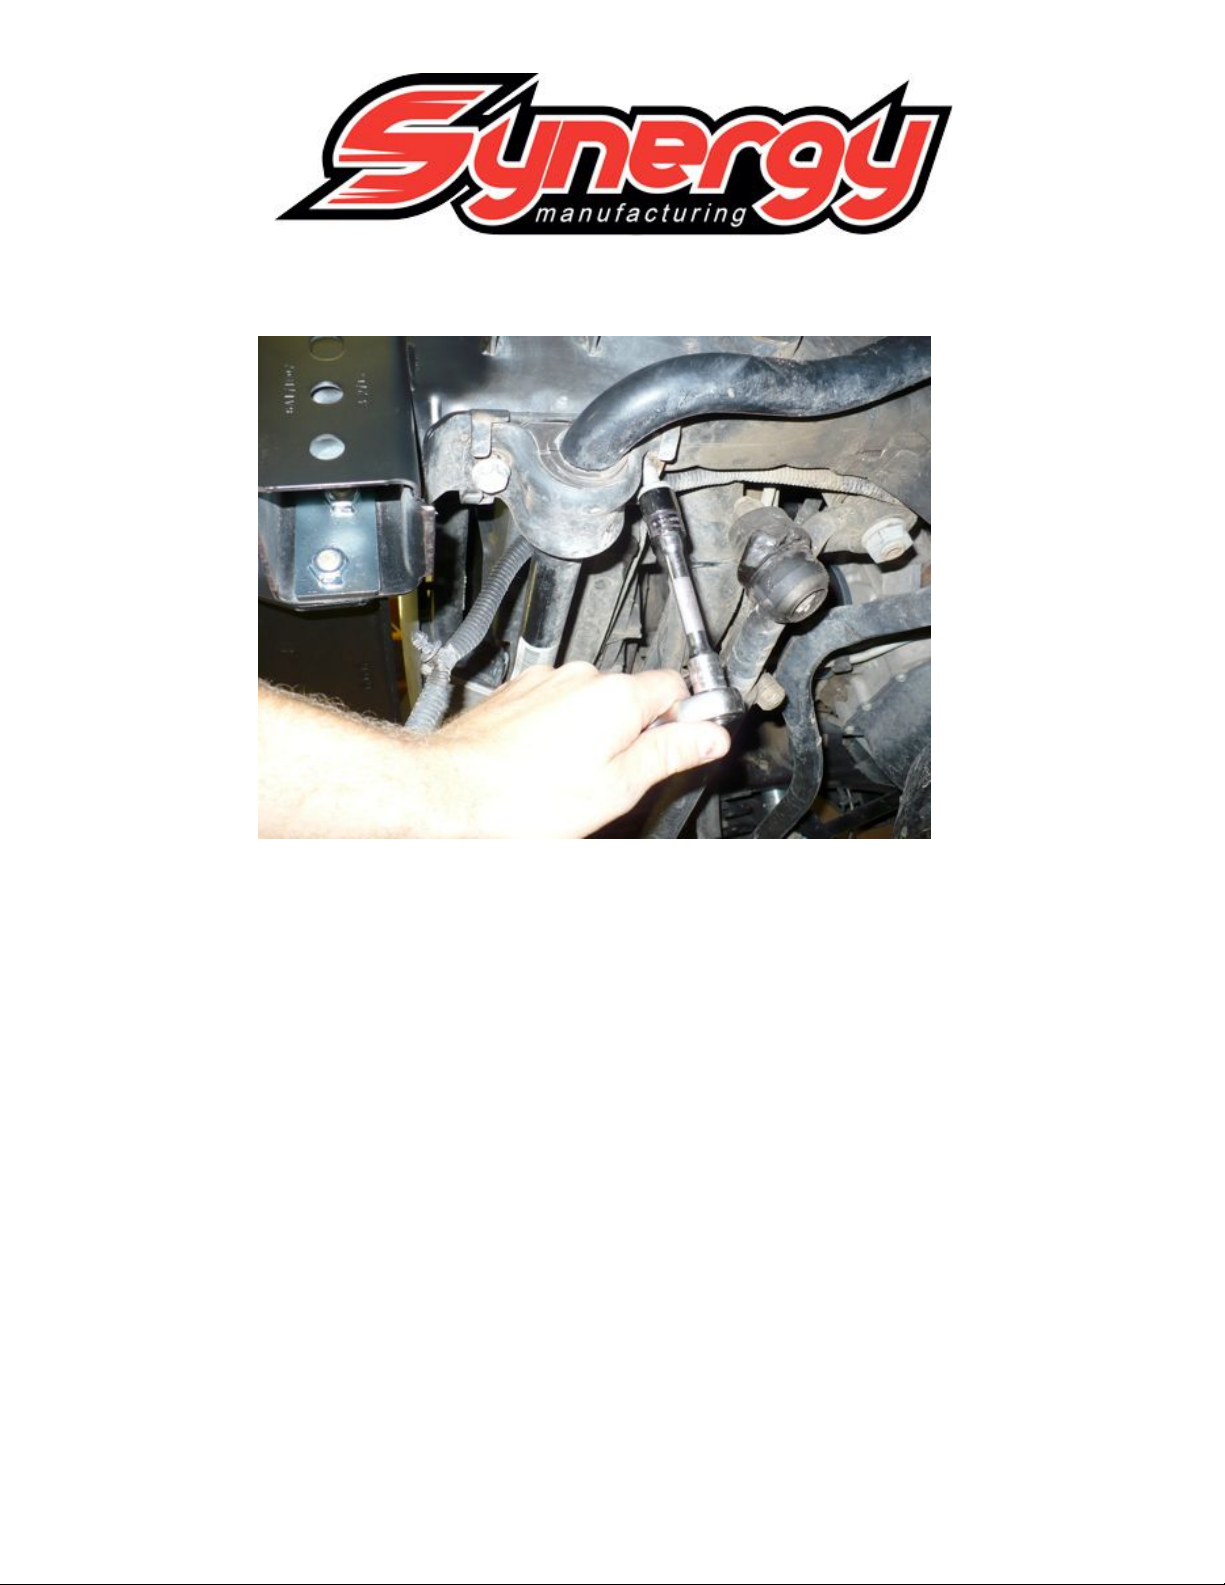
7. Loosen the front stabilizer bar retainer bolt on the passenger side to lower the
stabilizer bar enough to rotate the disconnecting stabilizer bar unit up and in front
Page 5

SYNERGY MFG. 870 INDUSTRIAL WAY, SAN LUIS OBISPO, CA (805) 242-0397
of the radiator. You will need to notch the lower radiator plastic cover to clear the
electrical plug.
Page 6

SYNERGY MFG. 870 INDUSTRIAL WAY, SAN LUIS OBISPO, CA (805) 242-0397
8. Tighten the front stabilizer bar retainer bolt. To 45 ft-lbs.
9. Install the M10 x 100 bolt with a 3/8” washer and sleeve thru the stabilizer bar
tension link into the disconnecting stabilizer bar housing where you removed the
bolt in step 5. Tighten to 20 ft-lbs.
10. Install the winch mounting plate, line the holes up with a few bolts to hold it in
position.
Page 7

SYNERGY MFG. 870 INDUSTRIAL WAY, SAN LUIS OBISPO, CA (805) 242-0397
11. Install the frame nut plates to the side of the winch mounting plate. Use the ½ x 1
bolts with flat washers. The nut plates are R and L so install them as shown.
Leave these bolts loose until you install and tighten the bumper bolts.
Page 8

SYNERGY MFG. 870 INDUSTRIAL WAY, SAN LUIS OBISPO, CA (805) 242-0397
Figure 1
12. Install the bumper with the ½” carriage bolts. The 4 longer carriage bolts go thru
the inner holes and thru the winch mount. The 2 shorter ones go in the outer
Page 9

SYNERGY MFG. 870 INDUSTRIAL WAY, SAN LUIS OBISPO, CA (805) 242-0397
bumper holes. Use a flat washer and a lock nut. Tighten the bumper bolts first
then the winch mount side bolts to 60 ft-lbs.
Page 10

SYNERGY MFG. 870 INDUSTRIAL WAY, SAN LUIS OBISPO, CA (805) 242-0397
13. Install the winch and fairlead at this time before the skid plate is installed. A
hawse type fairlead is required; a roller fairlead does not fit in the bumper. The
hook on the front of the winch mount is provided to hold the hook when the cable
is spooled in, it is not a tow or recovery point.
The bumper and winch mount installation is now complete; proceed with the remaining
instructions if you are installing the Poly Performance 5410-03 or 5410-03-RUBI skid
plate.
14. Install the skid plate outer frame nut tabs. Use a ½” x 1 bolt and flat washer in the
middle hole in the frame bracket. Do not tighten this bolt yet; leave it loose
enough to move around to install the lower bolt thru the skid plate.
Page 11

SYNERGY MFG. 870 INDUSTRIAL WAY, SAN LUIS OBISPO, CA (805) 242-0397
15. Position the skid plate over the frame side brackets and under the tabs on the
bumper, loosely install the ½ x 1 bolts and washers thru the frame side brackets
into the lower hole in the nut tab.
Page 12

SYNERGY MFG. 870 INDUSTRIAL WAY, SAN LUIS OBISPO, CA (805) 242-0397
16. Position the rear stabilizer bar bolt spacer between the skid plate and stabilizer
clamp. Loosely install the new M10 x 90 bolts and use a 3/8” flat washer. Do not
tighten yet.
17. Install the four 3/8 x 3/4” long bolts thru the front of the skid plate and into the
tabs in the bottom of the bumper. You may need a tapered alignment bar to align
the holes in the skid plate to the tapped holes in the bumper tabs. When all the
bolts are installed, tighten to 20 ft-lbs.
18. Tighten the rear M10 bolts in the stabilizer clamps to 45 ft-lbs
19. Tighten the ½” side bolts to 60 ft-lbs
20. Installation of the bumper, winch mount and skid plate is complete.
End
 Loading...