

Page 1

SYNERGY MFG. 870 INDUSTRIAL WAY, SAN LUIS OBISPO, CA (805) 242-0397
5102 JK Hood Louver Panel
GENERAL NOTES:
• These instructions are also available on our website; www.synergymfg.com.
Check the website before you begin for any updated instructions and additional
photos for your reference.
• The installation of 5102 JK Hood Louver Panel requires the use of basic hand
tools, a drill w/ ¼” drill bit, 1” and 1-3/4” hole saws and some form of metal
cutting tool. A 4-1/2” angle grinder with cut off wheel, 3” air cut off tool, or
metal cutting jig saw all work well for cutting through the hood.
• Read through all instructions thoroughly prior to beginning installation
PARTS LIST:
• 1 PPM-5102 JK Hood Louver Panel
• 24 ¼-20 UNC Button Head Socket Cap Screws
• 24 ¼-20 UNC Nylock Flange Nuts
INSTALLATION:
1) We recommend removing the hood from the vehicle for the length of the
installation process, to prevent damaging any under hood components during
installation.
2) Begin by disconnecting everything that is attached to the underside of the hood.
Remove the ground strap (10mm wrench)
Disconnect the hose going to the windshield sprayer
Unplug the hood light, and remove it from the hood. Note – The
plastic push pin securing the light to the hood is a 2 stage fastener.
Pull the top part of the pin up first to allow the barb fitting to be
removed from the hood.
Pull off the insulation from the underside of the hood as well. It is
secured to the underside of the hood via 3 plastic barb fittings and
4 formed metal tabs on the hood.
Lastly, remove the two 9mm nuts securing the U-shape tie-down
point to the hood
Page 2
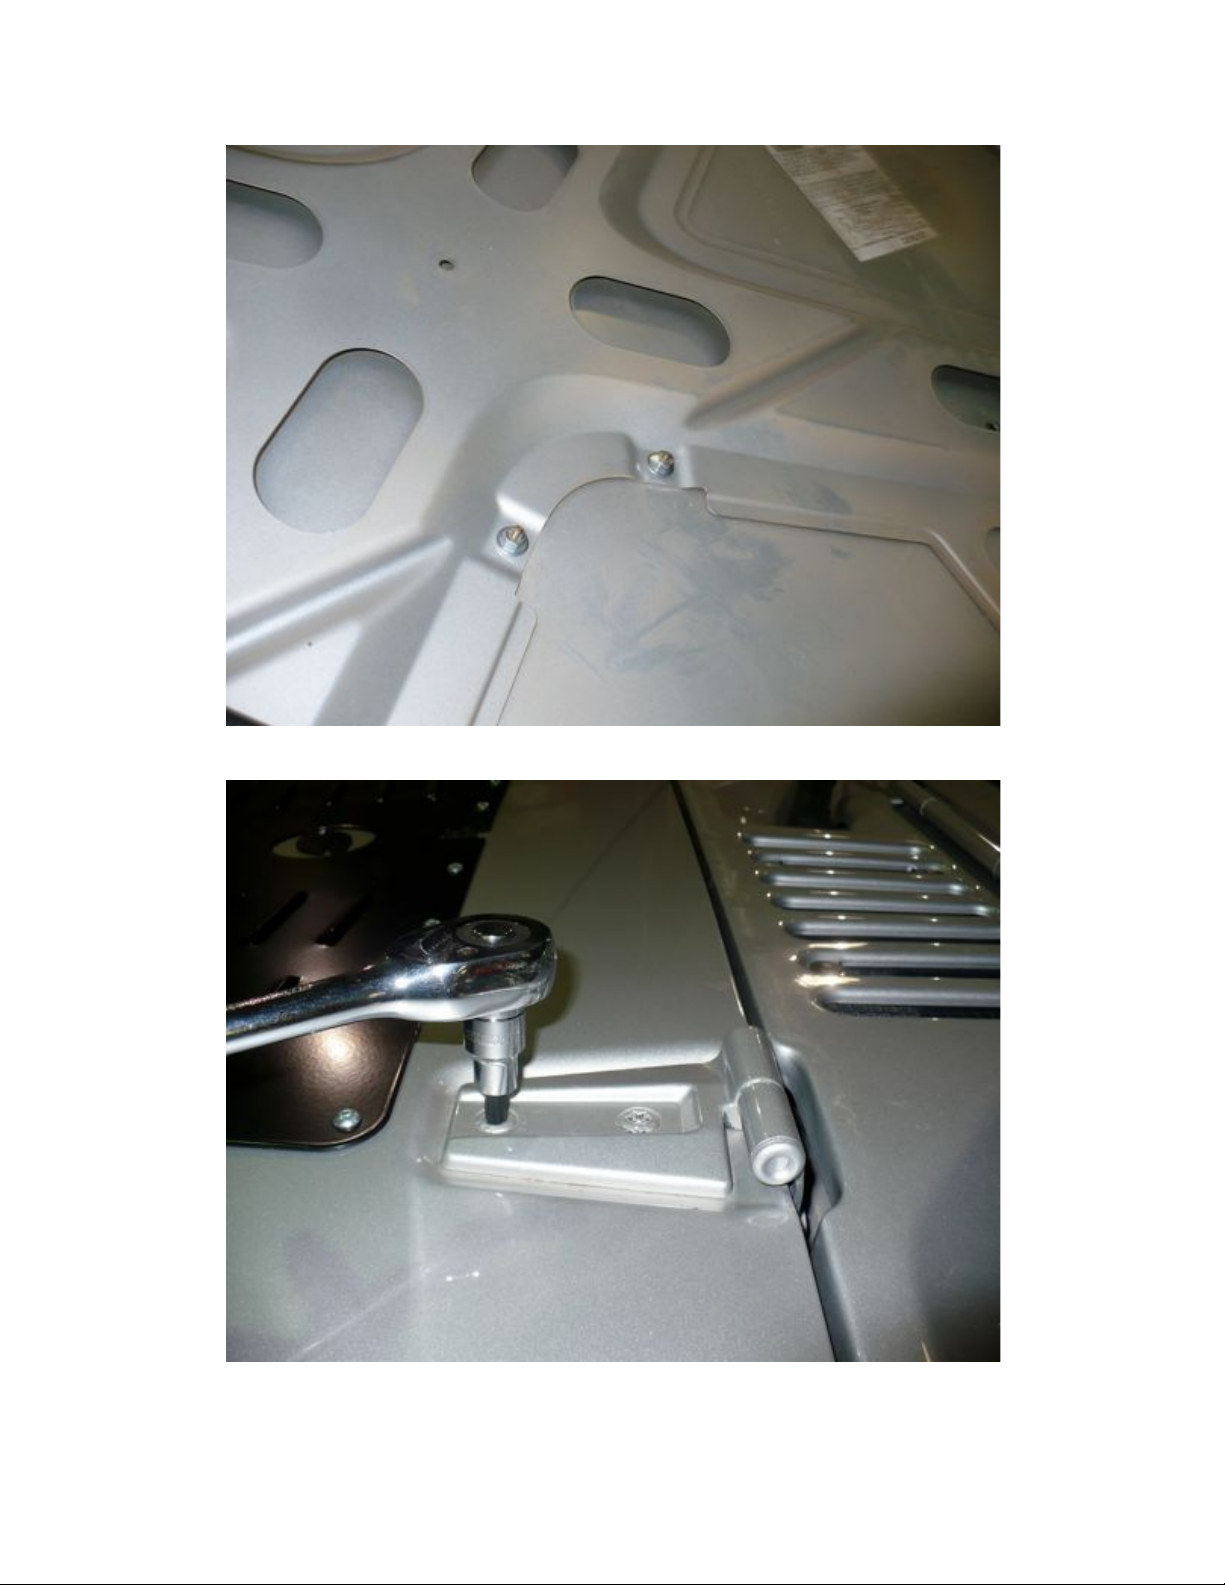
3) Once all under hood components have been disconnected remove the hood from
the vehicle. It is attached at the hinges with 4 T-50 Torx bolts.
Page 3
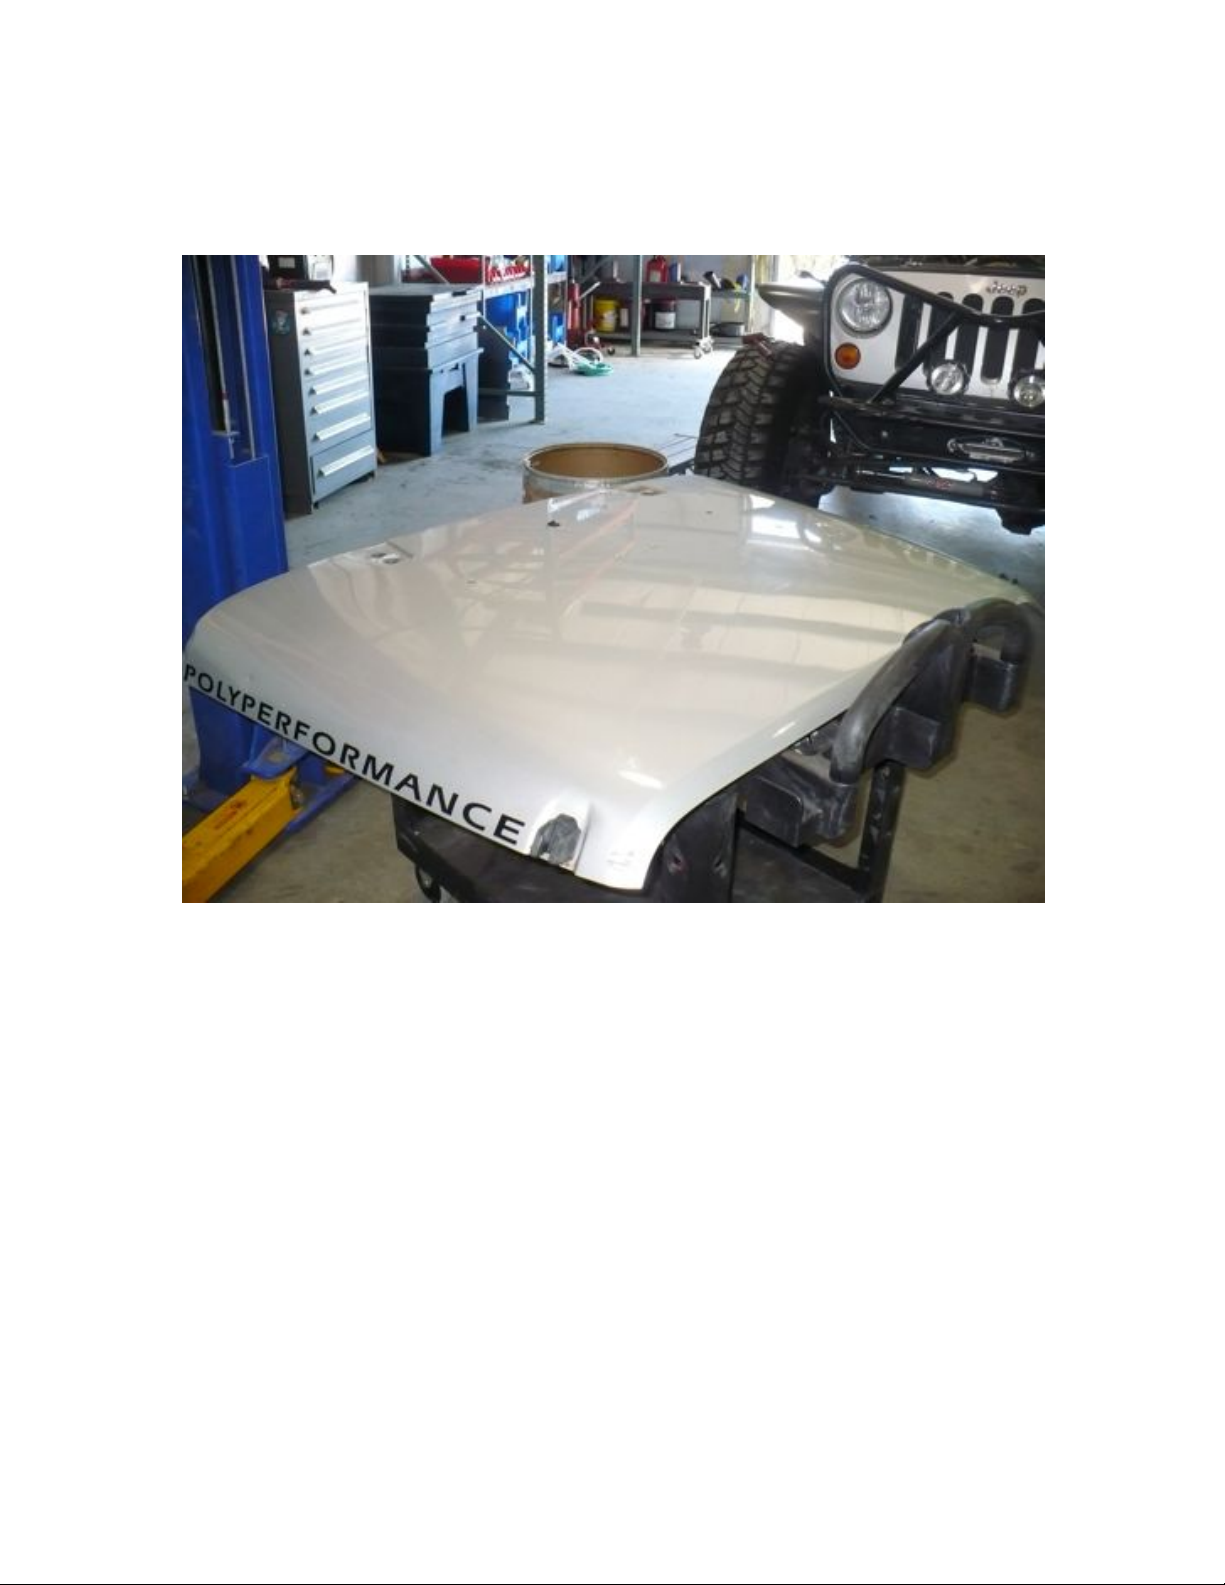
4) Place the hood on a sturdy work surface that will allow you to easily access all 4
sides. A saw horse set, small cart or small table should work well. Be careful to
cover any possible marring surfaces with a towel or rags to prevent damage to the
hood’s finish.
5) Installation of the 5102 JK Hood Louver Panel can now begin.
Start by placing the panel on the hood, centering it over the holes
for the U-shaped tie down point. Also, center the windshield
nozzle in the cut out. This should get you in the ballpark.
Next square up the hood to both the front and rear edges using a
square or measuring tape. (See Picture 5.1 and 5.2 below)
Page 4
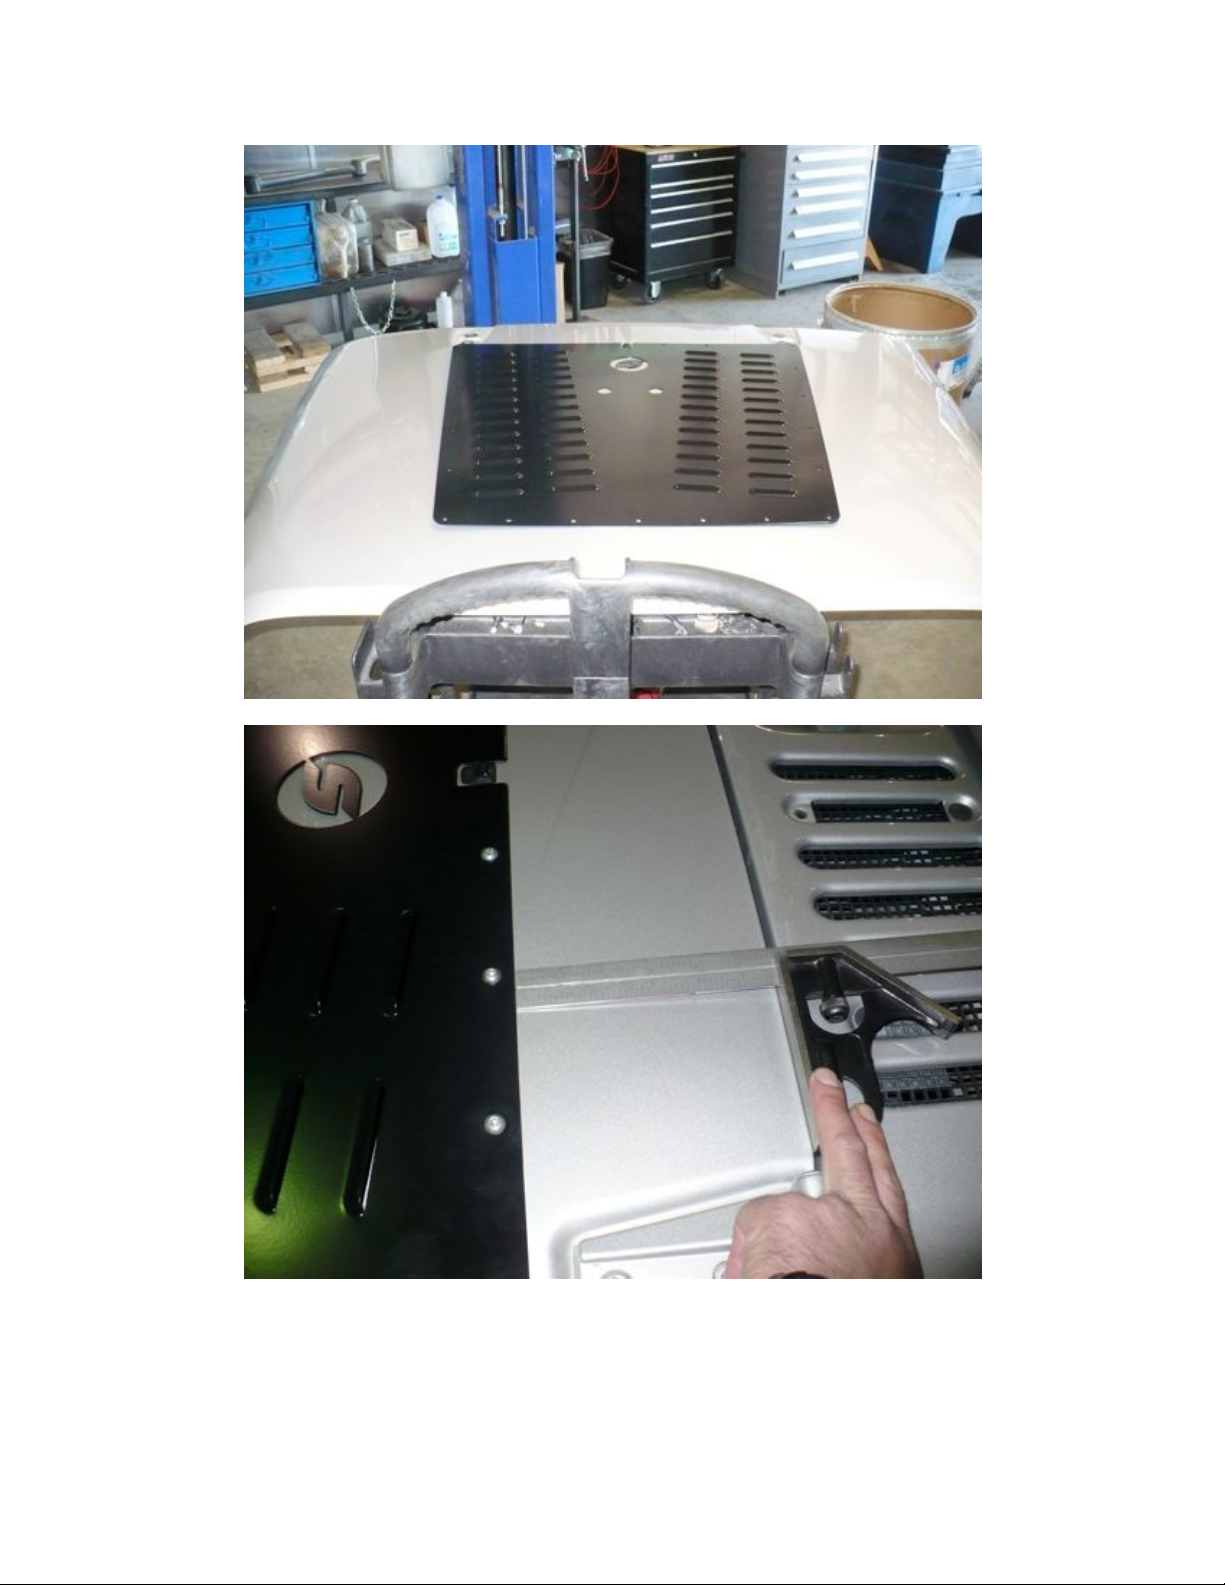
Picture 5.1 Louver panel in place
Picture 5.2 Square hood panel to hood across both front and leading edges.
6) As a final check, take a hood corner to louver panel corner measurement.
Measure on both L and R sides of the hood to be sure the panel is square and true.
See pictures 6.1 and 6.2 below.
Page 5

Picture 6.1 Hood corner to louver panel mounting hole measurement.
Page 6

Picture 6.2 Hood corner to louver panel mounting hole measurement.
Page 7

7) Once satisfied, both visually and measurement wise. Mark out all 24 holes to be
drilled on the hood. Use a fine tip sharpie to mark out the holes.
8) After marking all the holes, carefully center punch them and drill them out using a
¼” drill bit. Some areas of the hood are doubled up on the underside, drill
through all layers of the hood on all holes. **NOTE** – DO NOT CENTER
PUNCH WITH EXCESSIVE FORCE. The JK hood is made from very thin sheet
metal and easily dents. Excessive force when hammering could result in a dented
hood.
9) With all ¼” holes drilled out, we can now go through and open up a few of the
holes to allow for easier installation of the louver panel hardware.
Using the 1” hole saw, and the ¼” pilot hole as a guide, open up
the underside bracing of the hood in the 4 locations marked with
arrows in picture 9.1 below.
Picture 9.2 shows a close up of the completed cut.
Page 8

Picture 9.1
Picture 9.2
Page 9

Louver Panel Hood Cut-out Procedures
There are 3 basic options for cutting holes in the JK hood to allow for
additional cooling if desired.
• Steps 10-13 involve minimum cutting, and minimal additional
airflow, with full structural hood integrity is retained.
(Recommended for colder climates where extreme winters are
common).
• Steps 10-18 involves moderate cutting where additional cooling
is desired and full structural hood integrity is retained.
• Steps 19-23 involves extreme cutting and maximum airflow
(recommended for hot weather climates and Jeep vehicles that
commonly see high temps for sustained periods of time)
10) Using a ruler as a guide, mark a line 1” from the center of the mounting holes
drilled in step 8. Mark out all areas between the under hood bracing except for
the area retaining the windshield sprayer / U-bolt tie down point.
11) Using a cut off wheel or jig saw, carefully cut out these 3 locations as shown
below. See picture 11.1 and 11.2 below.
Page 10

Picture 11.1 View of hood cut outs from bottom
Picture 11.2 View of hood cut outs from top.
Page 11

12) Once cut outs have been made, clean up edges with some form of sanding disc,
sand paper or a good metal file.
13) Proceed to step 18 for final panel and hood installation.
14) The following covers moderate cutting where additional cooling is required and
full structural hood integrity is retained.
15) With the cuts already made in steps 10-13, we will now make a few more cuts,
only in the outer skin of the hood in order to retain the hood’s full structural
integrity.
16) Begin by taking the 1-3/4” hole saw with ¼” pilot hole and drill holes in the hood
as shown below.
Drill holes where Red circles are shown.
17) Once holes are drilled, flip the hood over and connect the dots.
Take note of the width of the under hood structure, as cutouts can
be opened up to this width for even greater airflow.
18) Again, once satisfied with the number and location of the cutouts, clean up all
edges with a sanding disc, sandpaper or good metal file.
Page 12

19) The following covers extreme cutting and maximum airflow. Some structural
hood integrity is lost, However, it is regained with the hood louver stiffness.
20) With the hood louver panel sitting in place on the top of the hood, mark the outer
edges of the louverd sections. See the dashed black lines in the image below.
21) Using the marks as a guide, trace out a rectangle within the lines. These are your
cut lines for optimal cooling.
22) Once cut, clean up edges with a sanding disc, sandpaper or good metal file.
23) Remove any marks left over from the install process and thoroughly clean the
surface of the hood.
24) Install the hood louver panel.
Drop the ¼-20 UNC buttonhead cap screws in from the top and
place a nylock flange nut on the underside. Start all bolts prior to
tightening.
Once all bolts have been installed and flange nuts started, snug
down hardware in a crisscross pattern across the hood. Start in the
centers and work your way out towards the edges. DO NOT
OVERTIGHTEN!! As stated earlier, the JK hood is very thin and
over tightening of hardware could cause distortion. Simply snug
down all hardware.
25) Once all hardware has been tightened. Reinstall the hood on the vehicle.
Reconnect all items removed in step 2. If under hood insulation is still desired,
we recommend trimming around the cutouts made for the additional cooling.
Page 13

 Loading...