

Page 1

SYNERGY MFG. 870 INDUSTRIAL WAY, SAN LUIS OBISPO, CA (805) 242-0397
5017
JEEP JK 2012+ EXHAUST SPACERS
GENERAL NOTES:
• These instructions are also available on our website; www.synergymfg.com.
Check the website before you begin for any updated instructions and additional
photos for your reference.
• The installation of these exhaust spacers relocates the factory crossover pipe
down and rearwards to allow for additional front drive shaft clearance.
• Installation of the spacers can be done with simple hand tools.
PARTS LIST:
1. (1) Long (Passenger side) exhaust spacer
2. (1) Short (Driver side) exhaust spacer
3. (4) Hex Head Bolt M8x1.25 – 80mm long Gr8.8
4. (4) 5/16” Gr8 flat washer
5. (1) 0.5 mL Capsule 242 Medium Strength Loctite
INSTALLATION:
1) Begin by removing the stock transfer case skid plate. Remove the 4 mounting
bolts using an 18mm socket. See picture below.
Page 2
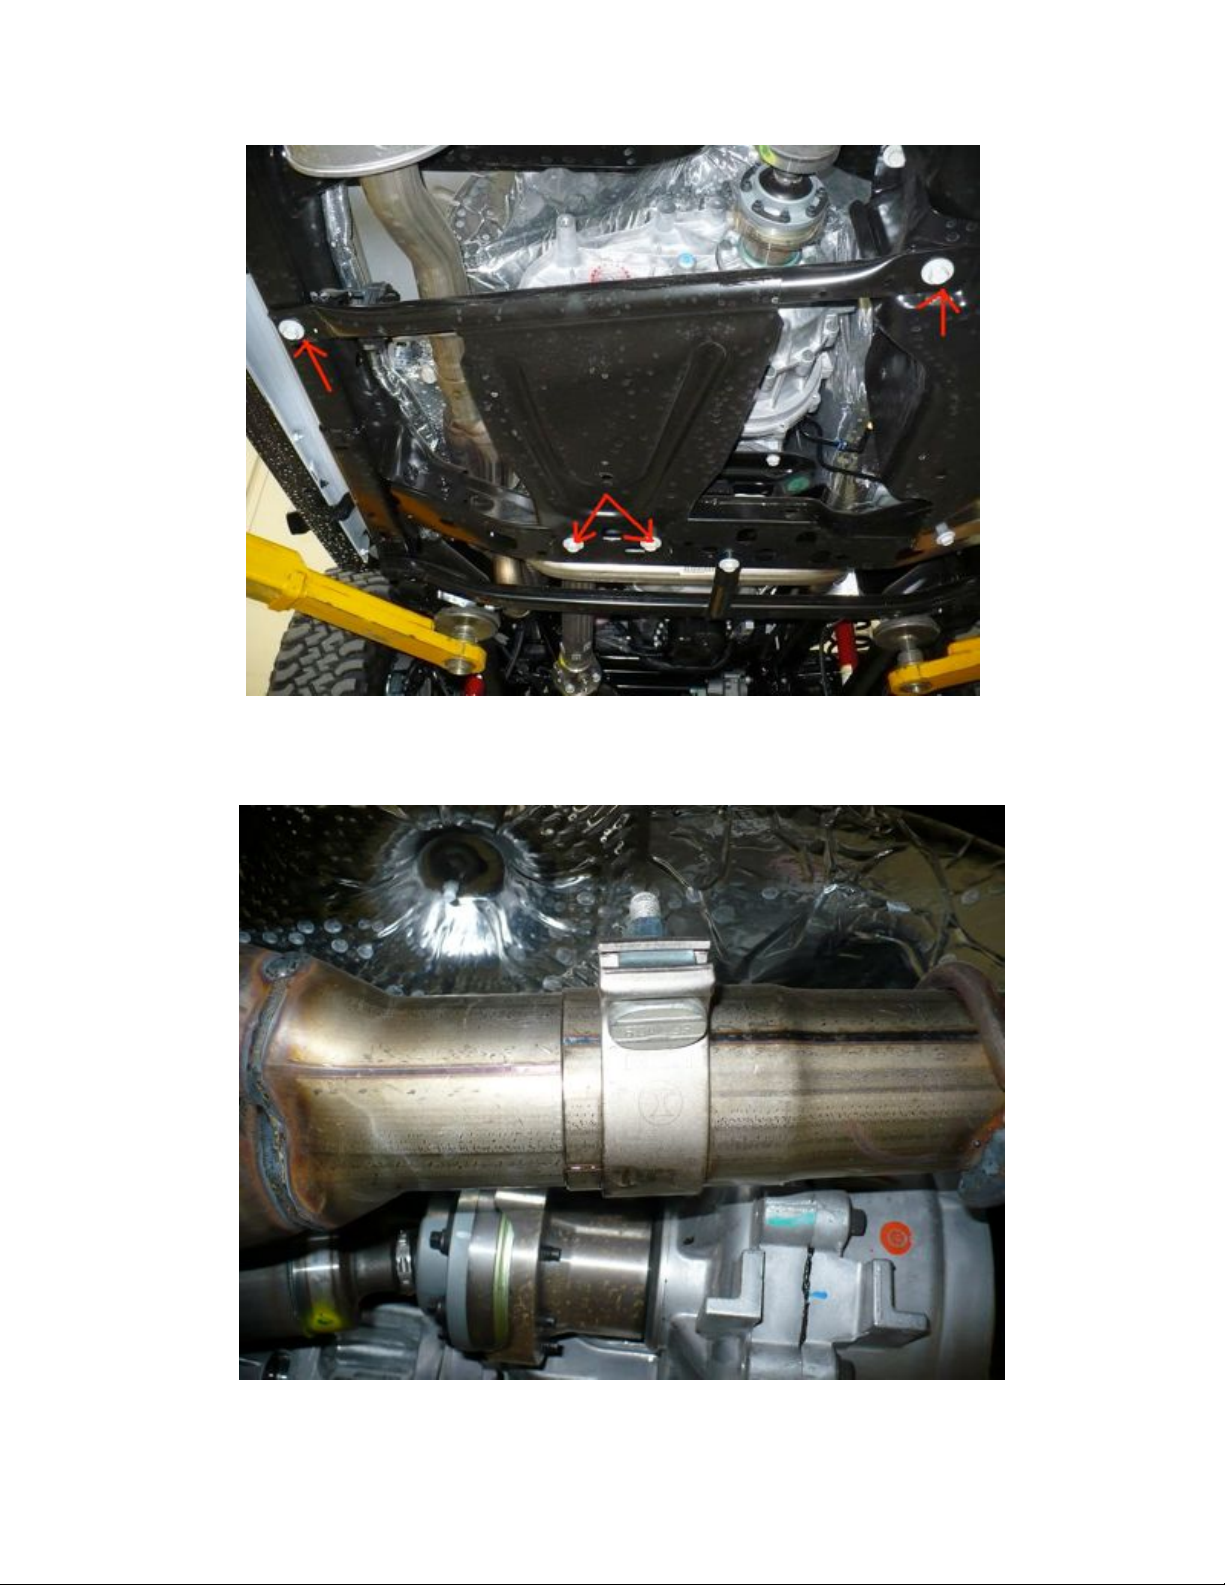
2) Next, loosen the exhaust clamp where the factory cross over pipe enters mid
exhaust section just behind the transmission cross member. Use a 15mm wrench
for this.
3) With the clamp loosened, knock off the small rivet which prevents the factory
cross over pipe from sliding further into the mid section of the exhaust. An air
Page 3

hammer with a chisel end works great for this. However it can easily be removed
by hand with a hammer and chisel if an air hammer is not available. See image
3.1 and 3.2 below for before / after reference photos.
Image 3.1 Exhaust rivet location
Image 3.2 with exhaust rivet removed
4) Next, we can remove the stock bolt attaching the exhaust flanges at the factory
cross over pipe to the exhaust manifolds. Use a 13mm wrench for removal.
Page 4

5) With the flange bolts removed, push the factory cross over pipe back to allow for
installation of the 5017 exhaust spacers. The removed exhaust rivet and loosened
clamp should allow the factory cross over pipe to slip further into the mid section
of the exhaust. Gently wiggle and push the crossover pipe back for added
clearance.
Page 5

6) Once some clearance has been achieved, pry against the factory cross over pipe
using the forward removable cross member as leverage to allow for installation of
the spacers.
Note that the taller spacer is for the passenger side, while the
shorter spacer is for the drivers side.
Page 6

7) Once the spacers are set in place, install the M8 x 1.25 80mm long bolts provided
in the kit. Apply a small dab of medium strength loctite provided in the kit to the
threads of each bolt. Use a washer under the head of the bolt and start all bolts
finger tight.
8) Align the exhaust so the spacers are straight before tightening. This may require
some prying of the exhaust against the frame to line everything up.
Page 7

9) Once straight, fully tighten the bolts using a 13mm wrench. Torque to 15 ft-lbs.
Page 8

10) Next tighten the exhaust clamp we loosened in step 2. Again, use a 15mm
wrench and retighten until clamp is snug.
Now is also a good time to reinstall the T-case skid removed in
step 1. Again, use an 18mm socket and torque bolts to 48 ft-lbs
11) Double check clearances around the transmission cross member, and rear cross
member where the exhaust kicks up to allow for rear axle clearance. There
should be adequate clearance in these areas to prevent rattling or added vibration.
Page 9

12) Lastly, fire up the Jeep and feel around the new exhaust clamps and cross over
pipe to mid section junction to ensure there are no leaks. If leaks are present, dbl
check clamps and spacer fitment to ensure everything was properly seated.
13) Recheck exhaust spacer installation and bolt torques after 100 mi of driving.
 Loading...