

Page 1
Vlogger Kit 1
User Manual
Caring For Your SYNCO Product
Please keep the product in a dry, clean, dust-free environment.
Keep corrosive chemicals, liquids and heat source away from the product to
prevent mechanics damage.
Use only a soft and dry cloth for cleaning the product.
Malfunction may be caused by dropping, impact of external force.
Do not attempt to disassemble the product. Doing so voids warranty.
Please have the product checked or repaired by authorized technicians if any
malfunctions happened.
Failure to follow all the instructions may result in mechanics damage.
Warranty does not apply to human errors.
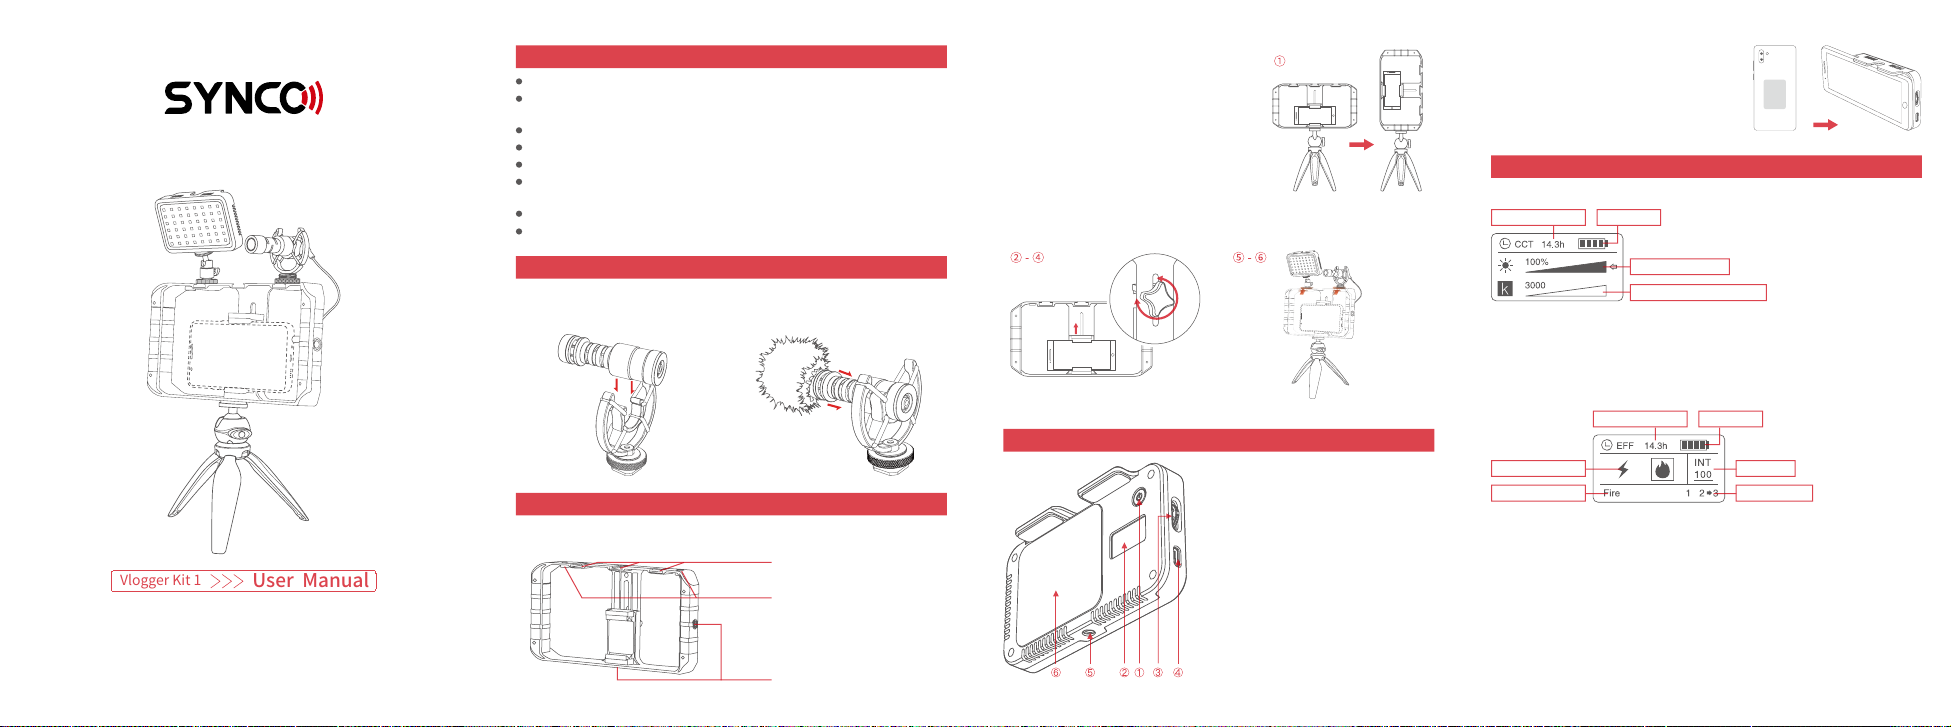
1. Attach the tripod to the 1/4” thread on the
bottom for horizon lming or to that on the
right side for vertical lming.
2. Unscrew the knob on the back of the rig
to expand the phone clamp.
3. Place the smartphone into the clamp and
adjust it.
4. Screw the knob tightly to x the
smartphone.
5. Install the microphone and the video light on the cold shoe mounts.
6. Connect the microphone with your phone via the 3.5mm TRRS phone cable.
④ Type-C Charging Port
⑤ 1/4” Screw Hole
⑥ Magnetic Back
Used for attaching the light to smartphones
with the metal plate.
Video Light Interface
CCT Mode
Remaining Runtime Battery Life
Please read this manual carefully before use and follow all instructions mentioned
Thank you for choosing SYNCO product.
herein.
Microphone Usage
1. Insert the microphone body into
the shock mount. Make sure it is
secure and well-balanced.
2. Install the windshield to the front of
the microphone body.
Kit Installation
The video rig provides three cold shoe mounts and four 1/4” threads for
attaching microphones, video lights and tripod.
Cold Shoe Mounts
1/4” Threads
1/4” Threads
Video Light Instructions
① Power & Mode Switch Button
Long press this button to turn on/o the
product.
When the product is on, short press this
button to switch between 2 light modes,
CCT Mode and EFF Mode.
② Display Screen
③ Dial
Press down the dial to choose the option
to be adjusted.
Roll the dial upwards to increase the
value, and downwards to decrease the
value.
Current Brightness
Current Color Temperature
In CCT Mode, you can choose to adjust brightness or color temperature by
pressing down the dial.
Increase or decrease the brightness and color temperature by rolling the dial
upwards or downwards.
EFF Mode
Remaining Runtime Battery Life
Subordinate Mode
Special Eect Current Option
In CCT Mode, press the mode switch button once to enter EFF Mode.
Press down the dial to switch among subordinate mode, brightness and
special eect, and roll the dial to adjust.
Subordinate Mode: Lightning and Fire
Each mode contains 3 special eects, amount to 6 special eects.
Brightness
Page 2
Specications
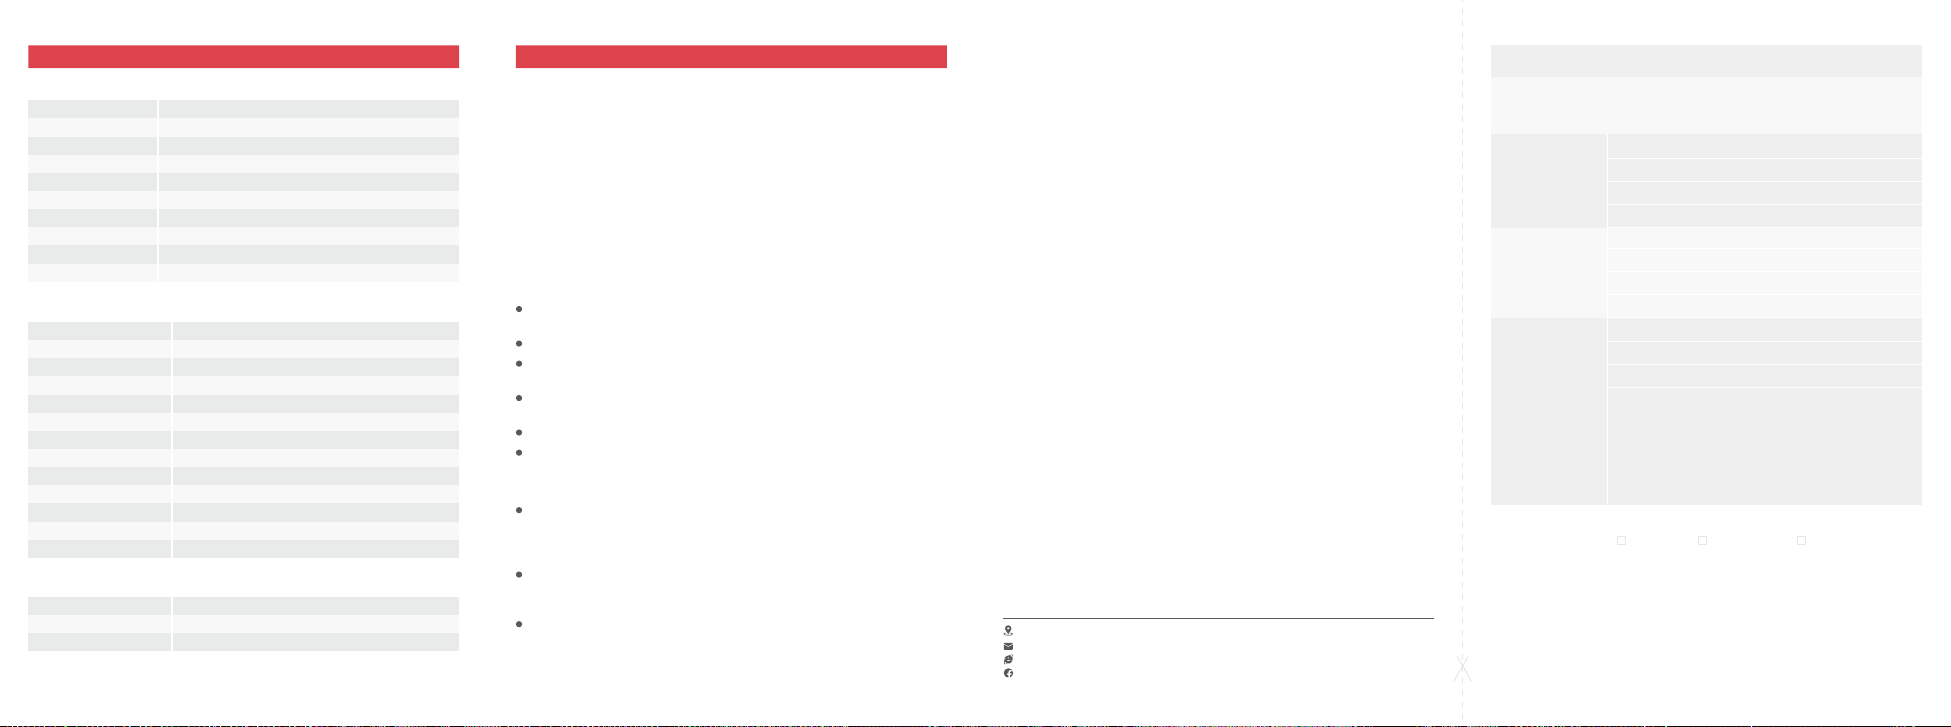
Microphone
Transducer
Polar Pattern
Frequency Response
Signal/Noise
Max. SPL
Sensitivity
Power Requirement
Connector
Dimensions
Net Weight
LED Video Light
Color Rendering Index
Color Temperature Range
Illumination
Number of Bead
Battery Capacity
Power
Runtime
Input Voltage
Charging Port
Charging Time
Body Material
Weight
Dimension (mm)
Video Rig
Material
Color
Dimension
Condenser
Cardioid
100Hz-20KHz/ ±3dB
>60dB
130dB@1KHz, 1%THD
-35dB re 1 Volt/pasal(18.00mV@94dB SPL ) +1/-2dB@1KHz
Plug-in Power
3.5mm TRS/3.5mm TRRS
Φ21.5x 72mm
35g
Ra≥95
2700K-6500K (±100K)
1500Lux (at 30cm 6500K)
48 pieces
2100mAh
5W
100% brightness for about 90 minutes
5V/1A
Type-C
2.5H
Plastic
110g
110*65*15 (L*W*H)
Plastic
Black
25*13*3.5 cm
Warranty
Warranty Period
Thank you for purchasing SYNCO products.
1. Customers are entitled to free replacement or repair service in case of quality
defect(s) found in the product under normal use within 30 days upon receipt of
the product.
2. Original SYNCO products are entitled to 12-month limited warranty service.
The warranty period begins on the date of purchase of brand new, unused
products by the rst end-user.
Within the warranty period, if product defect or failure is attributable to material
defection or technological problem, the defective product or defective part will
be repaired or replaced without charge (service and materials fee).
Warranty Exclusions and Limitations
Faults resulted from inappropriate use of a product without following its
operation specication
Articial damage, e.g. crash, squeeze, scratch, or soaking
Modications to a product by its user or a third party without prior written
consent of SYNCO, e.g. replacement of element or circuit, label alteration
The code on product is inconsistent with that of warranty certicate, or the
code on the product or warranty certicate is altered or torn o
All consumable accessory attached to a product, like cable, wind mu, battery
Faults as a result of force majeure, such as re, ood, lightning, etc.
Warranty Claim Procedure
If failure or any problem occurs to your product after purchase, please contact
a local agent for assistance, or you can always contact SYNCO’s customer
service through email at
Please retain your sales receipt and warranty certicate as proof of purchase.
If any of these documents is missing, only sales return or chargeable service
will be provided.
If the SYNCO product is out of the warranty coverage, the service and the parts
cost will be charged.
Guangzhou Zhiying Technology Co., Ltd
Block 15th, No.200 Fangcun Avenue East, Liwan District, Guangzhou, China, 510000
www.syncoaudio.com
https://www.facebook.com/syncomicrophones
WARRANTY CERTIFICATE
Please register your warranty. Meanwhile, you are welcomed to contact us
via Email:[email protected]
Customer Name:
USER
INFORMATION
Phone Number:
Email:
Address:
Sales Date:
SALES
INFORMATION
Model:
Product Code:
Dealer:
Service Date:
Technician:
REPAIR
RECORD
RESULT
Issue:
Solved Unsolved Returned(Replaced)
 Loading...