

Page 1
QUICK SETUP GUIDE
Congratulations on your purchase of a Symphonic DVD/VCR. This Quick Setup Guide takes
you through the first-time setup with simple instructions so you can enjoy exceptional audio and
video quality as soon as possible. Please refer to the Owner's manual for detailed instructions.
Unless stated, all procedures described use the remote control.
2)
Insert two R6 (AA) batteries,
with the (+) and (-) ends
in the correct positions.
WARNING!
Never make or change connections with
the power switched on.
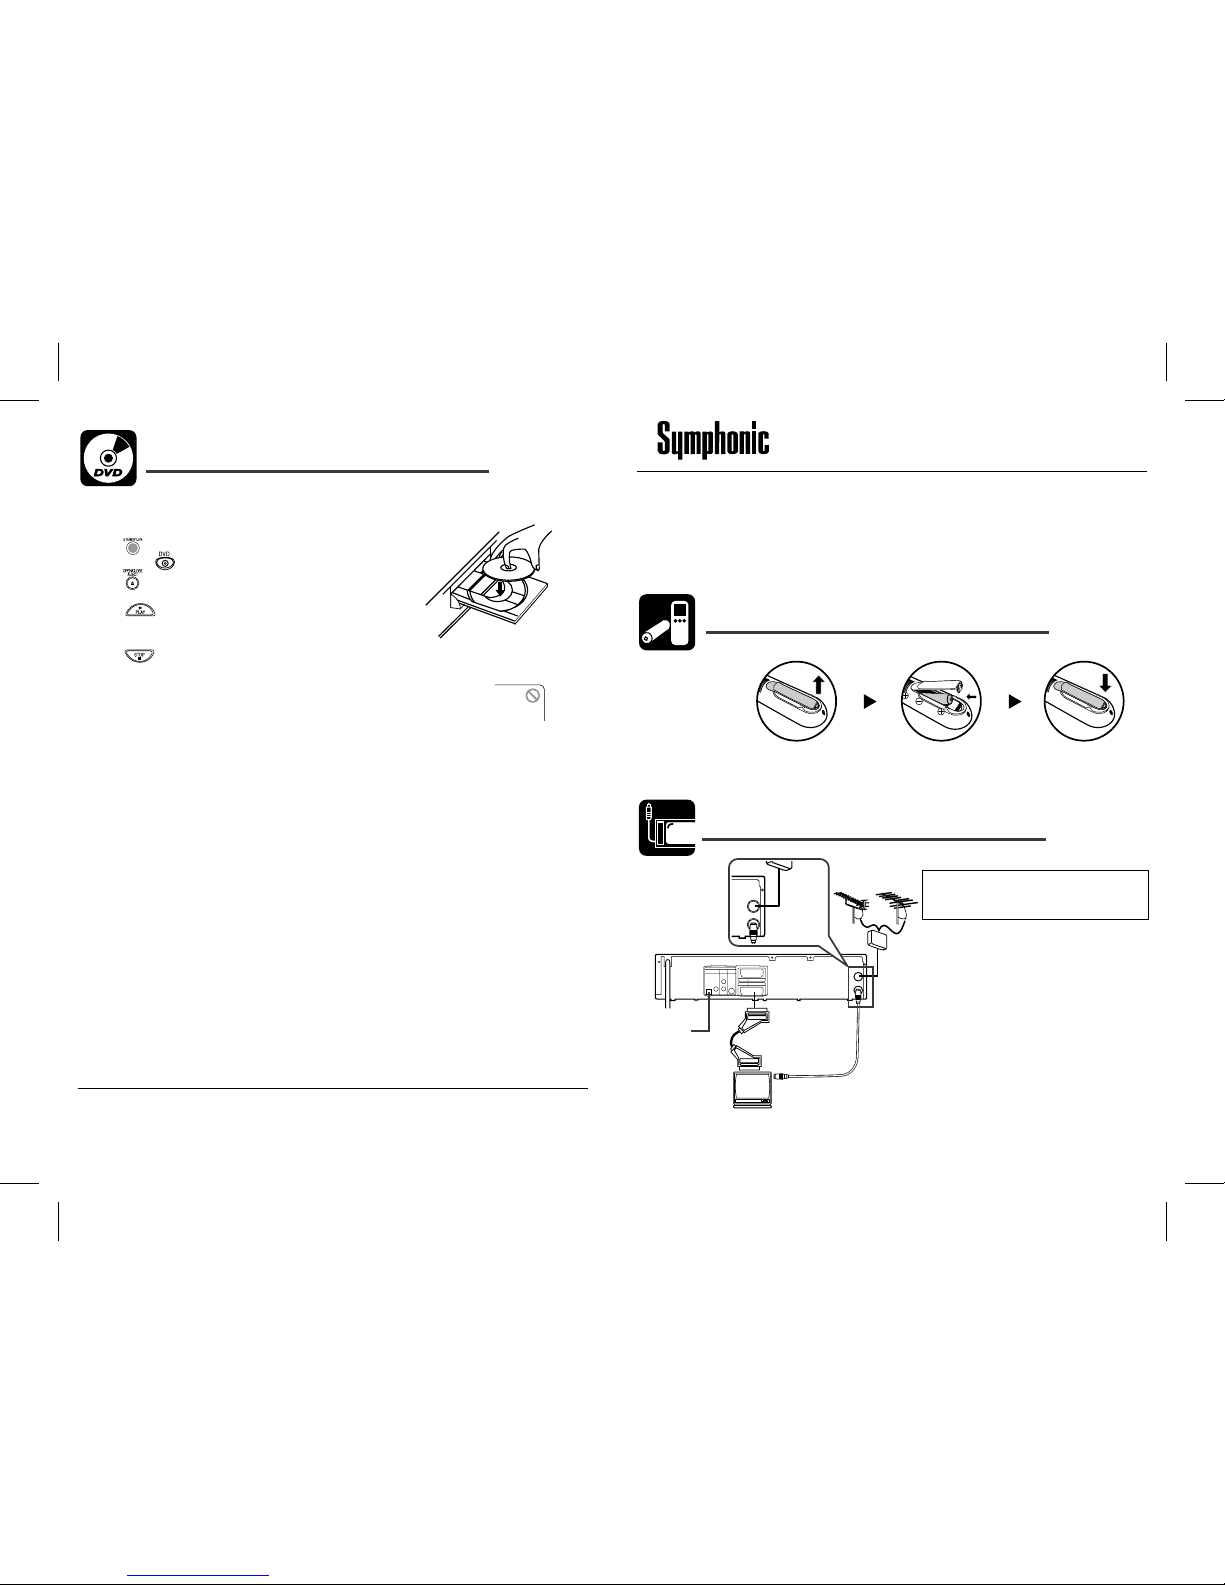
1)
Disconnect the antenna or cable from the
TV and connect it to the AERIAL jack of the
unit.
2)
Connect the RF OUT jack of the unit
to the antenna in jack of the TV using the
supplied RF cable.
3)
Connect the AV1 (TV) scart jack of the
unit to the scart input jack of the TV
using the supplied scart cable.
4)
Plug in the TV and the unit.
Connecting to a TV
Loading Batteries in the Remote Control
1)
Open the battery cover.
3)
Close the cover.
RF OUT
AERIAL
VCR
AV2 (DECODER)
DVD/VCR AV1 (TV)
L
R
DVD
OPTICALCOAXIAL
DIGITAL
AUDIO OUT
ANALOG
AUDIO OUT
S-VIDEO
OUT
VHF/UHF
MIXER
UHF
VHF
RF cable
(supplied)
scart cable
(supplied)
(TV)
to 21-pin
scart jack
to aerial socket
RF OUT
AERIAL
VHF/UHF
MIXER
1VMN22596 *****PAL I_EN
Note:
• Playback picture from DVD and VCR
cannot be delivered through the RF
cable. The RF cable is only for sending
the antenna signal to the TV.
Only for the
model with
OPTICAL jack
3)
Press and confirm that the DVD OUTPUT indicator is lit.
If not, press to switch to DVD mode.
4)
Press to open the disc loading tray and place the disc on
the tray, with the label side up.
5)
Press .
The tray will close automatically and playback will start.
• For DVDs with a title menu recorded, the screen will display the title.
6)
Press to stop playback.
Note:
• A “prohibited icon” may appear at the top-right on the TV screen during operation,
warning that a prohibited operation has been encountered by this unit or the disc.
Loading and Playing a DVD
1)
Turn on the TV, amplifier and any other components connected to the unit.
2)
Set the TV and audio receiver (commercially available) to the correct channel.
Help Line: 0870 383 3010 in the UK.
Questions and Help on this products, please call
Page 2
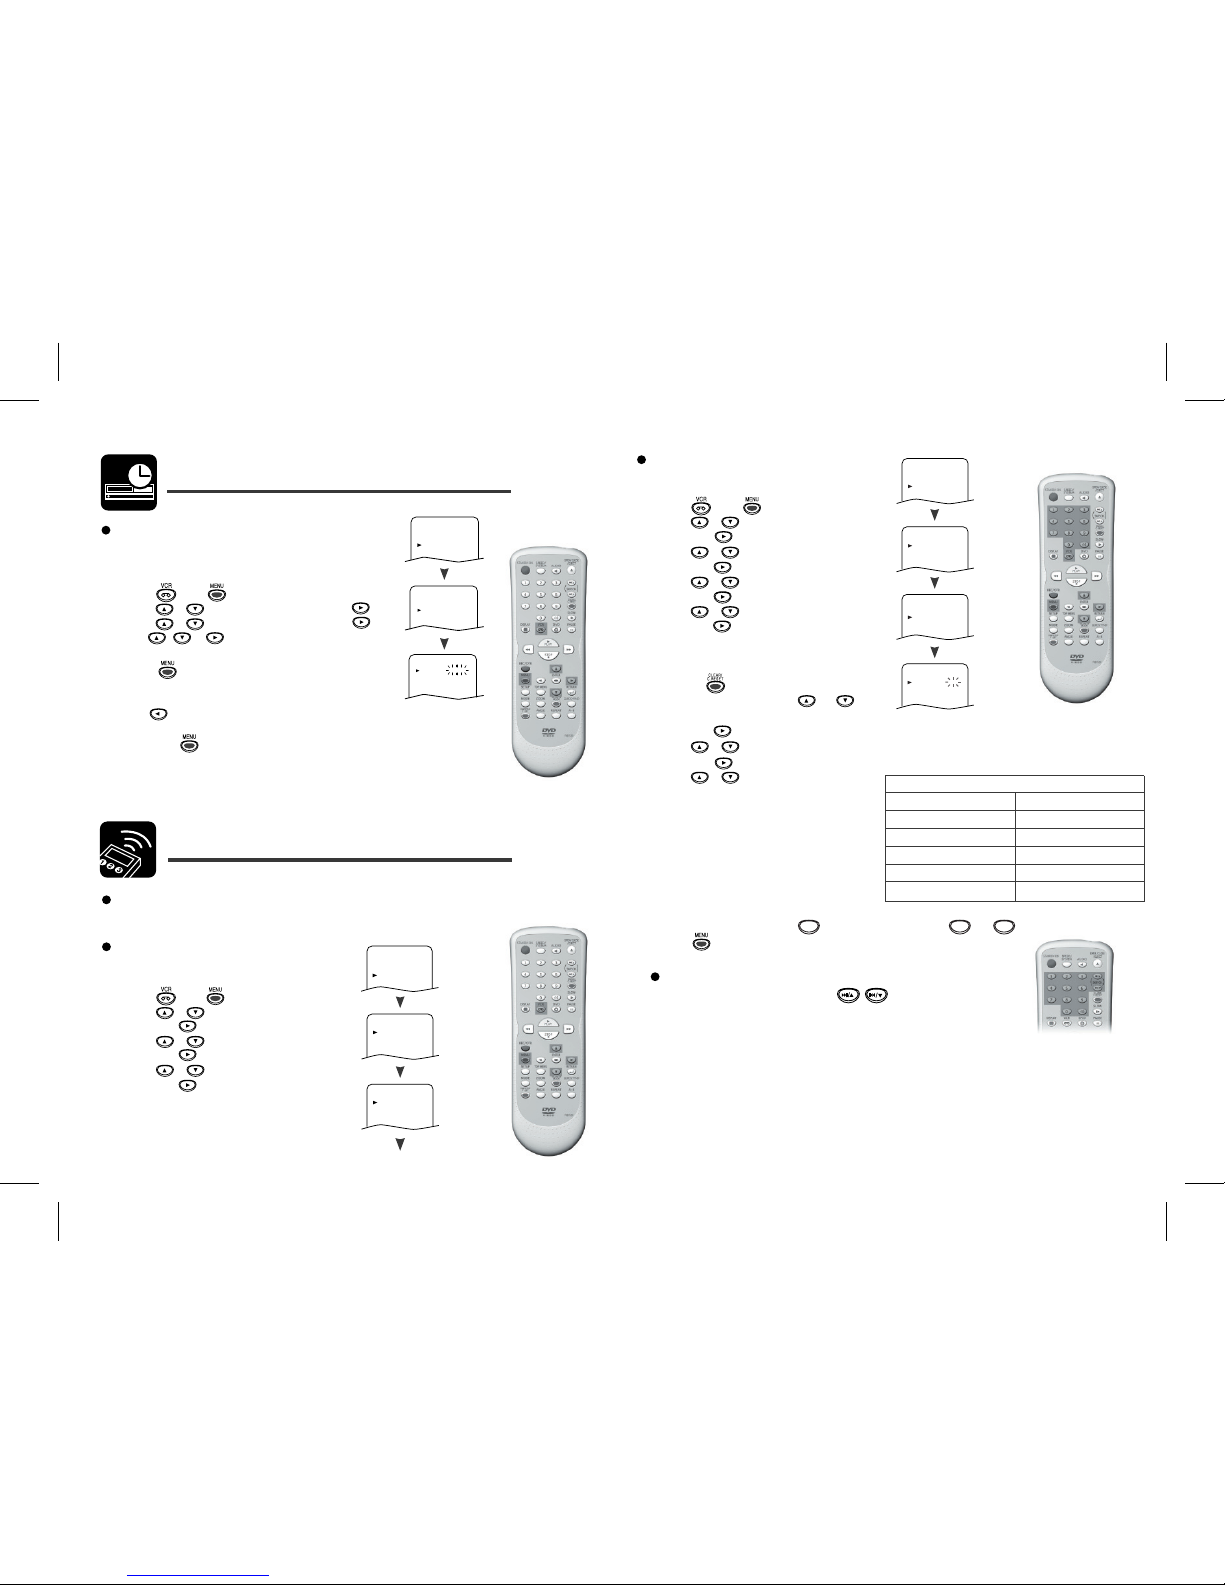
Clock Setting
This unit incorporates a 24-hour clock.
The clock must be set for the Timer Recording function
to operate correctly.
1)
Press
, then
.
2)
Press or to select “INITIAL” then press .
3)
Press or to select “CLOCK” then press .
4)
Use , or to select current year, month,
date, hour and minutes.
5)
Press
to start the clock.
Note:
• Press to go back to the item you want to correct during step 4).
• Although seconds are not displayed, they begin counting from 00 when you exit
by pressing .
Use this feature to synchronize the clock with the correct time.
• If the unit is unplugged or if there is a power failure for more than 30
seconds, you may have to reset the clock.
Setting the Clock
,
,
MENU
TIMER
SET UP
INITIAL
INITIAL
CH TUNING
CLOCK
CLOCK
YEAR 2 0 0 6
MONTH 0 1
DAY 0 4 WE
HOUR
_ _
MINUTE
_ _
Channel Presetting
Channel Presetting
Automatic Channel Preset
Tuning of broadcast channels not already preset in the unit can be
performed in two ways.
Scanning
1)
Turn on the TV and select the channel set as
the video channel on the TV.
2)
Press , then .
3)
Press or to select “INITIAL”
then press .
4)
Press or to select “CH TUNING”
then press .
5)
Press or to select “AUTO”
then press .
,
,
,
MENU
TIMER
SET UP
INITIAL
INITIAL
CH TUNING
CLOCK
CH TUNING
AUTO
MANUAL
MOVE
Manual Channel Preset
Channel Plan
CH Indication TV Channel
01 – 10
IRA – IRJ, GAP
21 – 69
E21 – E69
74 – 78
X, Y, Z, Z+1, Z+2
80 – 99, 100
S1 – S20, GAP
121 – 141
S21 – S41
Manual channel preset enables you to manually
tune in a channel.
1)
Press , then .
2)
Press or to select “INITIAL”
then press .
3)
Press or to select “CH TUNING”
then press .
4)
Press or to select “MANUAL”
then press .
5)
Press or to select “POSITION”
then press .
When a weak signal is received in Manual
Tuning mode, you can change the background
to solid blue or the static screen by
pressing .
6)
Press the Number buttons, or
to select a position number from 01-99,
then press .
,
,
,
,
To Select a Channel
You can select a channel using CH. ( / )
or directly pressing the Number buttons on the remote control.
7)
8)
Press or to select “CHANNEL”
Press or to start scanning.
The unit's tuner will begin to search up
or down automatically. When a channel is
found, the unit will stop searching and
the picture will appear on the TV Screen.
You can select desired channel number by
You must refer to the Channel Plan table and
press three digits to select the channel
number.
,
then press .
9)
Press to exit.
MENU
TIMER
SET UP
INITIAL
INITIAL
CH TUNING
CLOCK
MANUAL
POSITION
CHANNEL
DECODER
SKIP
P08
008
[OFF]
[OFF]
CH TUNING
AUTO
MANUAL
MOVE
using the Number buttons.
20 4
(To select channel 24, press button first and then press and .)
 Loading...