

Page 1
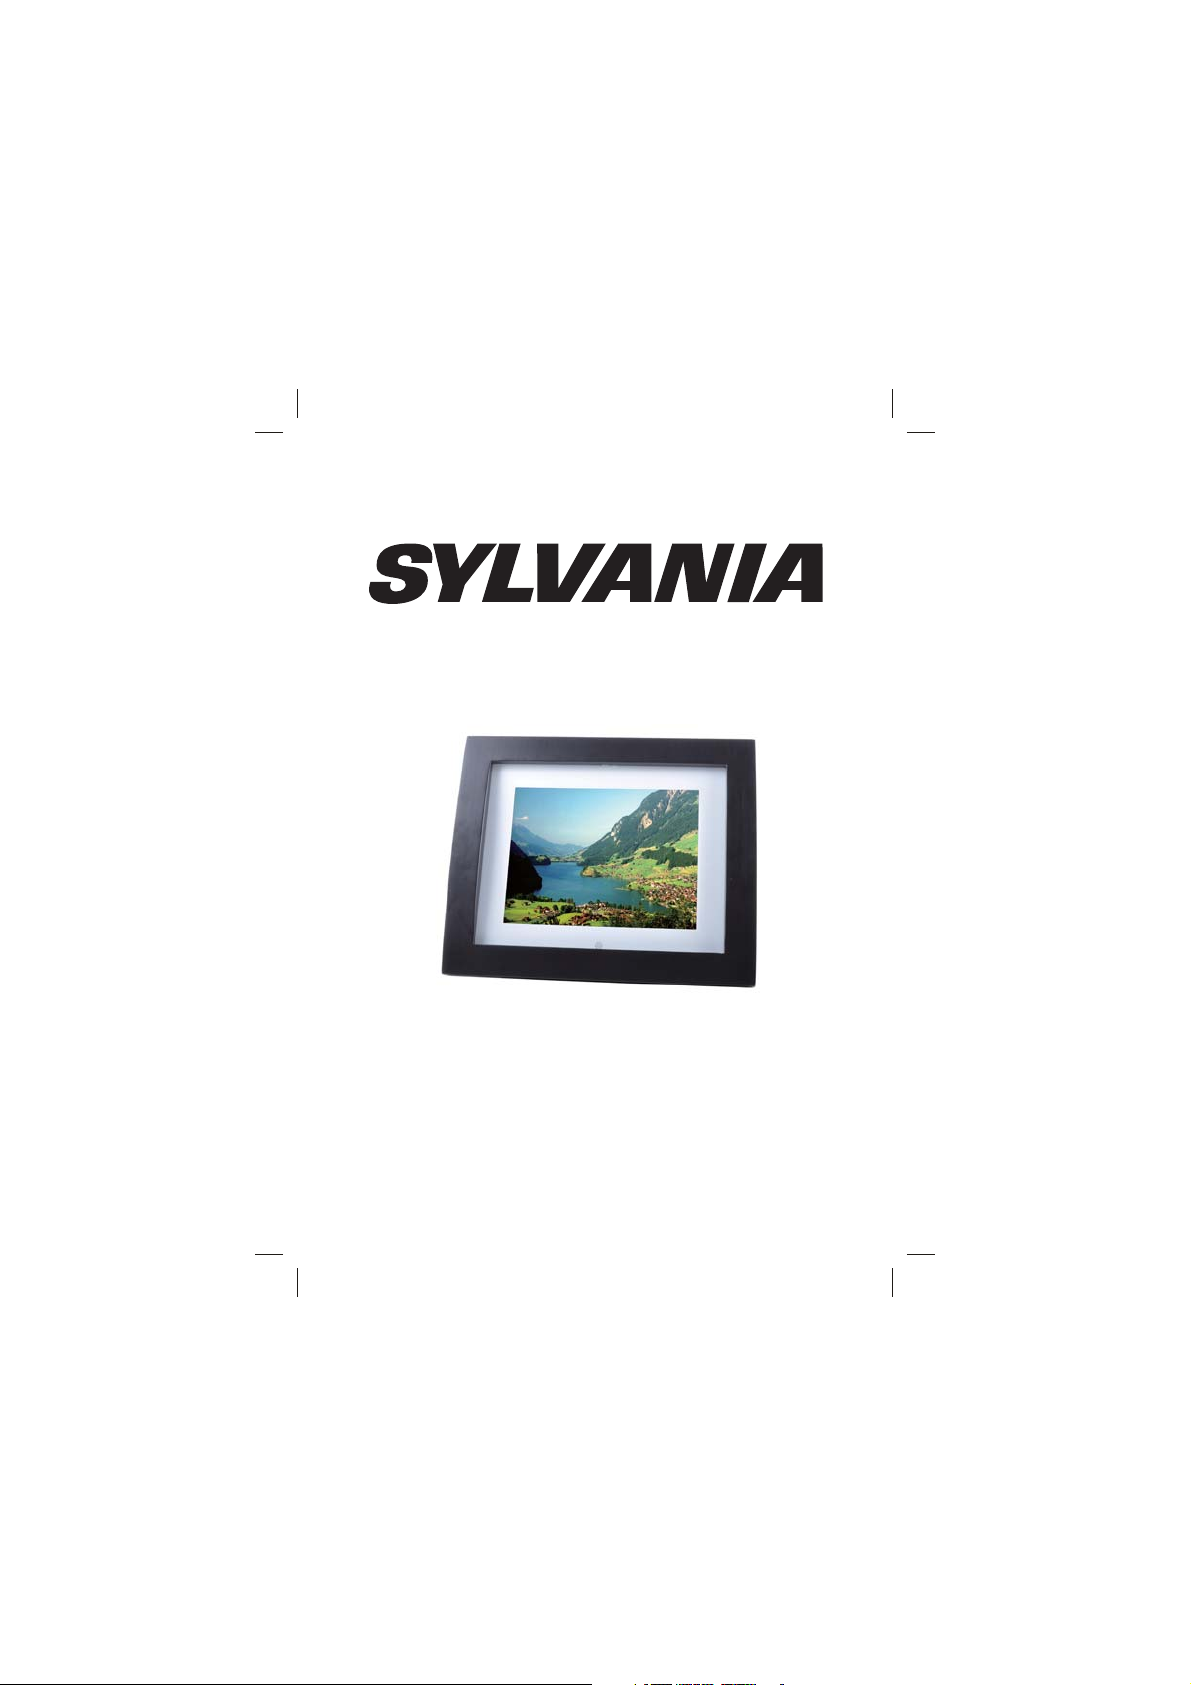
USER’S MANUAL
Digital Photo Frame
MODEL NO: SDPF733
Page 2

CONTENTS
Chapter 1 Product introduction ..............................................
1.1 Specification............................................................
1.2 Package ..................................................................
Chapter 2 Operation introduction ..........................................
2.1 Operation of inserting the cards..............................
2.2 Button operation introduction for main unit..............
2.3 Button of remote control manual............................
2.4 Operation guide.......................................................
2.5 Selecting mode........................................................
2.5.1 auto-play mode...........................................
2.5.2 photo...........................................................
2.5.3 clock and calendar display..........................
2.5.4 time and calendar setting ...........................
2.5.5 menu...........................................................
Chapter 3 Daily protection and maintenance.........................
3.1 Digital photo frame protection.................................
3.2 Panel cleanness......................................................
Chapter 4 Trouble shooting.....................................................
2
2
2
2
2
3
3
4
4
4
5
5
6
7
8
8
8
8
1
Page 3
CHAPTER 1 product introduction
1.1 Specification
support picture format: JPEG
support SD/MMC/MS cards, this machine doesn't support music
panel: 7 inch LED screen
Power: DC5V 1.5A
Operation control: button operation control and remote control
1.2 Packaging list
digital photo frame 1pc
user manual 1pc
adapter 1pc
warranty card 1pc
remote control with button cell battery 1pc
CHAPTER 2 Operation introduction
2.1 Operation of inserting the cards
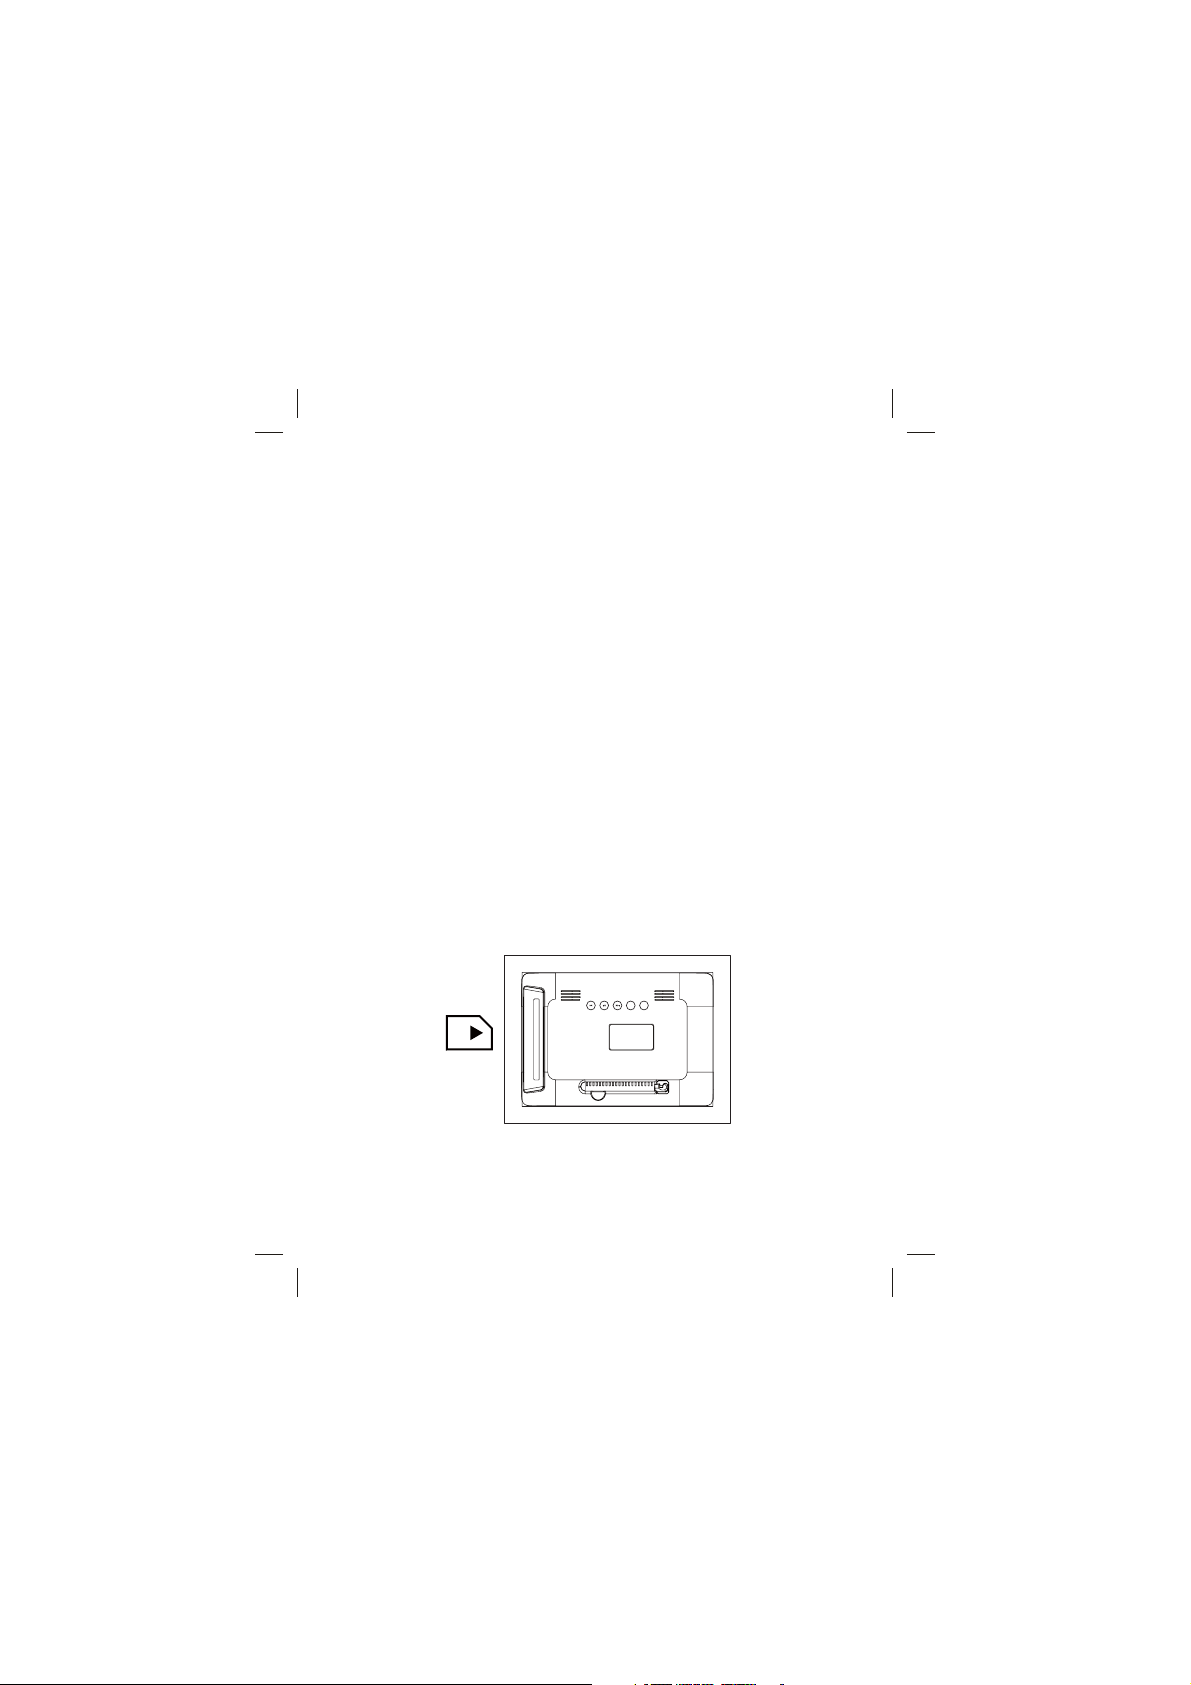
Insert the card in correct direction like below indication:
EXIT
MENU
SD/MMC/MS
Machine will recognize the card automatically, it can insert USB
and one of SD/MMC/MS card simultaneously
2
Page 4
2.2 Button operation introduction for main unit
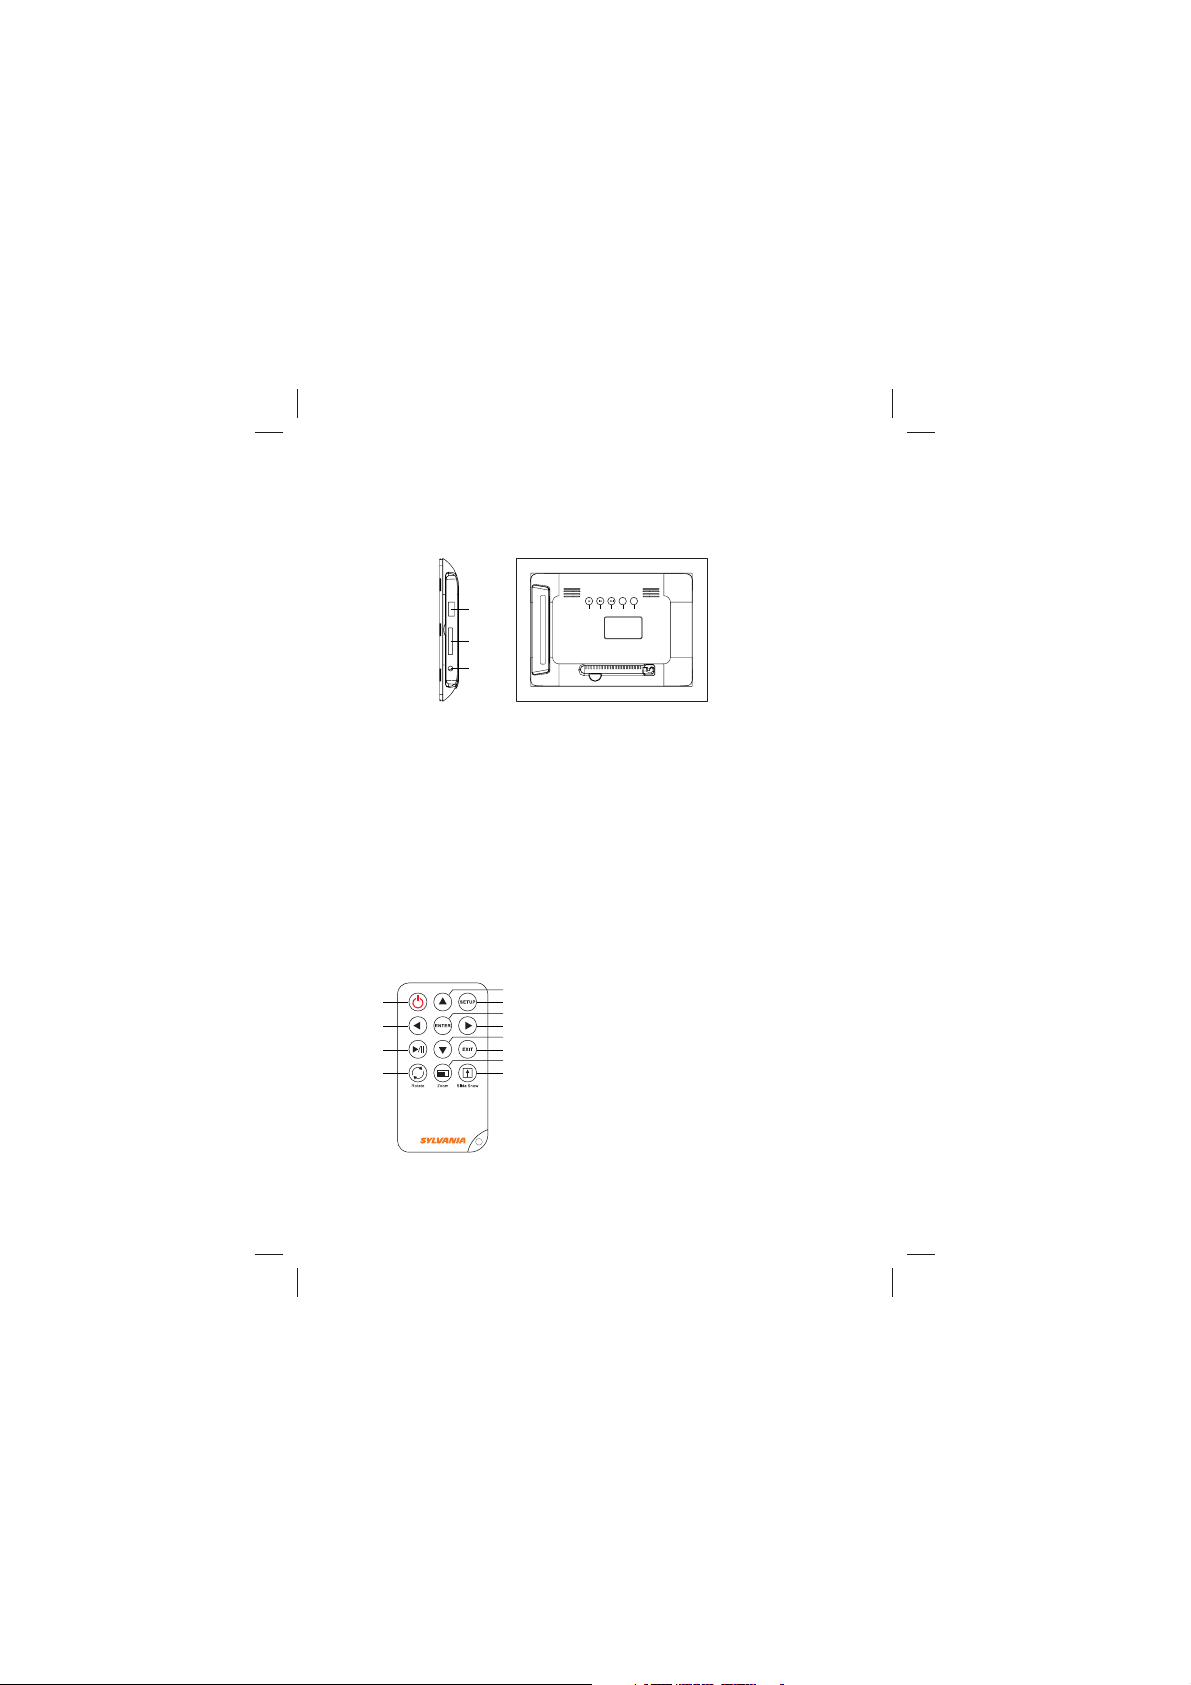
This product can be operated by pressing button as below:
EXIT
6
7
8
1 2 3 4 5
MENU
1. “ENTER” button/ playing picture mode is normal playing /pause
2. “RIGH”/ “DOWN” button
3. “LEFT”/ “UP” button
4. “EXIT” button
5. “MENU ”/“SETUP” button
6. USB input jack
7. Memory card slot
8. Power input jack
2.3 Button of remote control manual
1
2
3
4
5
6
1. “Power” button
7
8
2.“Left” button
9
10
3. “Playing” / “Pause” button
11
12
4. “Rotate” button
5. “UP” button
6. “Setup” button
7. “Enter” button
8. “Righ” button
9. “Down” button
10. “Exit” button
11. “Zoom” button
12. “Slide S” button
3
Page 5

2.4 Operation introduction
start up screen: power on the unit , will show the start up picture
2.5 Selecting mode
under this mode:, have four function menu for selection: PHOTO,
FILE, CALENDAR, SETUP
select one function press ENTER to operate the function , press
EXIT key to return to select card mode.
Press to choose. Press ENTER button to select and return
to MENU
2.5.1 auto-play mode
4
Page 6
This product will play automatically once insert card, when playing,
press ENTER key can pause the playing , press / key can
ź
ź
EURZVHWKHSKRWRSDJHE\SDJHSUHVVŸźVHOHFWEXWWRQFDQ
rotate the photo, press ENTER again return back to play mode;
press EXIT key can return to photo browsing mode , press EXIT
key again can return to the main menu
8QGHUEURZVHSKRWRPRGHSUHVVŸźNH\WRVHOHFWWKH
ź
ź
desired photo, press ENTER key to pause the browsing ,
press again ENTER key to play
2.5.2 photo
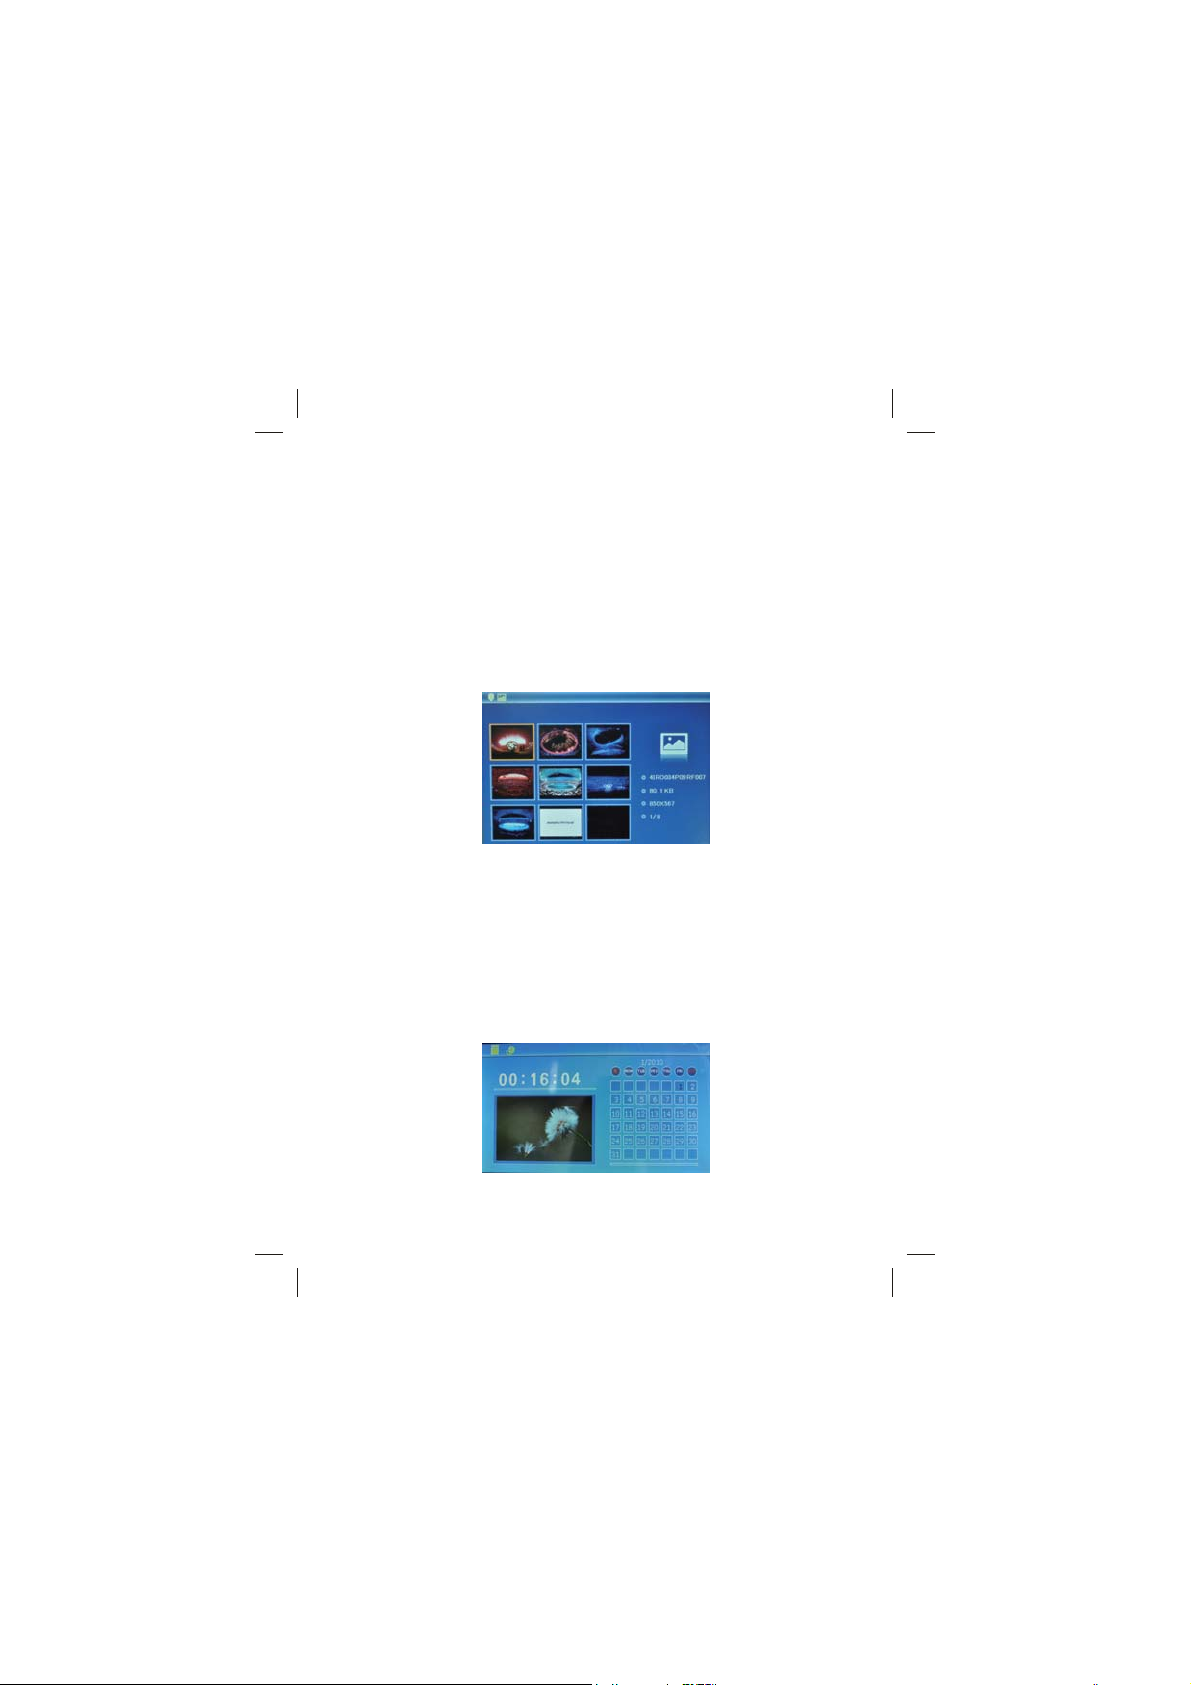
9 screen image preview, select a picture after press ENTER key to
full-screen preview image, long press SETUP can pop-up setup
menu, you can set image display mode, the picture zoom / rotate /
copy / delete (the current equipment for the Memory When not be
able to choose copy) operation, the file copied to the memory
inside or removed from memory. Press MENU back to the
Select Mode.
2.5.3 clock and calendar display
enter to selection mode , select calendar to display the clock and
calendar
5
Page 7
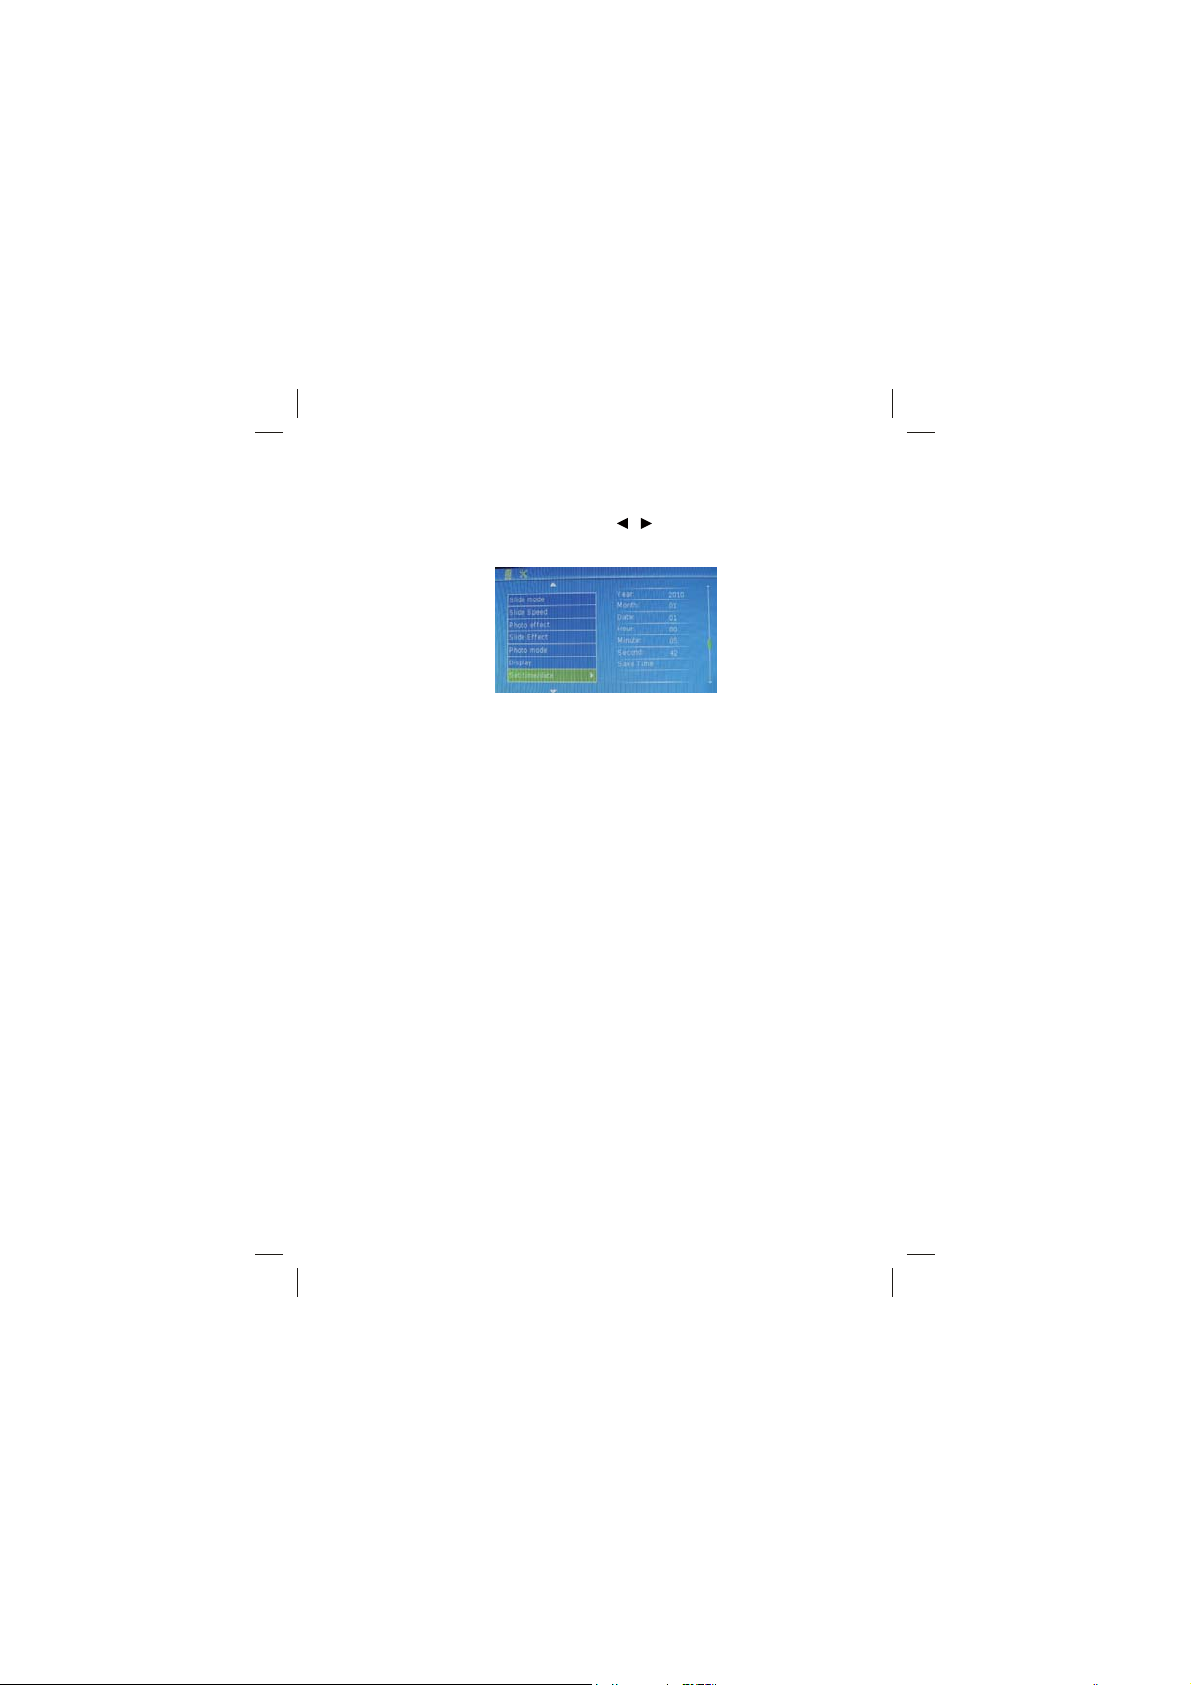
2.5.4 time and calendar setting
Enter the main menu, you can using / button to choose
calendar to display the clock and calendar
Select SETUP menu under selection mode,it will display the setup
menu, press UP/DOWN key to enter to TIME/DATE menu , press
ENTER key twice to highlight YEAR , then use Left /Right key to
adjust the time or calendar, select save time and press ENTER
key to confirm .
6
Page 8
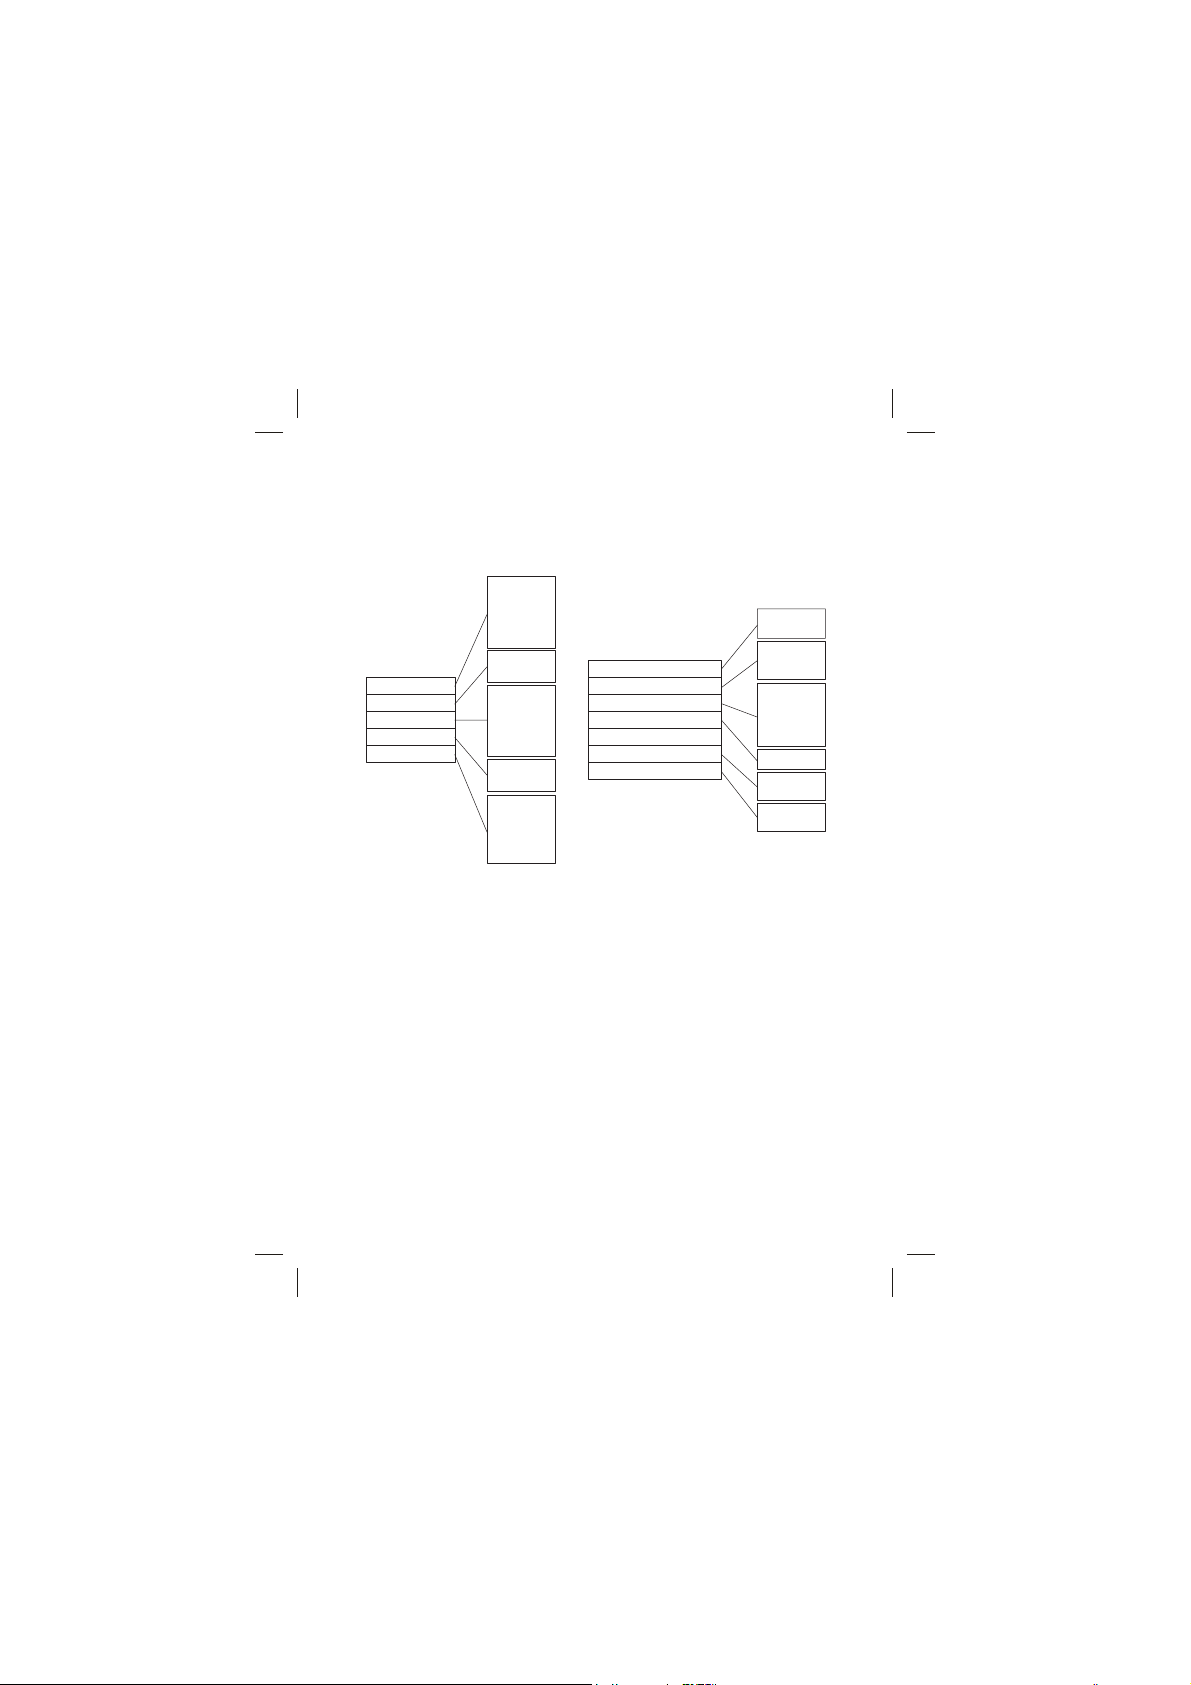
2.5.5 MENU
enter to selection mode , select calendar to display the clock and
calendar
English
French
Italian
Language
Slide mode
Slide speed
Photo effect
Slide effect
German
Spanish
Portuguuese
Swedish
Dutch
Single window
Four windos
Triple windows
3 Seconds
5 Seconds
15 Seconds
30 Seconds
1 Minute
5 Minute
30 Minute
1 Hour
Color
Mono
Sepia
Random
Split Horizontal in
Split Horizontal out
Jalousie
Split Vertical in
Split Vertical out
Radiation
Surround
Photo mode
Display
Set time/date
Set time format
Format built-in memory
Reset Setting
Exit
Auto Fit
Optimal
Full
Contrast
Brightness
Saturation
Tint
Year:
Month:
Date:
Hour:
Minute:
Second:
Save Time:
12
24
Are you sure?
No
Yes
Are you sure?
No
Yes
Under main menu , use UP/DOWN key to select SETUP menu ,
press ENTER to confirm.
Use UP/DOWN key to select your desired setting , then press
ENTER key to confirm .
Press EXIT key on remote control to exit from setup menu .
20
20
20
20
2010
01
01
00
44
09
7
Page 9

Chapter 3 Daily protection and maintenance
3.1 Digital photo frame protection
To reduce the risk of fire or electric shock, do not expose or use this
product at rainy or moisture place
Do not block the intake of the back panel
Do not place this unit under sunshine
3.2 Panel cleanness
The panel is easy to broken , please take and put it gently
If the panel ‘s surface is dirty, please clean it with the soft cloth ,
if necessary , can wet the cloth with little water then clean it
Chapter 4 Trooble Shooting
1. Question: What kind of photos does this device support?
Answer: The frame will display digital photos that are stored in
the JPEG format, which is the standard format for nearly all digital
cameras. Some cameras allow images to be stored as TIFF or
RAW files as well as JPEG. Only the JPEG format is compatible
with the frame. Photos of up to million pixels can be displayed.
2. Question: What should I do if the system does not respond when
the power is turned on?
Answer: Please make sure the unit is properly connected to a
power source. Then turn it off, re-connect the power and turn it
on again.
3. Question: Why is the memory card not recognized?
Answer: The memory card might be inserted backwards or is not
pushed far enough. After inserting the memory card in the right
direction, if the still cannot be read, please turn off the unit and
then power it on again.
8
 Loading...