

Page 1
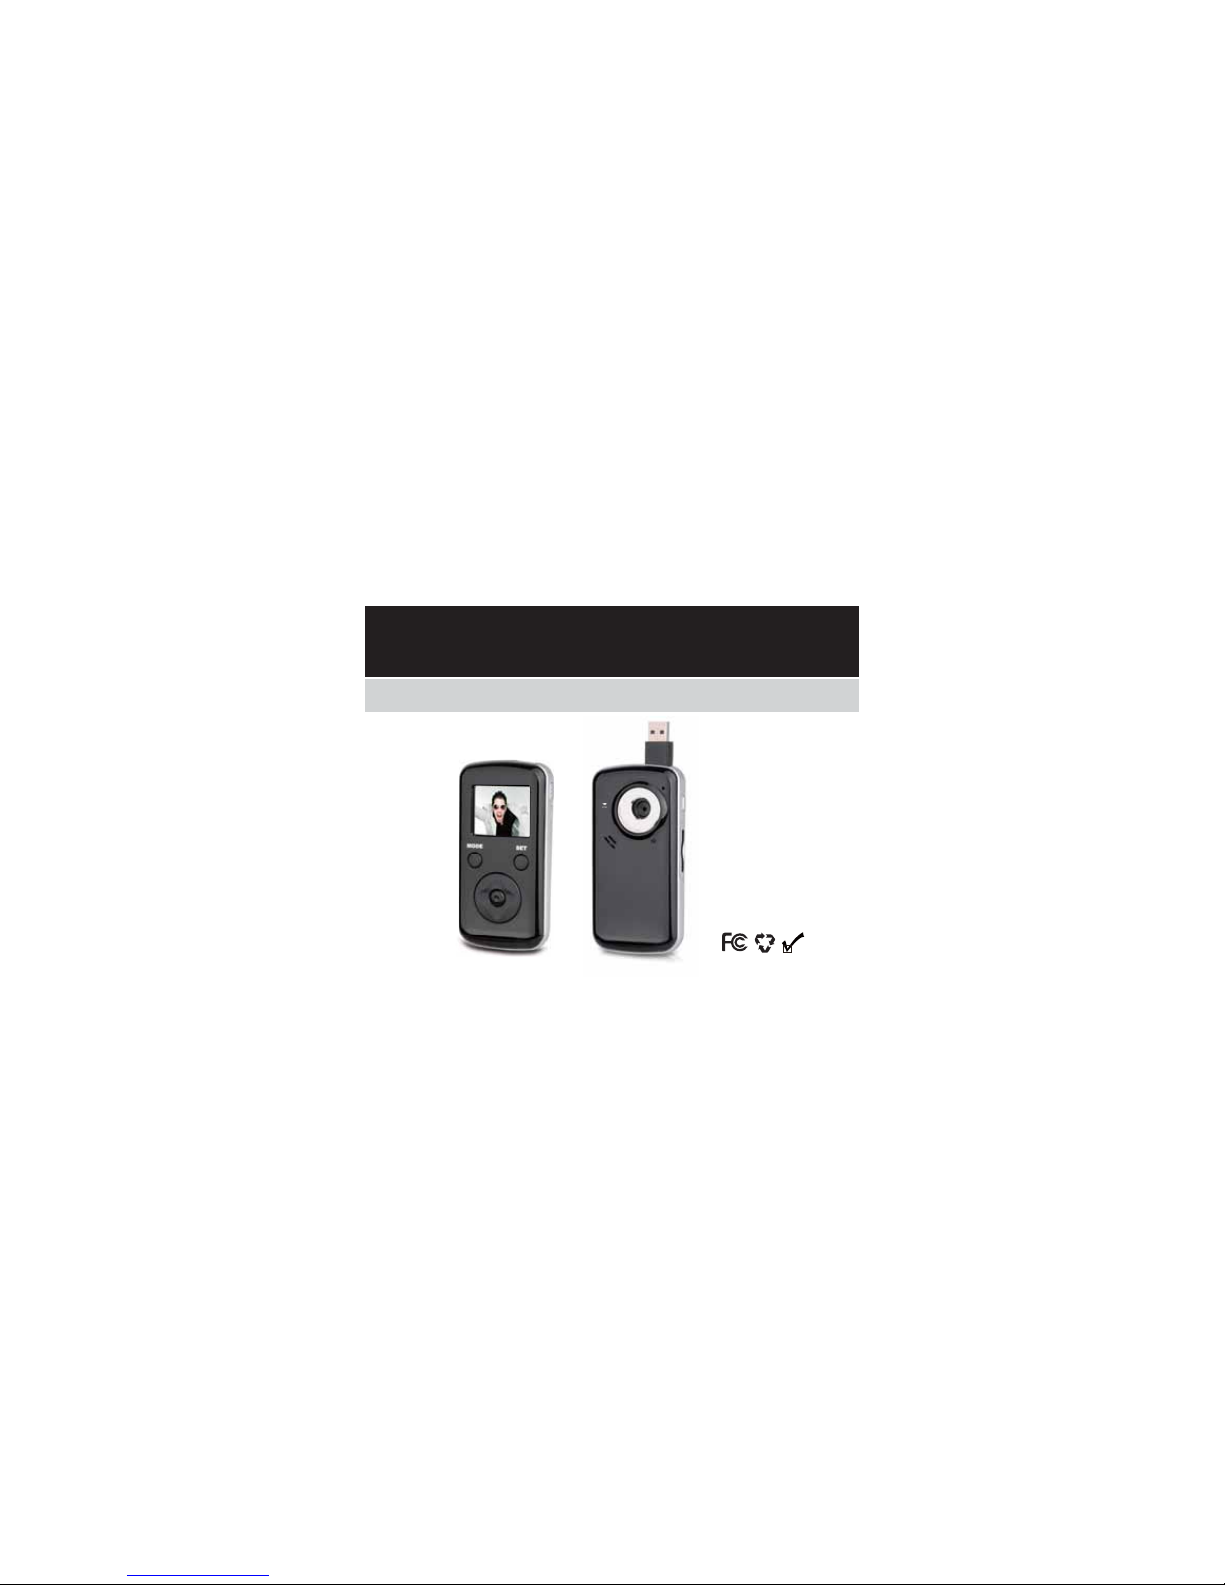
User Manual
RoHS
COMPLIANT
Digital Camcorder
Page 2

1
Introduction
Congratulati ons on your purc hase of this di gital video c amera. Before usin g the camera,
please read this user m anual carefully. With this di gital video camera you can take bot h
video clips and still photos. The illustrations in this user manual are to visually detail the
operation of th e digital video camer a.
Notice for use
General:
1. Never open the housing of the digital vid eo camera as some parts may cause an electric al
shock.
2. Moisture, extr eme pressure and overheating may d amage this digital vi deo camera.
Memory and st orage:
1. SD/MMC/SDHC cards are compatible with this camera, with a maximum capacity of
16GB.
2. When buying a SD/MMC/SDHC c ard, take the digit al video camera w ith you to ensure
compatibility.
3. When a SD/MMC/SDHC card is inserted, the internal memory of the digital video camera
will not function.
4. The card slot has a write-protect swi tch, which c an be used to prevent accid ental deletion
of data. When this switch is pushed to the bottom and locked, the data in the card will be
prot ected. H owever, w hen the c ard is in writ e-prot ect st ate, it cann ot be used for shoo ting or
deleting, etc.
5. W hen st ori ng doc uments u sin g th e int ernal mem ory or th e mem ory c ar d, m ake su re t hat
the size of the docum ents does not exceed th e capacity of the m emory.
Page 3

2
Maintenance and care:
1. To clean the lens, first blow aw ay dust on its surface, then us e cloth or tissue to wipe th e
lens. If necessary, use lens cleanser.
2. Avoid touching the len s with your fingers.
3. When left idl e for long periods, r emove the batteri es from your digital vi deo camera and
stor e in a dr y and da rk pl ace.
Miscellaneous:
1. When switc hing video output b etween LCD dis play and video devic es, be sure to exit from
the ‘play’ or ‘record’ state.
2. This digital video c amera is suit able for environment s between 0 °- 40 ° C or 32 °-104 ° F.
Never keep th e digital video c amera in ext remely high t emperatures, such as a c ar parked in
the sun. Never k eep the digital video cam era in damp or moist plac es. In order t o prevent
the digital video c amera from condensati on, when moving from a cold to a warm place, be
sure to keep it in sealed plast ic bag, and open the bag and tak e it out when the camera
reac hes t he indo or t empe ratu re.
3. TV programs, movi es, music, images and other resources m ay be protected by copyri ght;
therefore, wi thout prior permission, the shooting/us e of these resources may violat e
copyright l aws and regulati ons related. Pleas e note that the r esources und er the protection
of copyright c an be used within the pe rmission of relat ed laws and regulati ons.
Page 4

3
System requirements
When operating and using this digital video cam era, be sure the computer you ar e using
meets some basic requirements. Doing so will allow you to operate the camera to its full
functionality. Below are the requirements:
Operation Syst em Microsoft Wind ows 98, 2000,XP, Vista, Windows 7
CPU Above Intel PIII667 or CPU of equal performanc e
Memory Above 128 MB
Sound card and dis play card DirectX8 or ab ove.
CD-ROM 4× speed or above
Hard Disk 1 GB space above useabl e
Other One standard USB 1. 1 or USB 2.0 port
Page 5
4
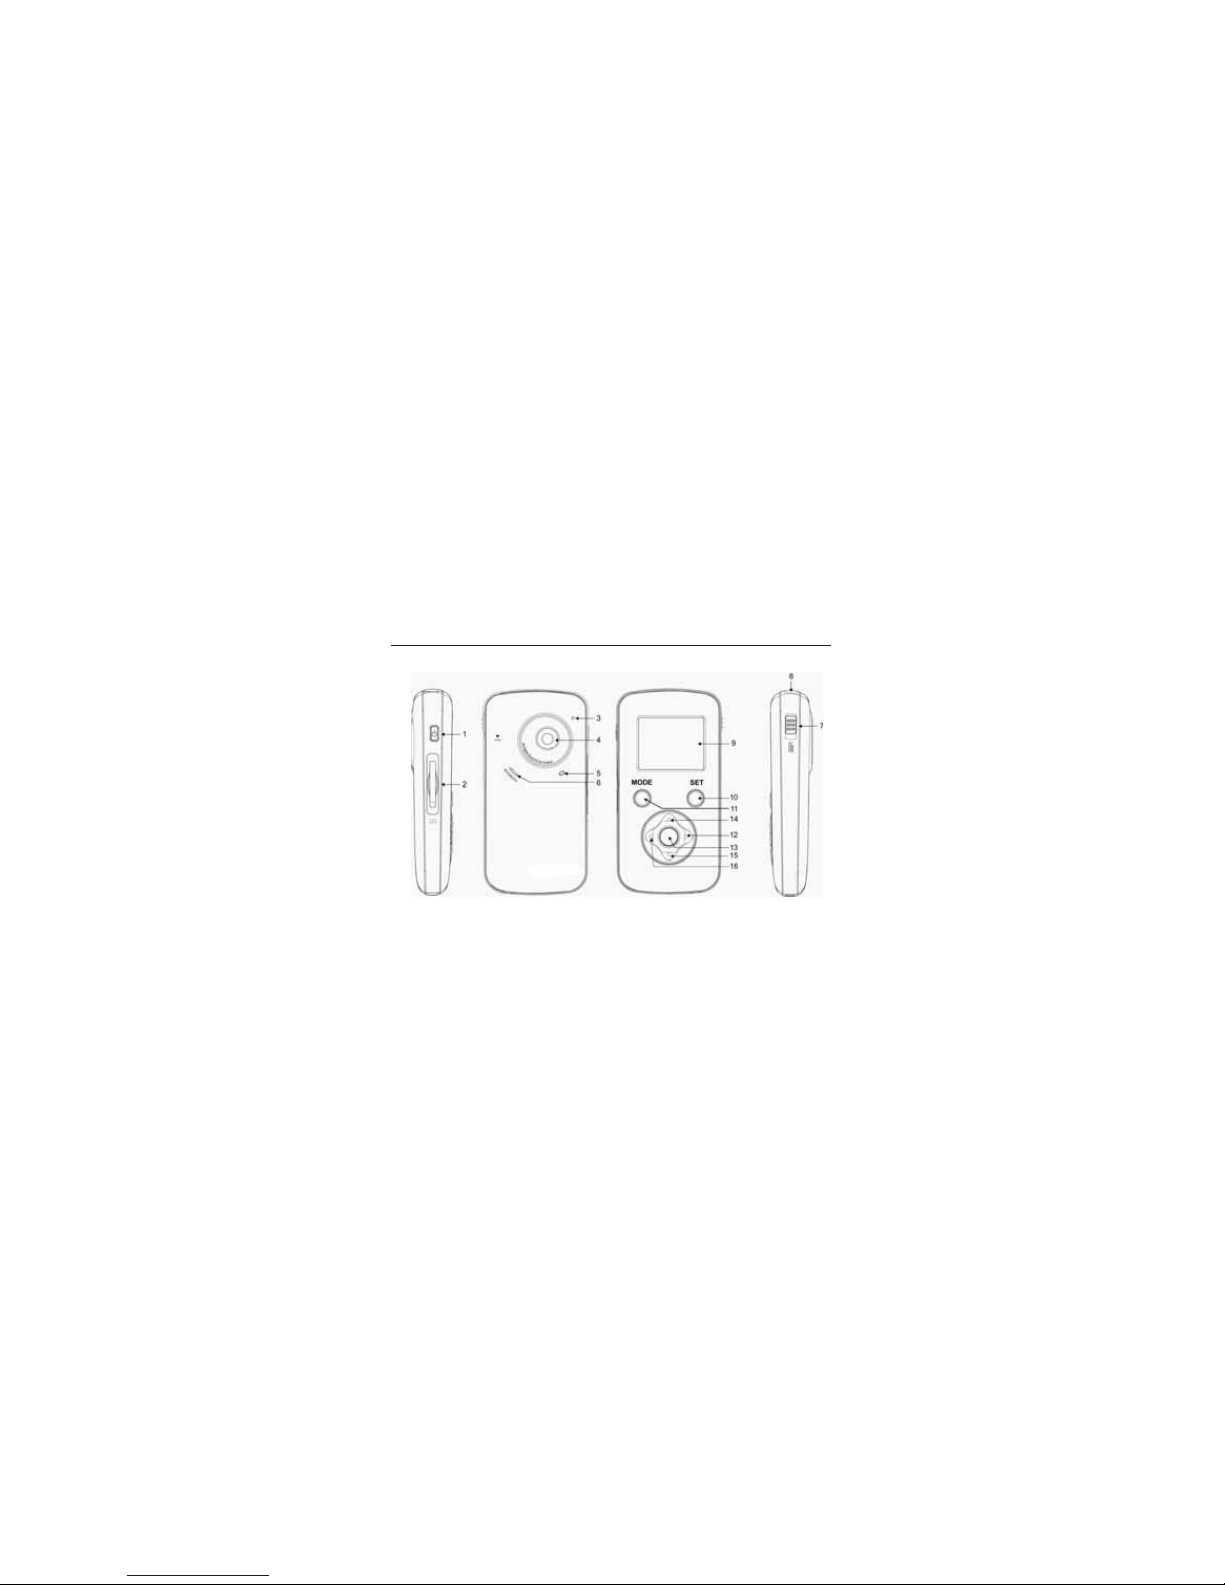
Getting to know your camera
1. Appearanc e and Buttons
Page 6

5
2. Basic operati on
2.1 Installing the battery
Slide down th e back cover an d insert thr ee new AAA alkaline b atteries. Align w ith correct
pol arit y of b att ery t ermi nals . Cl ose th e back c over.
2.2 Using a SD/MMC/SD HC card
Turn your camcorder OFF before inserting / removing the SD Card.
Insert a memory card into the SD/MCC/SDHC card slot. Push it down until the card stays
latched. Do not force – check card’s position according to th e position mark on the
camera.
Push and release in serted card if y ou wish to remove or r eplace the card.
1. Power Key
2. SD/MMC SDHC Card Slot
3.Microphone
4.Lens
5.Busy indicator
6.Speaker
7. USB Switch
8.USB Connector
9.LCD panel
10.Set Key
11.Mode Key
12. Right Key
13. Confirm/OK key
14.UP key
15.Down key
16.Left key
Page 7

6
- Note that the SD Card has a tiny LOCK switch on the side. Set the
switch to the un-LOCK position to store r ecorded videos and sti ll
pictures.
2.3 Powering on/off
In the power- off state, press and hold the pow er key to power on t he
camera.
In the power-on state, press the power key to power off the camera.
In the power-on state, let the camera idle for 1 minutedefaultto power off the camera
aut omat ical ly.
In power-on state, when the battery level is very low, the camera will turn off after several
seconds and you m ust replace the batt ery.
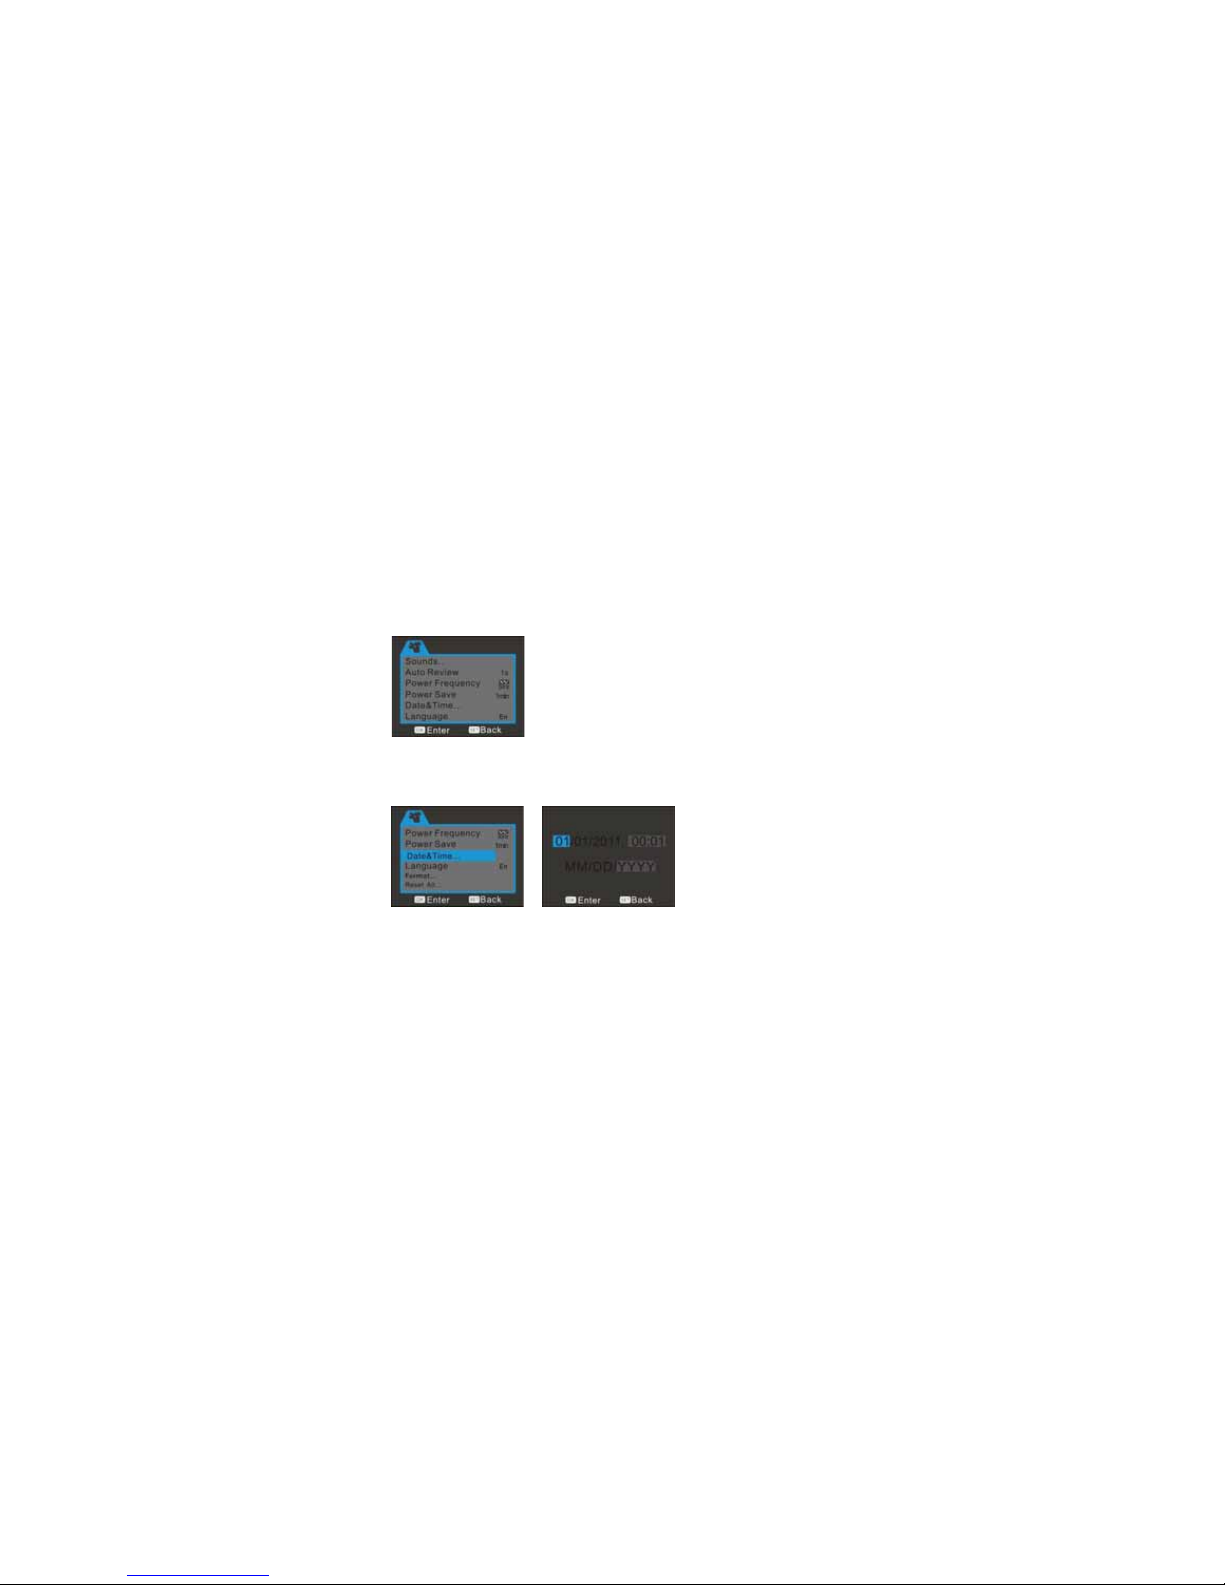
2.4 Menu Setting
Under picture takin g/recording m ode,press "SET" key t o open set menu and then pres s the
up/down/left/rig ht key to select m enu. Press OK or rig ht key to enter the su bmenu. When
selecting menu, the bac kground of the s elected menu option will be displayed in blue.
Page 8
7
Date and time setting
Press the SET key to ope n the me nu and then pre ss the le ft and right ke y to ente r sett ing menu. Press t he
down key to select “date and time” menu option and press OK key to enter setting window.
Page 9

8
2.4 Change mode
After power on, it will enter video record mode, press "Mode" key to change mode among
video record, still camera and playback.
2.5 Video record
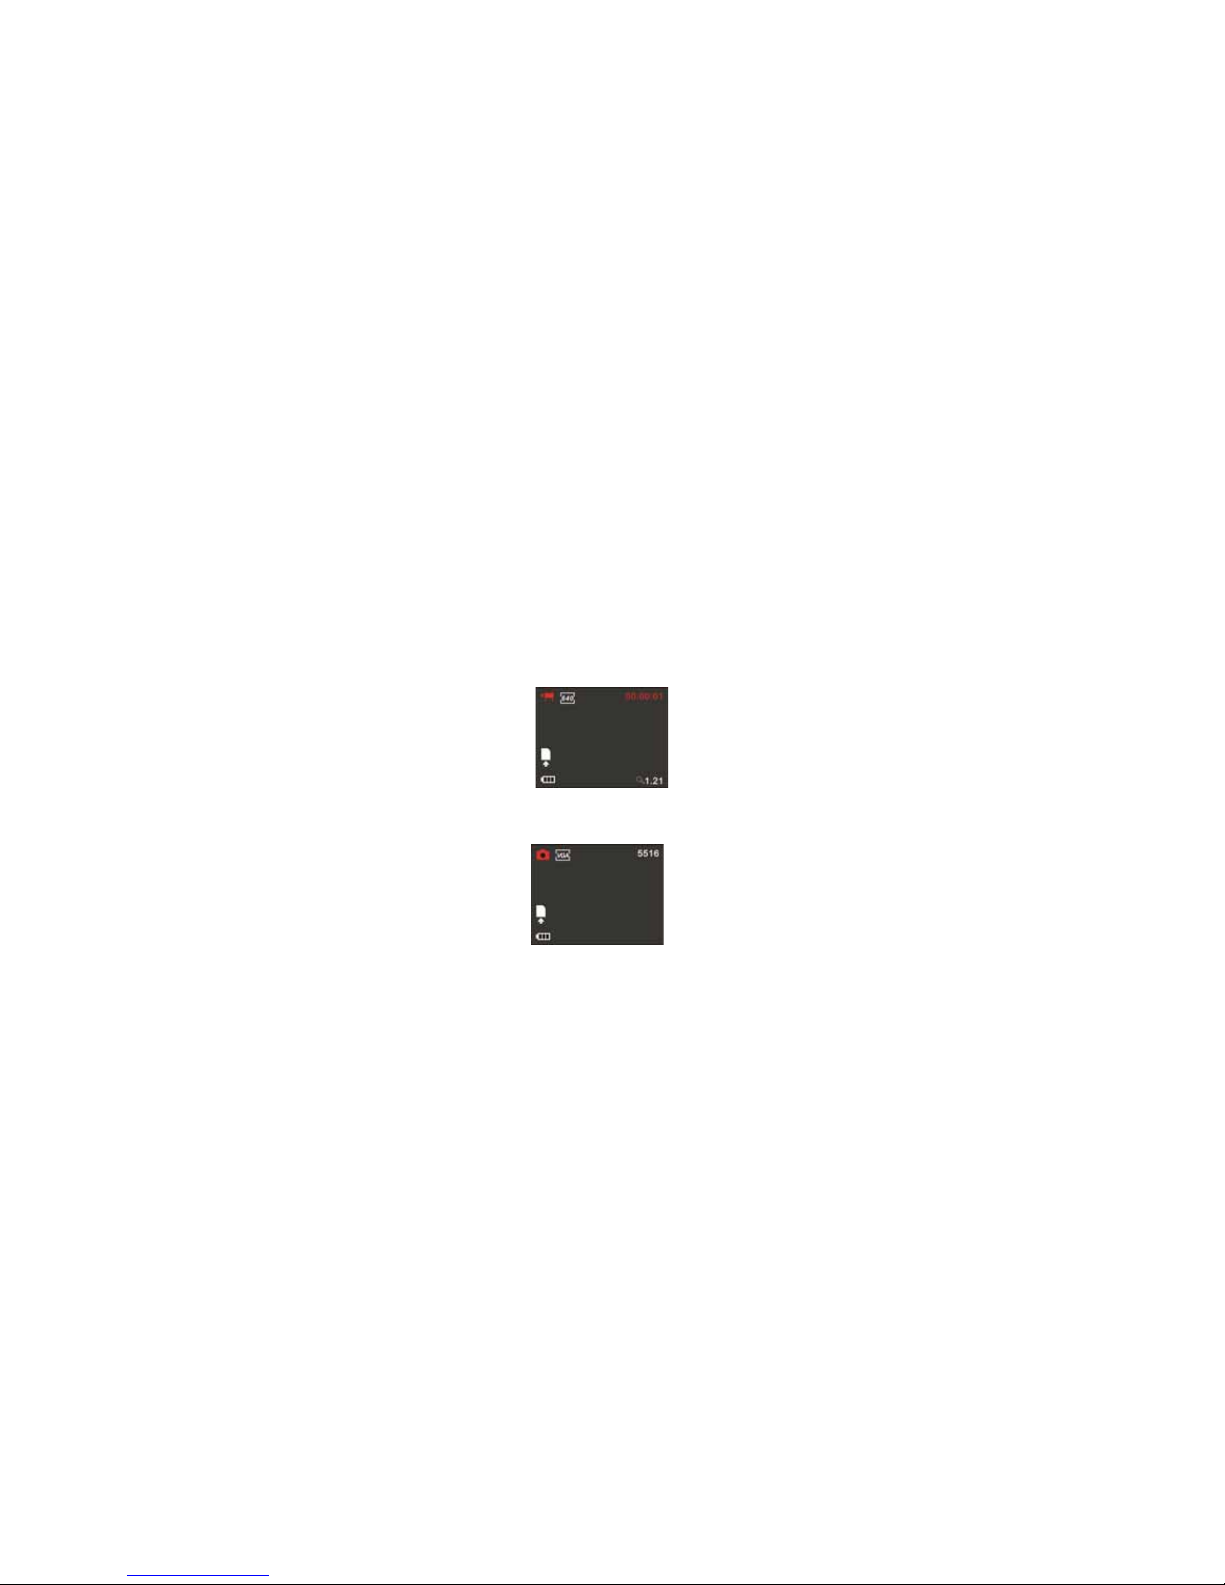
Your camera will power on in the video record mode. To record a video press the
Confirm/OK k ey to start video rec ording. Timing began t o appear red w ords on the right
top of the screen.T he time While recordi ng, press th e Confirm/OK key agai n to stop
recording.
Page 10
9
In the video record modeyou can use the zoom featur e by pressing the up or down key
zoom s in or out on t he im age b efo re you rec ord or whi le y ou ar e rec ording. Wh ile it is
zooming, you c an find the zoom rate on th e bottom of the scr een.
2.7 Still ca mera
Press the Mode key to switch from video mode to still camera mode. In still camera mode,
press Confirm /OK key to take a picture, by pr essing the up or d own key you c an zoom in
or out on the im ag e.
Page 11

10
2.8 Playback vid eos or photos
Press the mode key to change modes, from video mode to still photo mode, to playback
mode. Once in playback mode, press the ◄ key or ► key to select the desired file.
When playing a vid eo file press the Confirm /OK key to begin pl aying, press and hold t he
up or down key to incr ease or decrease th e volume. Press th e Confirm/OK key to paus e
and resume playin g. Press the Mod e key to stop playing th e video.
Wh en view ing a Stil l phot o pre ss th e up k ey or d own ke y to z oom i n or ou t on t he im age.
While zooming, p ressing the C onfirm/OK key c an enter pan mode. At this time you c an
press the direction key to move the photo to view in LCD.You will find a red icon of "" if it is
a vid eo.
Page 12
11
2.9 Delete files
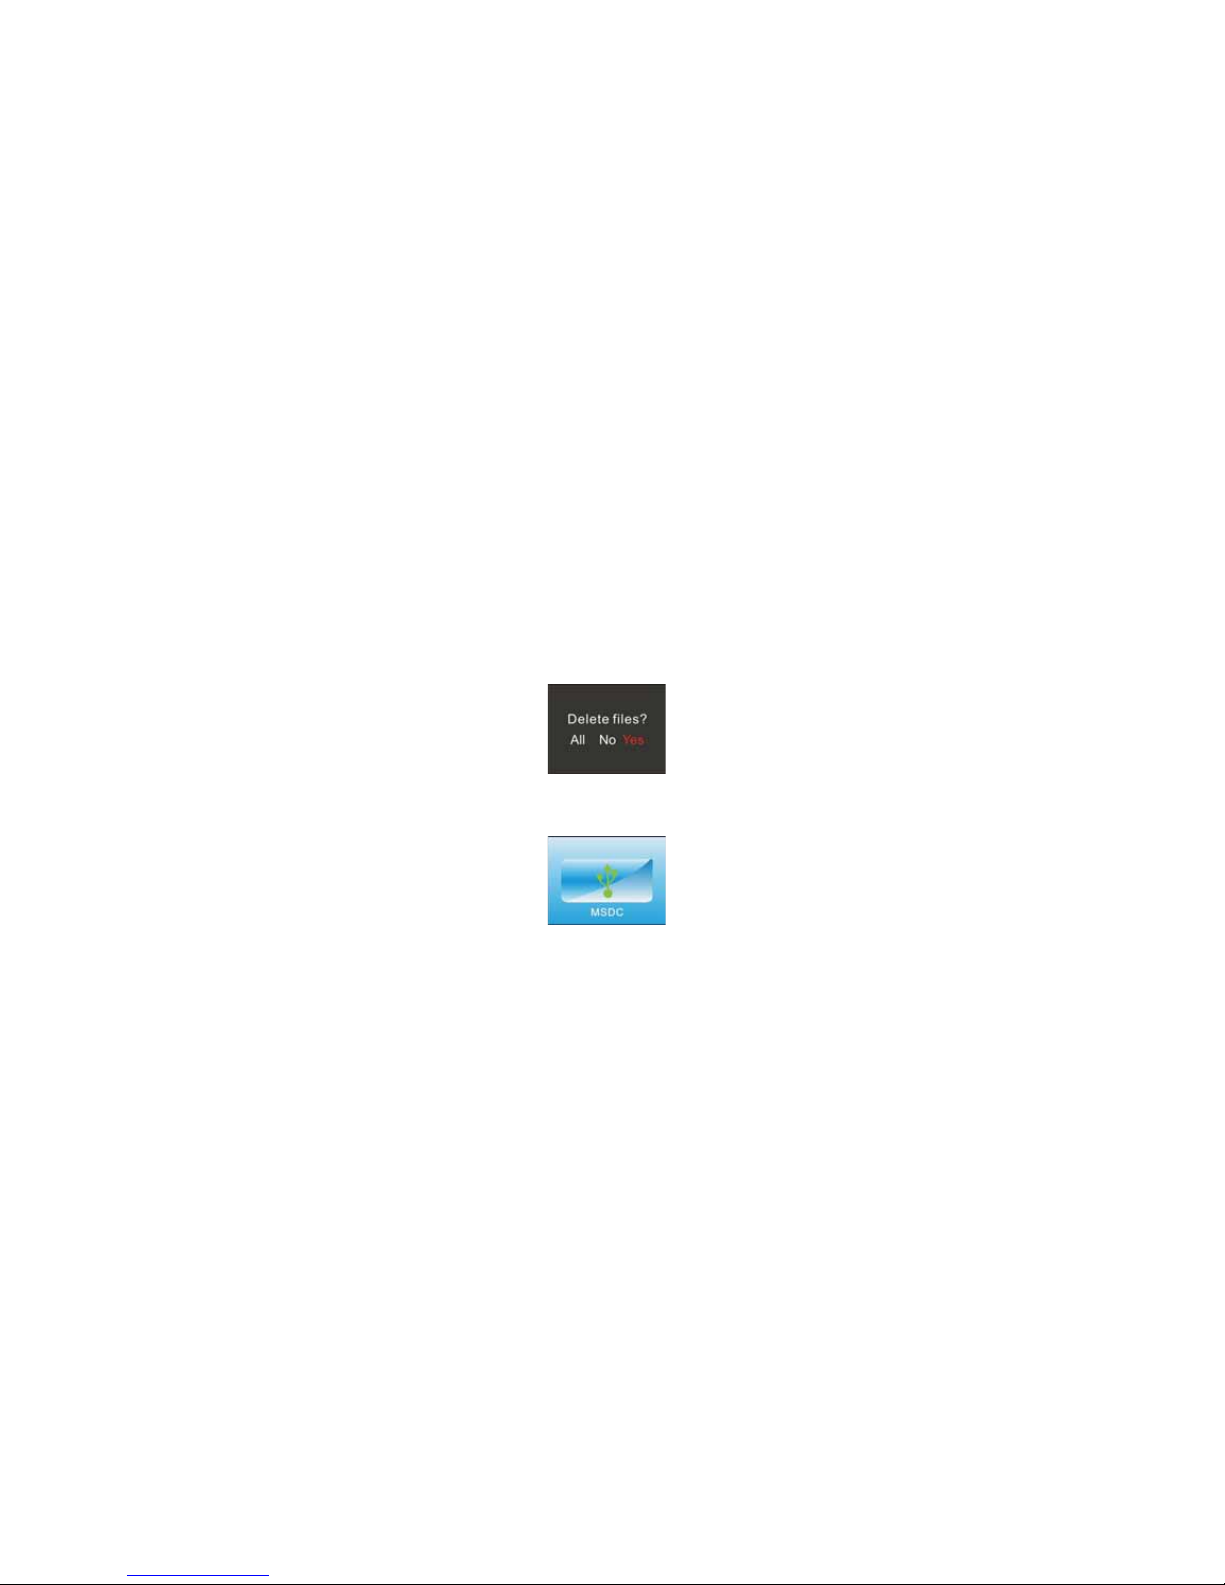
In playback m ode, press the S et key once to displ ay “Delete File?
(ALL/YES/NO)”, then
press left or right key to select ALL, YES or NO, press the Confirm/OK key to confirm the
acti on.
3. Connect to PC
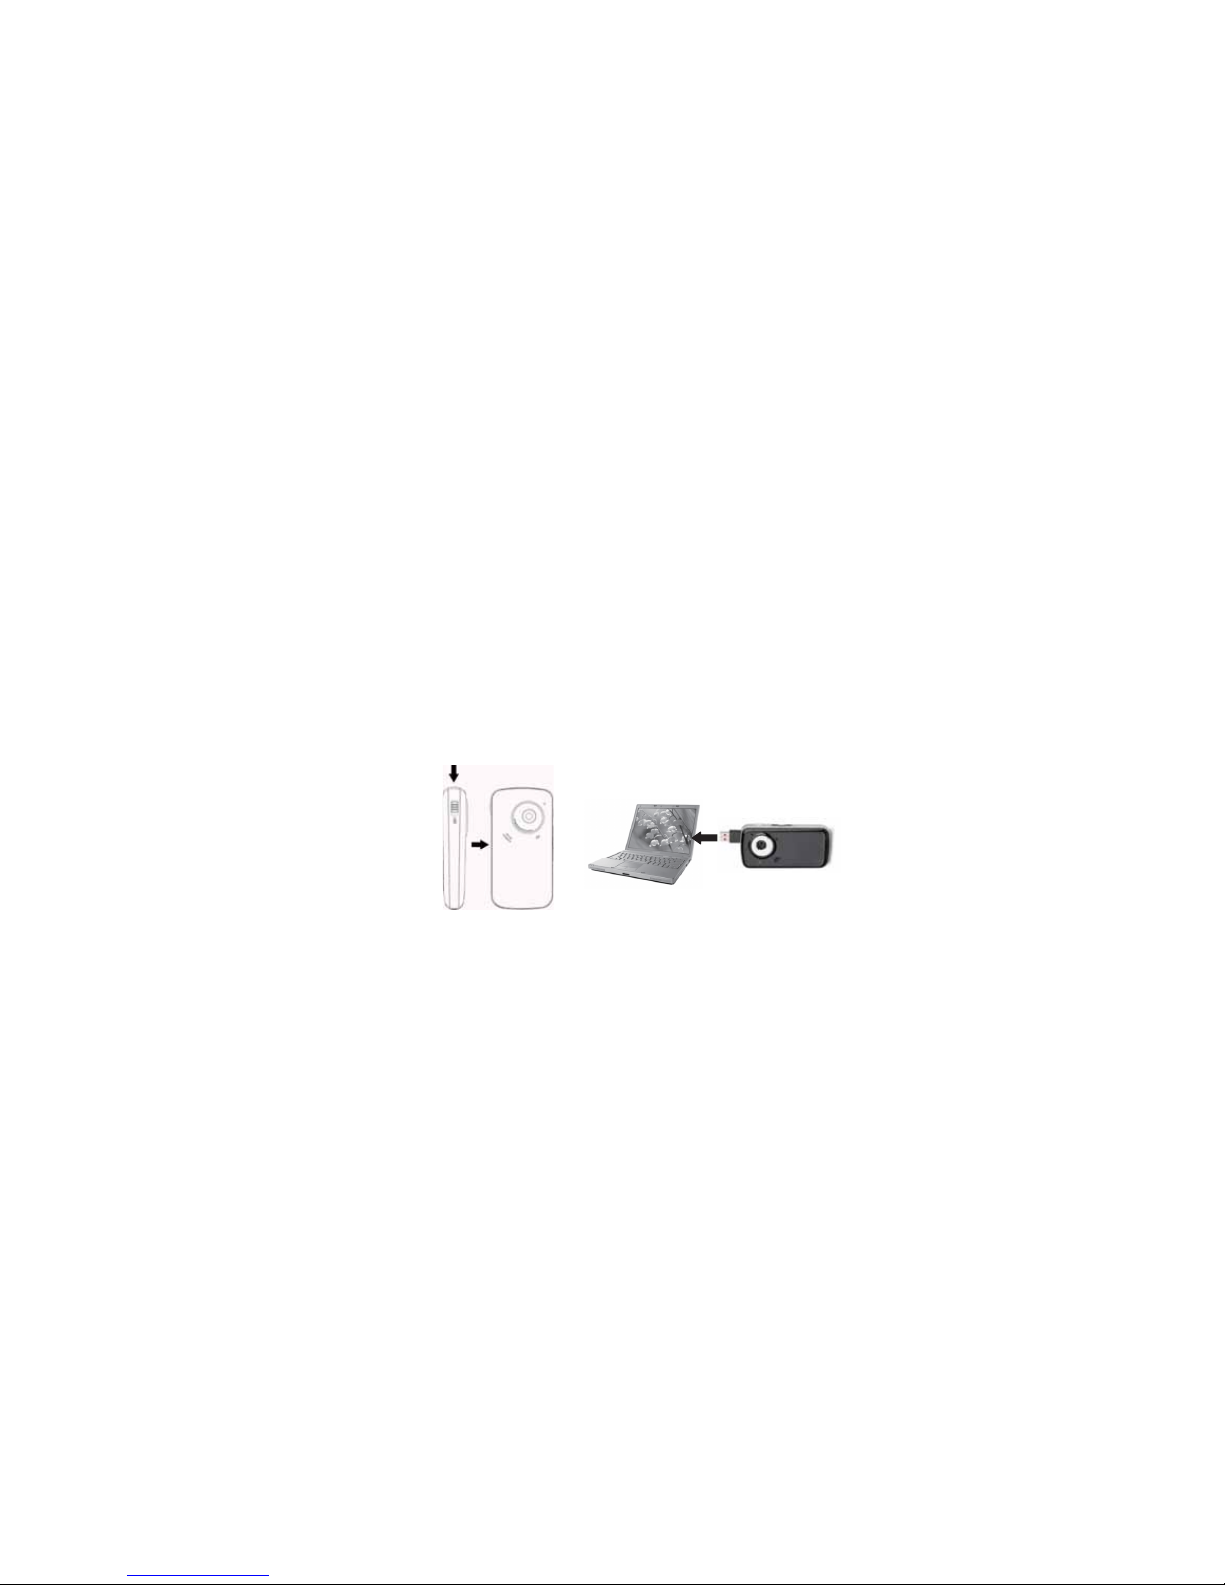
3.1 Turn the camcorder on. Slide the USB switch up to e xtend the USB connector.
3.2 Insert the camer a’s USB connector i nto computer’s USB port, the s creen of the camcorder
will show "MSDC"(as following pi cture)
Page 13
12
4. Download files fr om the camera t o PC
4.1 After connecting to a computer go to "My Computer” and open th e "Removable Disk." The
videos will be saved in the \DCIM\ 100MEDIA folder in the removable disk. Choose the
desired video in the 100 MEDIA
folder and copy (drag with mouse) it into a folder of your
choice in the computer. If using an SD card there will be 2 removable disks, one for the
internal memory and the other for the SD card.
4.2 You
can use ArcSoft Video Impression t o edit videos.
4.3 ArcSoft
Video Impression can be installed from the CD inc luded.
▲ Open USB port ▲Connect camera to a PC without cable
Page 14

13
Application of Attached ArcSoft MediaImpression:
1. Introduction interface for software installation
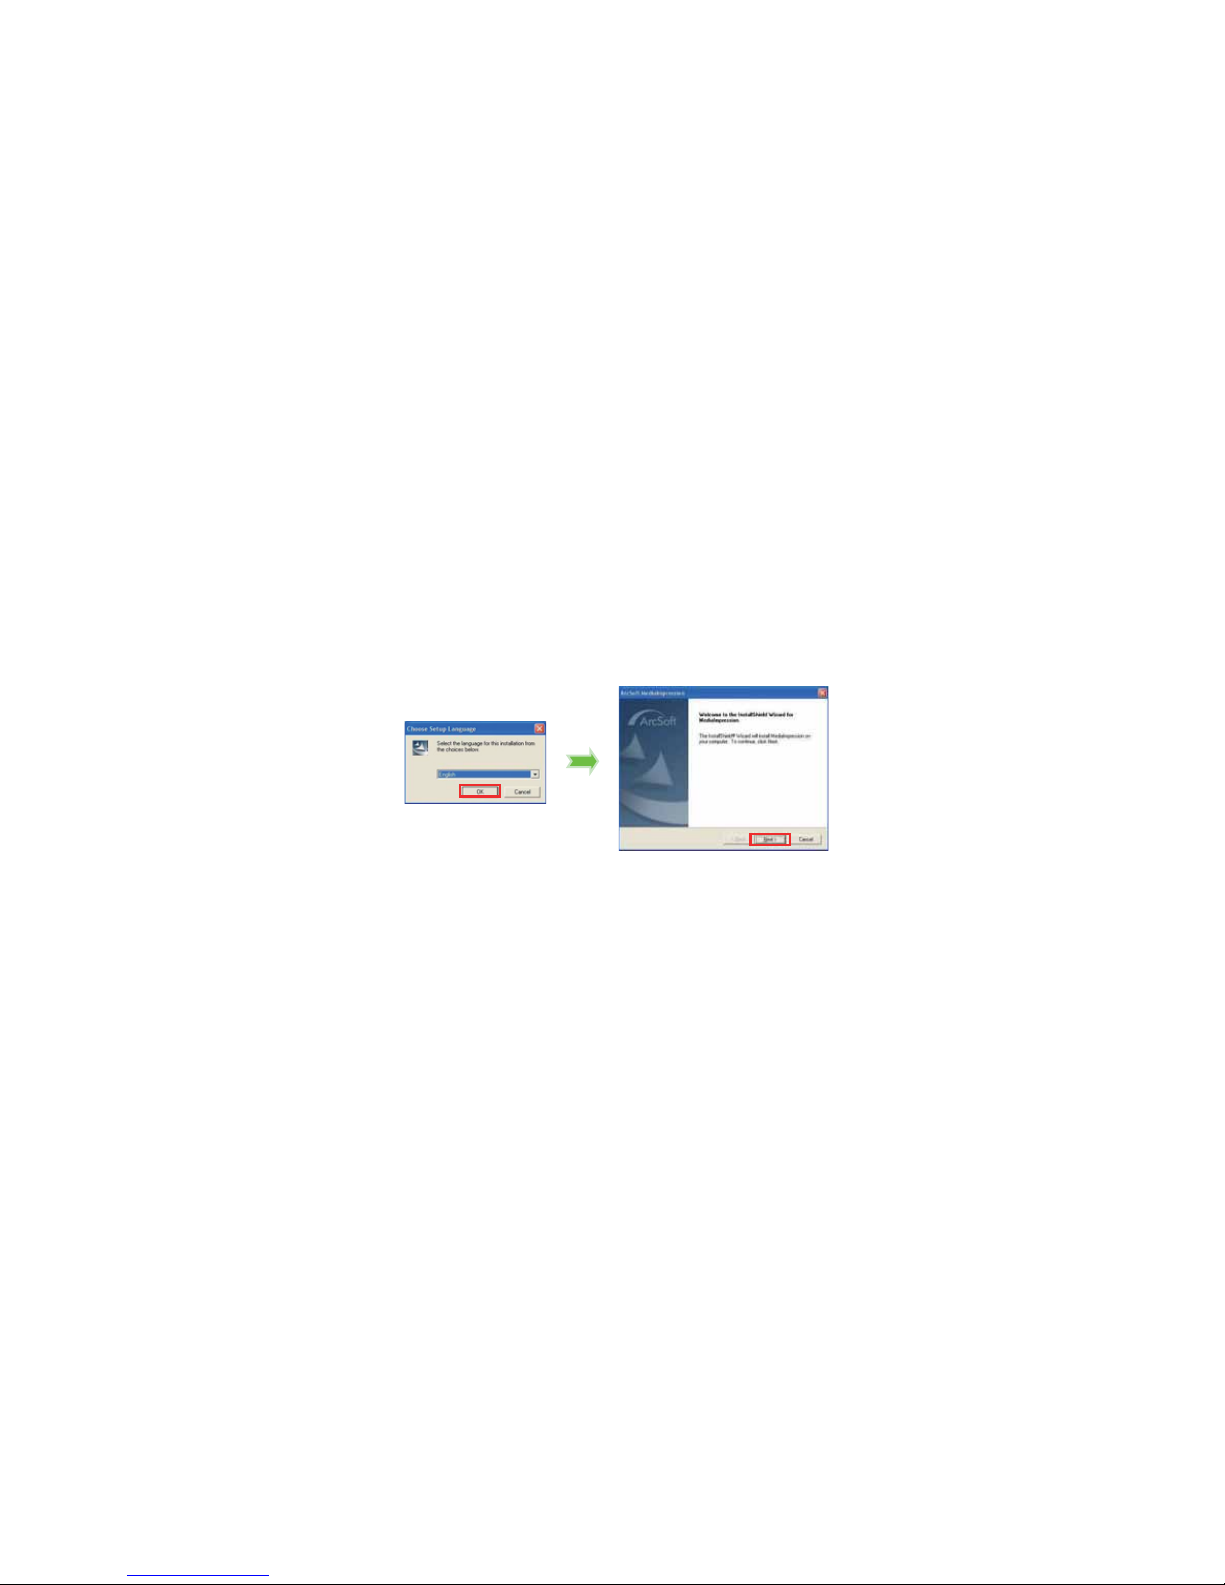
Put the CD attached int o the CD-ROM of the comput er, and then the following menu will
appear:
If the CD driver does not automatically start, please double click the autorun.exe program under
the root directory of the CD.
Page 15
14
2. MediaImpre ssion Installati on and Use:
Install MediaI mpression:
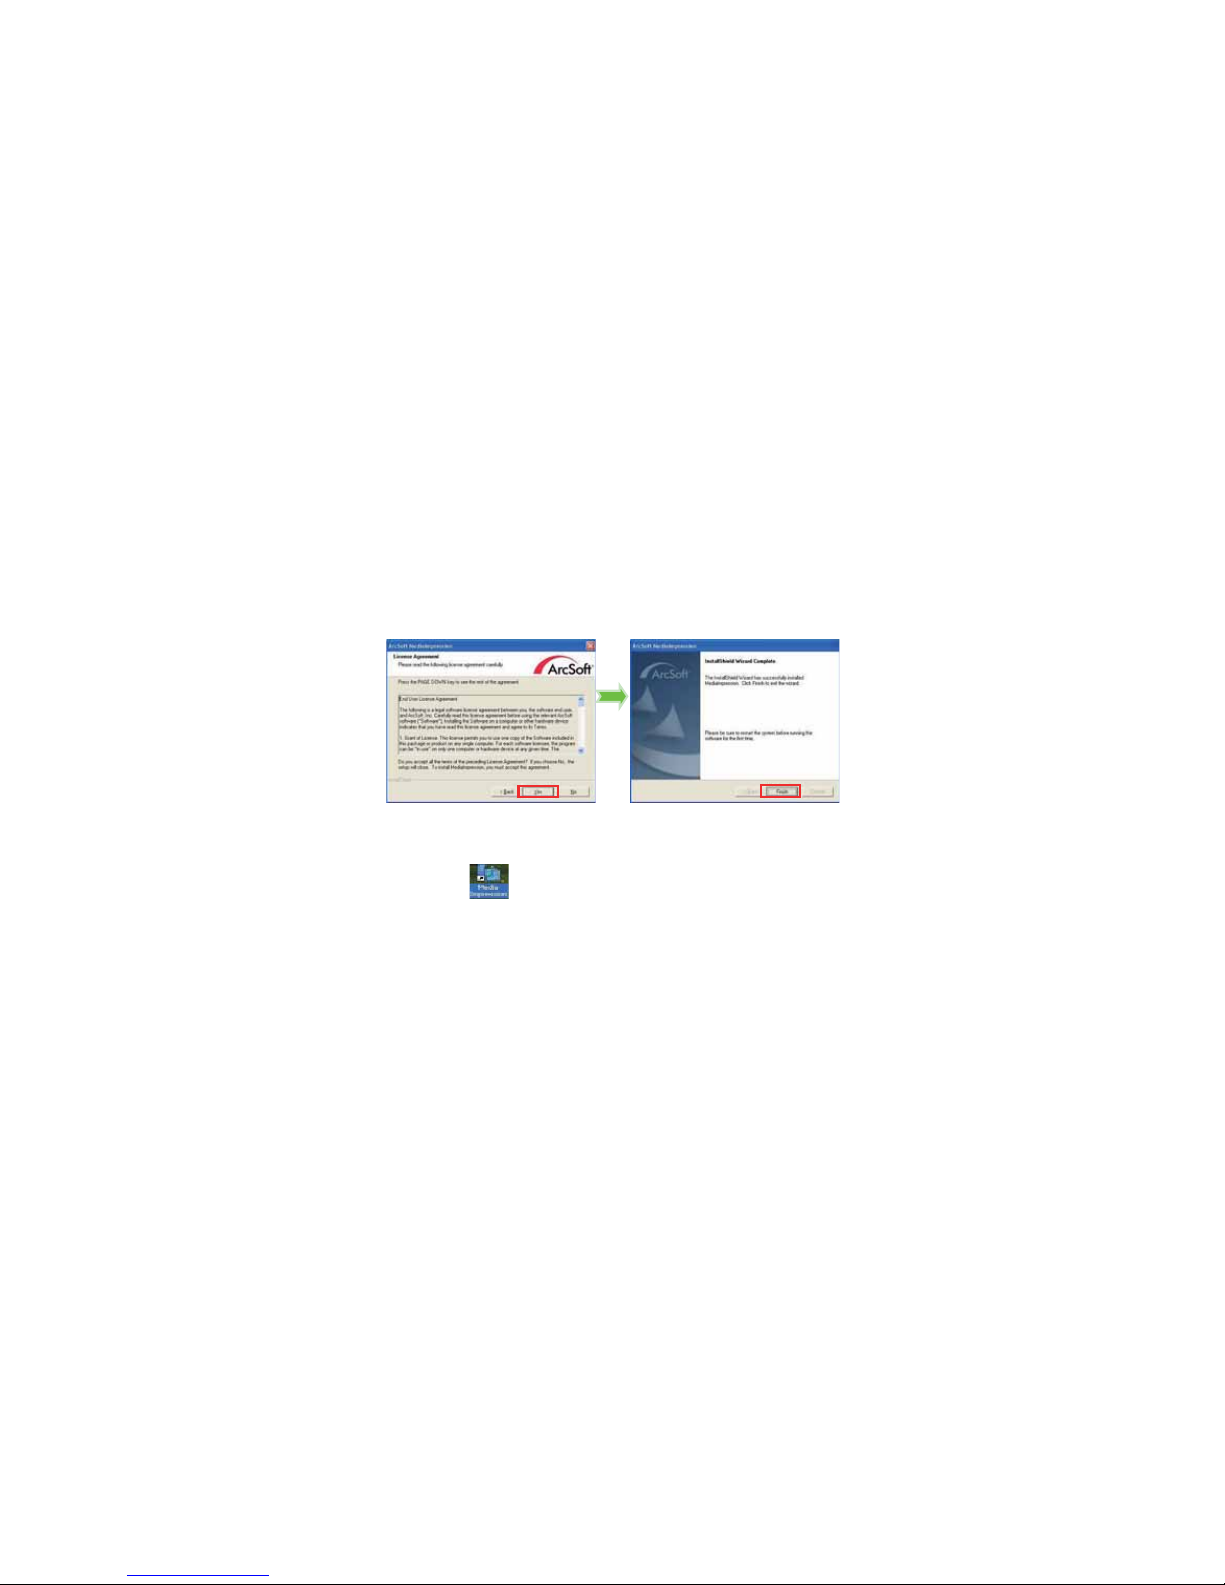
Click “Install MediaImpression” button and complete the install ation as per the tips.
Page 16
15
After installati on, please restart th e computer.
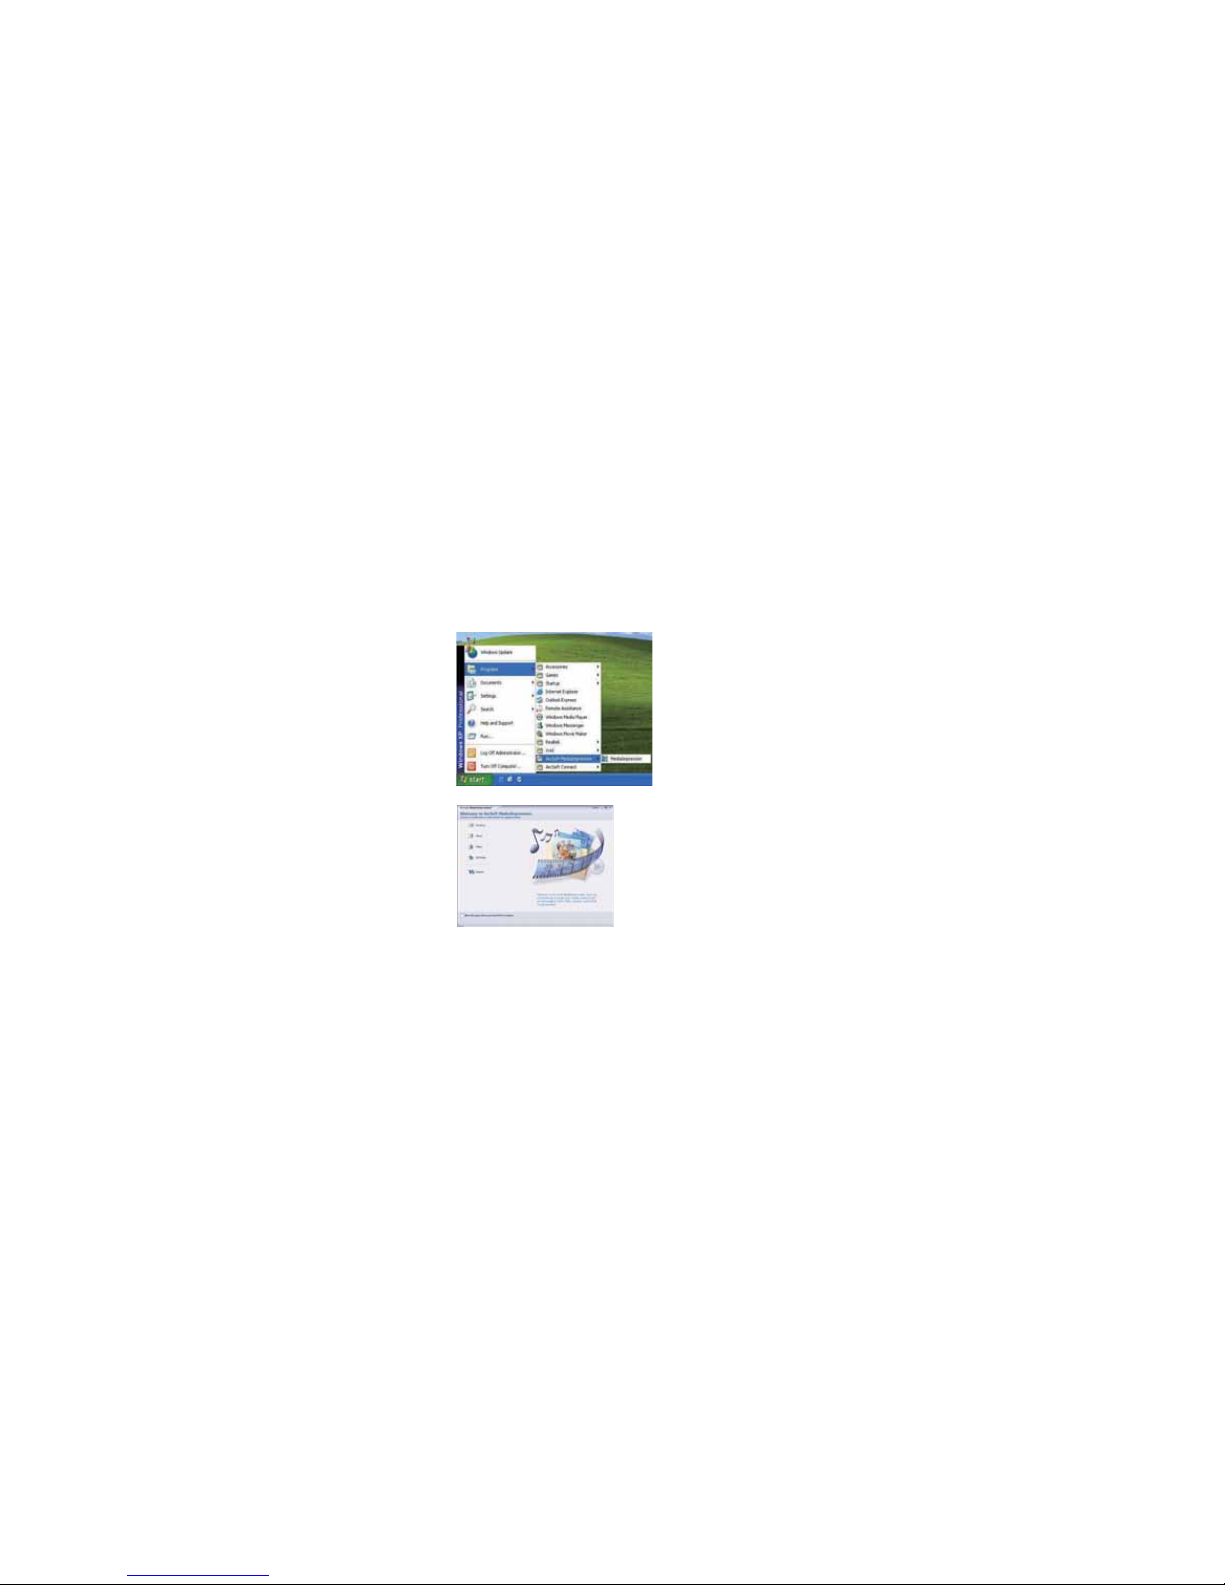
Run MediaImp ression :
Dou ble cli ck the icon on t he desk top or f ollow “Start → Programs” to open
MediaImpressi on.
Page 17
16
After starting Medi aImpression, clic k “Import” to import the media.
Page 18
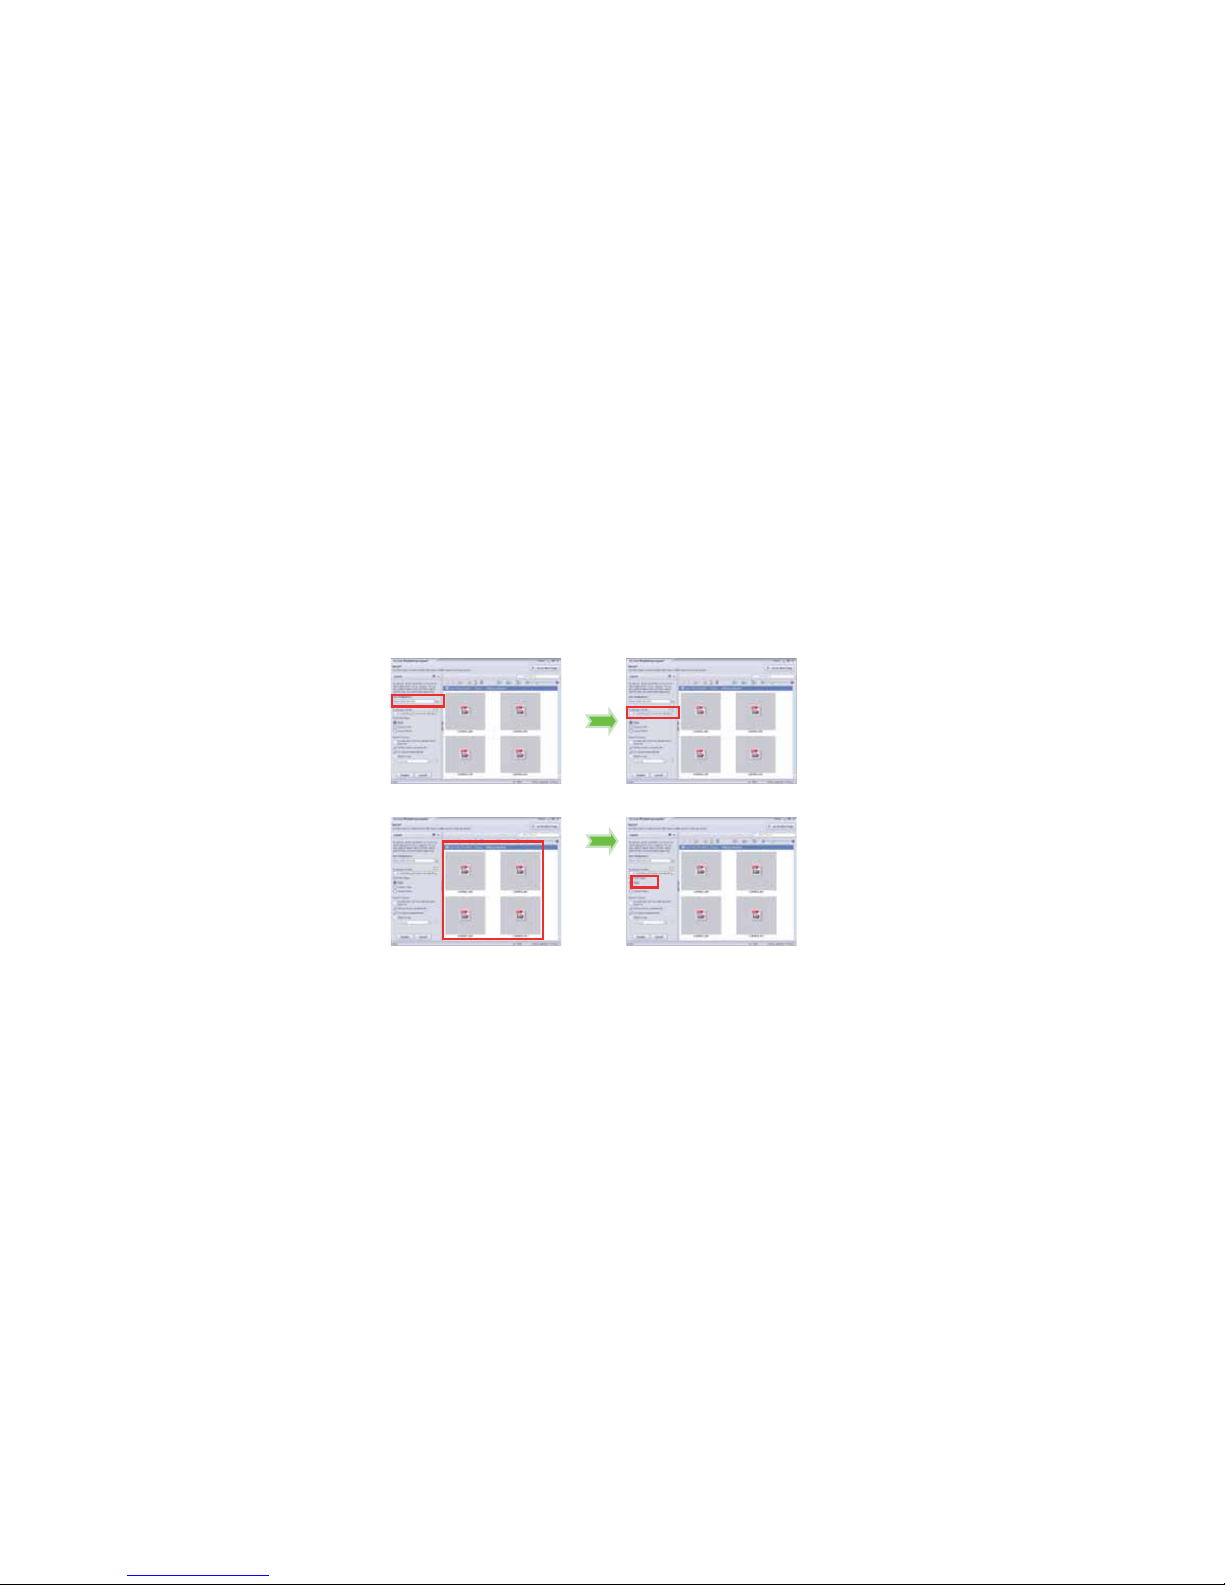
17
Choose the video c amera storag e and choose the output l ocation.
Choose require file and click im port. The selected file will be stored in the output location.
Page 19
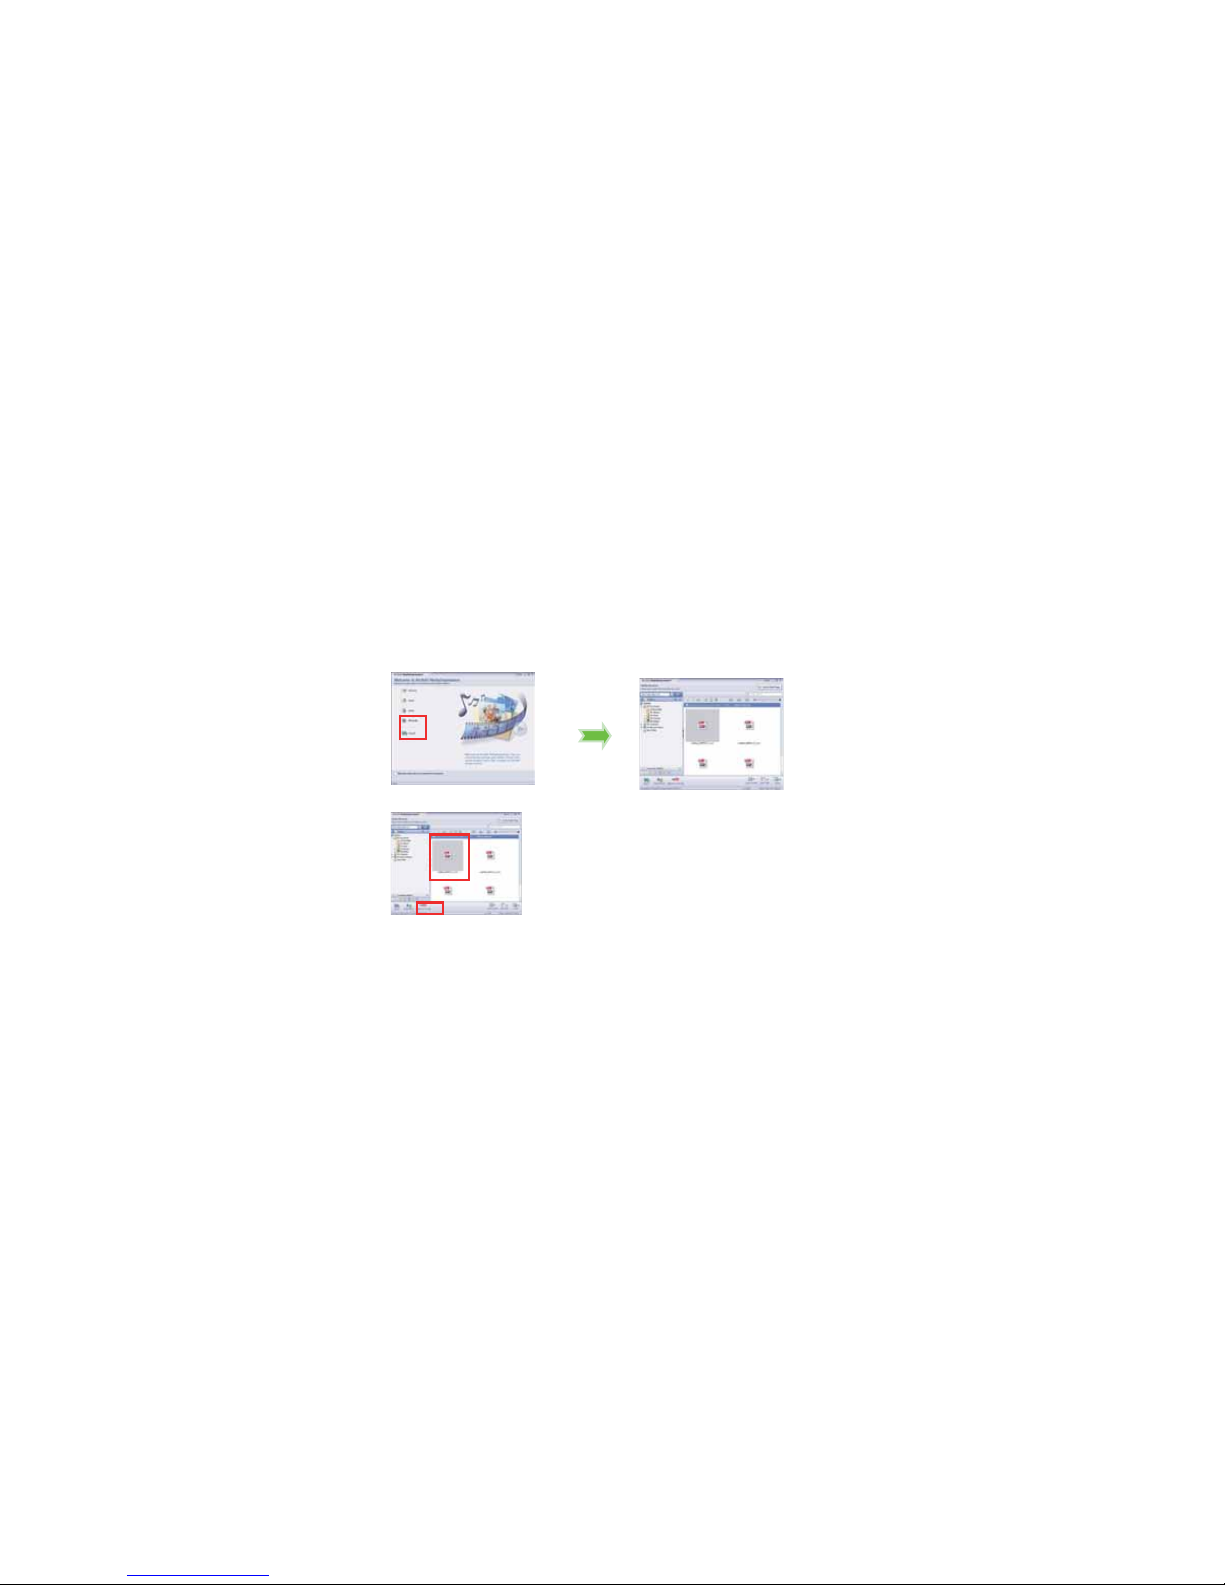
18
Click “Go to start page” to ret urn to the main scr een. Click “Vid eo” or “All media” to use the
“YouTu be” function.
Choose the file and click “Upl oad to YouTube”.
Page 20

19
Enter your usern ame and passw ord to login to YouTube to execute your upl oad.
Page 21

20
Product specifications:
Image sensor 0.3 Mega Pixels
Function mode Video Recorder, Still camera, Playback
Lens
F2.8, f=3.8mm
Digital Zoom 4×
Shutter Electronic
LCD display 1.77 inch TFT Displ ay
Resolution
Video: VGA (640x480) @30 fps;QVGA(320 x240)@30fps
Still photo: default to 0.3M (640x480);
int erp olat ed to
1MP(1024x768)
White balance Automatic
Exposure Automatic
File format (Video)AVI, (Photo)JPG
Vide o out N/A
Storage media
SD/MMC/SDHC card(max. 8GB)(2GB memory card
included)
USB port USB 2.0 port
Dimensi on (LxWxH) 114mm × 58mm × 23mm
Page 22

21
FCC Warning:
This device complies with Part 15 of the FCC Rules. Operation is subject to the following two
conditions: (1) this device may not cause harmful interference, and (2) this device must accept
any interference received, including interference that may cause undesired operation.
NOTE: changes or modifications not expressly approved by the party responsible for
compliance could void the user's authority to operate the equipment.
This equipment has been tested and found to comply with the limits for a Class B digital device,
pursuant to Part 15 of the FCC Rules. These limits are designed to provide reasonable
protection against harmful interference in a residential installation. This equipment generates,
uses and can radiate radio frequency energy and, if not installed and used in accordance with
the instructions, may cause harmful interference to radio communications. However, there is
no guarantee that interference will not occur in a particular installation. If this equipment does
cause harmful interference to radio or television reception, which can be determined by turning
the equipment off and on, the user is encouraged to try to correct the interference by one or
more of the following measures:
-- Reorient or relocate the receiving antenna.
-- Increase the separation between the equipment and receiver.
-- Connect the equipment into an outlet on a circuit different from that to which the receiver
is connected.
-- Consult the dealer or an experienced radio/TV technician for help.
 Loading...