

SWR Sound 350x User Manual
350x
OWNER’S MANUAL
SWR • CORONA, CA • USA

IMPORTANT SAFETY INSTRUCTIONS
CAUTION: TO REDUCE RISK OF ELECTRIC SHOCK, DO NOT REMOVE THE COVER OR BACK. NO USER-SERVICEABLE PARTS INSIDE. PLEASE REFER TO A QUALIFIED SERVICE TECHNICIAN.
A. Read Instructions: All safety and operation instructions should be read before the product is operated.
B. Retain Instructions: The safety and operating instructions should be retained for future reference.
C. Heed Warnings: All of the warnings on this product and in the operating instructions should be adhered to.
D. Follow Instructions: All operating and use instructions should be followed.
E. Cleaning: Unplug this product from the wall outlet before cleaning. Do not use liquid cleaners or aerosol cleaners. Use a
slightly damp cloth for cleaning.
F. Water and Moisture: Do not use this product near water; for example, near a swimming pool, wet basement, and the like.
G. Accessories: Do not place this product on an unstable cart, stand, tripod, bracket or table. The product may fall, causing
serious injury to a child or adult, and serious damage to the product.
H. Ventilation: Slots and openings in the unit are provided for ventilation and to ensure reliable operation of the product, to protect it from overheating, thus these openings must not be blocked or covered. This product should not be placed in a built-in
installation such as a bookcase or rack unless proper ventilation is provided or the manufacturer's instructions have been adhered
to.
I. Grounding: This product is equipped with a three-wire grounding-type plug, a plug having a third (grounding) pin. This plug will
only fit into a grounding-type power outlet. This is a safety feature. If you are unable to inser t the plug into the outlet, contact
your
electrician to replace your obsolete outlet. Do not defeat the safety purpose of the grounding-type plug.
J. Power Cord Protection: Power supply cords should be routed so that they are not likely to be walked on or pinched by items
placed upon them, paying particular attention to cords at plugs and the point where they exit the product.
K. Lightning: For added protection of this product during a lightning storm or when it is left unattended and unused for long periods of time, unplug it from the wall outlet. This will prevent damage to the product due to lightning and power-line surges.
L. Overloading: Do not overload wall outlets or extension cords as this can result in a risk of fire or electric shock.
M. Object and Liquid Entry: Never push objects of any kind into this product through the openings as they may touch dangerous
voltage points or short out parts that could result in a fire or electric shock. Never spill liquid of any kind on the product.
N. Servicing: Do not attempt to service this product yourself as opening or removing covers may expose you to dangerous voltage or other hazards. Refer all servicing to qualified service personnel.
O. Damage Requiring Service: Unplug this product from the wall outlet and refer servicing to qualified service personnel under
the following conditions:
1) When the power supply cord has been damaged
2) If liquid has been spilled or objects have fallen into the product
3) If the product has been exposed to rain, water, or other conductive liquids
4) If the product does not operate normally by following the operating instructions
5) If the product has been dropped or damaged in any way
6) When the product exhibits a distinct change in performance.
P. Replacement Parts: When replacement parts are required, be sure the service technician has used replacement par ts specified by the manufacturer or have the same characteristics as the original part. Unauthorized substitutions may result in fire, electric shock, or other hazards.
Q. Safety Check: Upon completion of any service or repairs to this product, ask the service technician to per form safety checks
to determine that the product is in proper operating condition.
R. Heat: The product should be situated away from heat sources such as radiators, heat registers, stoves or other products that
produce heat.
INTRODUCTION
Congratulations on your purchase of the SWR 350x Bass Amplifier! You now own the cornerstone amp of
SWR’s world-renowned Professional Line of products for bassists.
A little history: The SWR 350x is an upgraded version of the Bass 350, a model we’ve offered for over ten
years as a simple and straightforward solution for bassists who wanted the famous “SWR Sound" in the
simplest Professional Line package possible. Our top-selling Professional Line head for several years running, the Bass 350 featured a tube preamp (using a specially-selected 12AX7A vacuum tube), SWR’s
patented “Aural Enhancer,” an easy-to-use 3-band EQ section, and a high-quality, discrete solid-state 350watt power amp capable of delivering enough power and headroom for most live applications. With a
proven track record among players of all levels, the Bass 350 has become a constant presence in live
venues and studios alike.
The new 350x maintains all of these proven features while adding significant improvements. We’ve integrated a new feature: our SubWave™ circuit, which produces a tone an octave below the original signal
and tracks as well or better than anything else on the market today. (The effect is foot-switchable, and
we’ve provided a footswitch for your convenience.) The XLR (Balanced) output circuit has been upgraded to
include a variable pad, and is quieter in terms of signal-to-noise ratio. Additionally, the unit is now lighter,
quieter (in terms of overall residual and white noise), and in our humble opinion, better-looking thanks to a
cosmetic rework from the ground up. And, of course, each 350x is still assembled by hand and individually
sound-tested in the USA at our factory in Southern California.
It’s all part of SWR’s commitment to continued improvement and refinement of even our most popular
models, so that we can continue to assist today’s bassist in the pursuit of the ultimate goal: finding equipment that not only does the job, but actually enhances the overall musical experience and contributes to
the creative process. Everyone here at SWR sincerely hopes that the purchase of your 350x helps you get
there from here… and beyond.
Please take the time to read your User Guide thoroughly and completely, so that you can realize the full
potential of your new 350x Bass Amplifier. Once again, thanks for your purchase, and for letting SWR help
Amplify Your Future™.
Sincerely,
SWR
350x OWNER’S MANUAL • 1

Note: Please take a moment to verify that the following items were included in your SWR 350x packaging:
AC Cable, User Guide, SubWave Activator Footswitch, 1/4" to 1/4" Footswitch Cable, SWR Catalog.
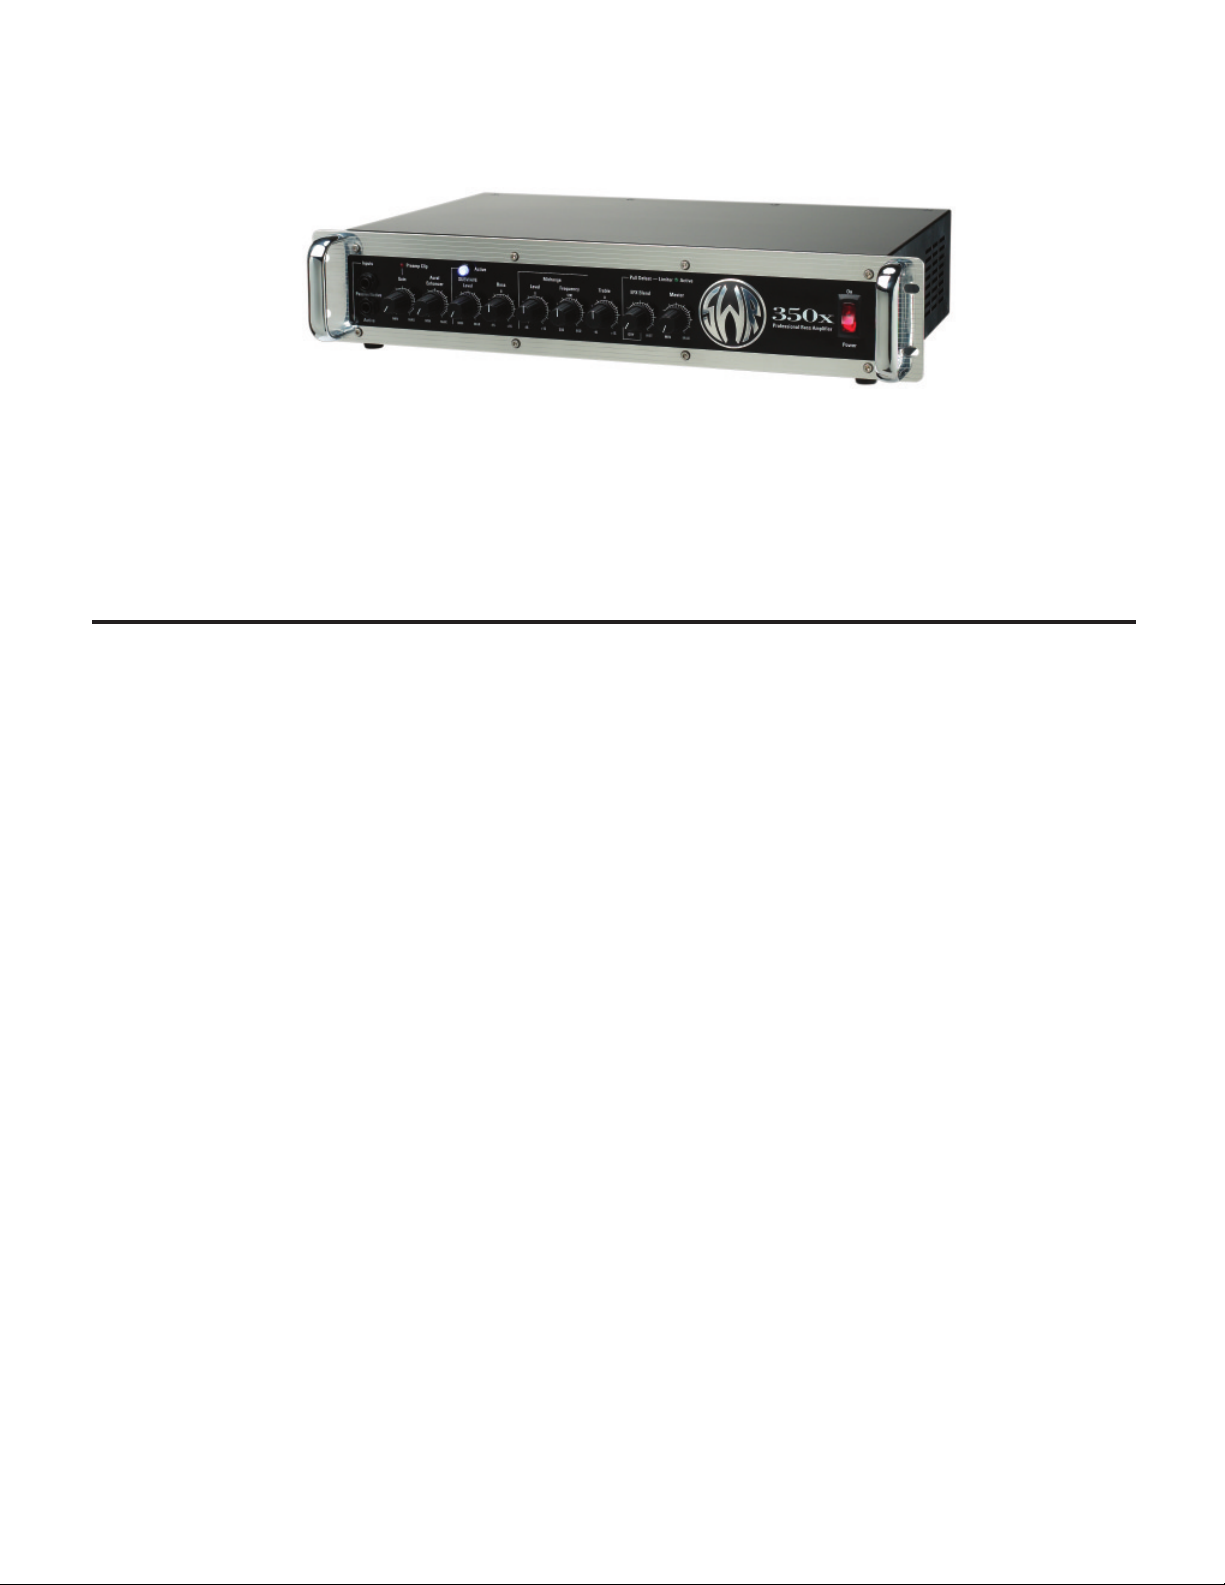
350X • FRONT PANEL FEATURES
• Dual independent input jacks compatible with both passive and active instruments
• Preamp Gain control with red LED clip indicator
• Aural Enhancer control
• SubWave™ Activator Switch (illuminated blue when engaged)
• SubWave™ Level control
• Bass control
• Midrange Level control
• Midrange Frequency control
• Treble control
• Effects Blend control (with pull-limiter-defeat option)
• Master Volume control
• Illuminated Neon Power On/Off switch
350X • REAR PANEL FEATURES
• XLR Pad (Level) control
• XLR Output jack
• XLR Mode switch (Direct, Direct + Sub, Line)
• Ground/Lift switch for XLR Output jack
• Tuner Out jack
• Side-Chain Effects Loop (Effects Send and Effects Return 1/4" jacks)
• SubWave™ Activator Footswitch jack
• Fan Mode switch
• Two Speakon and two 1/4" Speaker Output jacks
• Speaker Fuse (3AG, 10-amp fast-blo)
• Line Fuse (3AG, 7-amp slo-blo)
• AC Power Cord Receptacle
ELECTRICAL SPECIFICATIONS
Note: All measurements were taken with a line voltage of 120VAC. All noise specifications are “unweight-
ed.” All voltages and watts are “RMS.” All measurements are taken with tone controls set flat, Aural
Enhancer at minimum.
Power Ratings (minimum):
450 Watts @ 2 ohms
350 Watts @ 4 ohms
240 Watts @ 8 ohms
Frequency Response (power amplifier):
–3dB @ 20 Hz and 40 kHz
2 • 350x OWNER’S MANUAL

Sensitivity (full output under clipping, 8 ohms load, 100 Hz):
Passive Input Jack: 38 millivolts
Active Input Jack: 60 millivolts
Power Amplifier (Effects Return Jack “in”): 5 volts
Input Impedance
Passive/Active Input: 800k Ohms
Active Input: 60k Ohms
Effects Return: 27k Ohms
Output Impedance
Effects Send: 100 Ohms
Tuner Send: 100 Ohms
XLR (Balanced) Out: 750 Ohms
Signal To Noise Ratio: –72 dB (<10 millivolts typical)
Equivalent Input Noise: 9 microvolts
Dimensions (depth includes handles and XLR pad): 19" W x 3.5" H x 12.125" D
Weight: 17 lbs.
350x • GETTING STARTED
Connecting Your Speaker Cabinets
The 350x is a mono amplifier, which makes things fairly simple. Locate the “Speaker Outputs” section on
the rear of the amp. You will notice that there are four different speaker output jacks, two 1/4" type and
two Speakon type jacks. The Speakon jacks are preferable if your speaker cabinet is equipped with
Speakons as well; however, you can use any of the four available jacks to connect your speaker(s) to the
350x.
Using One Speaker Cabinet
Using a speaker cable of 18 gauge or heavier (the heavier the cable, the lower the gauge), simply connect
any one of the 350x’s Speaker Output jacks to the input jacks of your speaker cabinet. If your cabinet is a
4 ohm enclosure, the 350x will deliver 350 watts into it. If your cabinet is an 8 ohm enclosure, it will deliver 240 watts into it. Be sure to check the power handling capabilities of your speaker cabinet before connection and operation.
Using Two Speaker Cabinets
Using a speaker cable of 18 gauge or heavier (the heavier the cable, the lower the gauge), simply connect
any of the 350x’s Speaker Output jacks to the input jacks of your two speaker cabinets. (You can use one
1/4" and one Speakon Output jack each if you wish; however, it is always best to use speaker cables with
similar type ends.) If the cabinets are the same impedance, the same amount of power will be sent to
each enclosure. If the cabinets are different impedances, more power will flow to the cabinet with the
lower impedance. Since the 350x is a mono amplifier and individual cabinet levels cannot be adjusted, it is
recommended that you use cabinets of the same impedance when using more than one cabinet. If you use
two 8 ohm cabinets—the two-cabinet setup recommended by SWR—the resulting “total” impedance will be
4 ohms, and the 350x will deliver 350 watts spread across both cabinets. Needless to say, in all cases,
be sure to check the power handling capabilities and impedance of your speaker cabinet(s) before connection and operation.
350x OWNER’S MANUAL • 3

Important: The minimum total impedance when operating the 350x is 2 ohms. This means you can
safely use:
a) A single 8 ohm cabinet
b) A single 4 ohm cabinet
c) Two 8 ohm cabinets (total: 4 ohms)
d) Three 8 ohm cabinets (total: 2.6 ohms)
e) Two four ohm cabinets (total: 2 ohms) **
**Running the amplifier constantly at 2 ohms, while technically acceptable, will cause the amp to run
hotter than usual, and will cause heat-related wear on components sooner than normal.
More details are available in the “Speaker Outputs” section of this manual, and we strongly recommend
that you read the entire manual. However, this should be enough information to get you star ted.
Turning The Unit On
Remove the AC cable from the accessor y pack and connect it from the amplifier to a standard wall outlet.
Make sure that the both the Gain and Master Volume controls are set to the minimum position. Locate the
power switch on the right side of the front panel and turn the amplifier on. The power switch should then
illuminate in red. Upon powering up, don’t be surprised if you hear a small pop. This is absolutely normal.
(Eliminating this “power on transient” would require a component called a relay. SWR chose not to incorporate this type of component due to the fact that relays degrade signal quality and often fail, causing the
unit to have no output and requiring a trip to a local service center.)
Getting Sound Out Of The 350x
Plug your instrument into the desired input jack (please refer to “Front Panel Features” for more detail).
Turn your instrument’s volume up to at least 75% of maximum and slowly adjust up the Gain control. Keep
playing and turning the Gain control up until you see the Preamp Clip LED turn red. Then back off the Gain
Control about one large hash mark on the dial. Now turn up the Master Volume control to an equal level.
You should now hear the sound of your instrument amplified through the 350x into your speaker cabinet(s).
350x • FRONT PANEL FEATURES
Input Jacks
Both input jacks accept a standard 1/4" phone plug and both inputs can be used at the same time. Since
the two inputs are totally independent, no loss in volume or tone will occur by using two instruments simultaneously. However, the main applicational use for the two separate input jacks is their difference in level,
as the Passive/Active input has five times more gain than the Active input. In other words, it’s not necessarily intended as a “submixer” for two instruments, but no harm will come from having two instruments
plugged in at once. Please read below for more details.
Passive/Active Input Jack
This input jack is designed to accommodate both “passive” instruments and most “active” instruments. A
passive instrument has no built-in preamp and does not use a battery, while an active bass utilizes a batteryoperated preamp for gain, tone controls, or both. The Passive/Active Input will work with all instruments having a maximum output of less than 1 volt RMS. Some active pickups such as EMG, Bartolini, etc., use batteries for operation and will work perfectly using this input. Instruments made by MTD, Sadowsky, Modulus,
etc., have active electronics that are suited for use in the Passive/Active input.
Generally speaking, try this input first. If you hear a small amount of distortion and the preamp clip LED is
not activated, try using the Active input jack. If the Active input does not correct any audible distortion,
check the battery in your bass.
Note: If you would like to overdrive the first TUBE stage, this can be accomplished by using an
external preamp between your instrument and the Passive/Active input. To obtain optimum sound
when trying this, make sure the preamp clip LED is not activated. If this occurs, turn down your
Gain control until the LED does not light. The first preamp tube stage is NOT monitored by the pre-
4 • 350x OWNER’S MANUAL
 Loading...