

Swisher FC10544BS, FCE11544BS Owner's Manual
swisherinc.com
OWNER’S
M
ANUAL
MODEL NO.
STARTING SERIAL # L116-336001
FC10544BS
FC
E11544BS
IMPORTANT
Read and follow all
Safety Precautions
and Instructions
before operating this
equipment.
Rev 16-336
1602 CORPORATE DRIVE, WARRENSBURG, MISSOURI 64093
CHANGING YOUR LANDSCAPE SINCE 1945
44” FAST FINISH
TRAIL MOWER
Assembly
O
peration
Service and Adjustment
Repair Parts
SWISHER ACQUISITION INC.
HONE 660-747-8183 FAX 660-747-8650
P
ade I The
USA
of US and Global Parts
10662

LIMITED WARRANTY
The manufacturer’s warranty to the original consumer purchaser is: This product is free from
defects in materials and workmanship for a period of one (1) year from the date of purchase
by the original consumer purchaser.
We will repair or replace, at our discretion, parts found to be defective due to materials or
workmanship. This warranty is subject to the following limitations and exclusions:
1) Engine Warranty All engines utilized on our products has a separate warranty
extended to them by the individual engine manufacturer. Any
engine service difficulty is the responsibility of the engine
manufacturer and in no way is Swisher or its agents responsible
for the engine warranty. The Briggs & Stratton Engine Service
Hot Line is 1-800-233-3723.
2) Commercial Use This product is not intended for commercial use and carries no
commercial warranty.
3) Limitations This warranty applies only to products, which have been
properly assembled, adjusted, and operated in accordance with
the instructions contained within this manual. This warranty
does not apply to any product of Swisher that has been subject
to alteration, misuse, abuse, improper assembly or installation,
shipping damage, or to normal wear of the product.
4) Exclusions Excluded from this warranty are normal wear, normal
adjustments, and normal maintenance.
In the event you have a claim under this warranty, you must return the product to an
authorized service dealer. All transportation charges, damage, or loss incurred during
transportation of parts submitted for replacement or repair under this warranty shall be borne
by the purchaser. Should you have any questions concerning this warranty, please contact us
toll-free at 1-800-222-8183. The model number, serial number, date of purchase, and the
name of the authorized Swisher dealer from whom you purchased the mower will be needed
before any warranty claim can be processed.
THIS WARRANTY DOES NOT APPLY TO ANY INCIDENTAL OR CONSEQUENTIAL
DAMAGES AND ANY IMPLIED WARRANTIES ARE LIMITED TO THE SAME TIME
PERIODS STATED HEREIN FOR ALL EXPRESSED WARRANTIES. Some states do not
allow the limitation of consequential damages or limitations on how long an implied warranty
may last, so the above limitations or exclusions may not apply to you. This warranty gives
you specific legal rights and you may have other rights, which vary from state-to-state. This is
a limited warranty as defined by the Magnuson-Moss Act of 1975.
2

SAFETY PRECAUTIONS
This Safety Alert Symbol indicates important messages in this
manual. When you see this symbol, carefully read the message that
follows and be alert to the possibility of personal injury.
Read this manual completely. This machine can amputate hands, feet, and
throw objects. Failure to observe the following safety instructions could
result in serious injury or death.
• Read the manual. Learn to operate this machine safely.
Always disconnect the spark plug wire and place the wire where it
•
cannot contact the spark plug, to prevent accidental starting of the engine
when setting up, transporting, adjusting or making repairs.
• Keep all shields and guards in place.
• Understand the speed, steering and stability of this machine. Know
the positions and operations of all controls before you operate this
machine. Check all of the controls in a safe area before starting to work
with this machine.
• Allow only responsible adults who are familiar with these instructions
to operate this machine. Never allow children to operate this machine.
• Clear the area of objects such as rocks, toys, wire, etc. that can be
picked up and thrown by the blade.
• Be sure the area is clear of other people before mowing. Be aware of the
mower discharge direction and do not point at anyone. Stop the machine
if anyone enters the mowing area. Children are often attracted to the
machine and the mowing activity. Never assume that children will
remain where you last saw them. Keep children under the watchful care
of another responsible adult.
•No riders!
3

• Do not put hands or feet near or under rotating parts. Keep clear of
the discharge opening at all times.
• Do not mow in reverse. Always look down and behind before and while
backing.
• Turn off the blades when not mowing. Before leaving the machine, turn off the
blades and stop the engine.
• Watch for traffic when operating near or crossing roadways.
• Do not operate the mower if the mower has been dropped or damaged
in any manner or if it vibrates excessively. Excessive vibration is an
indication of damage. Repair mower as necessary.
• Dress properly. Do not operate the mower when barefoot or
wearing open sandals. Wear only solid shoes with good traction when
mowing.
• Do not operate the machine while under the influence of alcohol or
drugs.
• Operate self-propelled machines up and down slopes. There is
significant risk of overturns when operating across slopes. Operate walkbehind machines across slopes. There is a significant risk of slipping
under a walk-behind machine when operating up and down slopes. Do not
operate on slopes greater than 15 degrees.
• Never tamper with safety devices. Check their proper operation
regularly.
• Stop and inspect the equipment if you strike an object. Repair, if
necessary, before restarting.
• Never make adjustments or repairs with the engine running.
• Mower blades are sharp and can cut. Wrap the blades or wear gloves,
and use extra caution when servicing them.
4
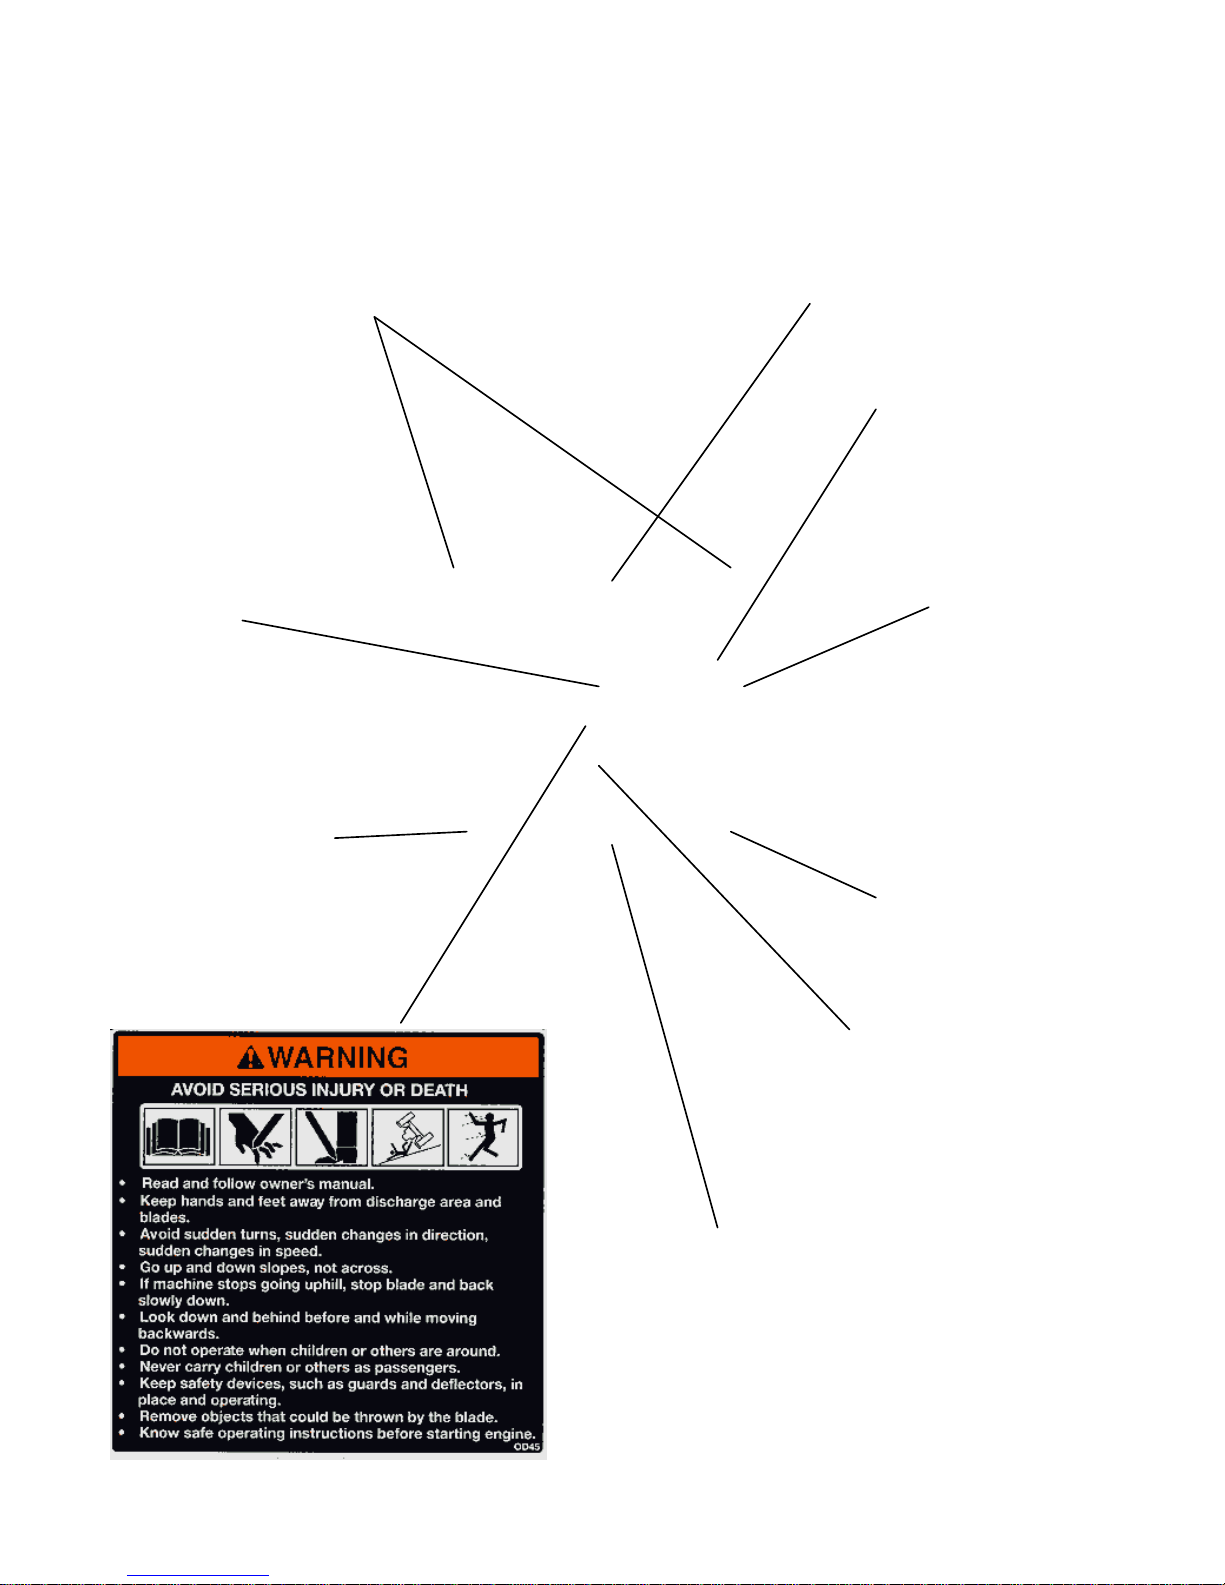
Replace decal immediately if damaged. Order by part number from Swisher.
OD55-Triangle Danger Decal
(All four deck corners)
Engine Serial #
SAFETY DECALS
OD33-Speed Decal
Trail Mower Serial #
OD11-No Step Decal
OD15-Void Warranty Decal
OD36-Deflector Decal
OD99125-Medium Swisher
Logo Decal
OD45-Warning Decal
OD29-Danger Decal
5
OPERATING YOUR TRAIL MOWER
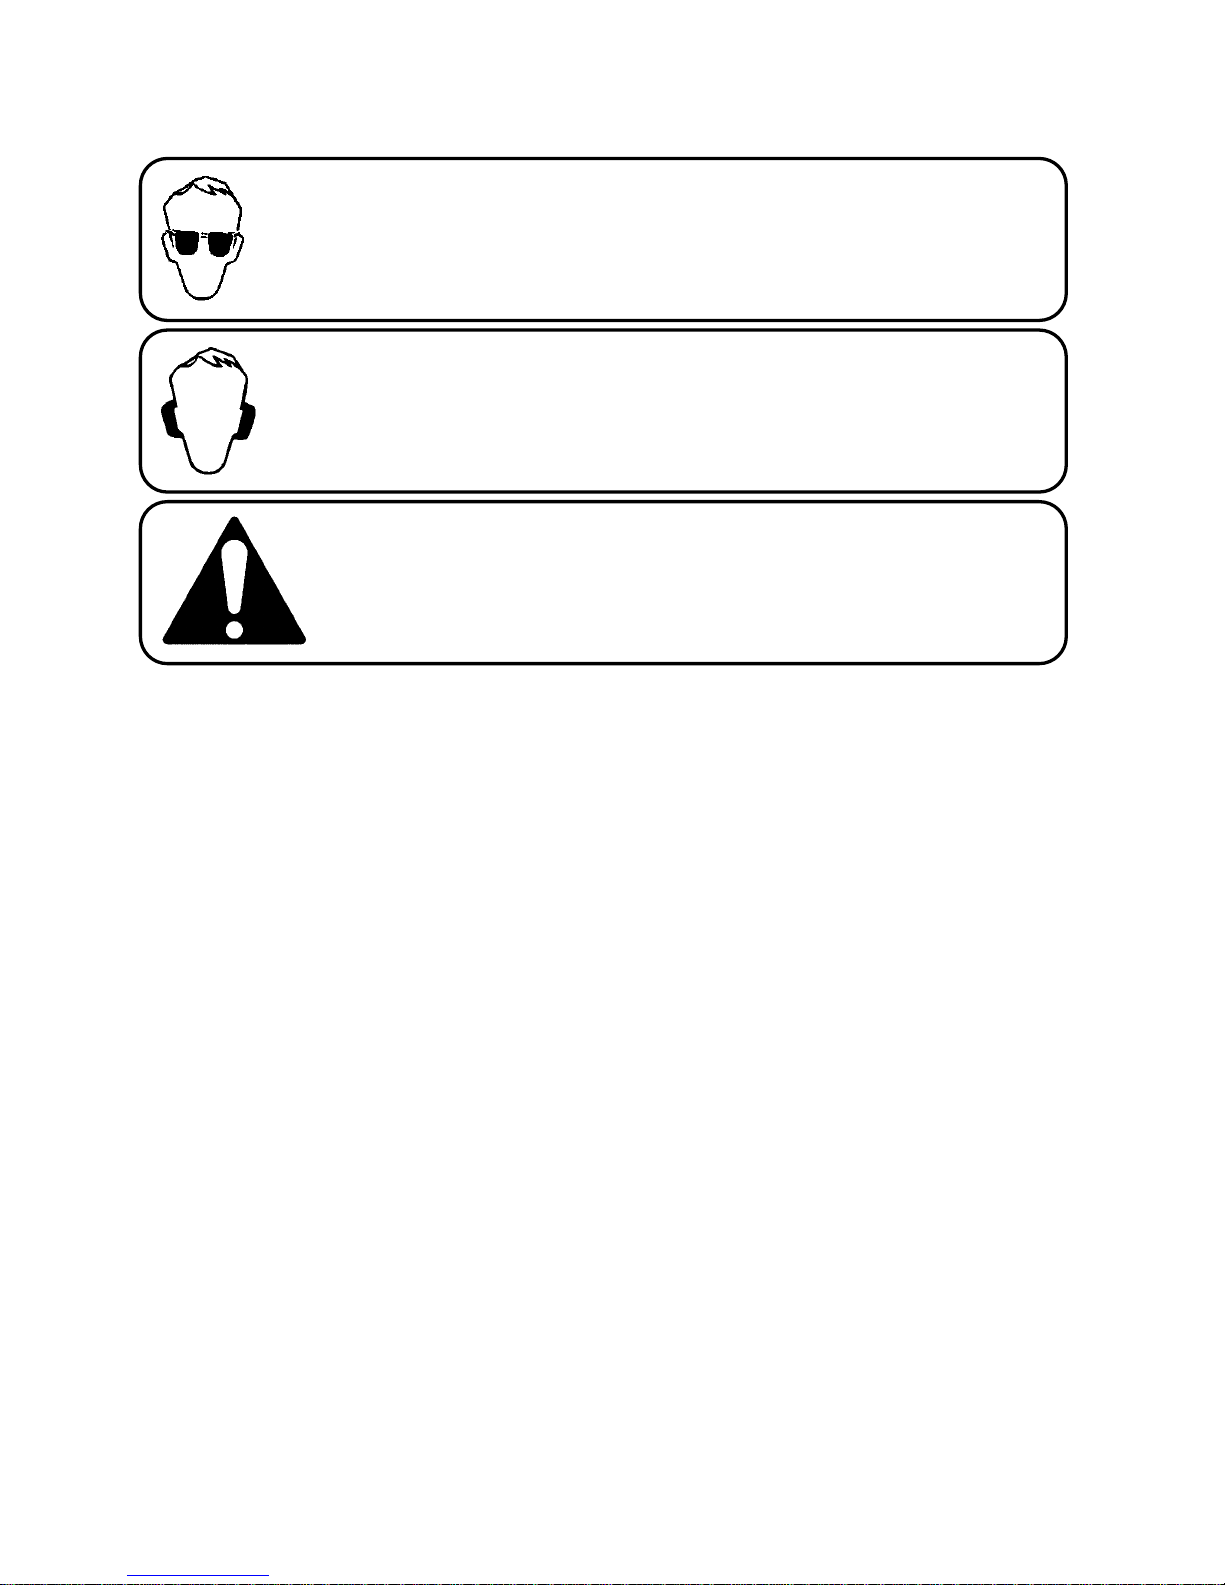
The operation of any mower can produce foreign objects to be thrown into the
eyes, resulting in severe eye damage. Always wear certified safety glasses or
wide-vision safety goggles over spectacles before staring any cutting machine
and while operating such a machine.
The operation of any cutter produces sound waves that are damaging to the
human ear. Ear protection is recommended.
CAUTION!
Tragic accidents can occur if the operator is not alert to the presence of
children. Children are often attracted to the machine and the mowing
activity. Never assume that children will remain where you last saw
them.
INTENDED USE
The 44” Trail Mower is designed to produce a quality finish cut on lawns, golf courses,
etc. It is not intended to clear brush or cut saplings. Your Trail Mower should be
towed behind an ATV, golf cart, lawn tractor, or other approved vehicle. It is not
designed for speeds exceeding 5 MPH. WARNING: To avoid serious injury,
perate your mower up and down the face of slopes, NEVER across the face. DO
o
NOT MOW SLOPES GREATER THAN 15 DEGREES! (See attached guide for
sighting slopes.)
ATTACHING TRAIL MOWER TO TOW VEHICLE
• Back vehicle up to desired towing position.
• Offset the Trail Mower to the side opposite the tow vehicle discharge (if any).
This prevents the tow vehicle from throwing grass into Trail Mower engine.
• If tow vehicle has a ball hitch, the ball must be removed before hitch can be
fastened.
• Attach hitch to the tow vehicle with hitch pin (H11). Make certain the hitch
pin goes completely through and is clipped to prevent accidental separation.
• Securely attach safety tether (6736) to tow vehicle and to the Trail Mower
toggle switch located on right side of the engine. The safety tether will stop the
Trail Mower engine either manually or if the two should become separated. It is
very important that the safety tether is securely attached to both the toggle
switch and to the tow vehicle. See Fig 3, pg 15.
TRANSPORTING MOWER
• Stop Trail Mower.
• Place Trail Mower deck in its highest position.
• When transporting without the use of a tow vehicle, remove spark plug
wire and place it where it cannot contact the spark plug.
6

ENGAGING BLADES
The Trail Mower will not start if the blade lever is in the “ENGAGED” position.
• Engage blades by rotating blade lever into the “ENGAGED” position.
• Rotate blade lever in opposite direction to disengage blade.
• The dual braking system is applied when the blades become disengaged. It is
designed to bring the blades to quick stop (approximately 7 seconds). Each
Trail Mower brake system has been tested and calibrated. For safety, the
consumer should not alter the braking system.
STARTING THE ENGINE
See engine manufacturer’s recommendations for the type and amount of oil and fuel
used. Trail Mowers equipped with an electric start engine will need a battery (sold
separately). Swisher recommends using a standard “12N12A” battery.
• Make sure the tow vehicle parking brake is set, mower is level, and blades are
disengaged. Engine must be level to accurately check and fill oil. Do not overfill.
• Check spark plug wire, oil, and fuel.
• Check all electrical connections for buildup or debris.
• Make sure toggle switch is not turned “OFF” and safety tether is attached.
• Set engine throttle to “RUN” position.
• Move the choke lever to the “ON” position (cold engine only).
• With feet clear of mower deck, turn key switch to the “START” position; release
when engine begins to run (12 volt models). Recoil models must use pull-rope.
Pull rope with a single fluid motion.
• Set engine throttle at maximum RPM.
• Allow engine to run a few moments before engaging blades.
IMPORTANT: This engine is not equipped with a spark arrester muffler. It is a violation of
California Public Resource Code Section 4442 to use or operate the engine on any forest-covered,
brush-covered, or grass-covered land. Other states or federal areas may have similar laws.
BREAKING IN YOUR MOWER
• Set vehicle parking brake or chock wheels to prevent accidental rolling.
• Start engine properly.
• Slowly engage blade control.
• In a safe environment, i.e. no children, allow blades to rotate and engine to
idle for 5 minutes. This breaks in the belts and the engine.
• Stop mower properly.
CAUTION!
SHUT OFF MOWER ENGINE AND REMOVE SPARK PLUG WIRE FROM
SPARK PLUG BEFORE MAKING ANY ADJUSTMENTS TO THE MOWER.
7

MOWER HEIGHT ADJUSTMENT
• Make adjustments while Trail Mower is not running.
• There is approximately 1 ½” to 4 ½” of height adjustment.
• Rotate height adjust crank handle in a clockwise direction to lower the mower
deck. A counter-clockwise direction is used to lift the mower deck.
• Graduated scales are for reference only, not the actual cutter height.
FRONT TO BACK ADJUSTMENT
For best cutting results, the mowing deck should be raised to ½” to ¾” higher in
the rear.
• Make adjustments while Trail Mower is not running.
• Remove hairpins NB127 from clevis pins 18842 so L-hitch 18829 can
be repositioned.
• Raise or lower hitch section to obtain proper front to back adjustment.
• Insert clevis pins in the desired hitch position and secure with hairpins.
TOW HITCH OFFSET
This Trail Mower has been designed to operate offset from the center of the tow
vehicle or consecutively with another Trail Mower, providing additional cutting
width. When offsetting the mower do so to the side opposite the discharge of the tow
vehicle.
• Swisher recommends if the tow vehicle is equipped with a mid-mount mower
to overlap the cut approximately 6”. This may vary depending on mowing
terrain, obstacles, and/or tow vehicle. Always keep SAFETY the first priority.
• If the tow vehicle is not equipped with a mid-mount mower, we still
recommend offsetting the mower so that the tow vehicle does not crush the
grass.
STARTING TO MOW
• Adjust the cutting height.
• Double check vehicle to mower attachment.
• Start mower engine and set throttle to “FAST” for best cutting performance.
• Slowly engage blade clutch lever.
• Carefully mount vehicle and start mowing at a slow travel speed.
STOPPING THE MOWING SESSION
• Bring tow vehicle to a complete stop, shut off engine, and set parking brake.
• Disengage blades.
• Manually shut toggle switch and/or key switch to their “OFF” positions.
• Always remember to remove keys to avoid irresponsible usage (electric start
models only).
8
 Loading...