

Swift Hitch SH04 User Manual

INTRODUCTION 1-2
Warranty 1
Restrictions 2
Maintenance 2
PRODUCT 3
Included Parts 3
Camera Illustration 3
HOW TO USE 4-9
Charging Camera 4
Download Free APP: Swift WiFi Cam 5
Power On Camera 5
Link Camera 5-7
Mount Camera 7
Mount Magnetic Holder for Smart Phone (Optional) 8
View Camera 8
How to use tether for the camera (Optional) 9
MAIN FUNCTIONS OF CAMERA 10
MAIN FUNCTIONS OF APP 11-14
Switch between STA Mode and AP Mode 11-12
Turn On/Off IR LED and Guide Line 13
Video Parameter Setting 13
Video and Image Control 14
Camera Low Battery Alert 14
ADVANCE FUNCTIONS OF APP 15-17
Push Notice 15-16
Mail Settings 16-17
User Name and Authorization Setting 17
SPECIFICATIONS 18
TROUBLE SHOOTING 19
APPROVAL INFORMATION 20

1
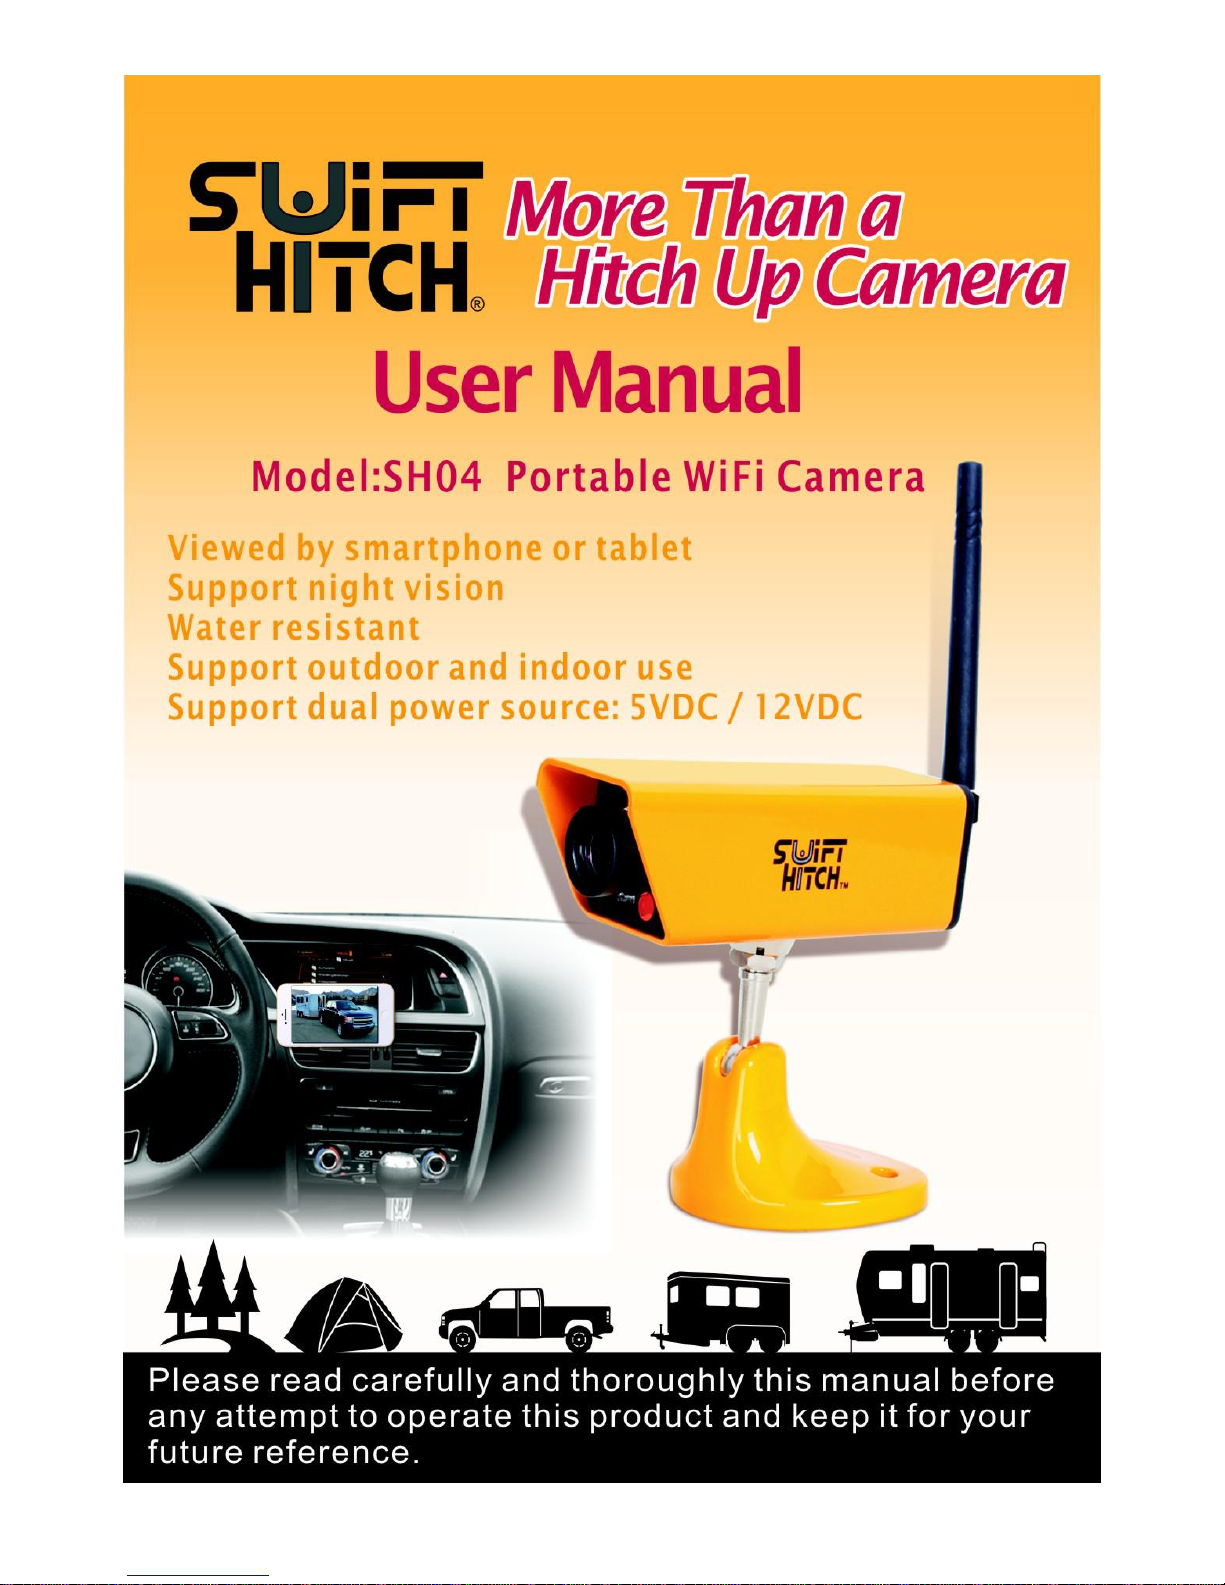
INTRODUCTION
Thank you for purchasing this wireless camera kit. This product works at 2.4GHz
frequency band which can be legally used worldwide without permission. We feel
confident that you will be pleased with the quality and features of this product.
The camera use CMOS sensor to capture the image and transmits the image to
your smart phone by WiFi. Its image is much more stable than analog 2.4G or
5.8G wireless camera.
The receiver can be any type of smart phone or tablet with Android/iOS system.
Warranty:
This product has a one year limited warranty with an effective date of purchase.
Before contacting customer support please read the trouble shooting section for
help first. When call us, please retain sales receipt for purchase verification. Any
unauthorized disassemble of the product will void the warranty. DO NOT return
warranty products to the retailer such as Amazon.

2
Restrictions:
1. DO NOT use this product to violate one's privacy. Monitoring one's activities
without consent is illegal and this product is not designed and manufactured for
such purposes.
2. DO NOT put this product near any medical equipment. Radio waves might
potentially cause breakdown of electrical medical equipment. So this product
should be placed at least 1 foot away from any heart pacemaker. Radio waves
might potentially influence the heart pacemaker and lead to respiratory
disturbance.
3. DO NOT use this product for any illegal activities. We are not be responsible for
any consequences of illegal acts committed by the user.
4. It is recommended to fix the camera on the vehicle if using it on bumpy road or
drive for long time. The screws of fixing camera base can be found inside the
package of products.
Maintenance:
1. Do not shake or strike the product.
2. Keep product away from heat sources such as electric heaters.
3. Do not use the camera near corrosive chemicals.
4. Do not use the camera in the places which are enclosed by metal.
5. Please obey the local government's environment protection policy.
6. Please turn off the power when not in use.
7. Do not disassemble or repair the camera without professional guide. Doing so
might cause damages to the product and VOID THE WARRANTY.
3
PRODUCT
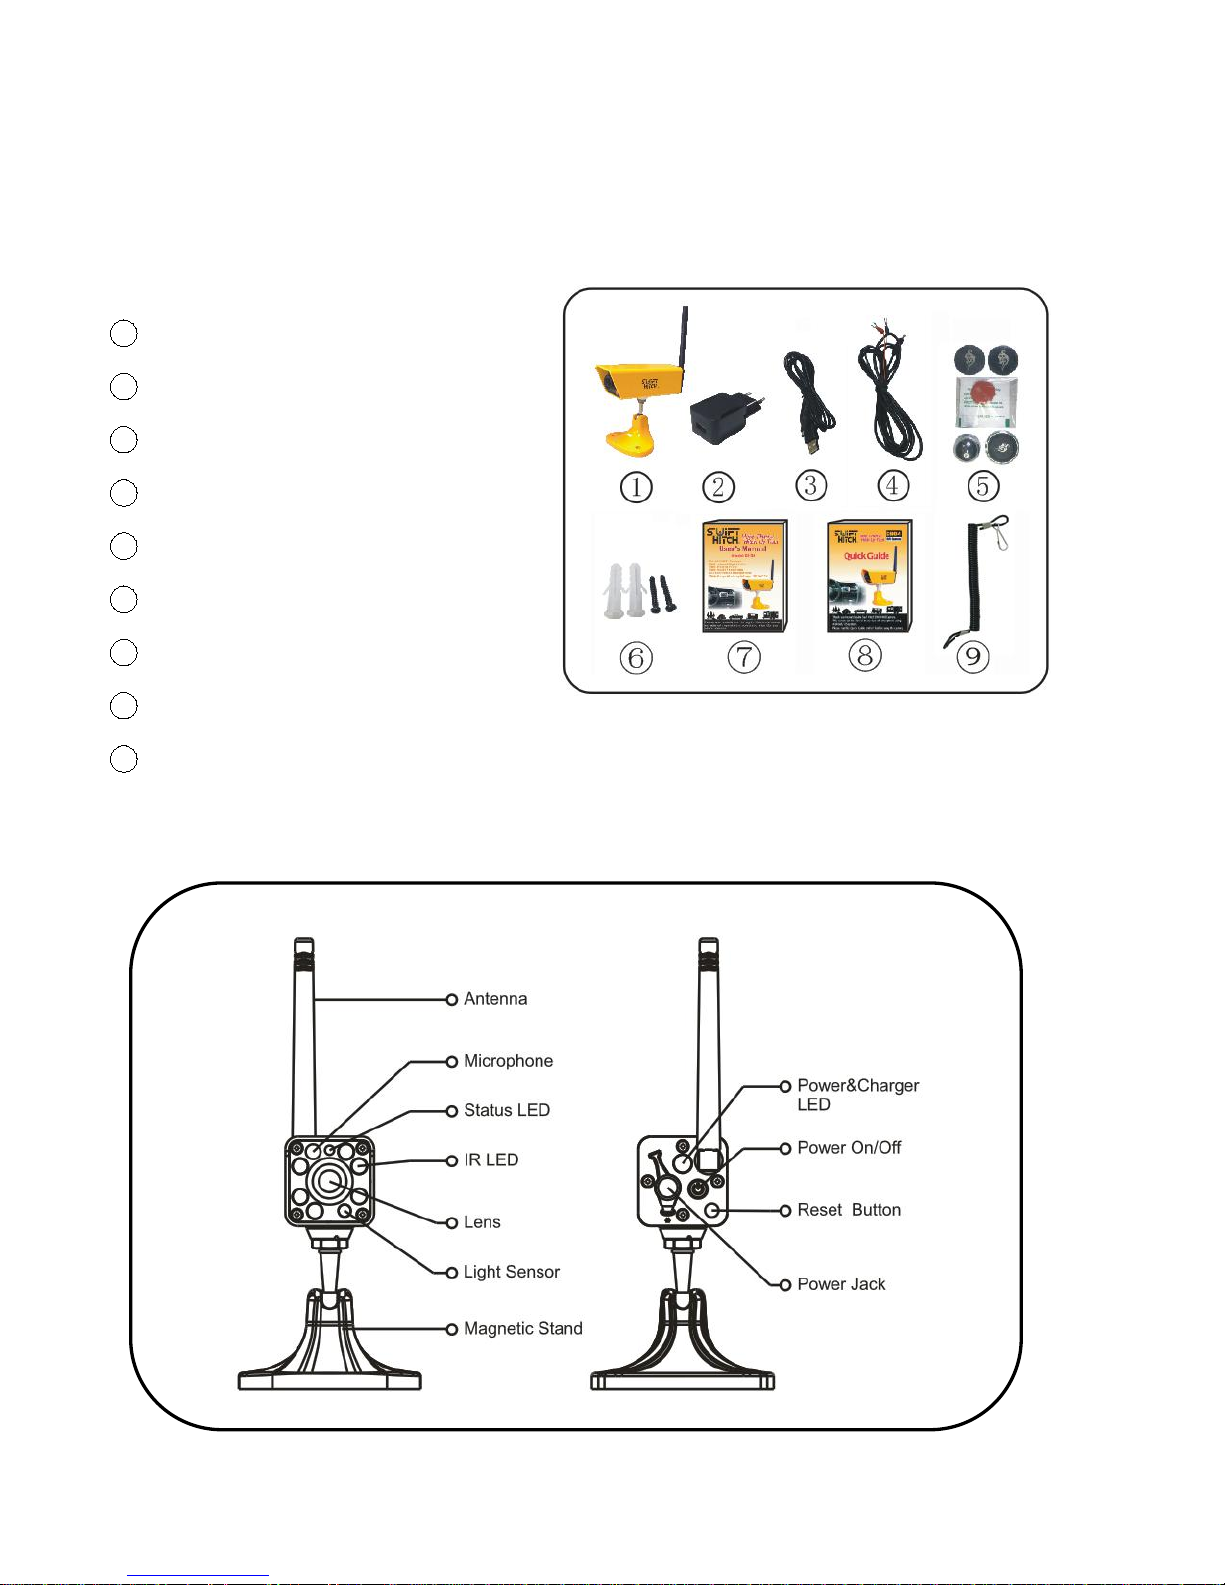
Included Parts
:
This package comes with the following items. Please check whether they are all
included in the packaging box. If there is missing part, please contact the retailer
for replacement.
1
Camera x1
2
AC power charger x1
3
USB charging cable x1
4
Power extension cable ×1
5
Magnet holder for phone x1
6
Screw set for camera x1
7
User manual x1
8
Quick start guide x 1
9
Tether for added security x 1
Notice: Accessory parts can be found under the top foam.
Camera Illustration
4
HOW TO USE
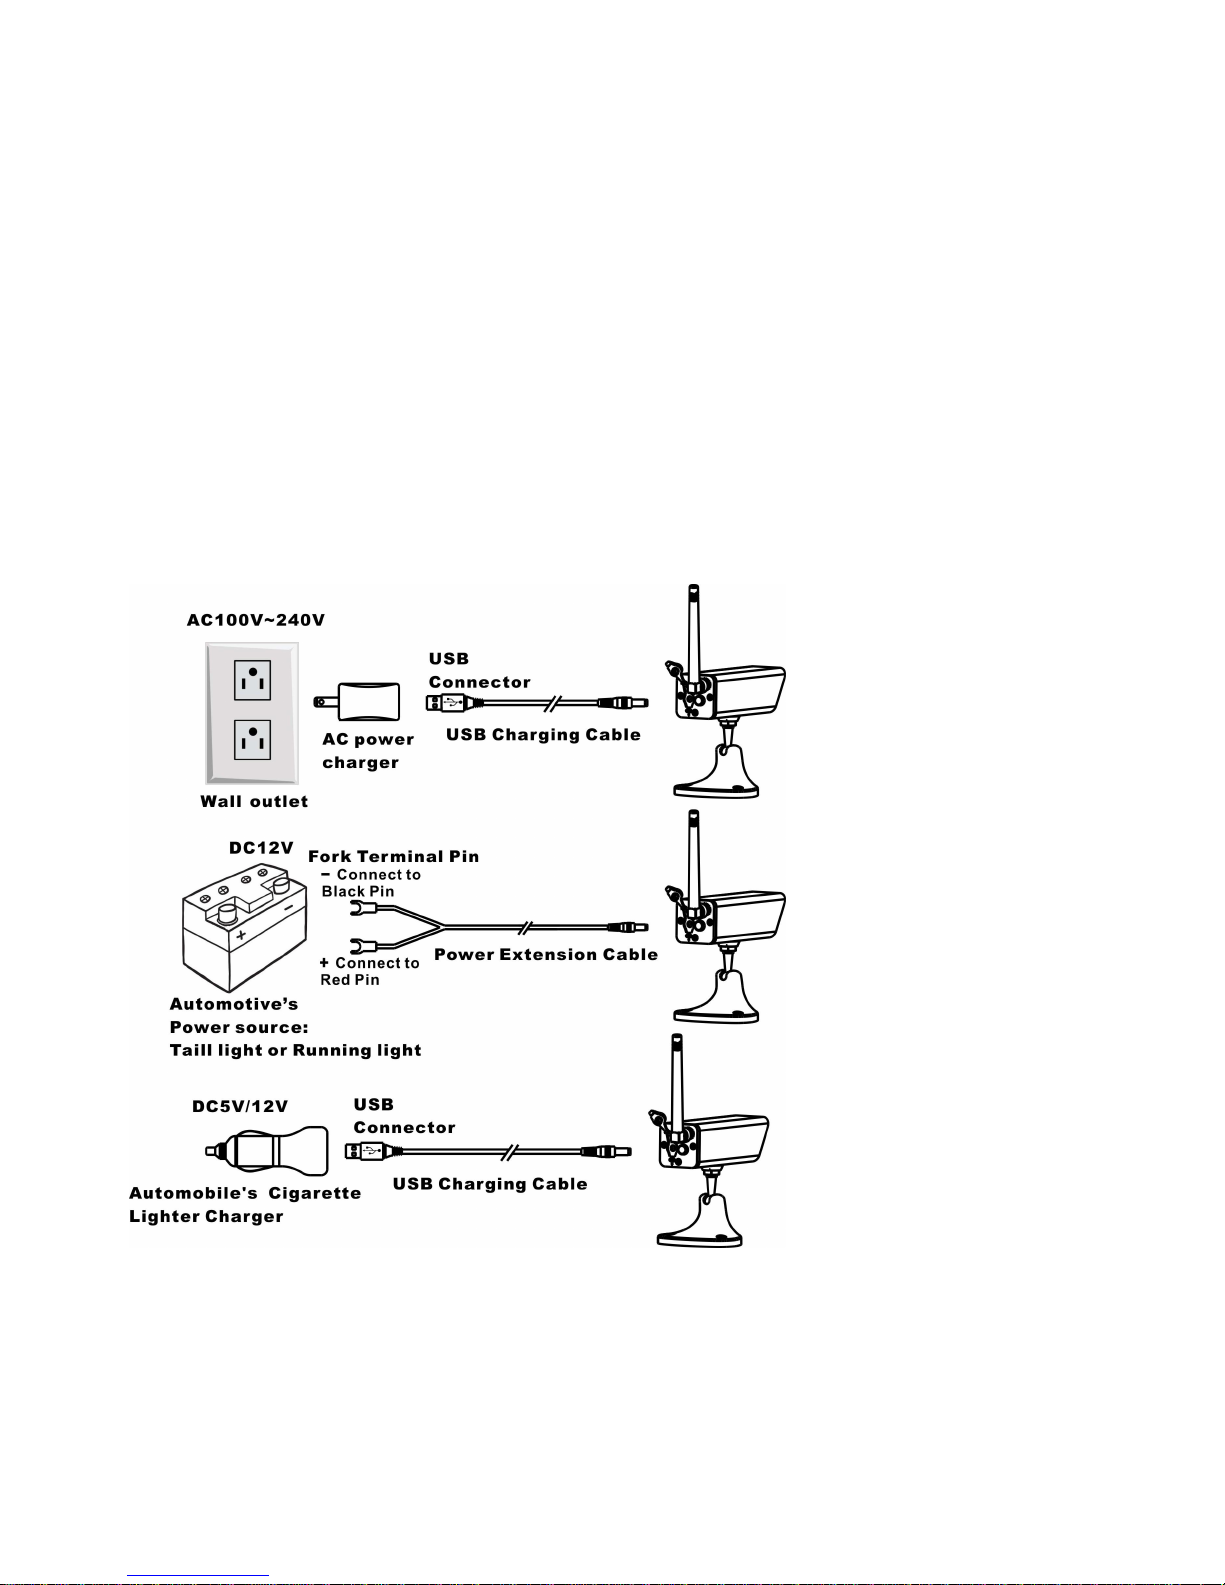
1. Charging the Camera
There are three ways to charge the camera build-in battery before using camera.
1) Charge the camera build-in battery via AC adapter by connecting USB charging
cable between AC adapter and camera. Wall outlet can have output of AC
between 100V~240V, adapter output is 5VDC to camera.
2) Charge the camera via automotive battery by connecting power extension
cable between battery and camera. Power extension cable has fork terminals
for easy connection. Battery output is 12VDC.
3) Charge the camera with automotive cigarette lighter charging adapter which
can have standard 5VDC output or 12VDC output. (Cigarette lighter charging
adapter is not included)
When camera starts to take charge, LED indicator on camera back become red,
full charge normally take 5 hours. Once camera is fully charged, LED indicator will
go off
5
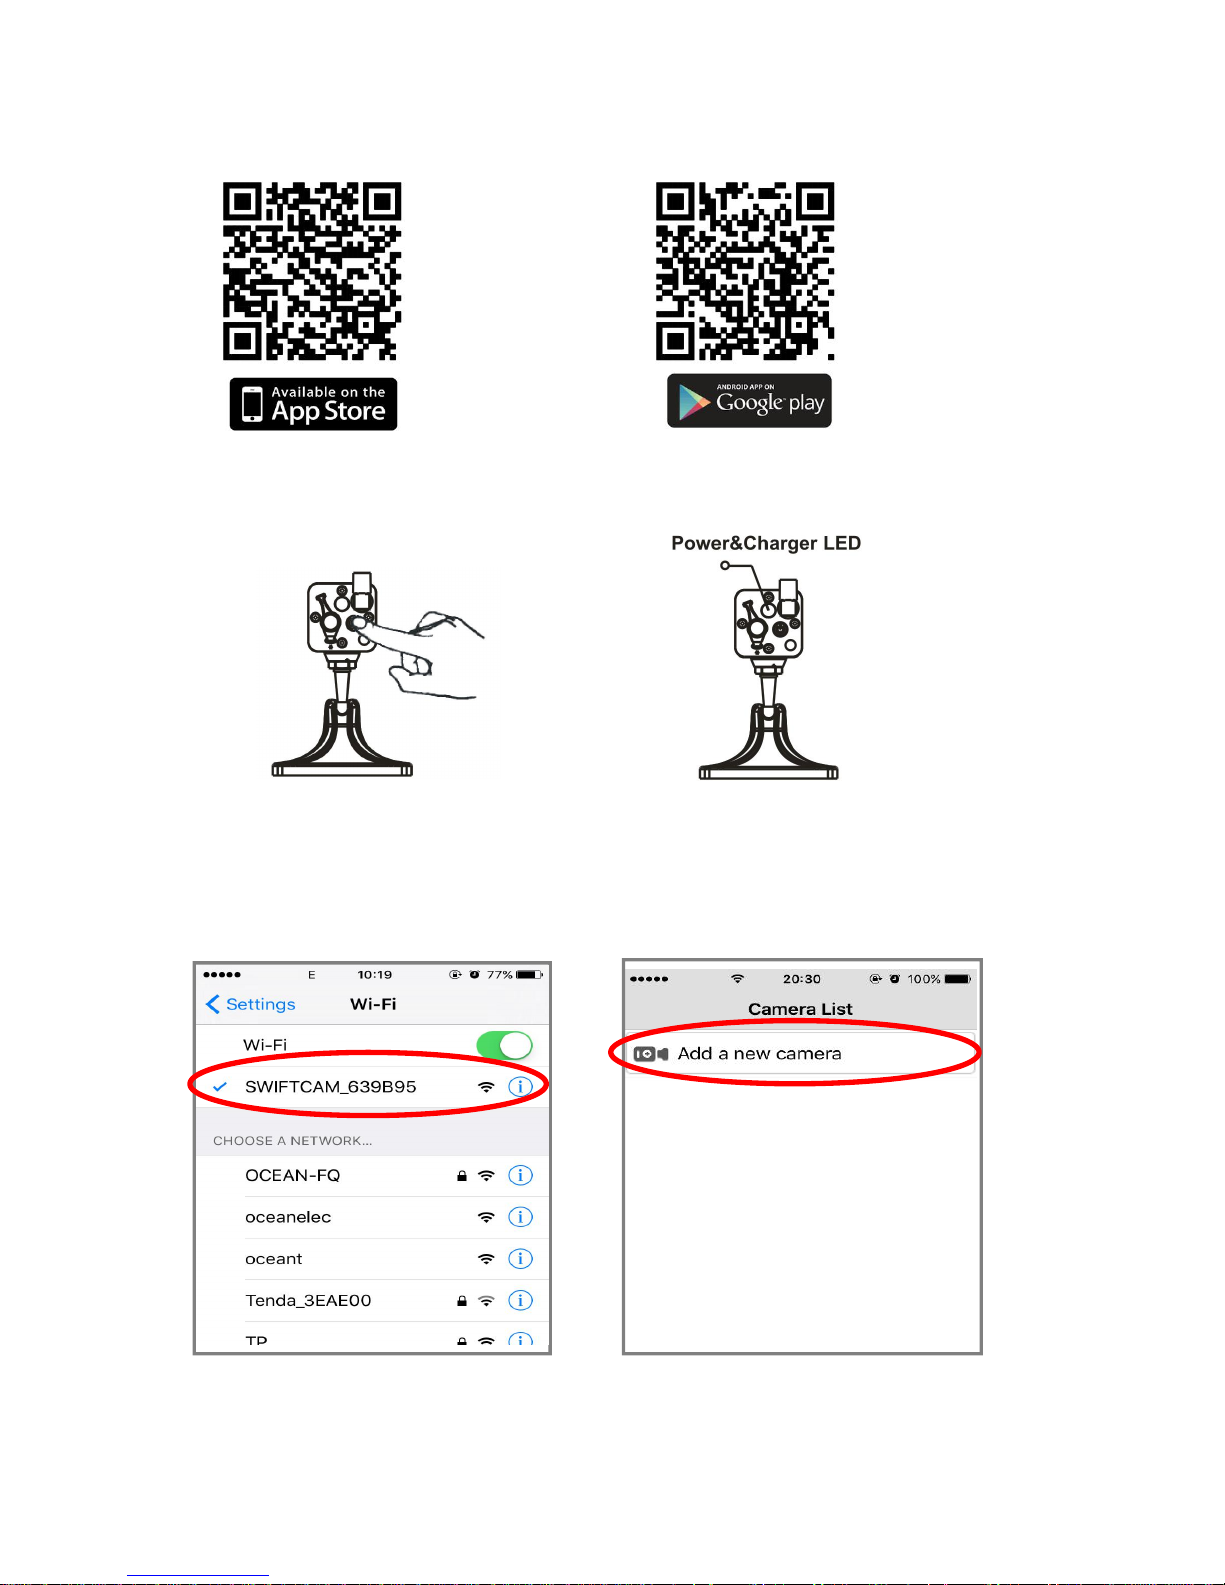
2. Download Free APP: Swift Wifi Cam
You can search Swift WiFi Cam in App Store for iPhone Or Google Play for
Android . (Or scan the QR code below with APP such as Quick Scan to download
the APP)
3. Power On Camera
Press the Power button to turn on the camera, Power LED(green) will be on,then
you can use it.
Notes: If the battery is exhausted, please recharge it with the charging cable.
4. Link Camera
1) Turn on the wifi option on cell phone first and select camera's wifi ID:
SWIFTCAM_xxxxxx. After selection, leave the password space blank. There is no
password needed. (FIG-01)
FIG-01 FIG-02
 Loading...