

Page 1

English version
4
TABLE OF CONTENTS
Specifications 6
The splitter 7
Connecting the Sweex ADSL 2 Modem 7
Configuring the computer to connect to the modem 8
Internet browser settings for Windows 98SE, 2000 and XP 11
Modem access (Login) 11
Setting the Internet Provider (ISP) 13
Opening ports in the modem (Port Forwarding and DMZ) 14
LAN settings 15
Changing the password (User Management) 16
Remote modem management (Web Access Control) 17
Upgrading the firmware of the modem (update firmware) 17
Resetting the Modem to its factory settings 18
List of Internet Providers and corresponding subscriptions 19
Warranty 23
GNU/GPL 23
Page 2

English version
5
English version
MO200/MO200UK Sweex ADSL 2/2+ Modem/Router Annex A
Introduction
First of all, many thanks for purchasing the Sweex ADSL 2/2+ Modem/Router Annex A. The Sweex ADSL 2/2+ Modem/Router Annex A enables
you to share a fast ADSL 2 Internet connection and to set up your own network.
To ensure this product operates correctly, we advise you to carefully read this manual first. If despite this manual you still experience problems during
installation or operation of this product, go to www.sweex.com and look under the heading service & support.
In order to fully enjoy the Sweex ADSL 2/2+ Modem/Router Annex A, it is important to observe the following:
• Do not expose the Sweex ADSL 2/2+ Modem/Router Annex A to extreme temperatures. Do not place the device in direct sunlight or in the
direct vicinity of heating elements.
• Do not use the Sweex ADSL 2/2+ Modem/Router Annex A in extremely dusty or moist surroundings.
• Protect the device against powerful shocks or jolts – they may damage the internal electronics.
• Never attempt to open the device yourself – it will cause the warranty to lapse.
Contents of the box
Prior to using the Sweex ADSL 2/2+ Modem/Router Annex A, check if all required parts are present. The following parts must be present in the box:
• ADSL 2/2+ Modem/Router
• Power supply adaptor
• RJ-45 UTP Ethernet network cable (length 170 cm)
• RJ11 telephone cable (length 185 cm)
• CD-ROM with manual and Panda antivirus trial software
If one of the above parts is missing, please contact the retail outlet where you purchased the device.
Page 3
English version
6
English version
Specifications
• Suitable for ADSL via an analogue telephone line (Annex-A)
• Supports: ADSL, ADSL 2 and ADSL 2+
• 4 x RJ-45 UTP ports, 10/100 Mbps IEEE 802.3x standard
• RJ11 ADSL port
• Download speed: 24Mbps, Upload speed: 1Mbps
• Built-in Firewall and Port Forwarding
• Supports: Windows 98SE, 2000 and XP
Additional specifications
• Full rate ANSI T1.413 Issue2, ITU-T G.992.1 and ITU-T G.992.2, ITU G.992.3, ITU G.992.5 and READSL2 ADSL2/2+ standards compliant
• Supports Annex M and Annex L
• Supports Encapsulation: PPPoA, PPPoE, Bridged, Routed, Static, DHCP
• Supports VPN pass through
• Web-based configuration and Remote Access configuration
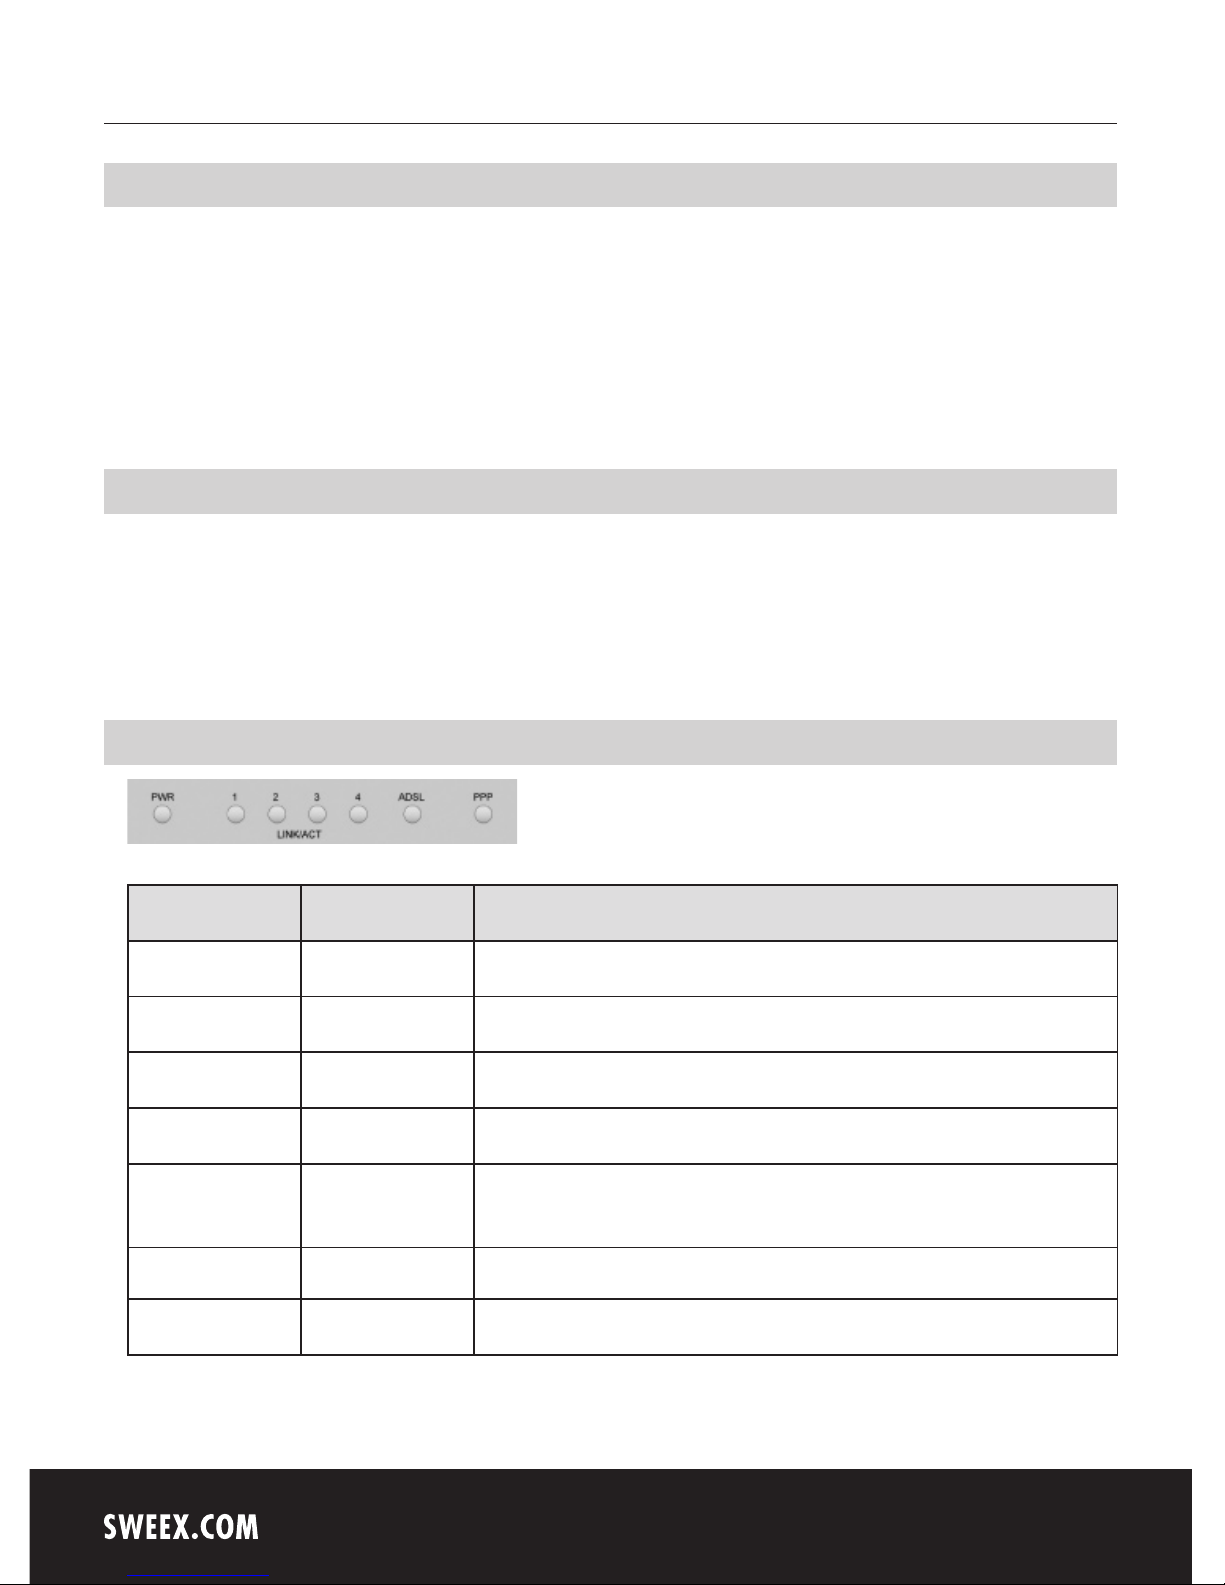
Front or top view of the modem
LED Indicators Status Meaning
PWR Lit Indicates that the modem is switched on
1-4 Lit Indicates that a computer is connected to the relevant port
1-4 Blinking Indicates activity between the relevant computer and the modem
ADSL Lit The connection with the ADSL line is ok
ADSL Regular blinking The modem is busy setting up a proper connection or no ADSL is connected
to the RJ11 port
ADSL Lit and blinking fast Indicates activity between the computer (1-4) computer and the Internet
PPP Lit Indicates the use of a PPP connection
Page 4
English version
7
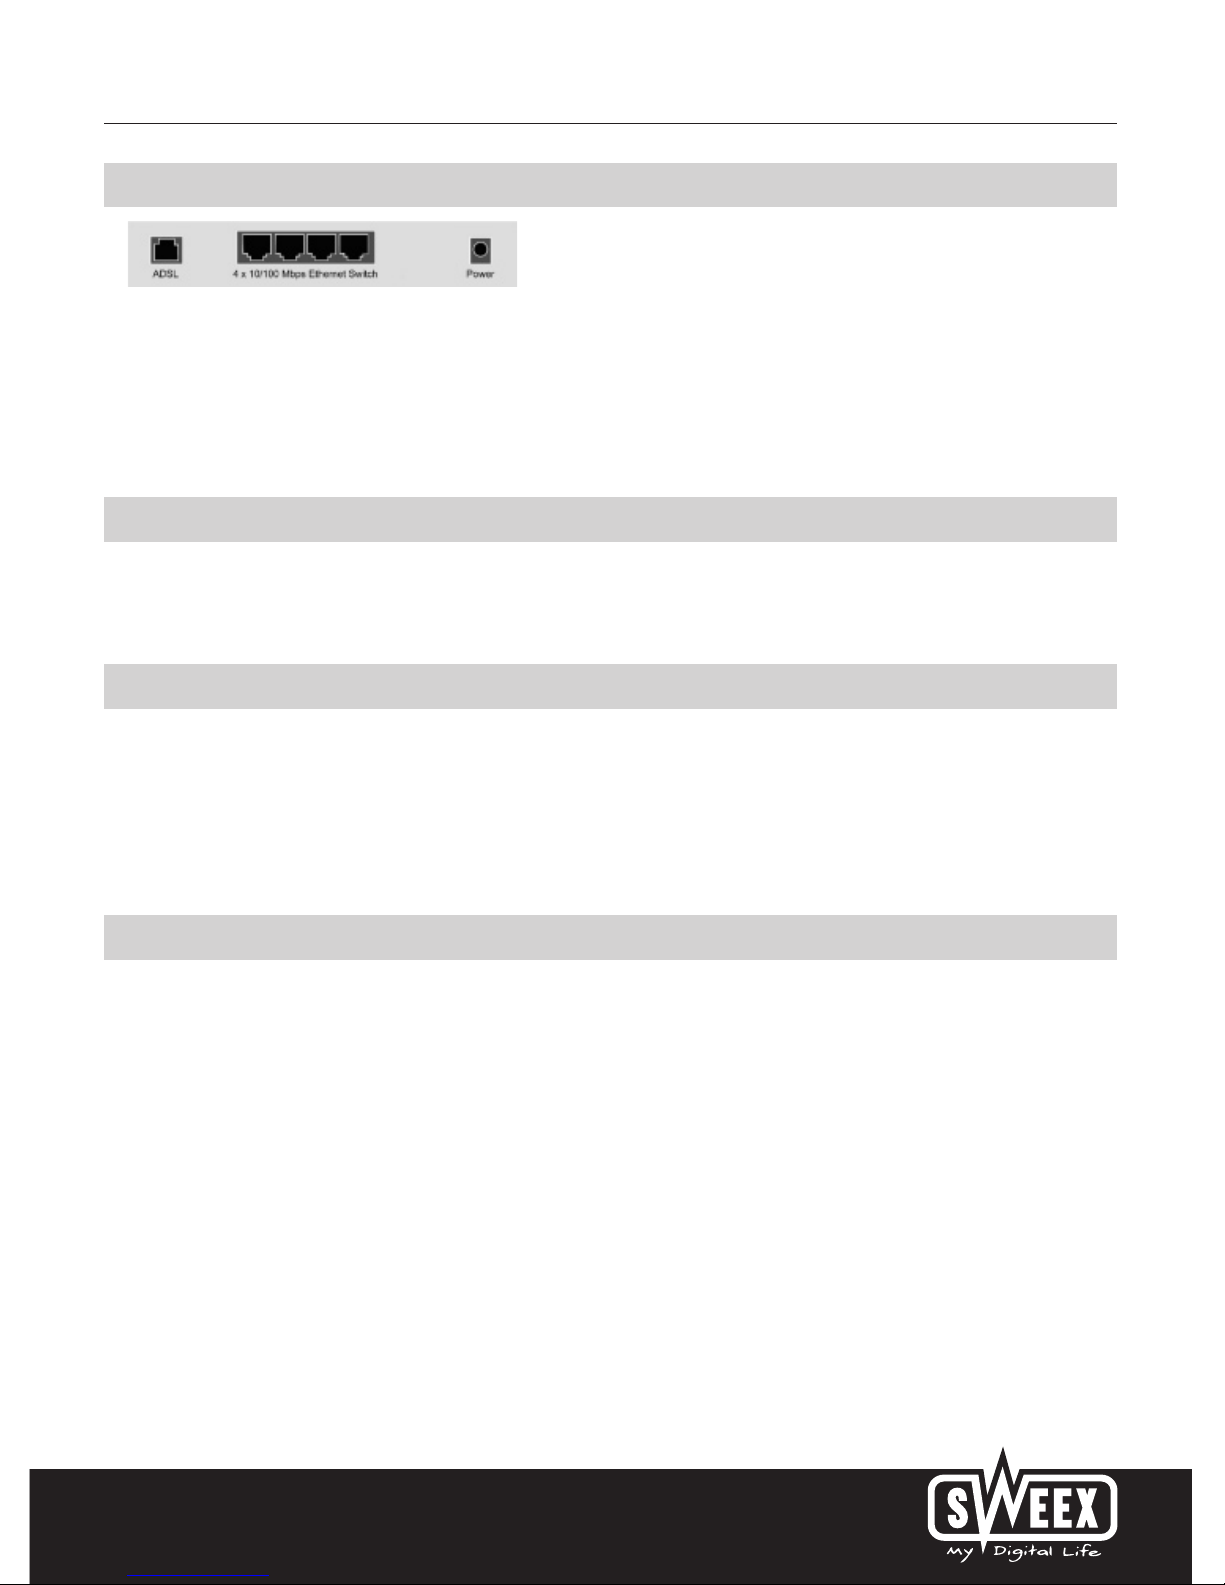
Rear view of the modem
Starting on the left, the following connections can be found at the rear of the modem:
• ADSL port for connecting the ADSL line with telephone cable RJ11.
• UTP Ethernet ports 1, 2, 3 and 4 for connecting computers with an Ethernet network cable RJ45.
• Power port for connecting the power adaptor.
Side view
The Reset button is located on the side of the modem. Use a thin item to press the button. Press and hold the button for 15 seconds. Note! After
this, all settings which apply to your connection and network need to be reconfigured.
The splitter
In order to separate the ADSL signal from the normal telephone signal, you need to use a splitter. This enables you to simultaneously make calls and
surf the Internet using the same telephone line. The signal comes from the wall socket or the meter cupboard and enters the splitter. Two telephone
cables are connected to the output of the splitter. One leads to the modem and the other to the telephone.
Note! The ADSL modem does not include a splitter. It can be obtained from various DIY stores.
Connecting the Sweex ADSL 2 Modem
1. Connect the power adaptor (included) to the rear of the modem and the mains socket. The LED under PWR is lit. In the event the LED is not lit,
check the connections of the power adaptor to the ADSL modem and the mains socket.
2. Connect the telephone cable (RJ11) carrying the ADSL signal to the ADSL port at the rear of the modem. The LED under ADSL will now start
to blink. After approximately 30 seconds the LED will be lit continuously. In the event the LED is not lit, check whether the splitter is properly
connected and/or whether the ADSL line is ok.
3. Switch on the computer and connect it to the rear of the modem using a network cable (UTP RJ45). You can select any of the ports 1, 2, 3 and 4.
The corresponding LED at the front of the modem will be lit. In the event the LED fails to light up, check whether the network cable is properly
connected to the computer and the modem.
Page 5
English version
8
Configuring the computer to connect to the modem
Windows XP
Go to “Start” (Start) “Control Panel” (Control Panel). Then go to “Network and Internet Connections” (Network and Internet Connections).
Open “Network Connections” (Network Connections).
Or, if the Windows classic style is used:
“Start” (Start) Settings “Network Connections” (Network Connections).
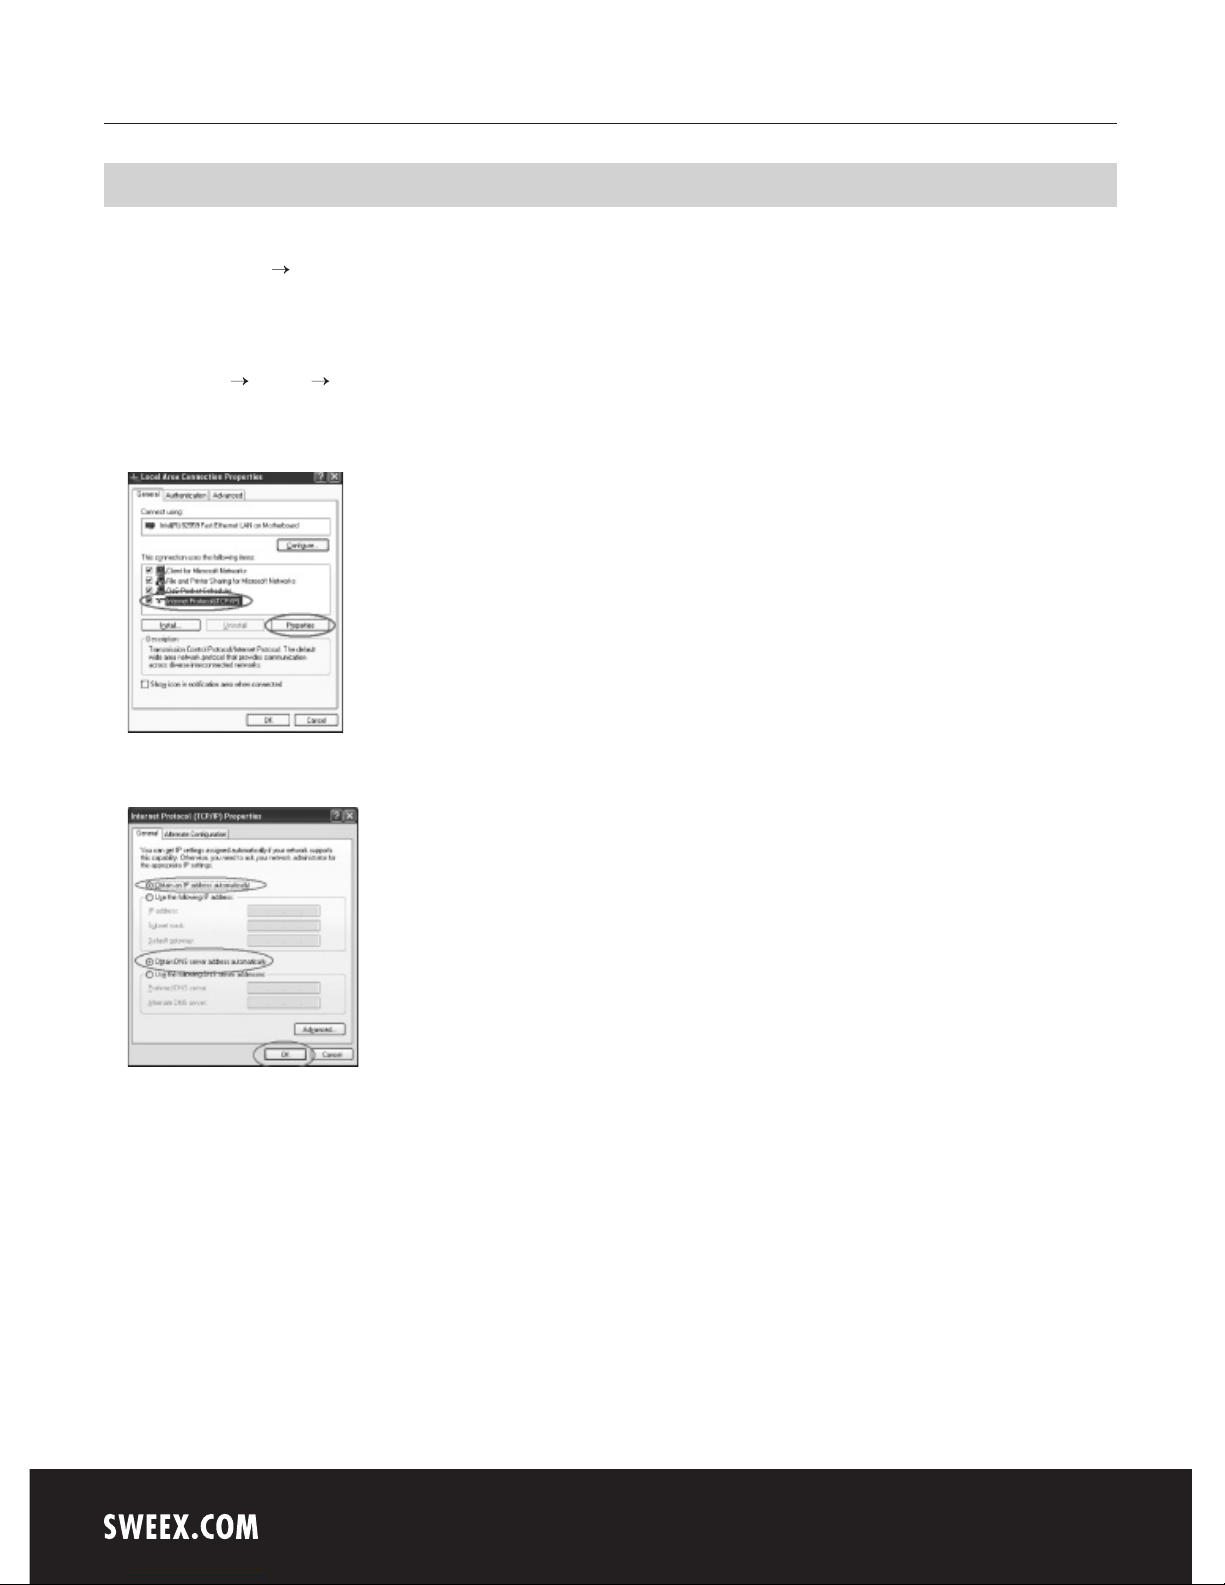
Right-click “LAN Connection” (LAN Connection) and select “Properties” (Properties). The following screen appears:
Under the tab “General (General) select TCP/IP and click “Properties” (Properties).
Select the options “Obtain an IP address automatically“ (Obtain an IP address automatically) and “Obtain DNS server address automatically”
(Obtain DNS server address automatically).
Confirm the settings by clicking “OK” (OK). The network settings for Windows XP have now been configured correctly. The correct settings for the
Internet browser will be discussed later in this manual.
Page 6
English version
9
Windows 2000
Go to “Start” (Start) “Control Panel” (Control Panel). Then go to “Network and Internet Connections” (Network and Internet Connections).
Open “Network Connections” (Network Connections).
Or, if the Windows classic style is used:
“Start” (Start) Settings Open “Network Connections” (Network Connections).
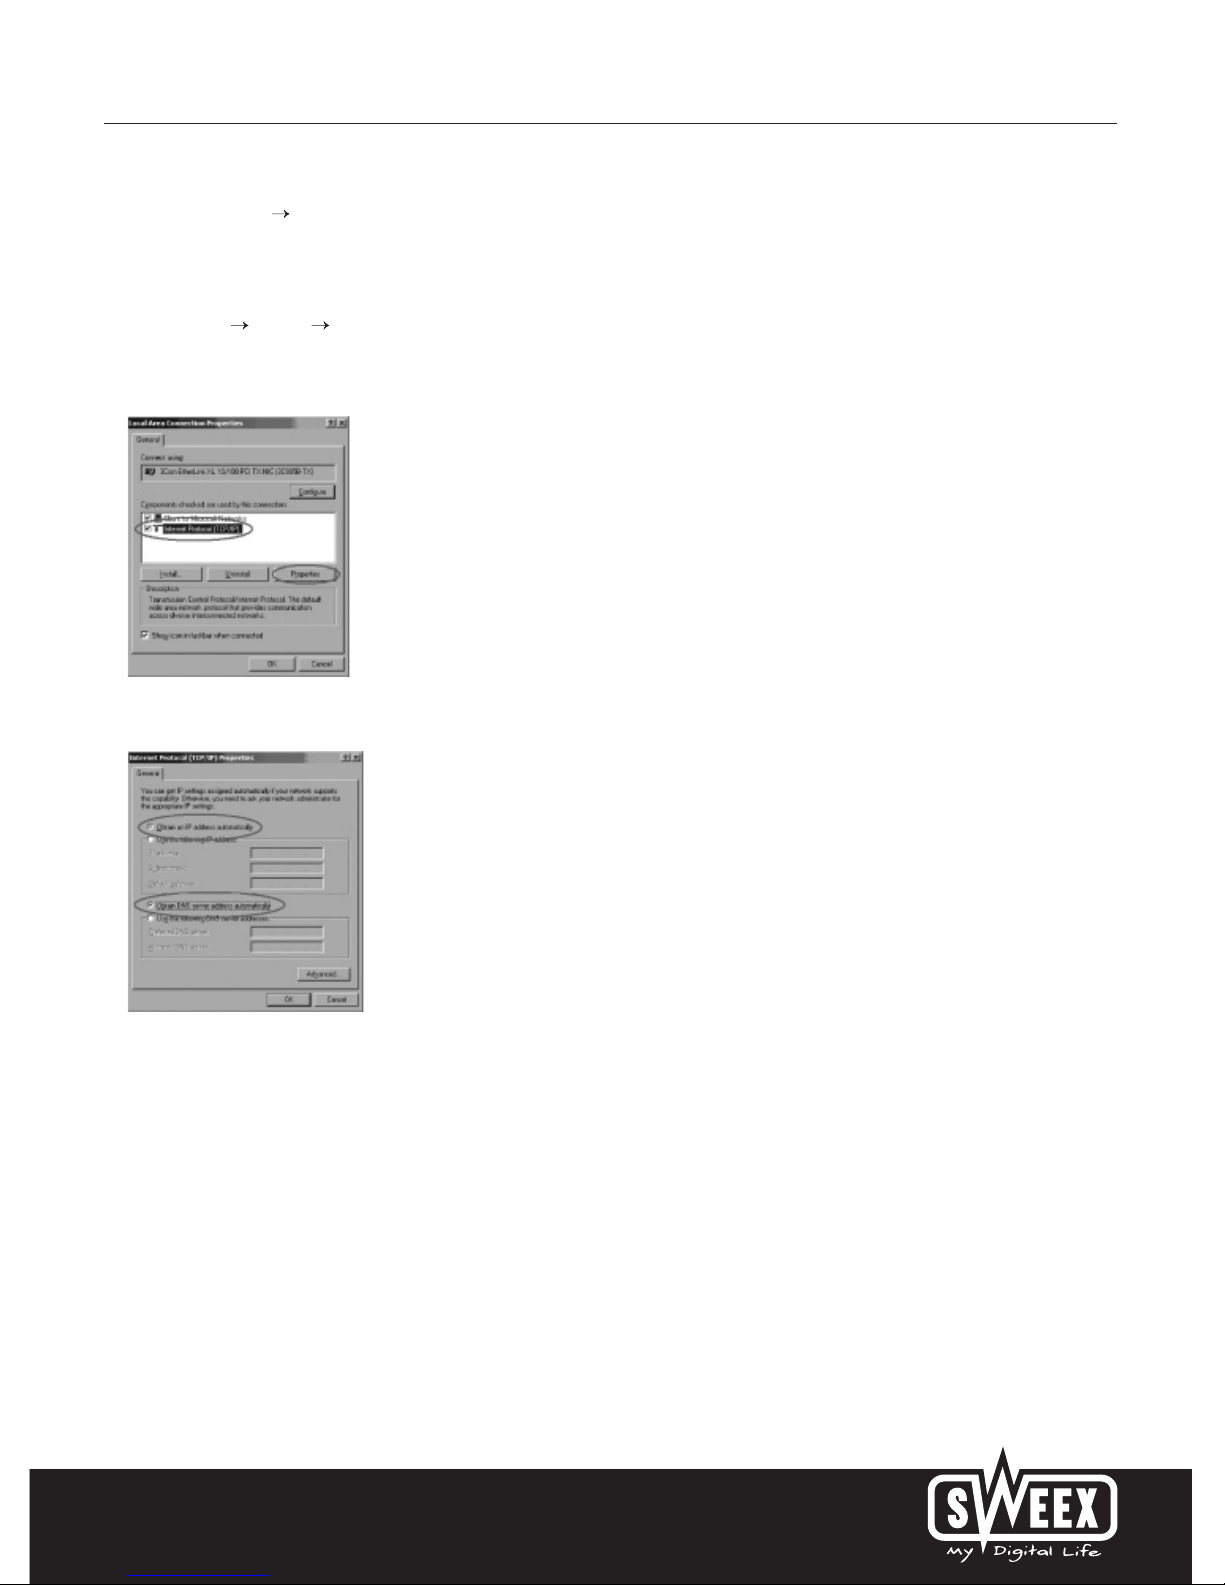
Right-click “LAN Connection” (LAN Connection) and select “Properties” (Properties). The following screen appears.
Now select “Internet Protocol (TCP/IP)” and click “Properties” (Properties).
Select the options “Obtain an IP address automatically” (Obtain an IP address automatically) and “Obtain DNS server address automatically”
(Obtain DNS server address automatically). Click “OK” (OK) twice.
The network settings for Windows 2000 have now been configured correctly. The correct settings for the Internet browser will be discussed later
in this manual.
Page 7
English version
10
Windows 98SE
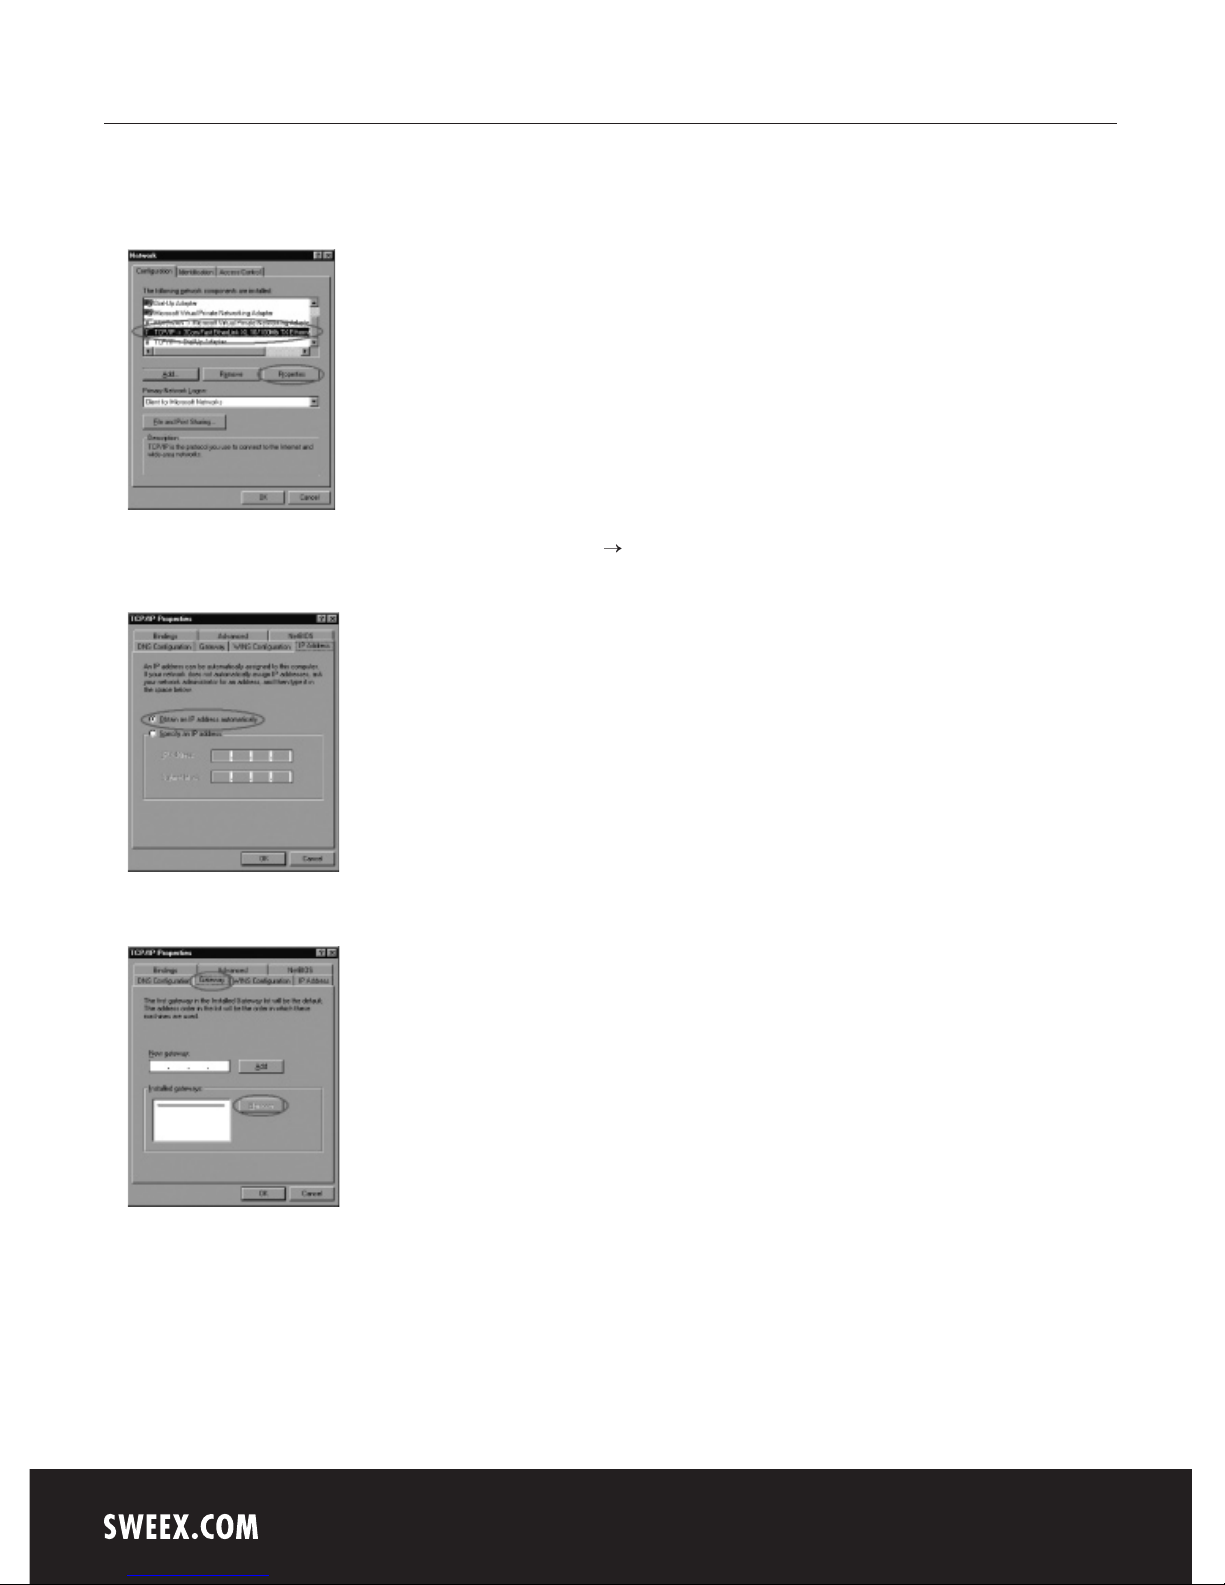
Go to “Start” (Start), “Setting” (Settings), “Control Panel” (Control Panel) and click “Network” (Network).
Under the tab “Configurartion” (Configuration), select the line “TCP/IP ” which corresponds with your network card and click
“Properties” (Properties).
Under the tab “IP Address” (IP Address), select the option “Obtain an IP address automatically” (Obtain an IP address automatically).
Under the tab “Gateway”, the list of “Installed gateways” (Installed gateways) must be empty. If so required, select each gateway and click
“Remove” (Remove).
Page 8
English version
11
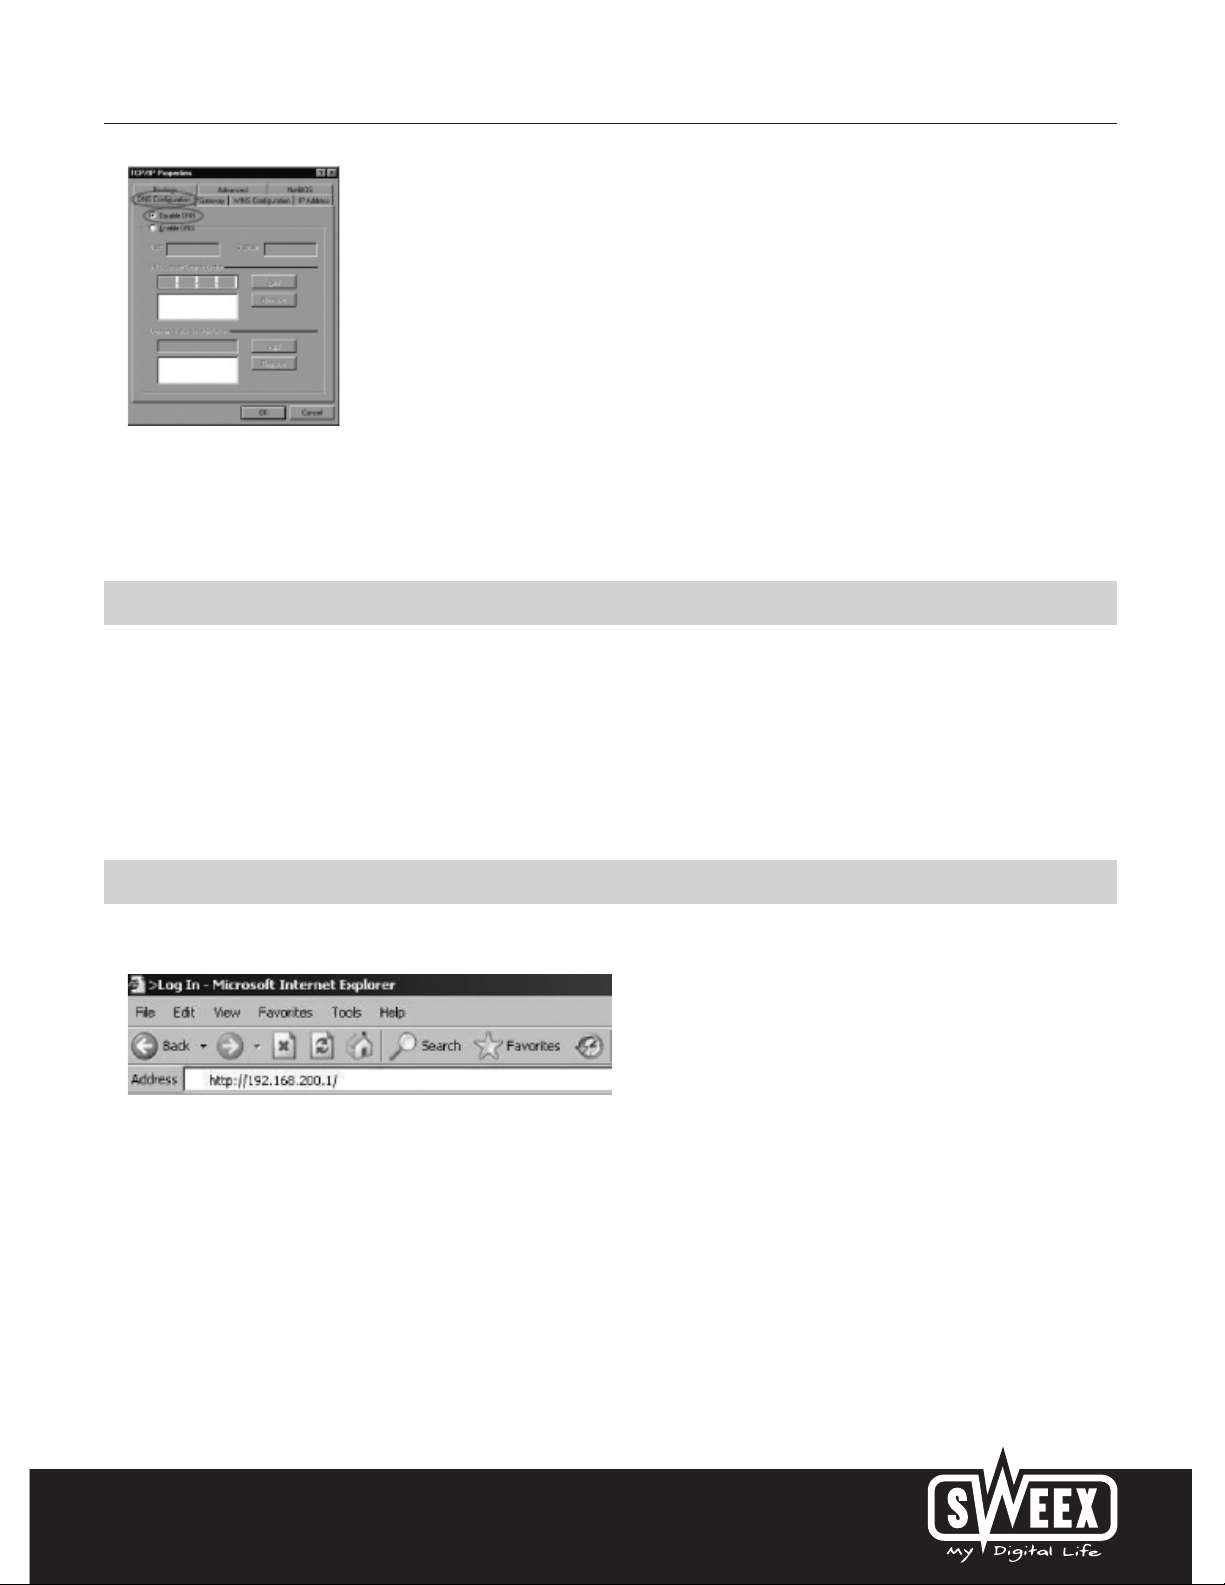
Under the tab “DNS Configuration”, select the option “Disable DNS” (Disable DNS). Click “OK” (OK) twice.
The network settings for Windows 98SE have now been configured correctly. The correct settings for the Internet browser will be discussed below.
Internet browser settings for Windows 98SE, 2000 and XP
1. In order to properly access the modem, the browser settings must be correct. This is easy to check by starting up Internet Explorer and selecting
“Tools” (Tools) from the menu bar and then selecting the option “Internet Options” (Internet Options).
2. In this window, go to “Connections” (Connections) and select “Never dial a connection” (Never dial a connection) or remove all connections
listed in the field above.
3. At the bottom, click “LAN Settings” (LAN Settings), remove all ticks and click “OK” (OK).
4. Restart the computer.
Modem access (Login)
Open your web browser. In this example we use ‘Internet Explorer’.
The standard modem IP address is: 192.168.200.1. An IP address is a unique number required by each network device, including a computer
or modem, in order to be active within that network. Without an IP address you are unable to make connections within a network.
Type the modem IP address 192.168.200.1 in the browser address bar. You can now access the modem.
Page 9
English version
12
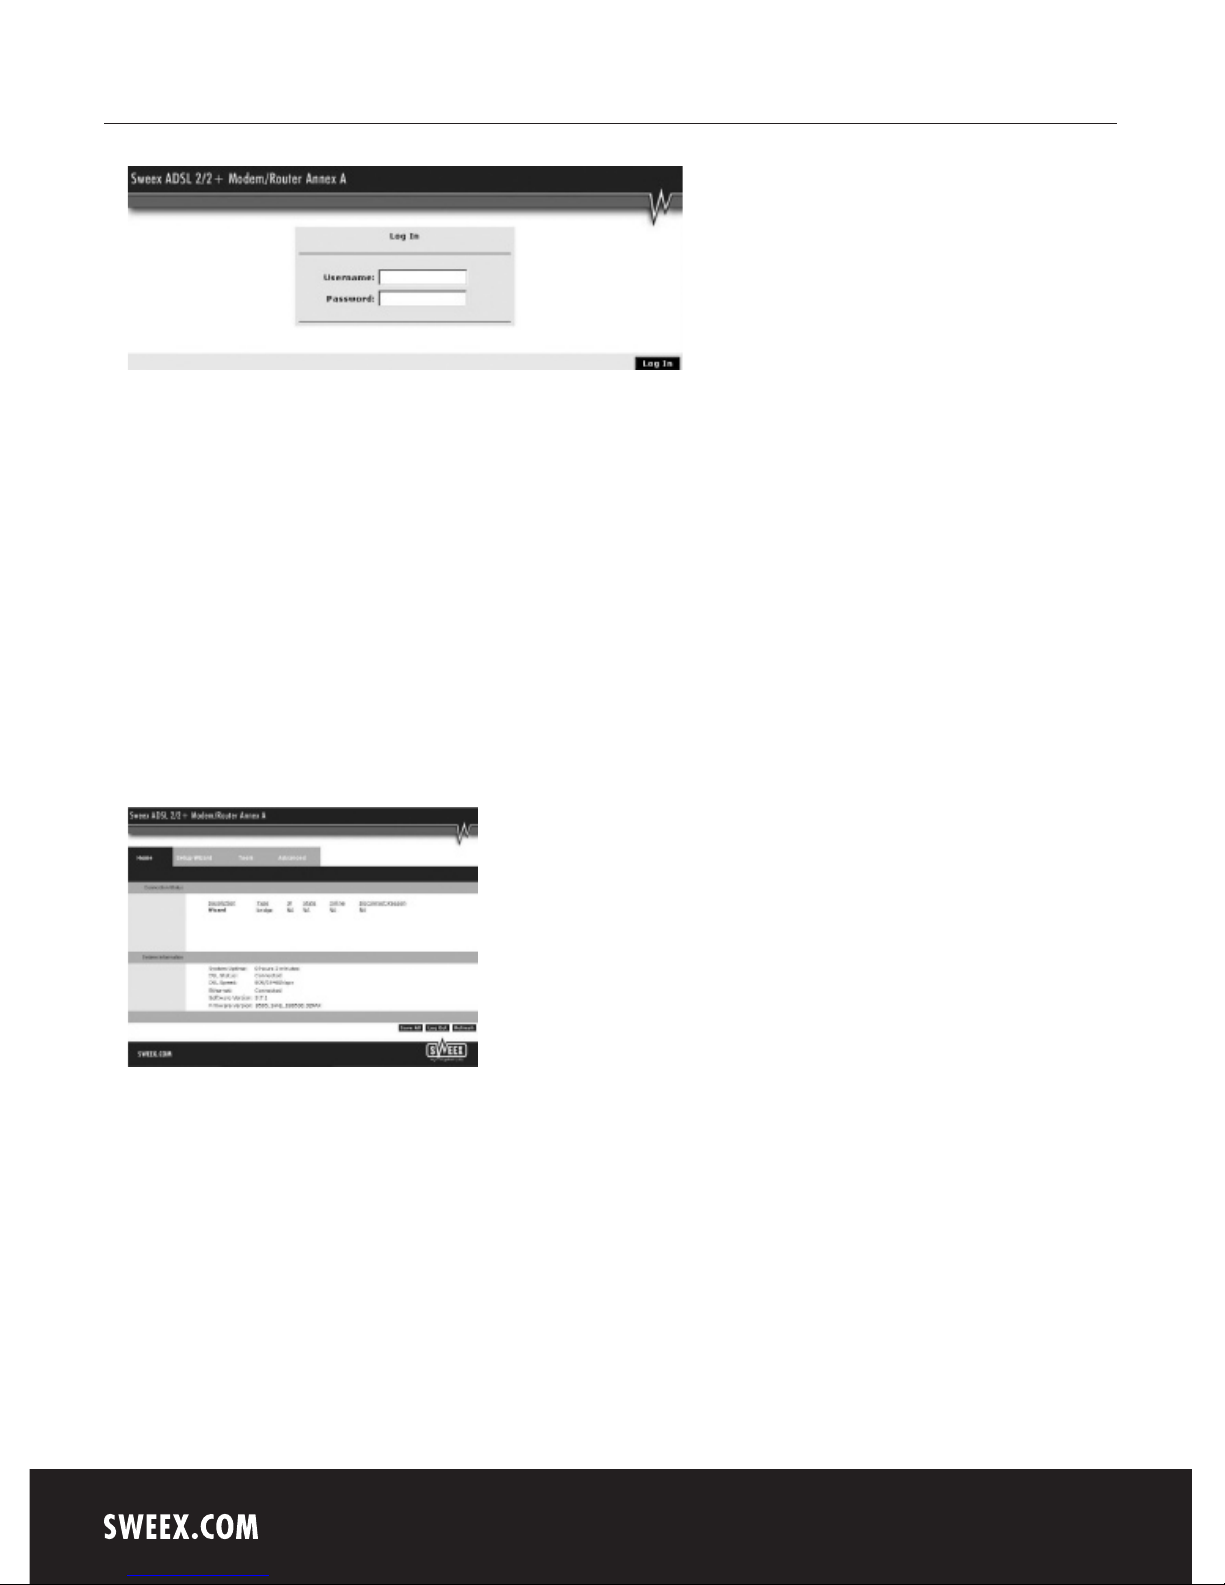
The modem login screen appears. Fill out the login name and the corresponding password. The standard login is “sweex” and the corresponding
password is “mysweex”.
If this login screen fails to appear, recheck the settings of your Internet browser as described above. Also check the IP address of your computer.
In this IP address, only the digits after the last dot may deviate from the IP address of the modem (e.g.: 192.168.200.xxx). Do this as follows:
Win2000/WinXP: Click “Start” (Start) - “Run” (Run)- Type cmd - press ENTER- In the black window type ipconfig - press ENTER and your IP
address is displayed.
Win98/Me: Click “Start” (Start) - “Run” (Run) - Type winipcfg - press ENTER. In the window, select your network adaptor. (Usually NOT the
ppp adaptor) and your IP address is displayed.
Once logged in, the main screen of the modem appears.
This screen displays the current Internet connection and a variety of system information.
Page 10
English version
13
Setting the Internet Provider (ISP)
In order to facilitate the installation process, the Sweex ADSL 2/2+ Modem/Router Annex A disposes of a pre-programmed list of
provider settings.
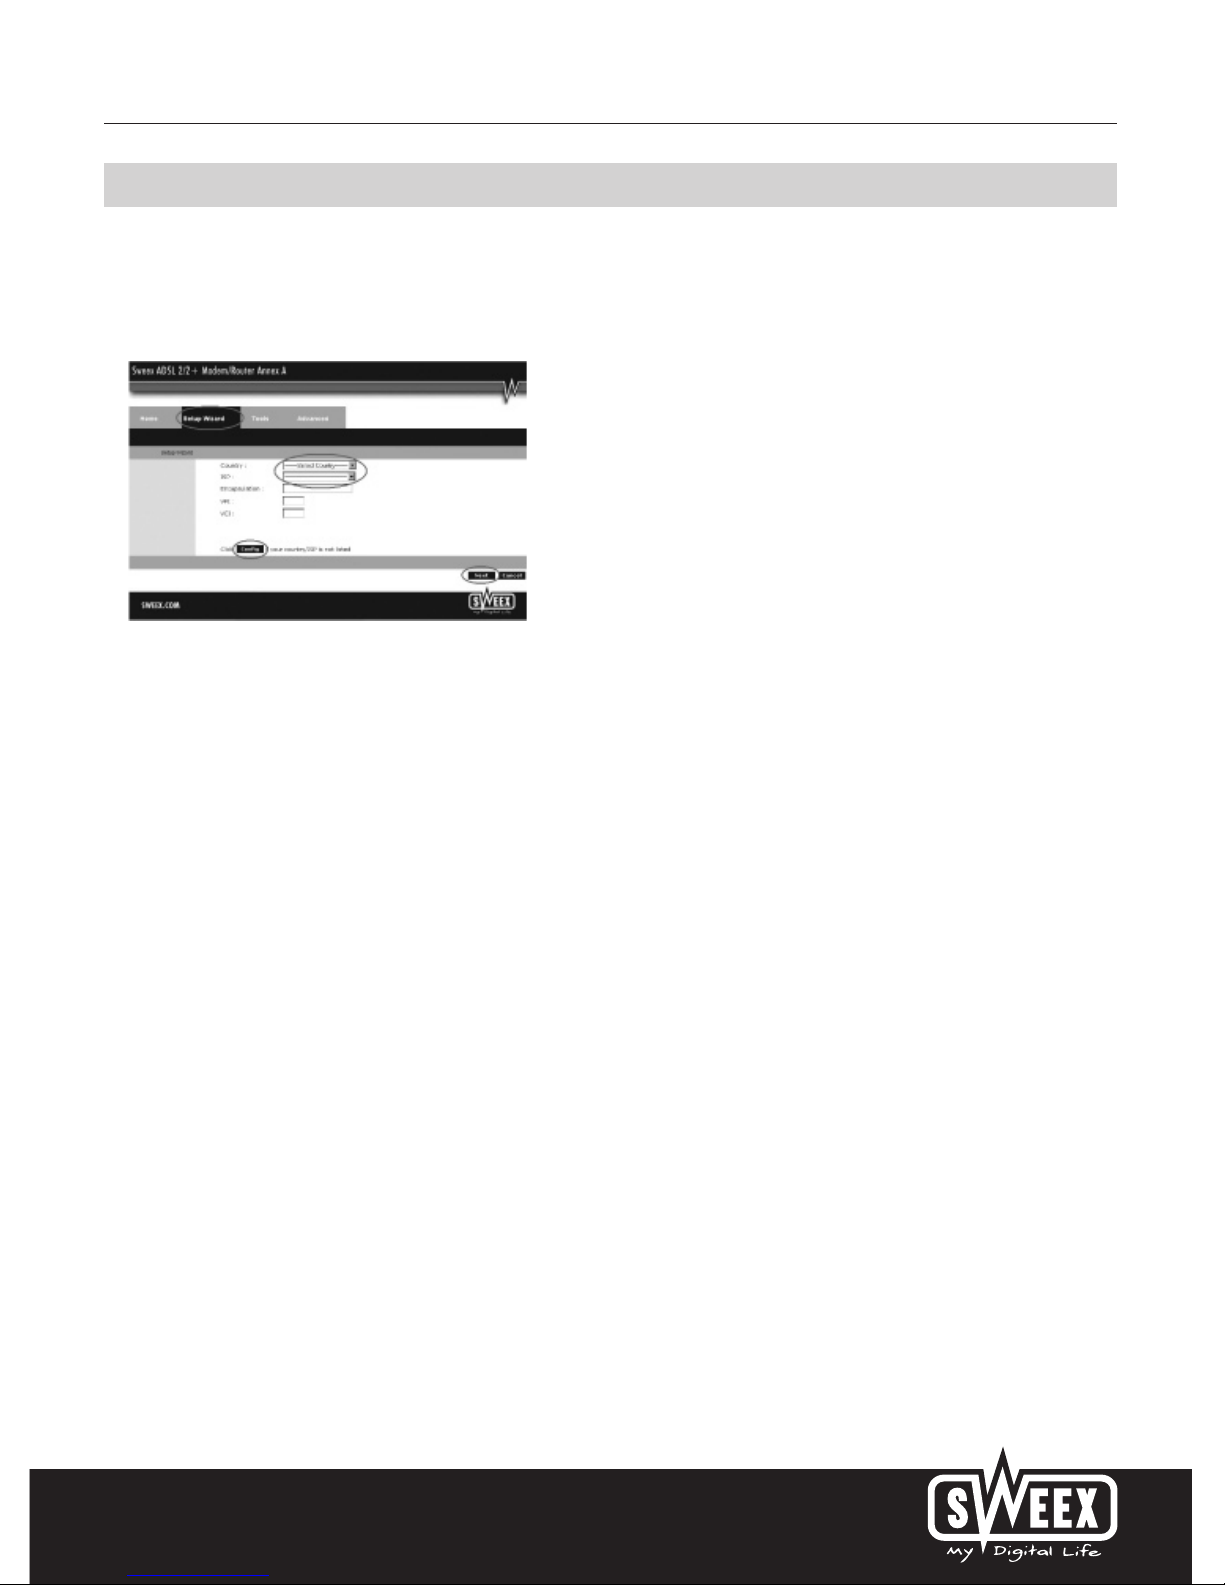
To this end, go to the “Setup Wizard”. The following screen appears:
Under “Country” select the appropriate country and under “ISP”, select the corresponding Internet Provider. The modem will now automatically
complete the settings. Then click “Next”. After this, some Internet providers require a user name and password to be filled out. Check this with the
list of providers further down in this manual or with the details you received from your Internet provider. Alternatively, contact your Internet provider.
Click “Apply” to store and activate the settings.
In order to check whether the settings for your provider have been entered correctly, click “Home”. In the line underneath “Connection Status”, you
can check the “State” of your Internet connection. “Connected” indicates that the connection with your provider has been set up successfully. You
can now surf the Internet.
In the event that your provider has not been listed, you can enter alternative settings via the “Config” option. In order to obtain these alternative
settings, contact your Internet provider. In order to store the settings click “Apply” and then “Save All”. Subsequently, in the next window, click
“Apply” once more.
Page 11
English version
14
Opening ports in the modem (Port Forwarding and DMZ)
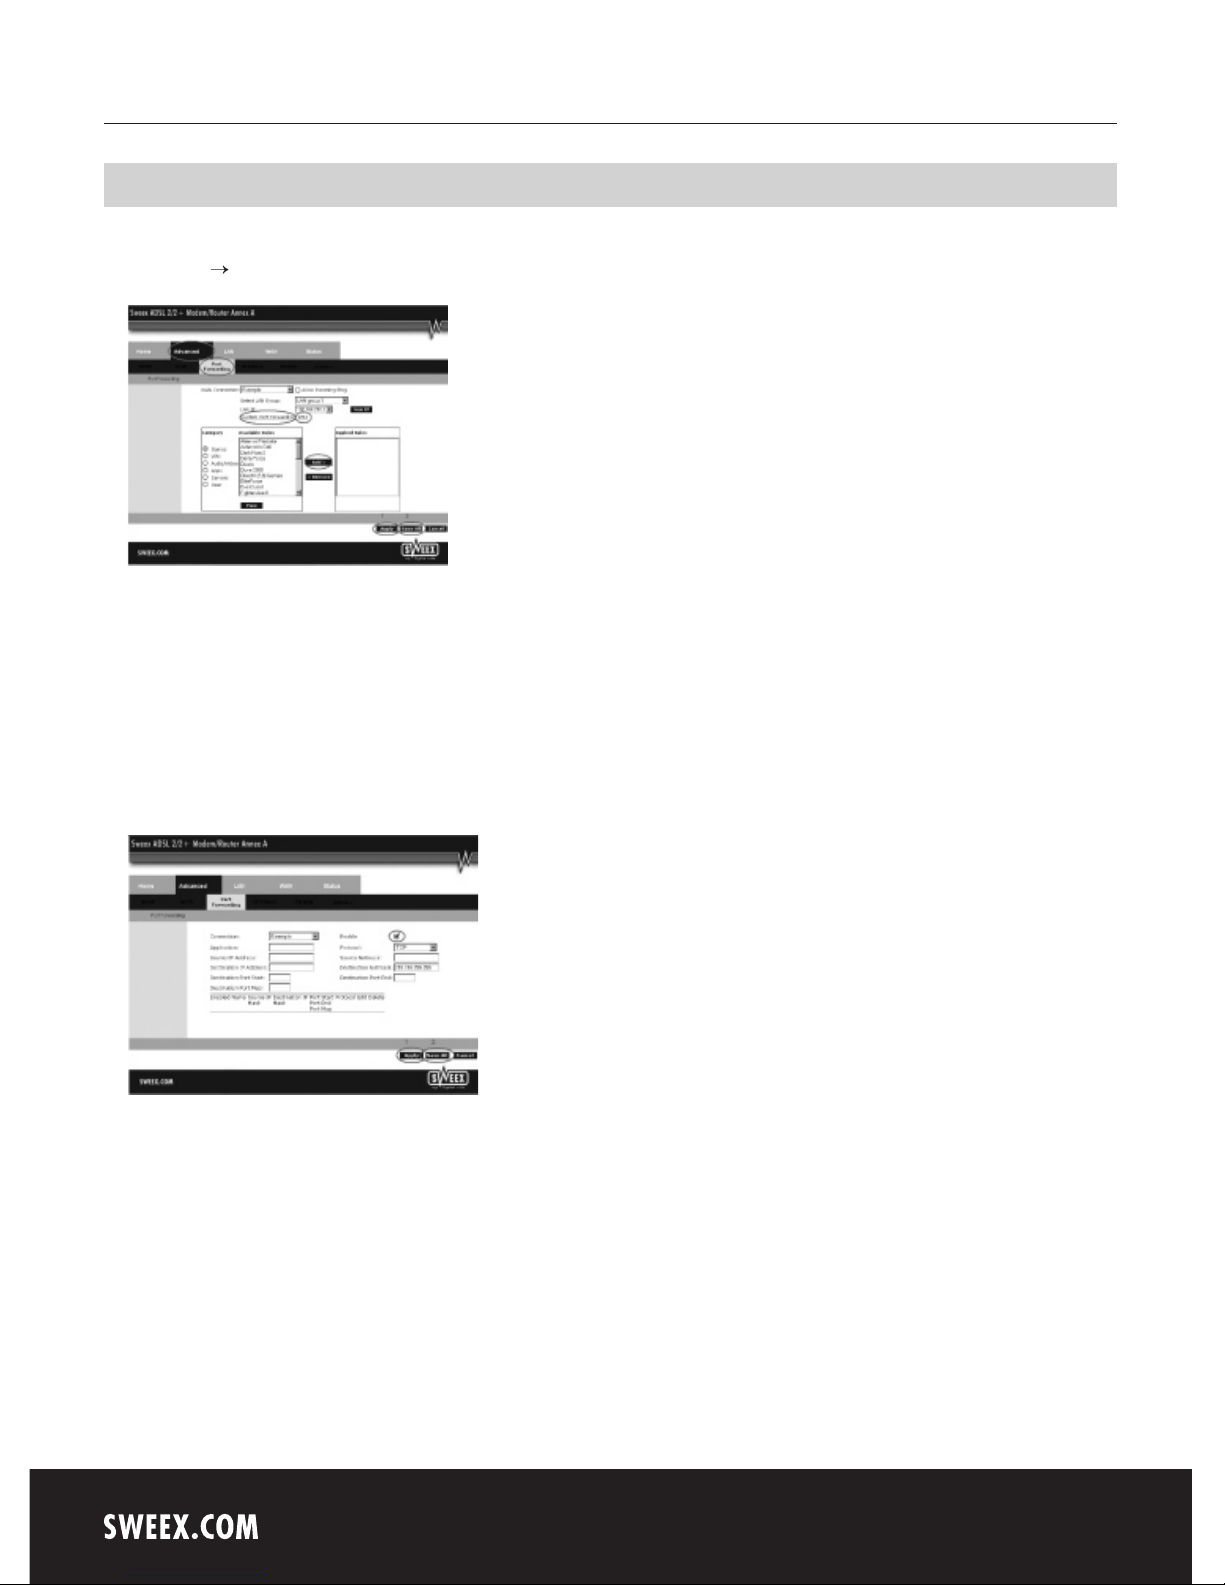
The built-in firewall in this modem cannot be disabled. However, ports can be opened for programmes and games which require this. Go to
“Advanced” “Port Forwarding” to change the port settings.
Here too the Sweex ADSL 2/2+ Modem/Router Annex A offers a pre-programmed list with common programmes and games.
Under “Category”, first select the type of programme. Now select the programme or the game from the list and click “Add >”.
If the programme or game is not listed, ports can also be opened manually. To this end, go to “Custom Port Forwarding”.
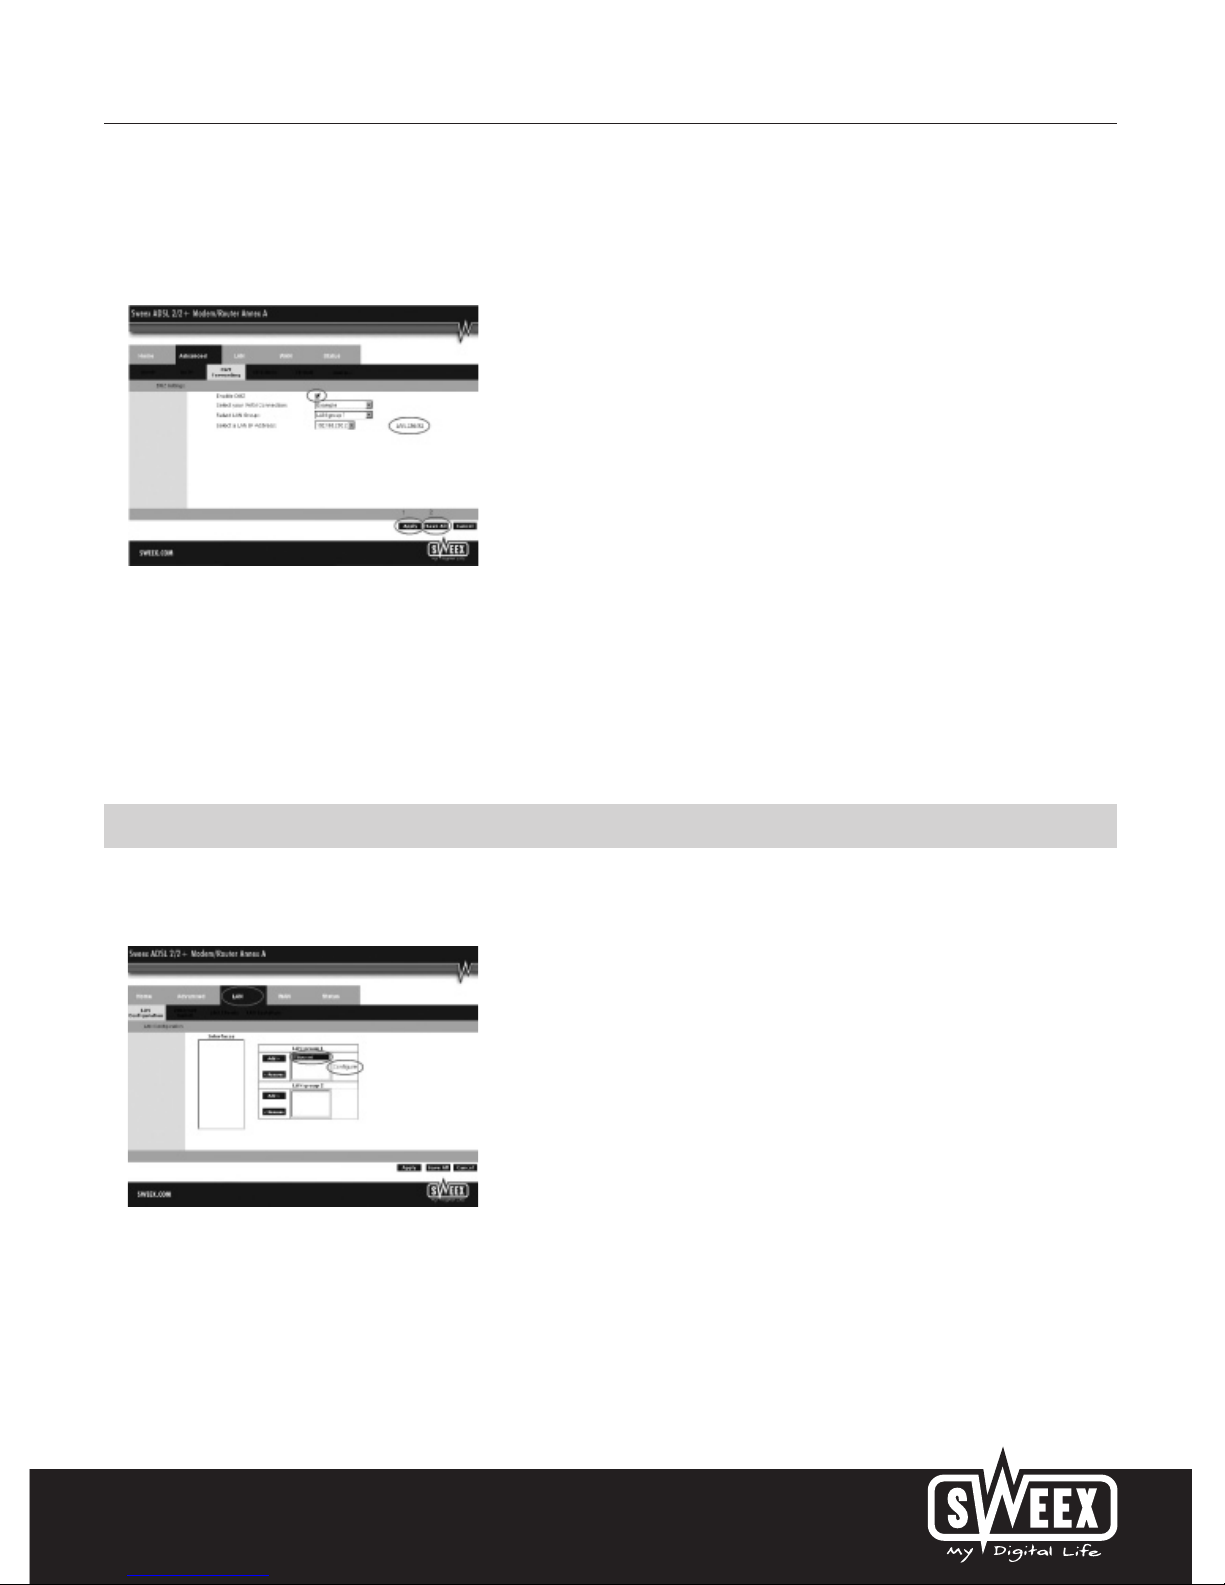
The following screen appears:
Here enter the details which the programme or game requires. For “Source IP Address” and “Source Netmask” enter 0.0.0.0.
At “Destination IP Address”, enter the IP address of the computer for which you want to open the ports.
At “Destination Port Start” and “Destination Port End”, enter the range of ports which you want to open. At “Destination Port Map”,
enter the first port of your range. If you want to open a single port only, you enter this for all three boxes.
In order to store the settings click “Apply” and then “Save All”. Subsequently, in the next window, click “Apply” once more.
Page 12
English version
15
In some instances, or when a game console is used, you may opt to place a computer or game console entirely outside the firewall. This can be
done in the so-called “demilitarized zone” (“DMZ”). This option can be found in the main screen of the port settings (“Port Forwarding” under
“Advanced”.) Note however, you no longer take advantage of the protection offered by the firewall of the router. All ports to the computer placed in
the DMZ are open. Only a single computer can be placed in the DMZ.
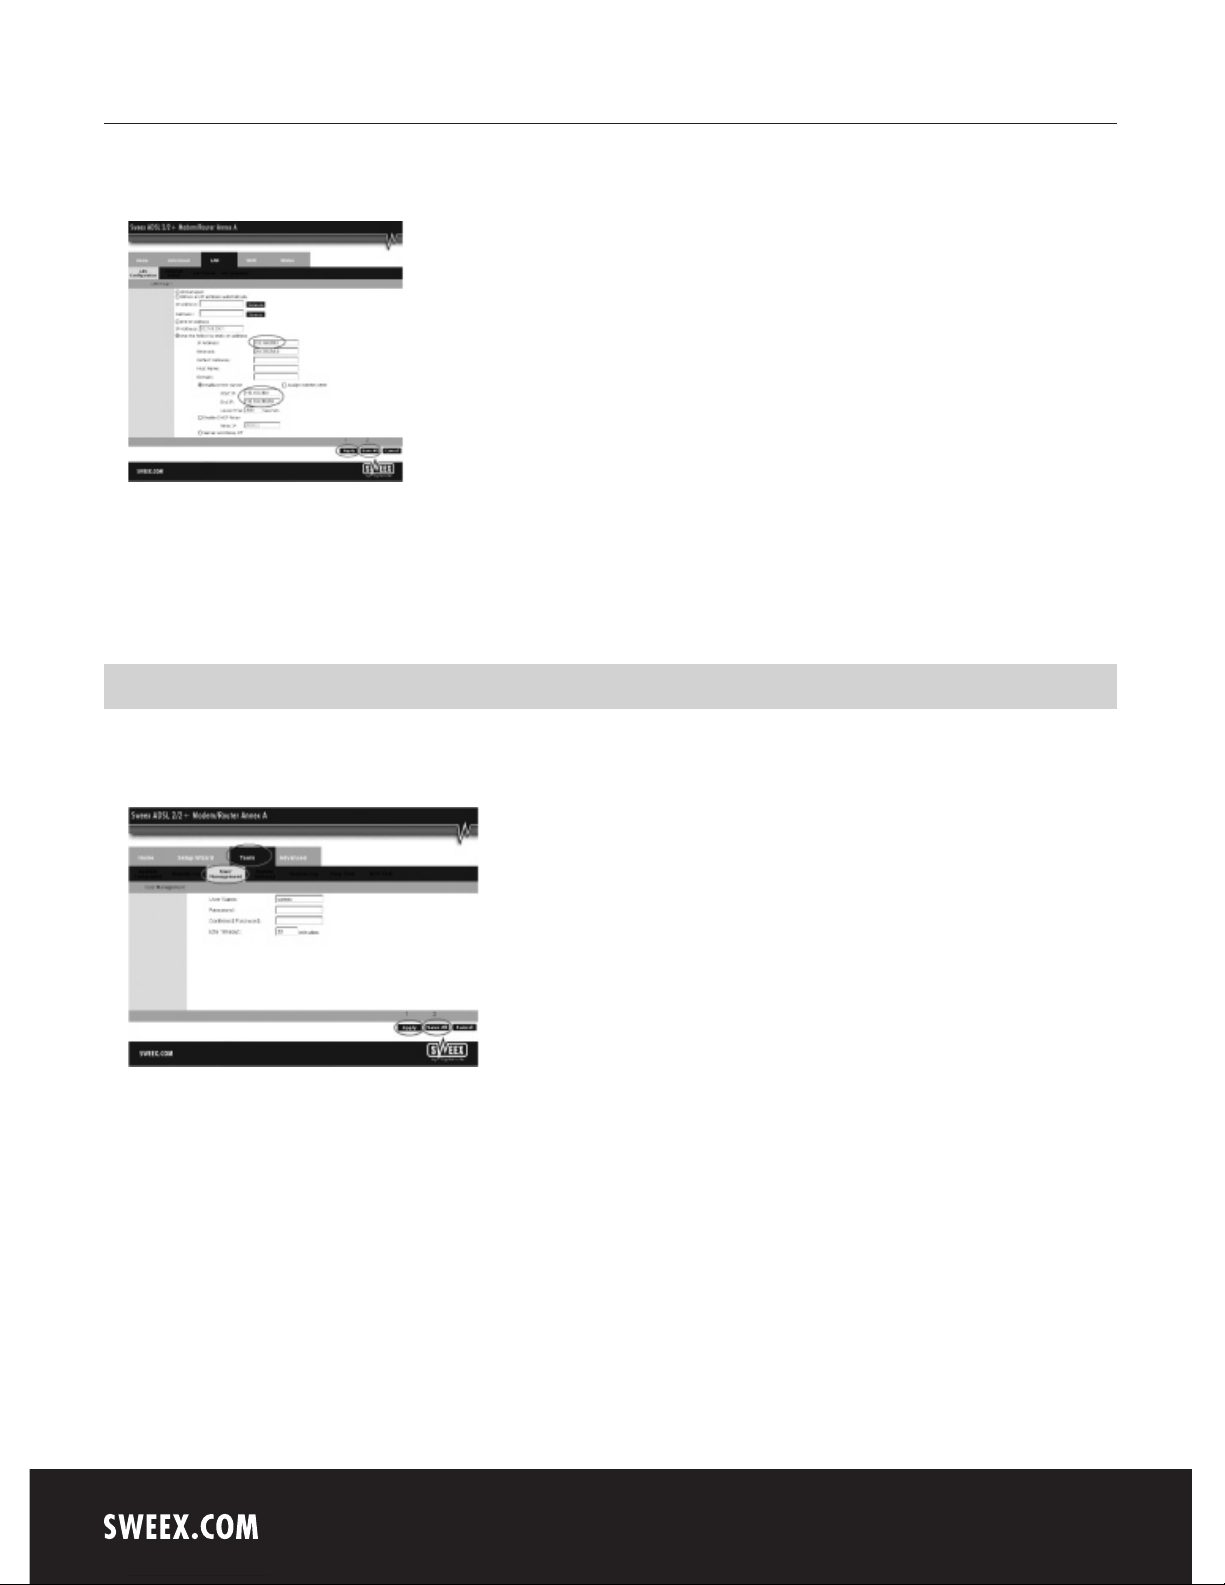
Here tick the option “Enable DMZ”. Subsequently, under “Select your WAN Connection” select your Internet connection. By clicking “LAN Clients”
a window will be opened, listing the computers for which the modem has assigned IP addresses.
In order to store the settings click “Apply” and then “Save All”. Subsequently, in the next window, click “Apply” once more.
Where to find the IP address of the computer? Click here for an explanation.
LAN settings
The network settings (LAN) can be changed as follows. In the main window, go to “Advanced”. The option “LAN” is displayed next to it. Select this
option. The following screen appears:
Select “Ethernet” and click “Configure”.
Page 13
English version
16
The following screen appears:
Under “IP Address”, the following is stated: the IP address of the modem (192.168.200.1). By changing the number here, the IP address of the modem
changes. Note! When you assign the modem a new IP address, the “Start IP” and “End IP” of the DHCP server must be changed to reflect that range.
In order to store the settings click “Apply” and then “Save All”. Subsequently, in the next window, click “Apply” once more.
Changing the password (User Management)
The standard login of the Sweex ADSL 2/2+ Modem/Router Annex A can be changed; in the main window select “Tools” and go to “User
Management”.
Here, under “User name”, you can choose a different login name and under “Password” the corresponding “Password”. Repeat this password under
“Confirmed Password”.
Note! If you want to reactive the standard login again, the modem must be reset to the standard factory settings.
In order to store the settings, click “Apply” and then “Save All”. Subsequently, in the next window, click “Apply” once more.
Page 14
English version
17
Remote modem management (Web Access Control)
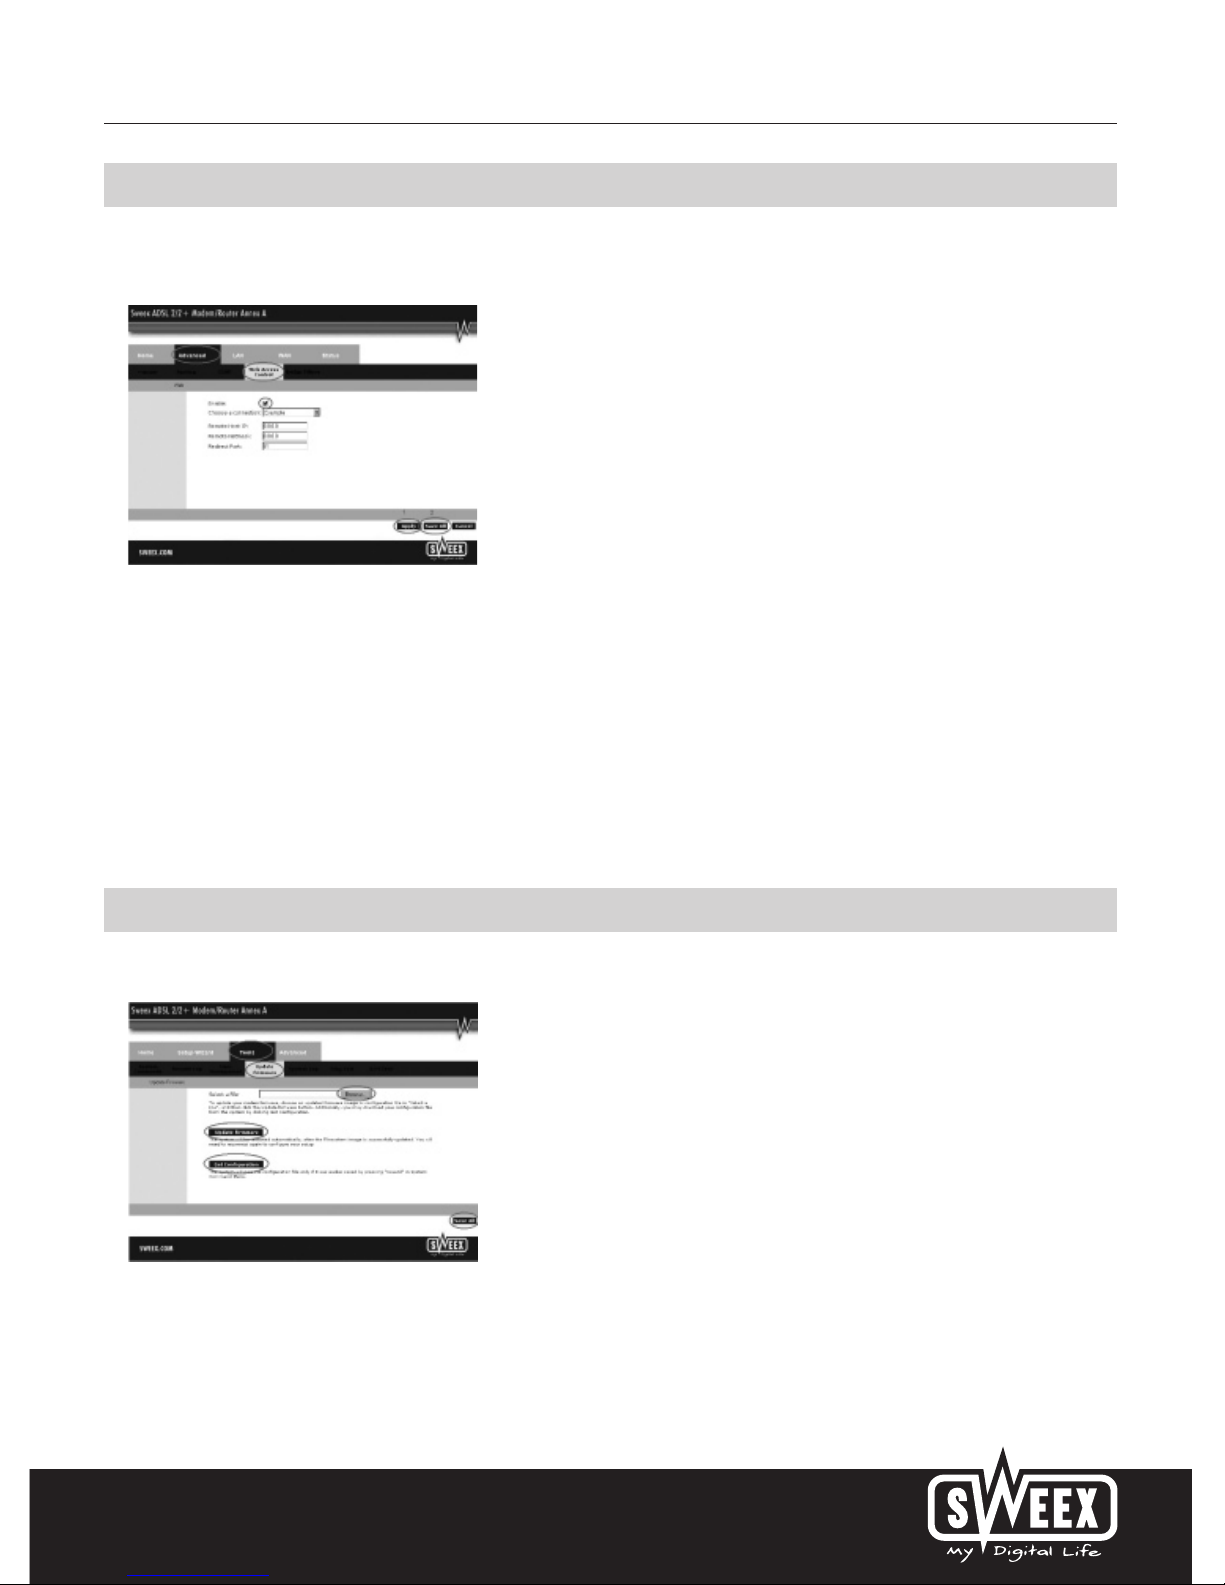
The Sweex ADSL 2/2+ Modem/Router Annex A also offers a remote management feature. This means that the modem can be configured from
another location, via the Internet. In the menu, click “Advanced” and then click “more→”. Now click “Web Access Control”.
Activate this feature by ticking “Enable”. Now choose your Internet connection under “Choose a connection”. State the IP address (“Remote Host
IP:”) and subnet masker (“Remote Netmask:”) for the location from which you wish to configure the modem or leave this value as 0.0.0.0,
enabling any location (provided you know the password.) As “Redirect Port” we recommend value 81. Now access the modem by adding :81 at the
end of IP address (http://[your IP address]:81).
In order to store the settings click “Apply” and then “Save All”. Subsequently, in the next window, click “Apply” once more.
Note! When enabling “Web Access Control”, we recommend changing the standard user name and password (see: Changing the Password”) in
order to prevent unauthorised use of the modem.
Upgrading the firmware of the modem (update firmware)
In order to provide the modem with updates, the so-called ‘firmware’ needs updating. In the menu, go to “Tools” and select “Update firmware”.
Page 15

English version
18
Here the firmware of the modem can be updated. New firmware can be downloaded from the Sweex website under ”Service en support”.
If the firmware file is zipped, make sure you select and extract the file first on a location in your computer where you can retrieve it easily.
Now click “Browse” and select the extracted firmware file. In many cases the name of this file will end in “...firmware.update.img”.
In order to start the firmware update, click “Update Firmware”. Do not interrupt this procedure. This may harm the modem. Wait for the upgrade
to be completed. The bar will have filled up and the connection between the computer and the modem will be momentarily interrupted. Reset the
modem. Subsequently, log into the modem to check the new “Firmware Version” in the “Home” window.
With the “Get Configuration” button you can view the current settings of the modem. However, to this end you first need to press the “Save All”
button to ensure the settings are properly stored in the modem. In order to reload this file in the modem, locate the file via the “Browse” button.
Now click “Update Firmware”.
Resetting the Modem to its factory settings
The Sweex ADSL 2/2+ Modem/Router Annex A can be reset to its factory settings in two different ways.
Note! After this, all settings which apply to your connection and network need to be reconfigured. After the reset, the modem will restart. During
start-up, the factory settings are reloaded and the computer will lose connection with the modem for around 30 seconds. After this, the modem can
be accessed via the standard IP address (192.168.200.1).
• The reset button is located on the side of the modem. Use a thin item to press the button. Press and hold the button for 15 seconds.
• In the menu of the modem go to “Tools”. You will be automatically led to “System Commands”. Click “Restore Defaults” and “OK” to confirm.
Additional tips and further explanation to the remaining functions of the modem can be found in the English manual on the CD-ROM.
Page 16

English version
19
List of Internet Providers and corresponding subscriptions
Planet Economy ADSL KPN Mxstream
Standard ADSL KPN Mxstream
Comfort ADSL KPN Mxstream
Advanced ADSL KPN Mxstream
Hetnet Instap Surfen ADSL KPN Mxstream
Voordeel Surfen ADSL KPN Mxstream
Surfen ADSL KPN Mxstream
XS4all ADSL Start ADSL KPN Mxstream
ADSL Lite ADSL KPN Mxstream
ADSL Basic ADSL KPN Mxstream
ADSL Fast ADSL KPN Mxstream
ADSL Power Bbned Economy
Tiscali Start BabyXL
Go ADSL KPN Mxstream
Smart BabyXL
Special BabyXL
Surf BabyXL
Lite ADSL KPN Mxstream
Family BabyXL
Live BabyXL
Netaffairs Start ADSL KPN Mxstream
Lite ADSL KPN Mxstream
Plus ADSL KPN Mxstream
Super ADSL KPN Mxstream
Freeler Light ADSL KPN Mxstream
Comfort ADSL KPN Mxstream
Advanced ADSL KPN Mxstream
HCCNet Start ADSL KPN Mxstream
Lite ADSL KPN Mxstream
Basic ADSL KPN Mxstream
Plus ADSL KPN Mxstream
Small BabyXL
Medium BabyXL
Large BabyXL
X Large BabyXL
XX Large BabyXL
ADSL Pro 250 Bbned Economy
ADSL pro 500 Bbned Economy
Page 17

English version
20
ADSL pro 1 Bbned Economy
ADSL Pro 2 Bbned Economy
ADSL pro 8 Bbned Economy
Wanadoo Direct Bbned Economy
Go ADSL KPN Mxstream
Lite ADSL KPN Mxstream
Basic ADSL KPN Mxstream
Plus ADSL KPN Mxstream
Family (Wanadoo)
Zonnet/Versatel/Tele2 ADSL Budget PPP Versatel/Tele2 PPP
ADSL Family PPP Versatel/Tele2 PPP
ADSL Plus PPP Versatel/Tele2 PPP
ADSL Budget DHCP Versatel/Tele2 DHCP
ADSL Family DHCP Versatel/Tele2 DHCP
ADSL Plus DHCP Versatel/Tele2 DHCP
Demon DSL Express 512 Bbned Economy
DSL Express 1024 Bbned Economy
DSL Express 2048 Bbned Economy
DSL Express 4096 Bbned Economy
DSL Express 8192 Bbned Economy
Flexpress 1536 BabyXL
Flexpress 3072 BabyXL
Flexpress 6016 BabyXL
Compuserve Direct ADSL ADSL KPN Mxstream
GO ADSL KPN Mxstream
Lite ADSL KPN Mxstream
Basic ADSL KPN Mxstream
Extra ADSL KPN Mxstream
ADSL 512 BabyXL
ADSL 5120 BabyXL
ADSL 3072 BabyXL
ADSL 5120 BabyXL
ADSL 8064 BabyXL
SpeedXS Quick Bbned Economy
Fast Bbned Economy
Ultra Bbned Economy
Extreme Bbned Economy
Speedlinq All-In 384 BabyXL
All-In 1024 BabyXL
All-In 2048 BabyXL
Page 18

English version
21
All-In 4096 BabyXL
All-in 5120 BabyXL
X-tra 256 Bbned Economy
X-tra 1024 Bbned Economy
X-tra 2048 Bbned Economy
X-tra 4096 Bbned Economy
X-tra 8192 Bbned Economy
Comfort 800 ADSL KPN Mxstream
Comfort 1600 ADSL KPN Mxstream
Comfort 3200 ADSL KPN Mxstream
Comfort 8000 ADSL KPN Mxstream
Scarlet 512/256 BabyXL
1024/512 BabyXL
2048/1024 BabyXL
8000/1024 BabyXL
BBeyond Economy 512 Bbned Economy
Economy 1024 Bbned Economy
Economy 2048 Bbned Economy
Economy 8912 Bbned Economy
Eweka Lite Bbned Economy
Basic Bbned Economy
Deluxe Bbned Economy
Premium Bbned Economy
Fast-XS Basic Bbned Economy
Plus Bbned Economy
Fast Bbned Economy
Extreme Bbned Economy
ADSL KPN MXSTREAM-Direct Go ADSL KPN Mxstream
Lite ADSL KPN Mxstream
Basic ADSL KPN Mxstream
Extra ADSL KPN Mxstream
My-Com MyMax Bbned Economy
MyMega Bbned Economy
MyGiga Bbned Economy
Quicknet Small BabyXL
Medium BabyXL
Large BabyXL
X-Large BabyXL
XX-Large BabyXL
Page 19

English version
22
Solcon Lite ADSL KPN Mxstream
Basic ADSL KPN Mxstream
Extra ADSL KPN Mxstream
Connect 512/256 Bbned Economy
Connect 1024/512 Bbned Economy
Connect 2048/1024 Bbned Economy
Connect 8192/1024 Bbned Economy
Surfnet ADSL 512 Bbned Economy
ADSL 1024 Bbned Economy
ADSL 8192 Bbned Economy
Tele2 Basis ADSL KPN Mxstream
Plus ADSL KPN Mxstream
Super ADSL KPN Mxstream
Telebyte Personal ADSL 512 BabyXL
Personal ADSL 512 Bbned Economy
Personal ADSL 1024 BabyXL
Personal ADSL 1024 Bbned Economy
Personal ADSL 2048 BabyXL
Personal ADSL 2048 Bbned Economy
Personal ADSL 8192 BabyXL
Personal ADSL 8192 Bbned Economy
TeleXS Lite Budget ADSL KPN Mxstream
Lite ADSL KPN Mxstream
Basic ADSL KPN Mxstream
Extra ADSL KPN Mxstream
TMFweb Sonic 512 BabyXL
Sonic 1024 BabyXL
Sonic 2048 BabyXL
Sonic 8192 BabyXL
TweakDSL Light Bbned Economy
SurfDSL Bbned Economy
ProDSL Bbned Economy
UltraDSL Bbned Economy
12MOVE ADSL 2MB BabyXL
ADSL 3MB BabyXL
ADSL 8MB BabyXL
Belgacom Skynet, Euphonynet ADSL Belgacom
Page 20

English version
23
Warranty
All products under the Sweex brand are warranted for a period of three years. We do not grant support or warranties for any software and/or
(rechargeable) batteries included. Settlement of guarantee only takes place via the dealer where you have purchased the product in question.
The rightful owner has and retains title to all brand names and related rights mentioned in this manual.
GPL source code
This Sweex product includes a software code developed by third parties, including a software code that is subject to the GNU General Public License
("GPL") or GNU Lesser General Public License ("LGPL").
Most users do not need the GPL source codes at all. It is only required during programming in order to alter the code. The GPL source codes are
listed on our website.
 Loading...