

SWEEX MM008V2 - QUICK_START_GUIDE, MM008 Quick Start Manual
Quick Start Guide
Sweex MM008 7” Digital Photo Frame
Before installation
Before you can start using the photo frame, the following steps are required:
1. Slide the included desk stand into the back of the frame
2. Peel off the protective screen coating
3. You can now plug in the power adapter and start using the photo frame!
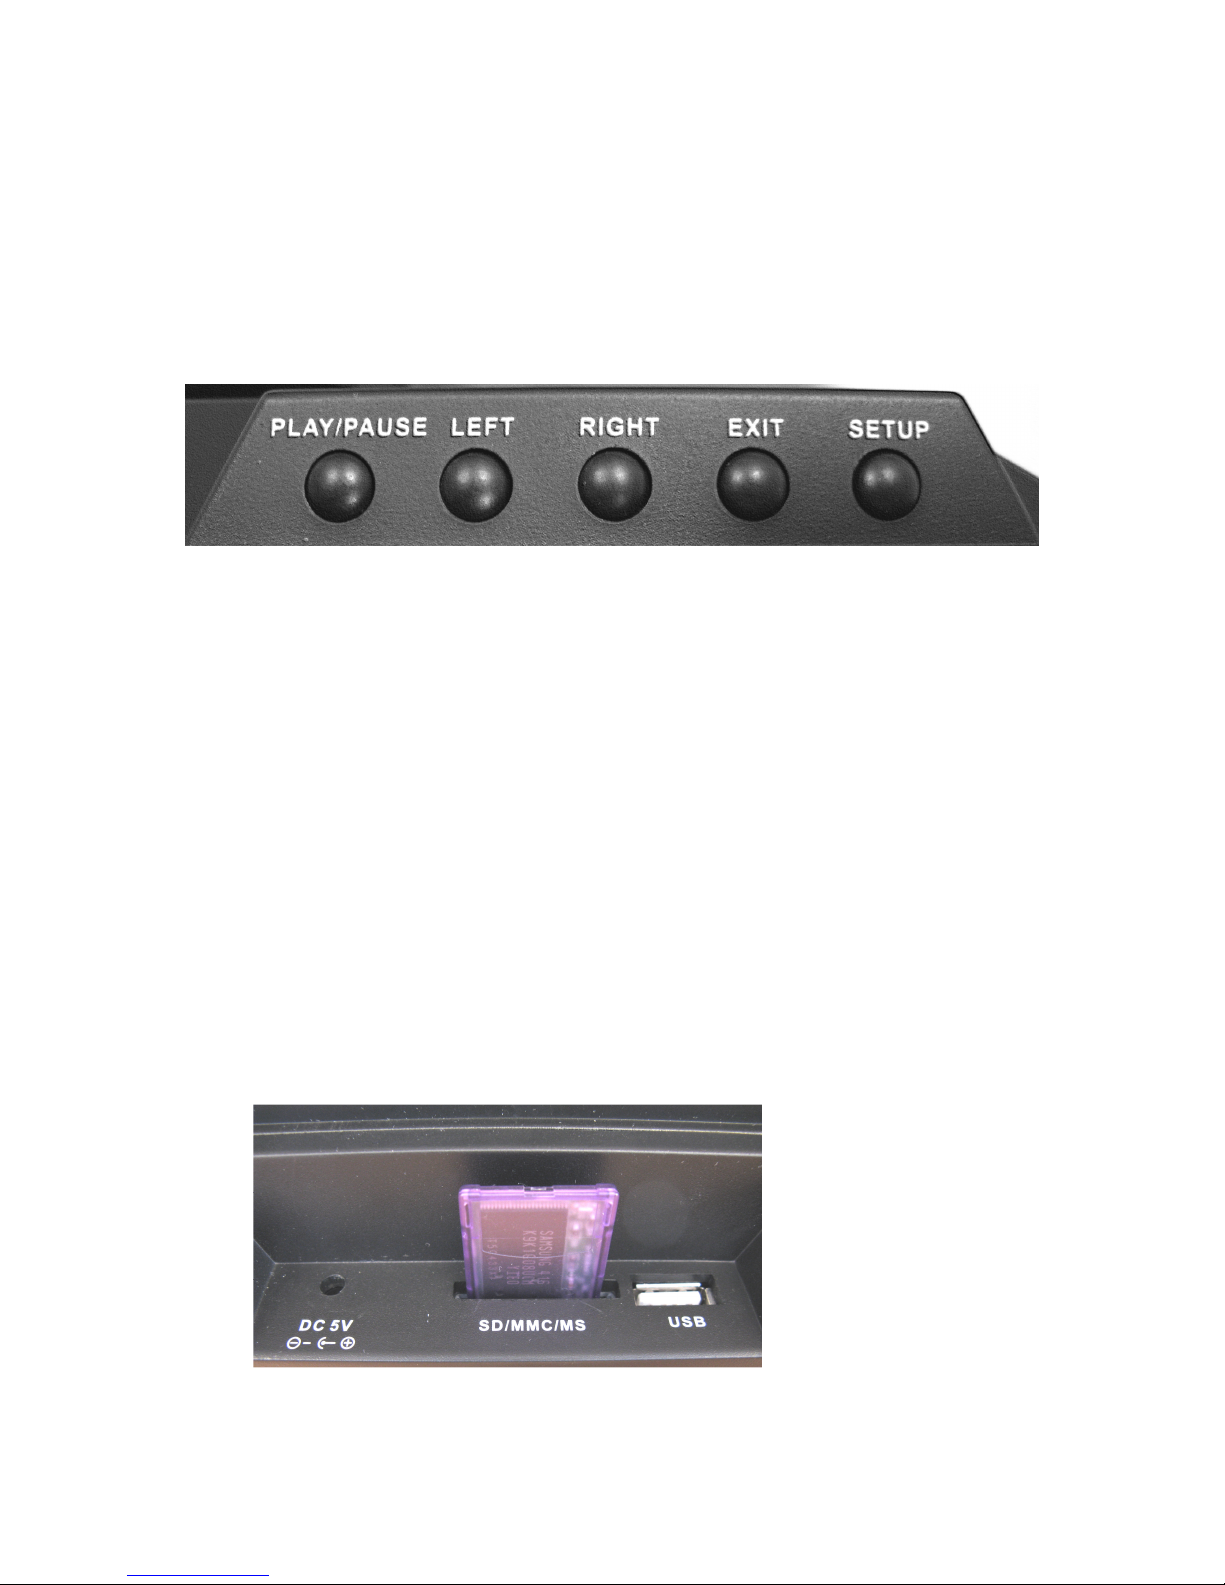
Buttons
The Photo Frame has five buttons, located at the top of the frame:
• PLAY/PAUSE This button lets you pause or resume the slideshow or go to
slideshow mode. When in a menu, the play/pause button
activates the selected option.
• LEFT / RIGHT These buttons let you navigate menus and change pictures when
in a paused slideshow.
• EXIT This button lets you go up a level in a menu and when in
slideshow mode, the exit button will bring you to thumbnail mode
and from thumbnail mode to the source selection screen.
• SETUP When playing back a slideshow, this button is inactive. In a
paused slideshow, it will bring up the photo menu. In thumbnail
mode, it will bring up the system menu.
Usage
• When the frame is powered on, it will automatically play back images from it’s
internal memory.
• When you insert a memory card, it will automatically start a slideshow with images
from that card. USB sticks work in the same manner:
• When the card is removed it will switch to internal memory again.
• Press the “EXIT” button twice to go to the source selection screen to chose manually
between internal memory, memory card or USB stick. You will also find the calendar
there.
• For a more comprehensive list of options and features, please refer to the complete
manual on the included CD-ROM.
 Loading...