

SWEEX LW140, LW140UK User Manual
English version
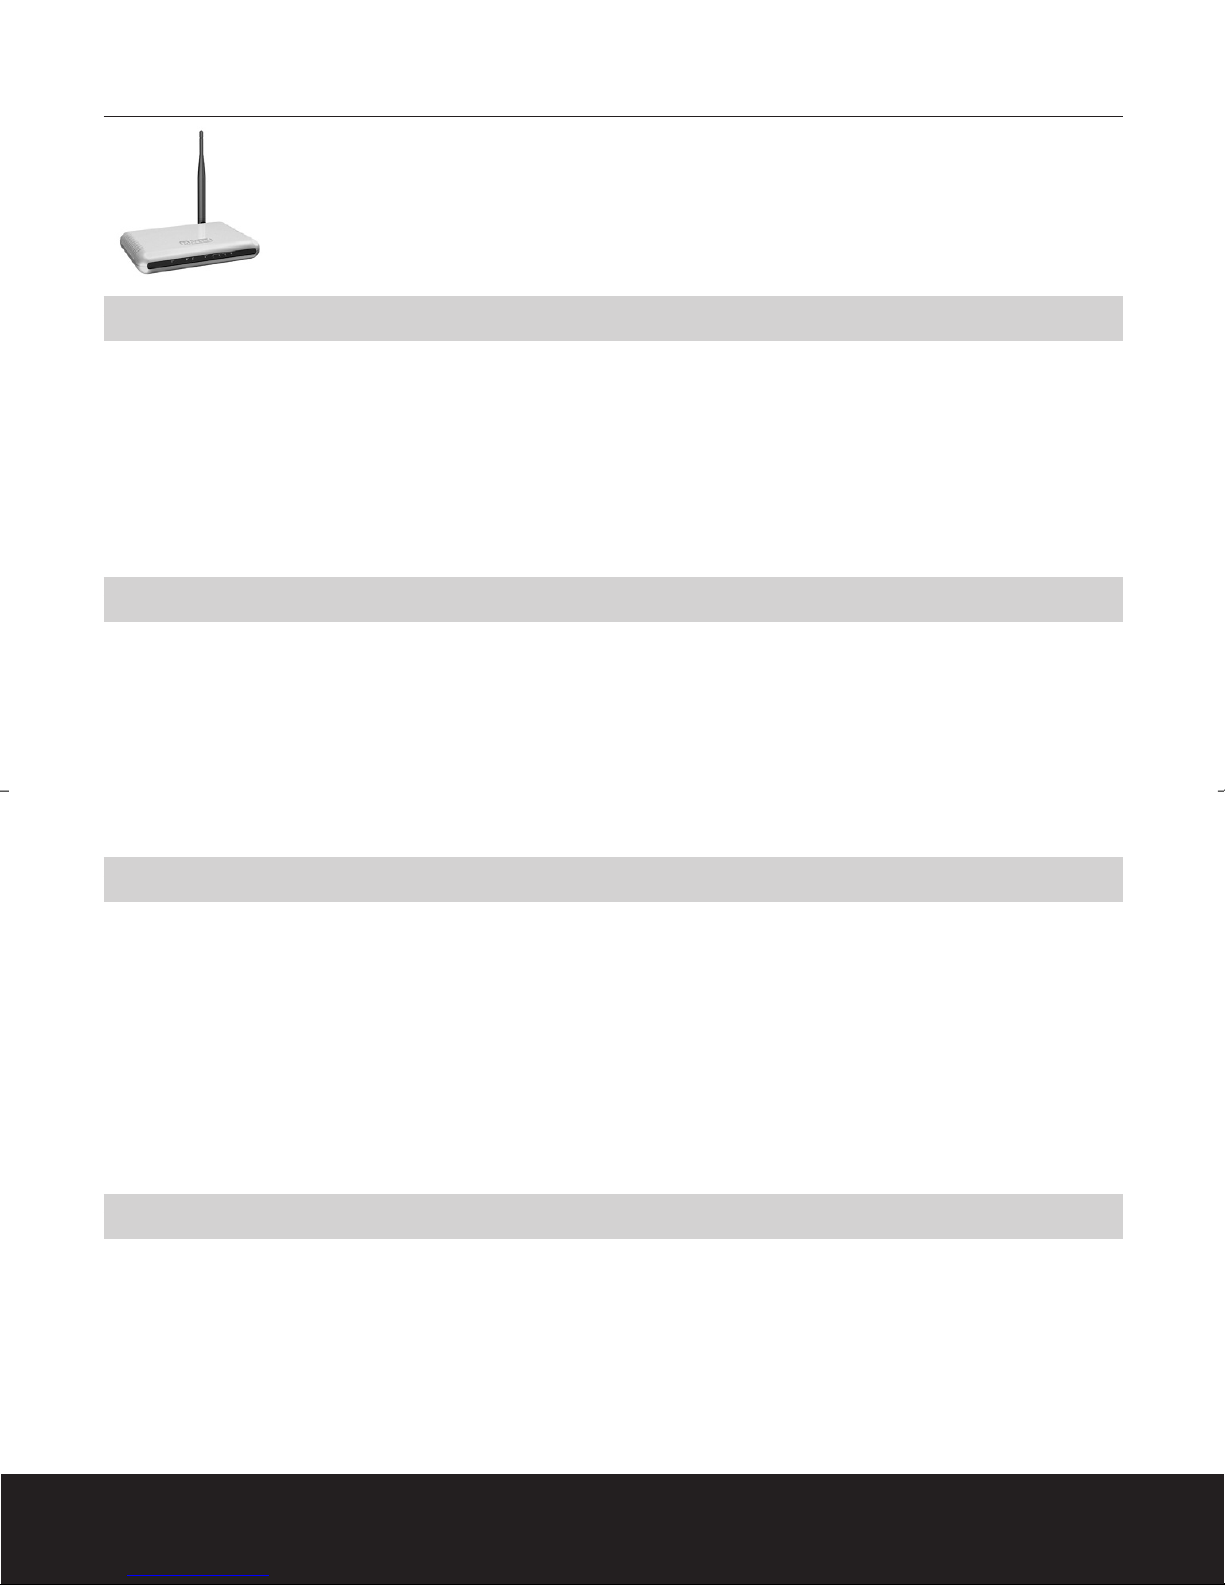
LW140 Wireless Broadband Router 140 Nitro XM
LW140UK Wireless Broadband Router 140 Nitro XM
Introduction
First of all, many thanks for purchasing the Sweex Wireless Broadband Router 140 Nitro XM. With this wireless router you can set up a wireless
network fast and efficiently. You can also simply share an Internet connection by means of the built-in router.
To ensure this product operates correctly, we also advise you to carefully read this manual first. If despite this manual you still experience
problems during installation or operation of this product, go to our website, www.sweex.com for additional information and look under the
heading service & support.
Contents of the box
Prior to installation, check if all required parts are present. The following parts must be present in the box:
• Sweex Wireless Broadband Router 140 Nitro XM
• Mains supply adapter
• CD-ROM with extensive English manual
• Manual in 13 different languages
Specifications
• Supports: PPTP, PPPoE, Static IP and DHCP Client
• Supports: Nitro XM, IEEE 802, IEEE 802.11b
• 1 x 10Base-T/100Base-TX WAN port (10/100 Mbps)
• 4 x 10Base-T/100Base-TX LAN ports (10/100 Mbps)
• Maximum connection speed: 140 Mbps
• Protection: 64/128-bit WEP, WPA, and 802.1x encryption
• Universal Plug and Play
• Not operating system dependent
Additional specifications
• Firewall
• Wireless Distribution System (WDS)
• Wireless LAN MAC filtering (ACL)
• Supports Dynamic DNS (dydns.org)
• DMZ
• Port forwarding
• Virtual server
2
SWEEX.COM

English version
Frontal view
On the front of the wireless router you can see the control LEDs which indicate the status of the device.
From left to right:
PWR LED Power LED, lights up (Red) as soon as the device is switched on.
WAN LED This green LED indicates an active WAN connection. The LED will start blinking during data traffic.
INT This LED (Yellow) will light up when the Internet connection is active.
W. LAN LED Wireless LAN LED (Yellow). This light will blink as soon as data is being sent or received via the wireless network. When the
LED is lit up green continuously, it means the wireless network is available.
LAN LED 1 - 4 These LEDs (Yellow) indicate the status of the connection on each of the 4 LAN ports. Furthermore, these LEDs blink during data
traffic.
Back view
On the back of the wireless router you will find various network connections, a reset button and the antenna. From left to right:
ANTENNA This is the antenna which is used for the wireless network. You can rotate the antenna to obtain the best possible reception.
RESET This button has two different functions. If you push the button briefly, with a pen or paperclip for instance, the wireless router
will be reset. This has the same effect as temporarily pulling out the power supply plug.
If the wireless router displays serious problems, it can be reset to the manufacturer’s settings by pushing the reset button for 10
seconds with a pen or paperclip. This means all settings will be erased.
LAN 1 - 4 You can directly connect computers to this connection by means of a UTP cable. The connection is suitable for both 10 and 100
Mbps connections.
WAN An ADSL or cable modem is connected here in respect of the Internet connection.
DC IN This is where the external power supply (5 Volt direct voltage) is connected.
Switch This is used to switch the router on or off.
Connecting the Sweex Wireless Broadband Router
We advise you to ensure the operating system is up-to-date before you start the installation. This is easy to check by starting up Internet Explorer
and selecting the option Windows Update in the Extra menu. We also advise you to install a good antivirus programme on the computer.
Note!
The security settings for the wireless section are switched of by default, which means you can set the configuration by means of a wireless
connection. We advise you to activate the security settings as soon as possible. The protection, in the form of a WEP key, will be discussed later
in this manual.
The wireless router can be configured in two ways. Either by means of a computer which is directly connected to the router with a UTP cable, or
by means of a computer which has a wireless connection with the wireless router.
3

English version
Connecting a computer with a UTP cable
Take the following steps to set the wireless router using a computer which is connected to one of the four LAN ports.
• Make sure to switch off the connected computer(s). Then connect the power supply to the wireless router and switch on the device by means
of the button on the back.
• Connect the computer to one of the four LAN ports at the back of the router, using a so-called UTP cable.
• Connect the ADSL or cable modem to one of the WAN ports at the back of the router, using a UTP cable.
• Switch on the computer(s). After start-up, the LAN lights at the front of the wireless router should light up, indicating a connection has been
established. The WAN light should also light up to indicate a connection has been established between the router and the ADSL or cable
modem. Should one of the lights fail to light up, check if the UTP cables have been connected correctly.
Connecting a computer with a wireless adapter
Take the following steps to establish a wireless connection with the router.
• Make sure to switch off all computers. Then connect the power supply to the router and switch on the device by means of the button on the
back.
• Connect your ADSL or cable modem to one of the WAN ports at the back of the wireless router, using a UTP cable.
• Switch on the computer(s) that are fitted with a wireless network adapter.
• After the computer has started up, check if the settings for the wireless network are correct. The name of the wireless network (SSID) must be
set to “My Hot Spot”, and the WEP encryption must be disabled.
• Setting the computer(s)
• Under network settings, you must select automatic IP number allocation for the network card (DHCP) through the Sweex Wireless Broadband
Router.
Windows 98SE
• Click on “Start” and then select the option “Control Panel”. Double-click on “Network Connections”.
• Select “Configuration” and then select the TCP/IP protocol of your network adapter. Then click the button "Properties".
• Select the option "Obtain an IP Address Automatically”.
• Click on “Gateway” and make sure all fields are empty. Remove any IP numbers. Finally, click on “OK”.
• Click on “OK” again. It is possible that Windows prompts you for the original Windows CD-ROM in order to copy a number of files from the
computer to the hard disk. Instead of using the original CD-ROM, you can also try and let Windows search for these files at:
c:\windows\options\cabs
• Otherwise, insert the original Windows CD-ROM in the CD-ROM player and follow the instructions.
• Once the files have been copied, Windows will prompt you to restart the computer in order to activate the settings. If Windows does not
prompt you, please restart the computer manually to ensure that all new settings have been adopted correctly.
4
SWEEX.COM
 Loading...