

Page 1
English version
WWW.SWEEX.COM
English version
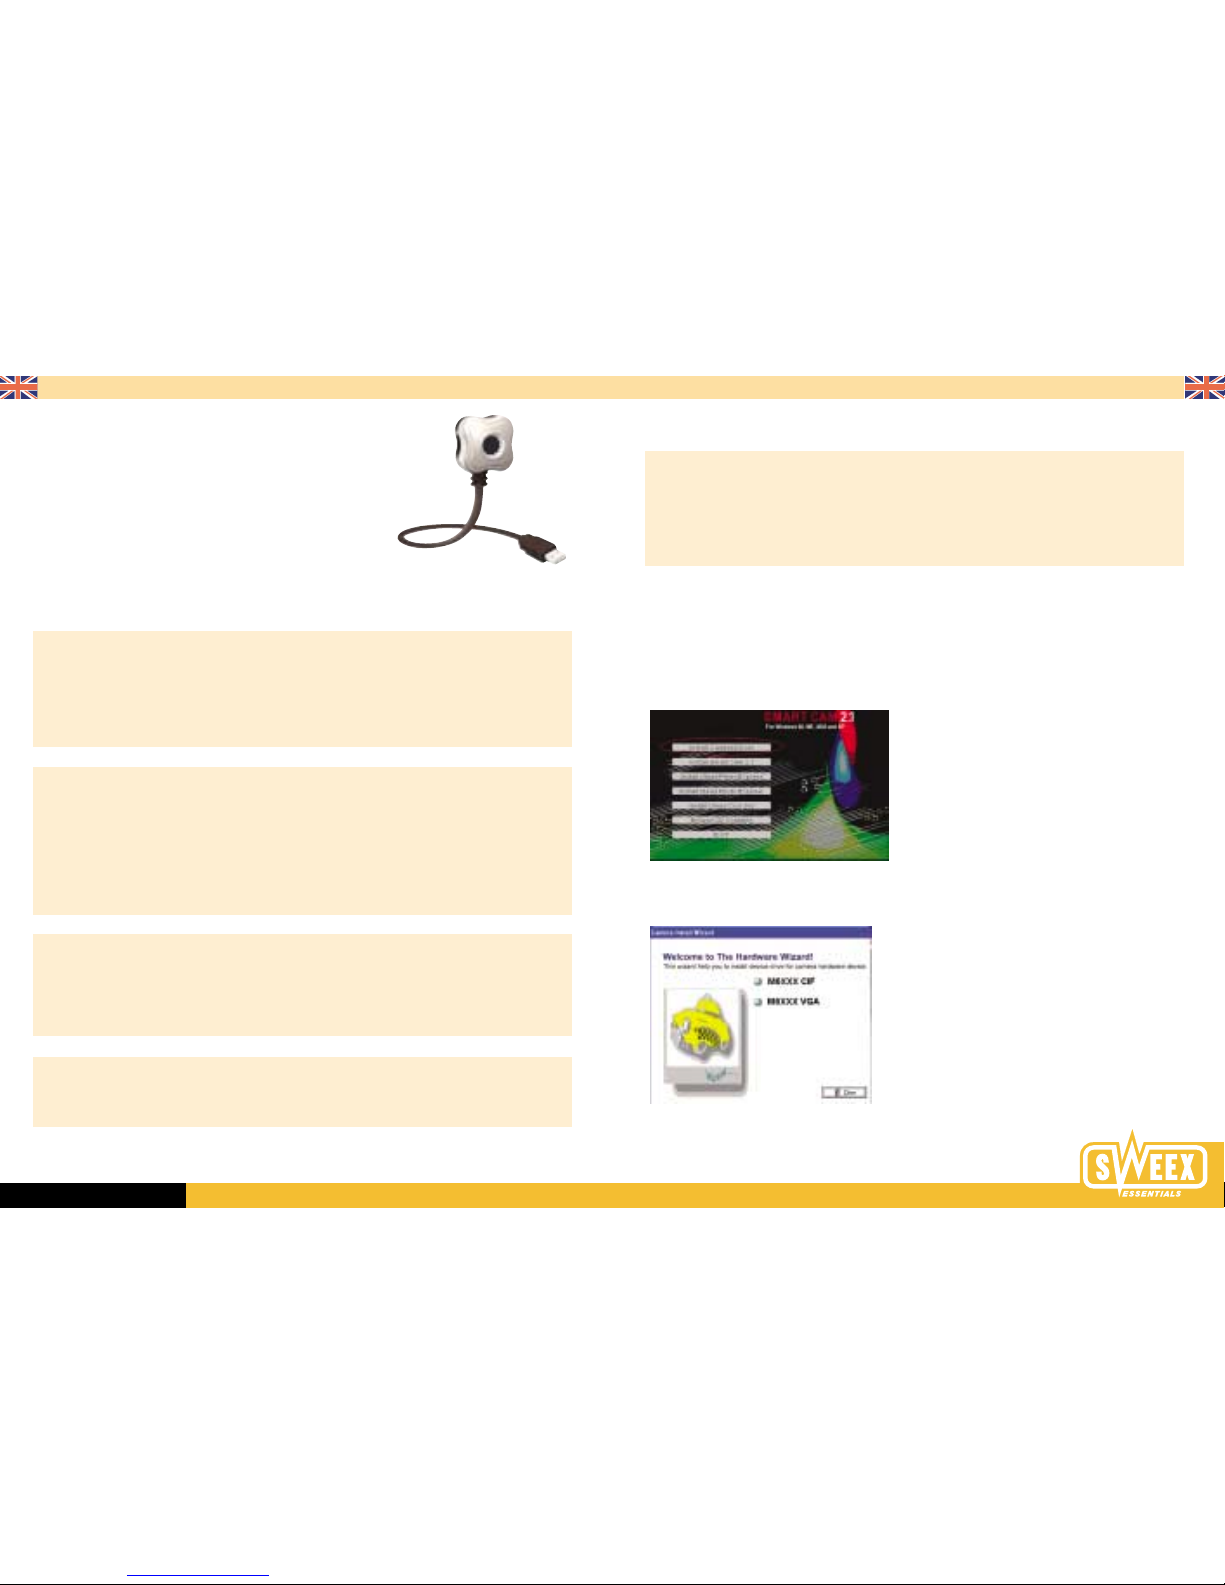
Sweex Mini WebCam
NB: Before connecting your USB camera, first install the CD-ROM.
Advantages
Flexible Mounting - Connect the camera to your notebook in no time at all.
Easy to install - After inserting the CD-ROM the software installation is completed almost entirely automatically and then connect the Sweex USB
webcam to a USB port.
Live Video & Conference Ready - Use the Sweex USB webcam to chat with relatives, friends and acquaintances on the other side of the world.
Security Option - This option lets you know if there is any movement in a room, ideal for areas that need to be monitored.
Manual Control - Brightness, Contrast, Gamma, Hue, Saturation, White Balance, Back light compensation and Auto Exposure can all be set manually.
Important characteristics
• Support for CIF Sensor
• USB 1.1 interface
• Multi Video, Output, RGB and I420
• Multi Output size 160x 120; 176 x 144; 320x 240; 352 x 288
• 25 frames per second
• Small size CMOS 1/7” lens
• Focus adjustable from 10 cm to infinity
• Win 98se / Win ME / Win 2K / Win XP compatible
System requirements
• Pentium CPU 233 or higher
• One free USB port
• Minimum of 50 MB free space on hard disk
• Min. 64 MB internal memory
• Windows 9x / Win ME / Win 2K/ Win XP
Possible applications
• Create and send video emails using the software supplied
• Video Conference
• Security Option, captures movement anywhere in a room, e.g. in areas that need to be monitored
Software Installation of the Sweex 100K webcam
Index
• Installation of USB Devices In General
• Installation under Win 2000 & Win XP
• Connecting the Webcam under Win 2000 & Win XP
• Installation under Win 98 & Win ME
• Connecting the Webcam under Win 98 & Win ME
• Testing the camera using the AMCap program
Installation of USB Devices In General !!
It is important to remember that when installing devices that use a USB port, the drivers and software must be installed before the USB device is
plugged into the computer. If not done in this order, the installation may fail and cause many problems before the installation can be repaired.
This is also the case with our USB webcam.
Installation under Win 2000 & Win XP
Insert the CD-ROM supplied which will then start up automatically, displaying the following screen. Start by installing the Camera Driver. Select the
option “Install Camera Driver”.
The splash screen of the Installation CD.
After selecting “Install Driver” the following screen is displayed. Select “M6225 type” to continue with the installation.
Select the following: M6XXX CIF.
After selecting the correct device the Installshield will start up and you are prompted to click “Next” twice
and then “Install”. After the installation click “Finish”. The driver is now installed correctly.
Page 2
WWW.SWEEX.COM
English version
Connecting your USB Webcam (Win 2000 & XP)
You can now connect your webcam, and the drivers are automatically linked to your webcam. The installation will be completed after 25~30 seconds.
Next it is time to test your webcam. Go to the end of this document for further information on how to test the webcam.
Installation under Win 98 & Win ME
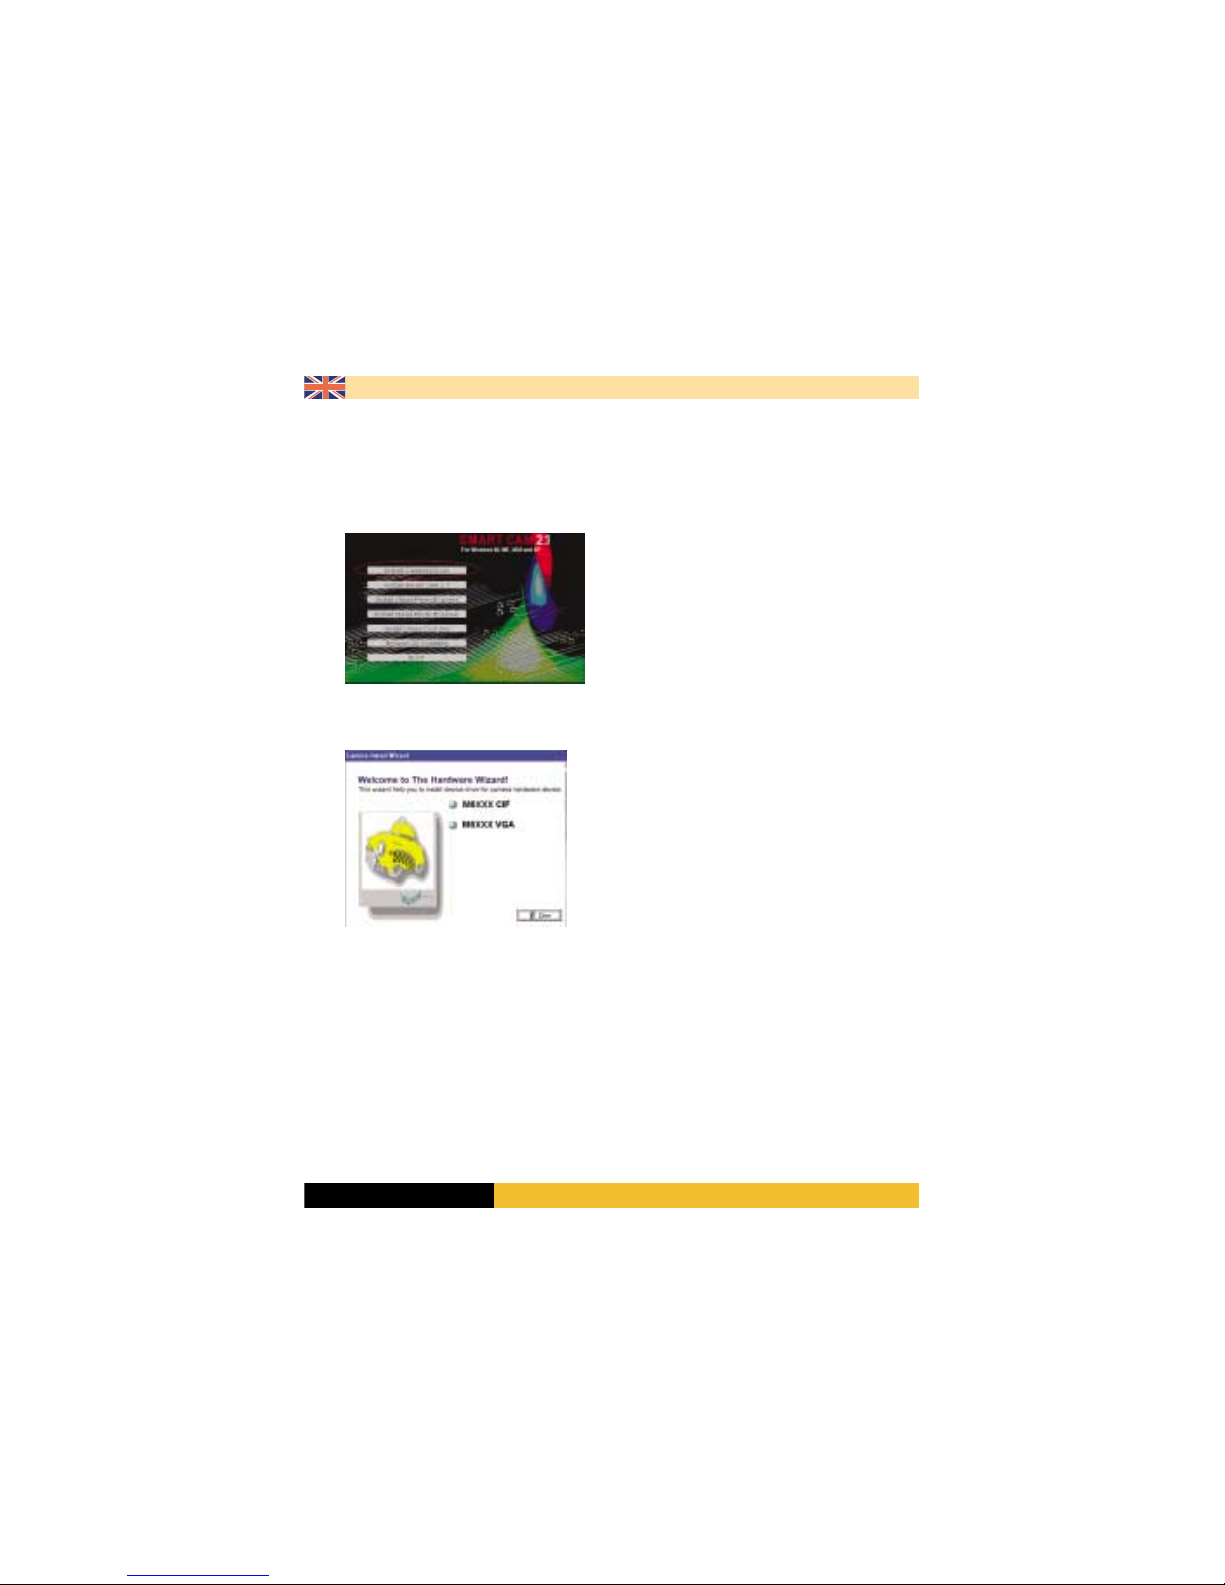
Insert the CD-ROM supplied which will then start up automatically, displaying the following screen. Start by installing the Camera Driver. Select the
option “Install Camera Driver”.
The splash screen of the installation CD.
After selecting “Install Driver” the following screen is displayed. Select “M6225 CIF type” to continue with the installation.
Select the following: M6XXX CIF.
After selecting the correct device the Installshield will start up and you are prompted to click “Next” twice and then “Install”. After the installation click
“Finish”. The driver is now installed correctly.
Connecting your USB Webcam (Win 98 & ME)
You can now connect your webcam to your computer. After connecting the webcam the drivers are automatically linked to your device and after 20~30
seconds the webcam is ready for testing. Continue below with 'Testing the Webcam using the AMCAP program'.
Continue below with 'Testing the Webcam using the AMCAP program'.
Go to Start -> Programs -> PC Camera (6205 CIF) and select the AMCap program.
Go to options->preview and a view from your webcam will be displayed. If required you can adjust the colours, brightness and framerate in Amcap.
You can even create your own video films using this program. All very easy to find and use.
 Loading...